Physical Address
304 North Cardinal St.
Dorchester Center, MA 02124
Physical Address
304 North Cardinal St.
Dorchester Center, MA 02124
Create a stunning retreat with our 21 tips for bathroom wallpaper blue. Learn to select, install, style, and maintain the perfect design for a durable, beautiful space.
Picture this: You’re standing in your home, searching for a pocket of absolute quiet. The living room is busy, the kitchen is humming, the office still echoes with the day’s obligations. Where can you find a moment of true sanctuary? For centuries, this space has been the study or the personal library, but I’ve found that a beautifully considered bathroom can serve the same purpose—a small, private world where you can close the door and truly be alone with your thoughts. It is, in essence, the modern scholar’s retreat.
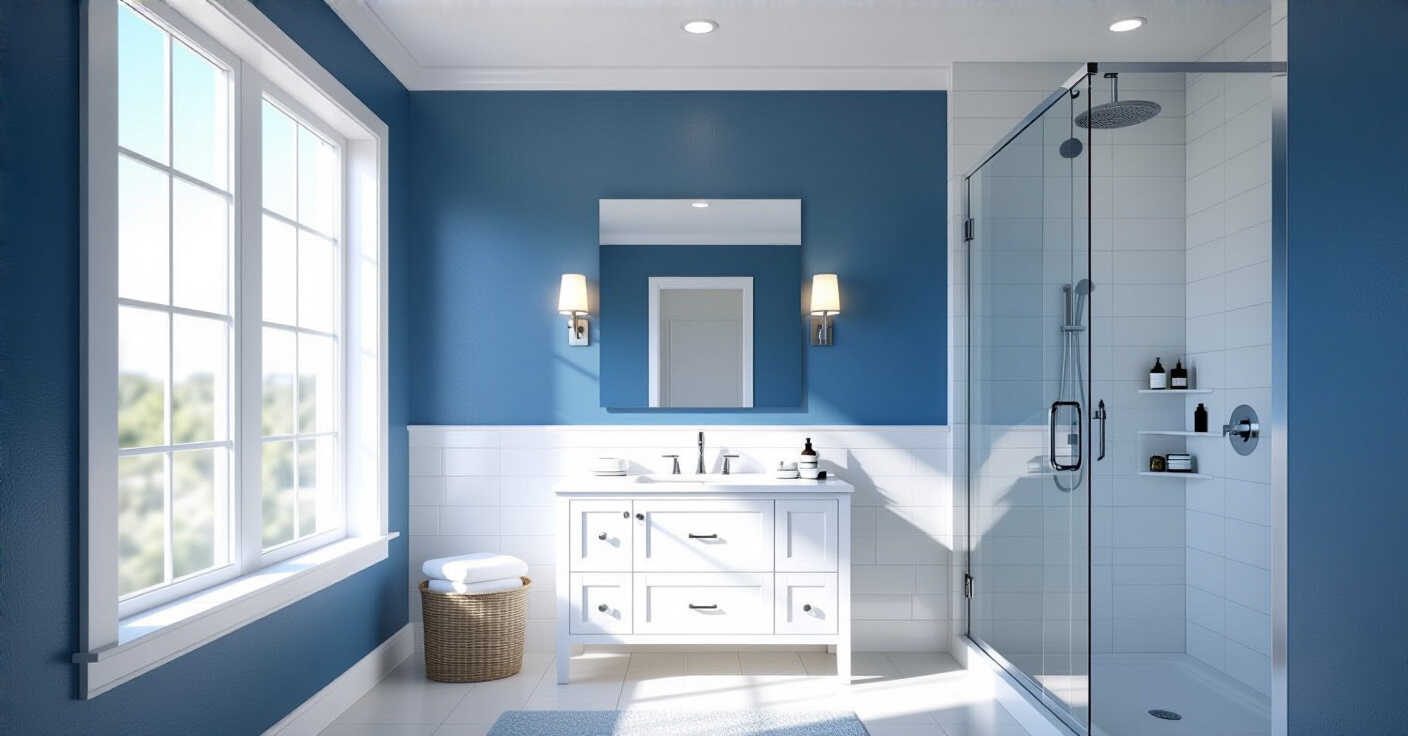
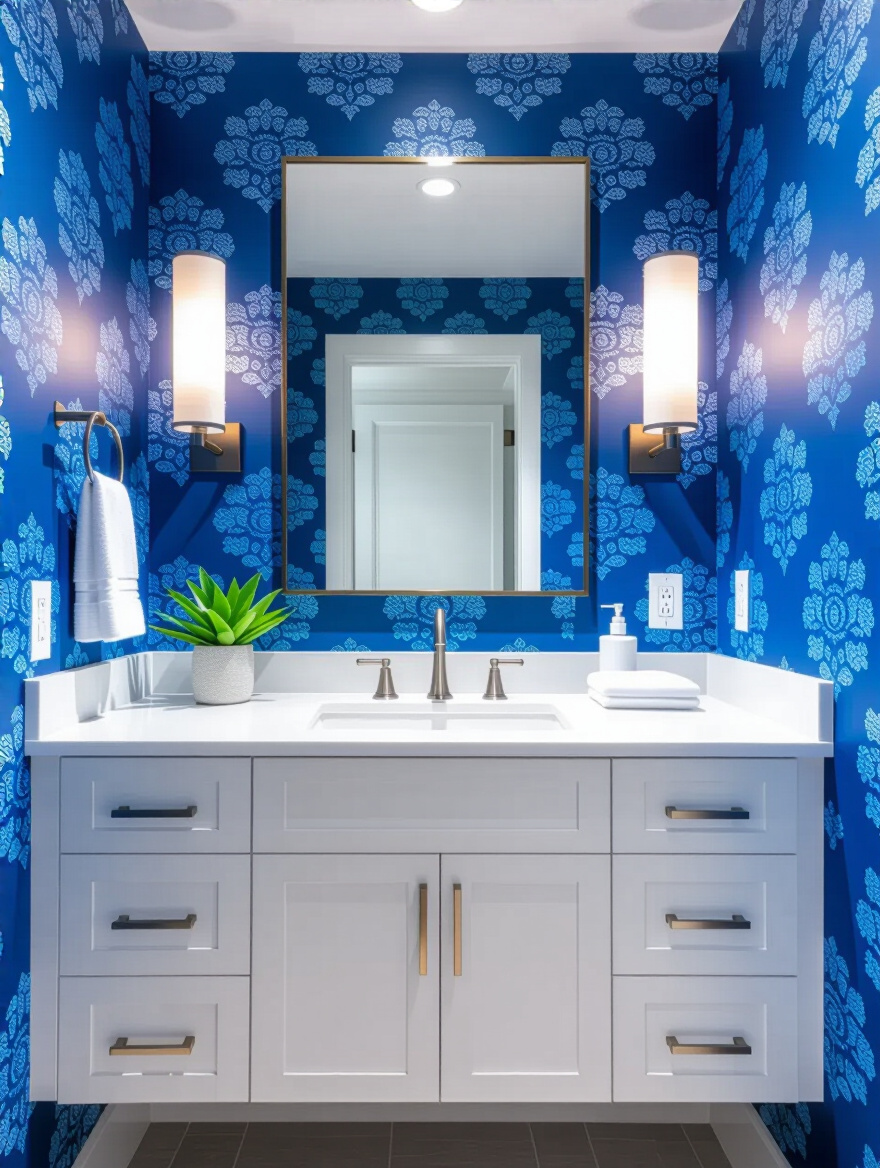
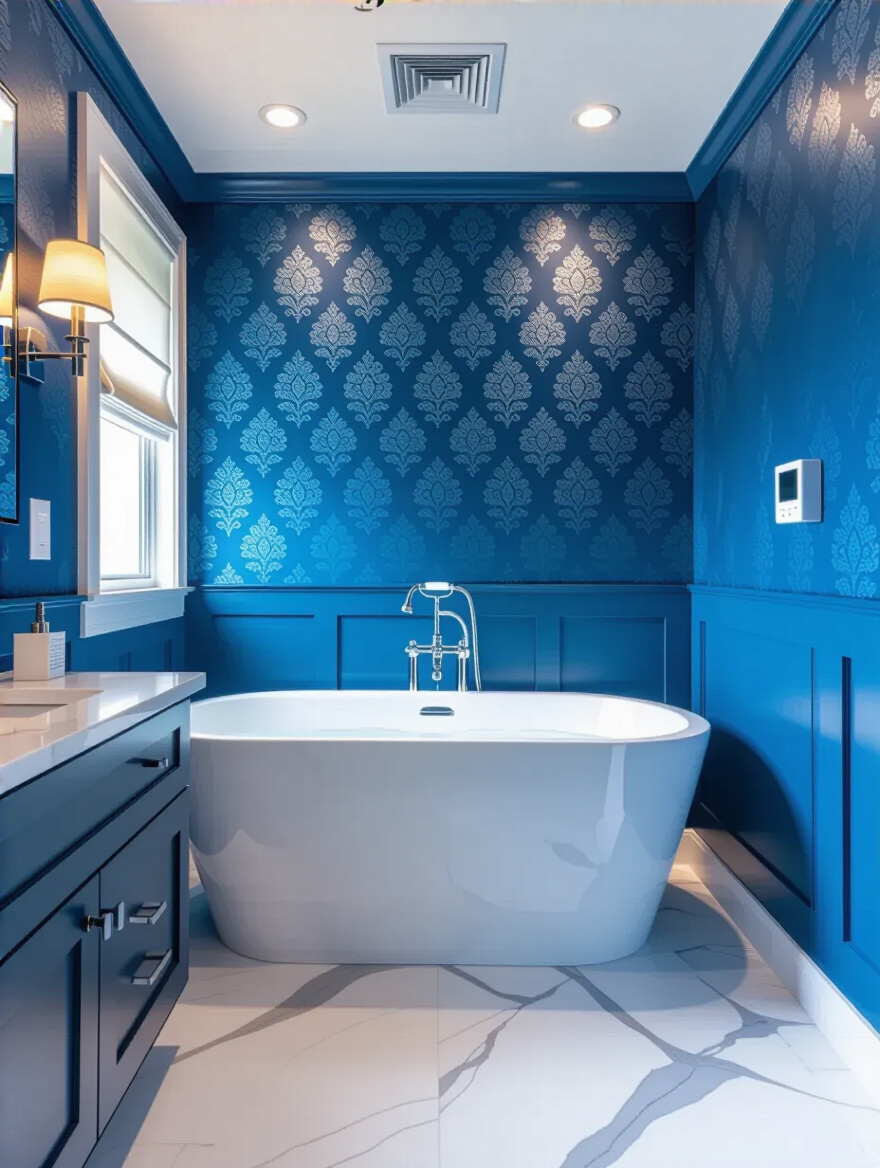
And what better way to define this retreat than with the color of contemplation, reverie, and calm? Blue. Specifically, blue wallpaper. It can evoke the deep, ink-dark sea of a Homeric epic or the serene sky of a pastoral poem. But translating that vision into a high-humidity space requires a blend of artistry and science, much like binding a book meant to last for generations. Forget the corporate-speak and the sterile design guides; let’s talk about what actually matters when creating a space that is both a functional necessity and a beautiful refuge.
Before you fall in love with a single swatch of paper, we must act as careful archivists of the space itself. A bathroom is a demanding environment, a small climate of its own. To ignore its nature—its humidity, its light, its very breath—is to build a library in a swamp. This initial phase of assessment is not the most glamorous part of the story, but it is the prologue upon which the entire narrative depends for a successful, and lasting, conclusion.
Can we talk about the one thing everyone gets wrong? They choose a wallpaper because it’s beautiful, forgetting that a bathroom is a fundamentally hostile environment for paper. I once saw a client’s stunning, hand-painted wallpaper begin to peel after six months. The villain wasn’t the paper; it was the steam from the shower, a silent, persistent saboteur. Your first and most critical task is to honestly assess your bathroom’s climate. Is the ventilation fan more of a noise machine than an air mover? Does condensation linger on the mirror long after you’ve left? These are your clues.
Ignoring this is like storing a first edition in a damp cellar. The damage is inevitable. Before you do anything else, run the shower on hot for ten minutes, close the door, and see what happens. If it feels like a tropical jungle, your first investment isn’t wallpaper—it’s a better exhaust fan. The fan’s power is measured in CFM (Cubic Feet per Minute), and you need one that can replace the air in the room about eight times an hour. This isn’t just noise; it’s the difference between a project that endures and one that fails.
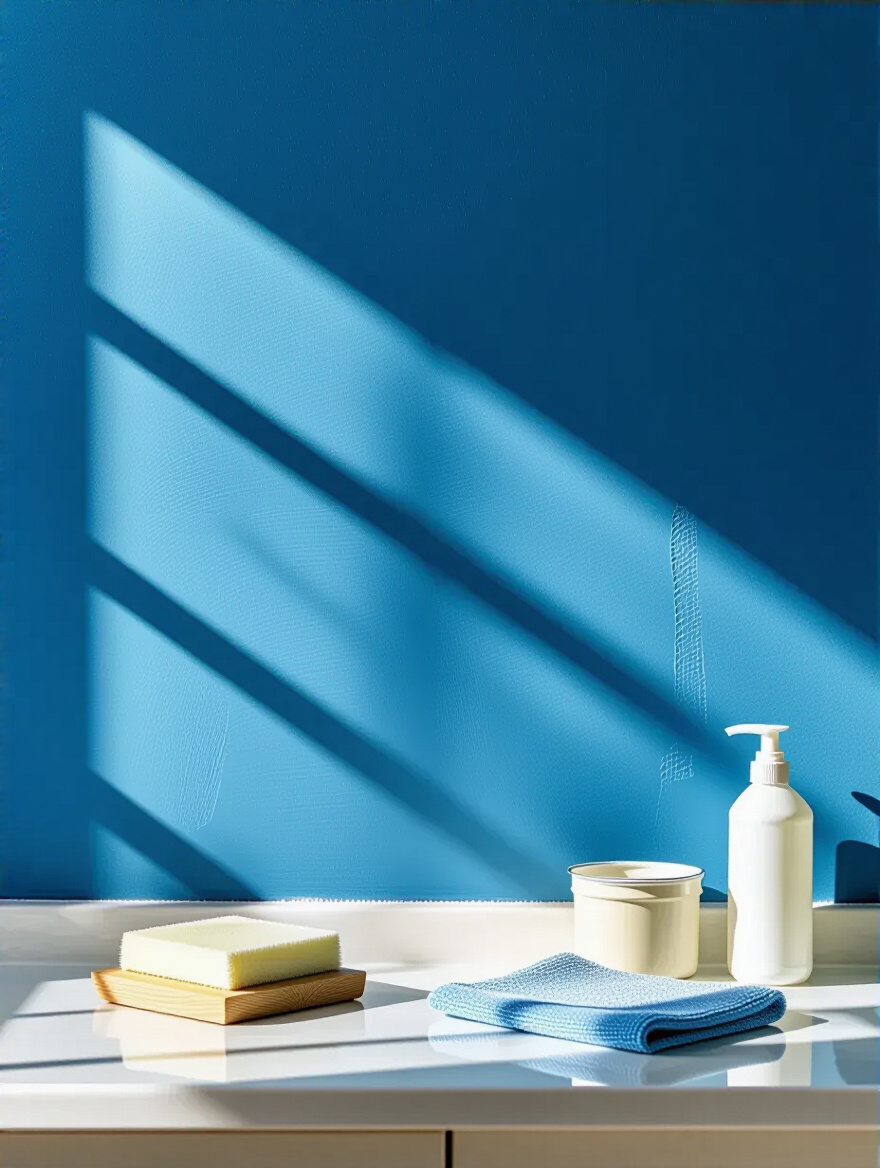
Observe how natural light moves through the room during the day. A blue that looks crisp and bright in a south-facing room can appear somber and grey in a north-facing one. Think of light as the reader of the room; it interprets the color and gives it meaning.
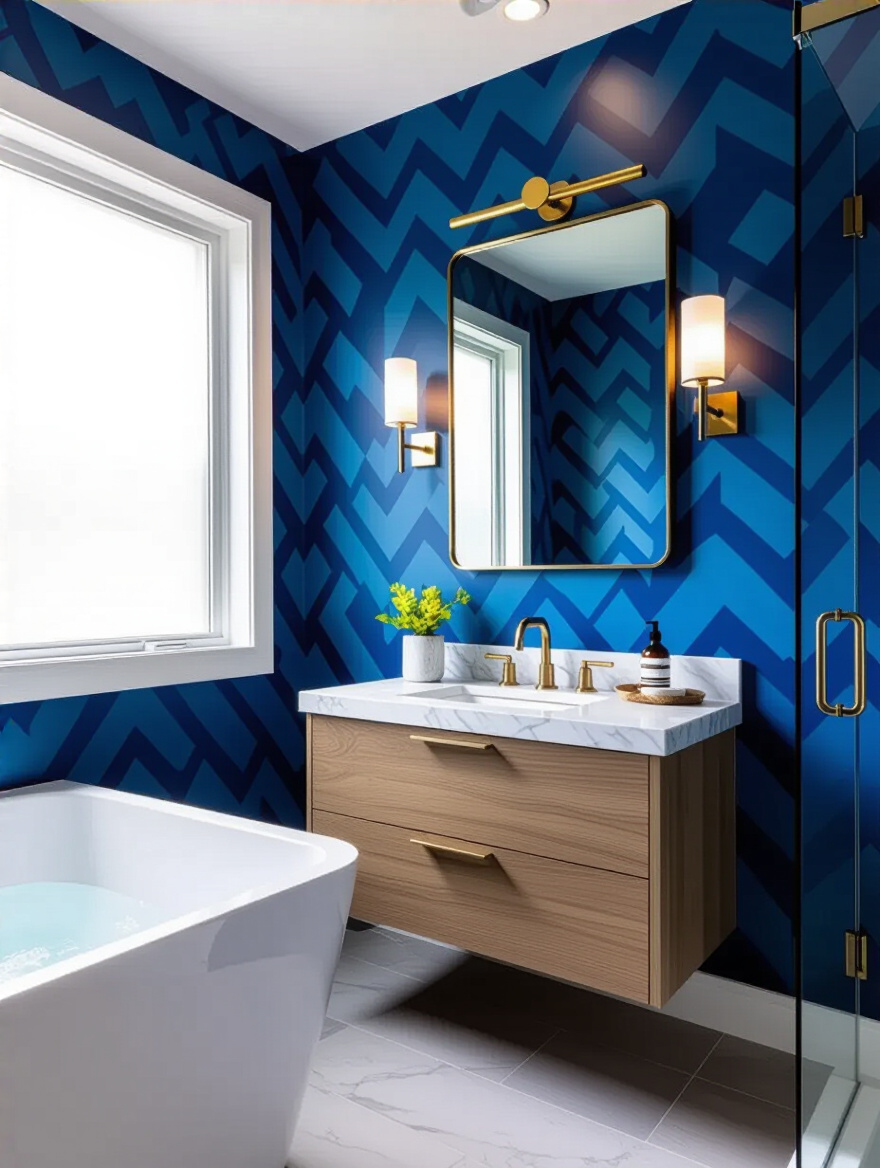
You know what people always ask me? “How do I make it all work together?” They’re paralyzed by choice. The secret is to think like a curator. You are not just decorating a bathroom; you are telling a story. What story do you want this space to tell? A serene, coastal narrative filled with light aquas and weathered wood textures? Or a dramatic, jewel-box of a powder room with a deep navy blue and glinting brass, like a chapter from a gothic novel?
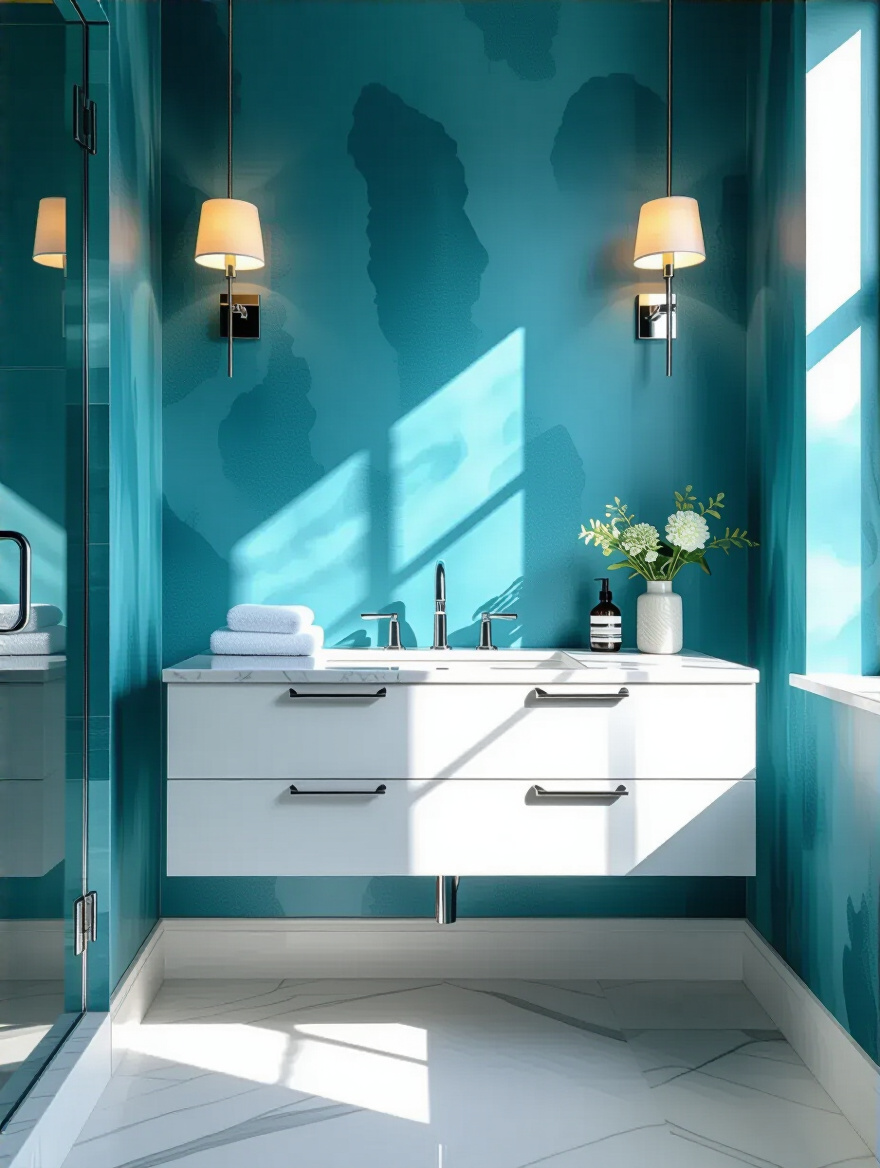
Don’t just browse for “blue wallpaper.” Create a mood board. Gather images of textures, fixtures, colors, and even feelings. Think of it as outlining a book. Your wallpaper is the central theme, but what about the supporting characters—the faucet, the mirror, the towels? When you have a clear vision, every other choice becomes simpler. A client of mine wanted a “scholarly but calm” bathroom. We landed on a dark teal grasscloth, paired it with a walnut vanity and aged brass fixtures. The story was coherent, and the result was timeless.
The common mistake is trying to cram too many different ideas into one small space. It becomes visually noisy, the equivalent of a book with no chapters. Settle on a single, compelling narrative and let every choice serve it.
Here is the most important shortcut I can give you: when it comes to a bathroom, the material of the wallpaper matters more than the pattern. You must, without exception, choose a wallpaper that is designed to withstand moisture. Everyone gets distracted by pretty prints and forgets the fundamental science. Paper-backed, delicate wallpapers are beautiful, but they will absorb moisture, stain, and peel. It’s a tragic, and entirely preventable, end.
The hero of this story is solid vinyl wallpaper. Think of it as a book with a durable, wipeable cover. It’s non-porous, scrubbable, and designed to repel moisture rather than absorb it. It’s the workhorse you need for a space that works hard. Vinyl-coated papers or non-woven materials are also strong contenders. They offer breathability and durability that traditional paper simply cannot match. If the product description doesn’t explicitly say it’s for bathrooms or high-moisture areas, move on. No amount of beauty is worth the heartbreak of watching it fail.
I’ve learned this the hard way. Early in my career, I let a client insist on a stunning but delicate grasscloth for their primary bathroom. We sealed it and took every precaution, but the ambient humidity was simply too much. It began to fray at the seams within two years. Now, I am unequivocal: the material must be the primary consideration.
With a firm grasp on the room’s character and material needs, we can now address the more tangible, yet equally crucial, element of preparation: the budget. This isn’t about limiting your vision but about empowering it, ensuring the story you wish to tell doesn’t end abruptly due to a preventable plot twist involving unforeseen costs. A well-considered plan is the mark of a true master, in literature and in design.
Let’s be honest. Nobody likes talking about the budget. It feels like the boring, logistical chapter in an otherwise exciting novel. But skipping it is the fastest way to a bad ending. I watched a client run out of money halfway through a project because they fell in love with a designer wallpaper and forgot to account for primer, adhesive, and the cost of smoothing their old plaster walls. The beautiful paper sat in its rolls for a year while they saved up again.
Your budget must be more than just the price per roll. You need to account for everything: high-quality, mold-resistant primer (non-negotiable), the correct adhesive for your chosen material, tools if you’re doing it yourself, or the cost of a professional installer. The BS everyone tells themselves is, “I can save money by doing it myself.” You might, but a poorly hung, bubbly, or misaligned wall of expensive paper will cost you far more in regret than hiring a pro ever would. Get at least two quotes.
And here is the absolute rule: always add a 10-15% contingency fund. Always. You may discover an old leak behind the vanity. You might mis-cut a crucial strip and need another roll. This fund is not “extra” money; it is an essential part of the project budget. It’s the difference between a stressful ordeal and a smooth, confident execution.
Now we arrive at the heart of the matter—the selection of your central character, the blue wallpaper itself, and the careful art of bringing it to life on your walls. This is where the aesthetic vision begins to take physical form. Like choosing the right edition of a classic book, the specific shade, pattern, and feel will define the entire experience of the space. It demands both passion and precision.
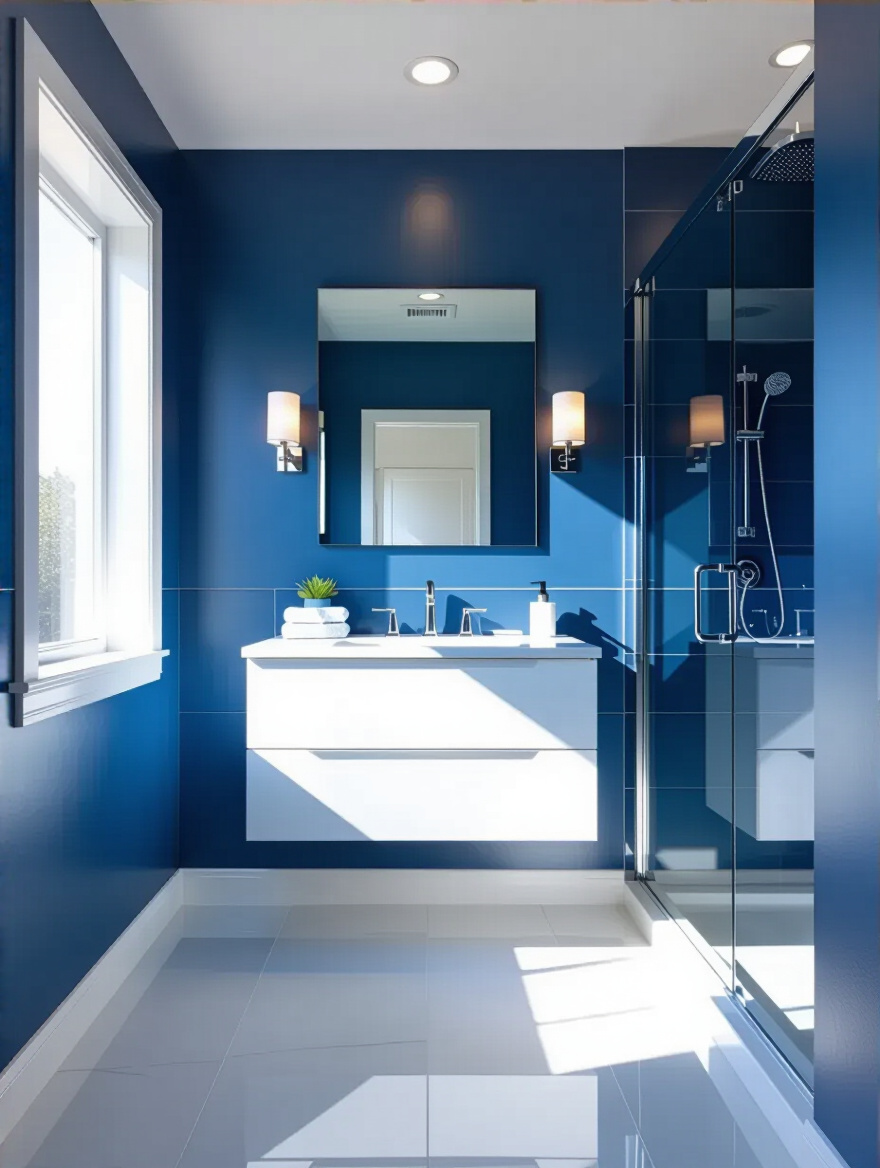
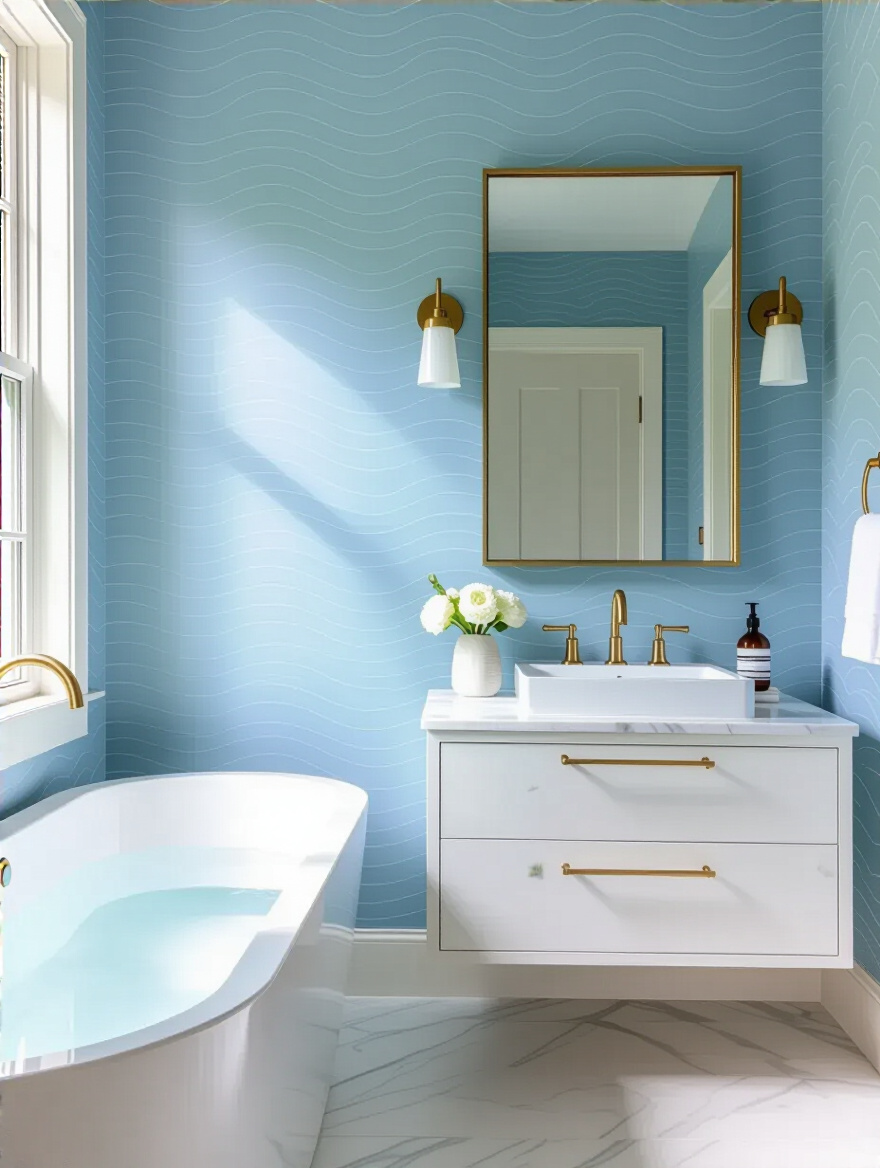
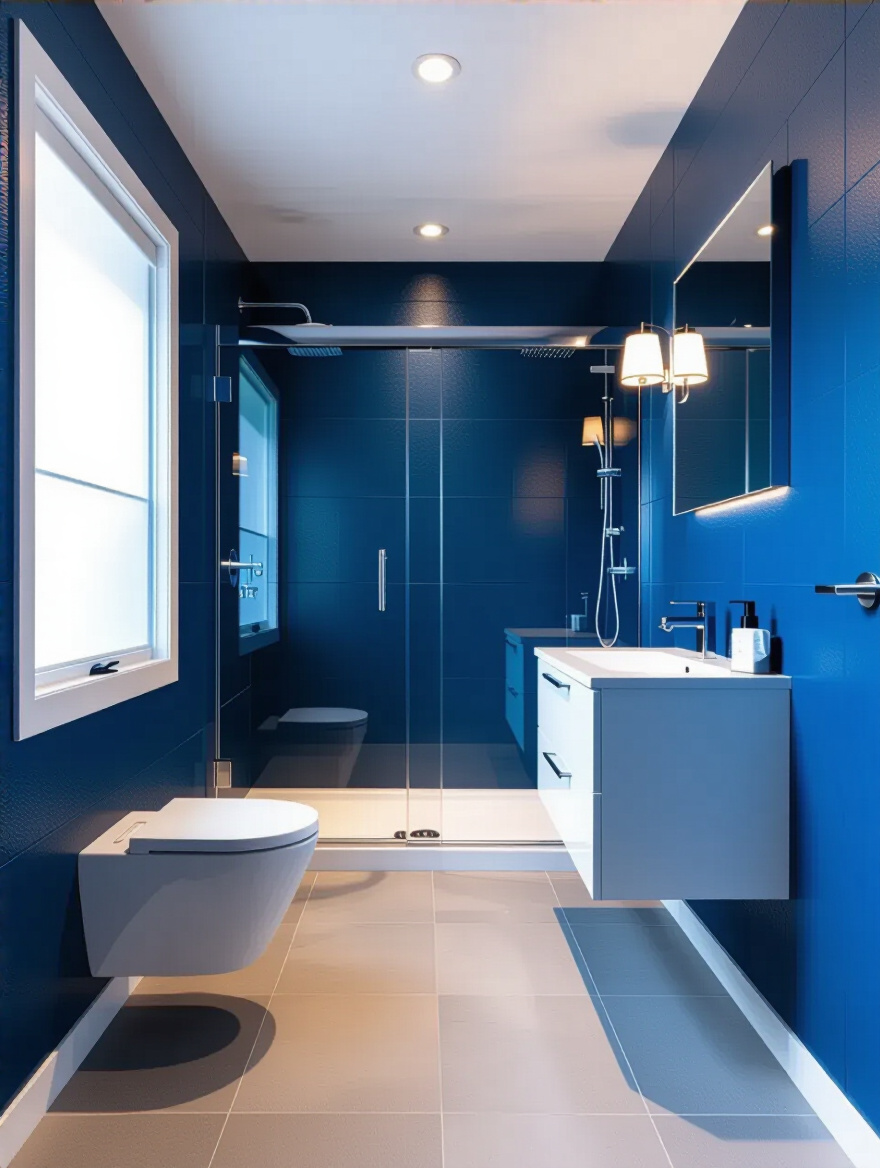
The word “blue” is not a destination; it is an entire continent of possibility. There’s the deep, intellectual navy of a university library at midnight. There’s the airy, hopeful sky blue of a new beginning. There’s the complex, mysterious teal that sits somewhere between the sea and the forest. The specific shade you choose will fundamentally define the emotional tone of your sanctuary. Light blues, like aqua, will make a small space feel larger and more open. Darker blues, like indigo or navy, will create a sense of cozy, dramatic intimacy.
The most common mistake is choosing a color from a tiny swatch under the harsh lights of a store. You must bring large samples into the actual bathroom. Live with them for a few days. See how they look in the morning light, in the artificial light at night, and in the shadows of the afternoon. A beautiful cerulean blue can turn into a sad, murky grey in a room with cool, northern light. Remember, the light is the reader, and it will have its own interpretation. Let it read the samples before you commit to the full story.
Also, consider the existing elements. Does that blue have a slight green undertone that will clash horribly with your beige floor tile? Does it have a violet cast that will harmonize with your marble countertop? This is the subtle art of color theory, and paying attention to it is what separates a good design from a truly masterful one.
Pattern is the prose of your wallpaper—it sets the rhythm and pace. A small, delicate pattern in a large bathroom can feel timid and lost, like a single, quiet sentence on a vast page. Conversely, a bold, large-scale pattern in a tiny powder room can be a spectacular statement, turning the small space into an unforgettable jewel box. Don’t be afraid of large patterns in small rooms; it’s a contradiction, I know, but it often works beautifully, creating an illusion of depth and grandeur.
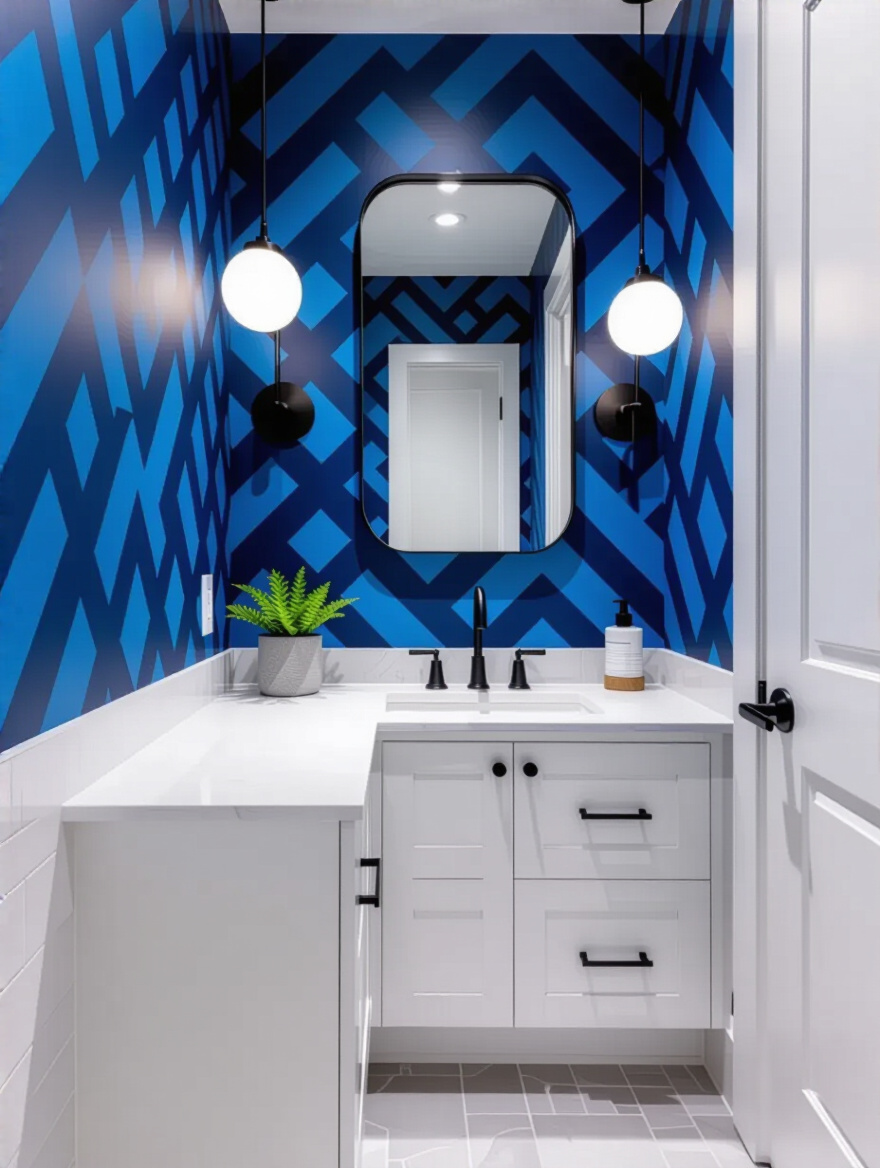
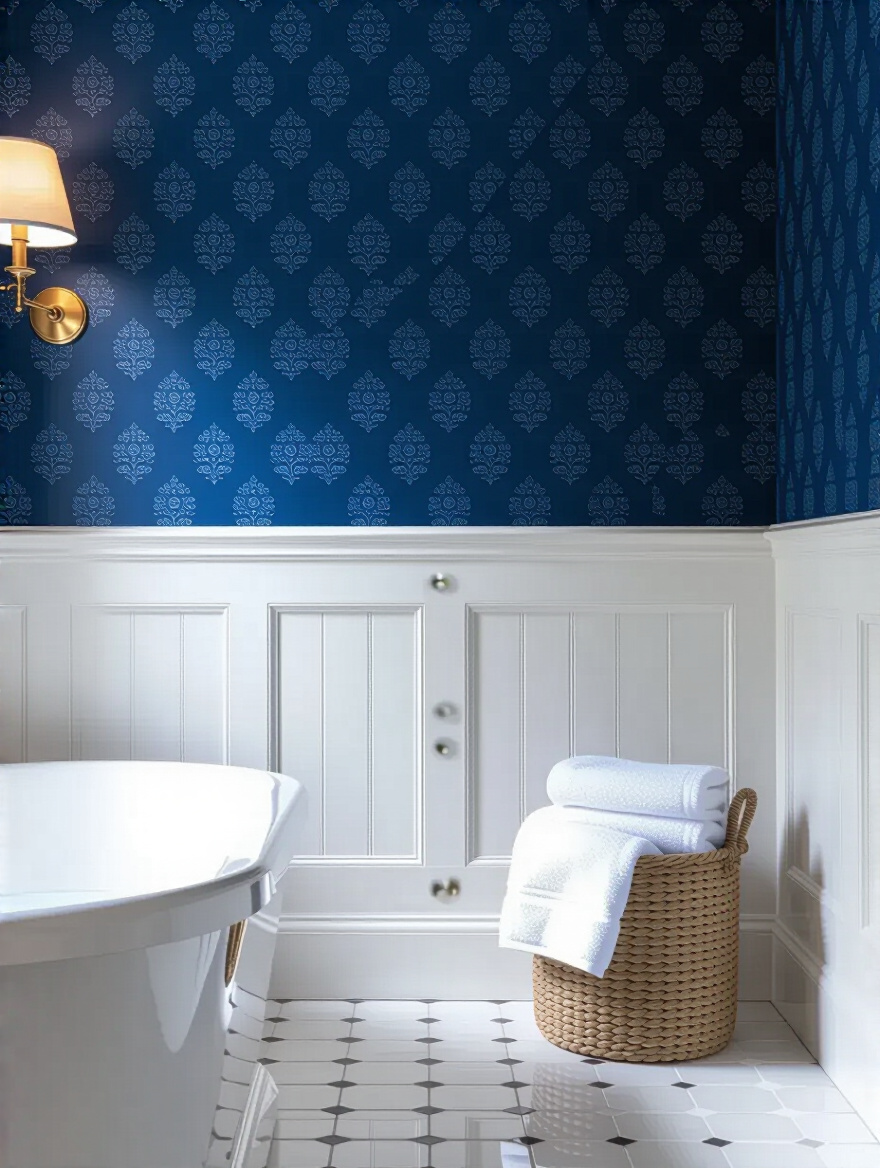
The key is coherence. If your design story is “minimalist spa,” a busy, chintz floral is going to feel like a misplaced chapter from another book entirely. The pattern should support your overall aesthetic. For a modern theme, look to geometrics. For a traditional feel, consider damask or toile. For a touch of nature, botanicals are always a beautiful choice. Your pattern choice should feel like a natural extension of the story you established with your mood board.
One crucial shortcut: think about a single accent wall. If you’re nervous about committing to a bold blue pattern on all four walls, using it on the wall behind the vanity or the toilet can provide all the drama and impact without overwhelming the space. It’s a focal point, the cover art for the room that draws you in.
I confess: I used to think wall prep was just a tedious chore. Then I learned the hard way that it’s everything. It is the literal foundation of your project. Applying beautiful wallpaper to a poorly prepared wall is like putting a beautiful leather binding on a book with crumbling pages. The exterior may look good for a while, but the whole thing is destined to fall apart.
First, your walls must be impeccably clean. Wash them with a TSP substitute to remove any invisible residue from soaps, lotions, or cleaning products. Then, they must be perfectly smooth. Spackle and sand every single nail hole, dent, or imperfection. Your wallpaper will not hide flaws; it will highlight them. The slightest bump will cast a shadow and break the illusion.
And the most important step, the one nobody should ever skip, is priming with a dedicated wallpaper primer. Not paint primer. Wallpaper primer. This product, often called a “sizer,” does two magical things: it creates an ideal surface for the adhesive to grip onto, and it seals the wall so that someday, when you want to remove the paper, it will come off without destroying your drywall. To skip this step is an act of design malpractice, plain and simple.
Here’s a debate I hear all the time: peel-and-stick versus traditional pasted wallpaper. Think of it as the choice between a modern paperback and a classic, cloth-bound hardcover. The paperback—peel-and-stick—is convenient, accessible, and perfect for temporary situations like a rental apartment. It offers instant gratification and the freedom to change your mind without much consequence. It can be a brilliant solution, if your walls are perfectly smooth and you choose a high-quality, vinyl-based product.
The hardcover—traditional wallpaper—is a commitment. It requires more skill, more time, and more mess. But the result, when done correctly, is a deeper, more permanent, and often more luxurious finish. The bond is stronger, the seams can be virtually invisible, and it has a gravitas that peel-and-stick can sometimes lack. For a primary bathroom that you intend to be a long-term sanctuary, I almost always lean toward a high-quality traditional paper.
Neither is inherently “better,” but they serve different purposes. The BS is when people claim one is a perfect substitute for the other. They are different tools for different jobs. Acknowledge your situation—are you a renter or a long-term owner? Are your walls flawed or perfect? Answering those questions honestly will lead you to the right choice for your story.
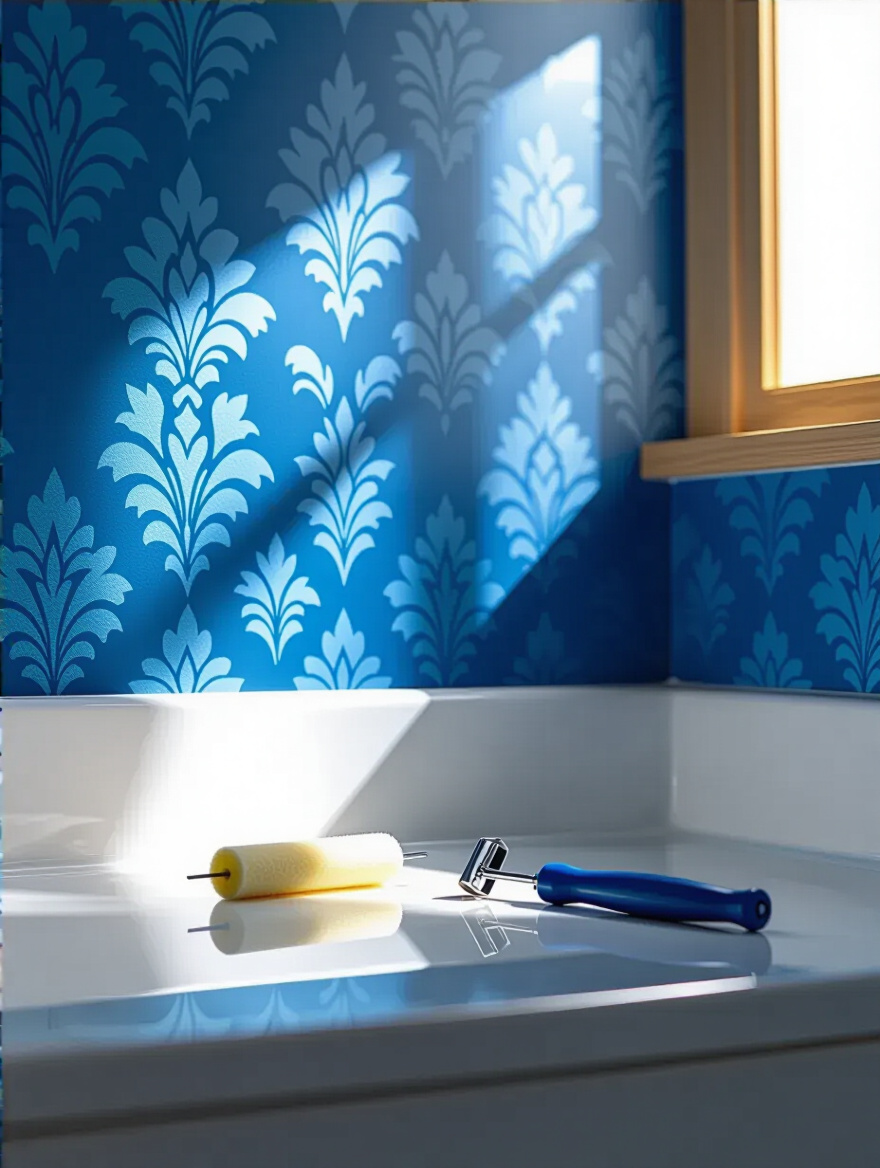
The stage is set, the materials are chosen, and the moment of application is at hand. This is where craftsmanship comes to the fore. The patient, meticulous work of hanging the paper is what transforms a roll of beautiful material into a seamless, immersive environment. Even the smallest details—a corner, a seam—can make the difference between an amateur attempt and a work of art.
Corners are where good wallpaper jobs become great ones. Everyone can hang a sheet on a flat wall, but the true test of skill is navigating an inside or outside corner. A common mistake is to try and wrap a full sheet of paper around a corner. Don’t do it. The paper will inevitably bubble or pull away as it dries because of the tension.
The professional shortcut is to cut the paper. For an inside corner, hang your strip so it wraps about a half-inch onto the next wall. Then, start your next strip by overlapping that half-inch, ensuring it is perfectly plumb (straight up and down). The secret is the “double-cut.” Place a straightedge directly into the corner over both layers of paper and, using a brand-new, razor-sharp blade, cut through both layers at once. Peel away the two excess strips, and you are left with a perfect, invisible seam right in the corner. It’s a bit of technical magic that creates a flawless finish.
For an outside corner, wrap the paper about an inch around, smooth it down tightly, and trim if necessary. Start your next piece on the other side, butting it right up against that corner. It takes patience, but mastering corners is what will make your blue wallpaper look like it was painted on, a continuous, unbroken mural.
No matter how careful you are, challenges will arise. You’ll see a small air bubble appear. A seam will look a little more visible than you’d like. This is not a catastrophe; it is simply the editing process. Panicking is the worst thing you can do. Most issues are fixable if you address them while the adhesive is still wet.
For air bubbles, use a plastic wallpaper smoother to gently push the air from the center of the bubble out to the nearest edge. For a stubborn bubble that won’t budge, you can use a pin or the tip of your utility knife to make a minuscule prick in the center. This will release the air, and you can then smooth the paper flat.
If a seam isn’t perfect, you often have a few minutes to gently peel the paper back and reposition it. The key is to be slow and gentle to avoid stretching or tearing the paper. And if a seam starts to lift after it has dried, don’t use craft glue. Buy a small tube of specialized seam adhesive. It’s designed for this exact purpose, applies with a fine tip, and dries clear. Having it on hand is a small bit of insurance that will pay dividends.
With the wallpaper flawlessly installed, the main character of our story is in place. Now, we must introduce the supporting cast—the fixtures, textiles, and light that will interact with our blue walls. This is the art of integration, of weaving disparate elements into a single, harmonious composition that elevates the entire space from merely decorated to truly designed.
Your blue wallpaper does not exist in a vacuum. It is in conversation with every other object in the room, and the loudest voices often belong to the vanity and the metal fixtures. These are not afterthoughts; they are crucial elements that can either elevate or undermine your design. The key is to create harmony or a deliberate, beautiful contrast.
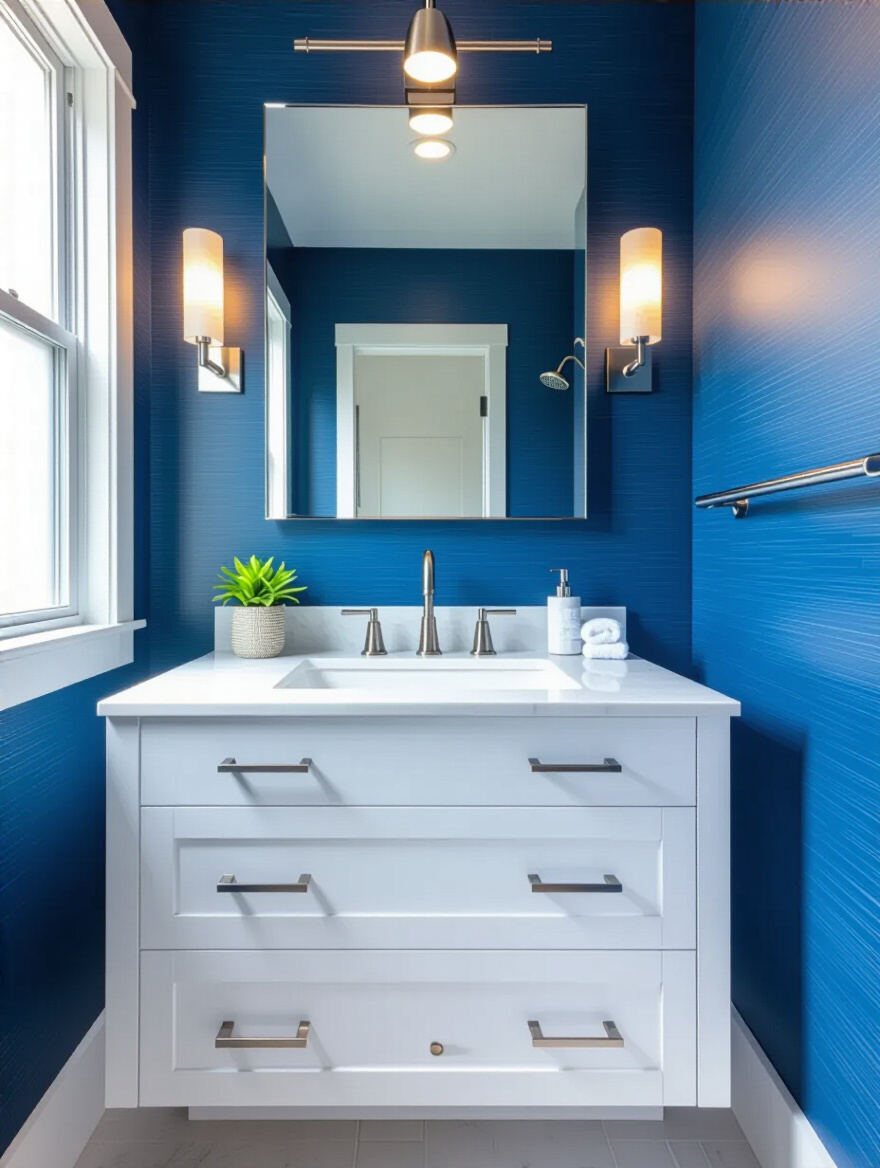
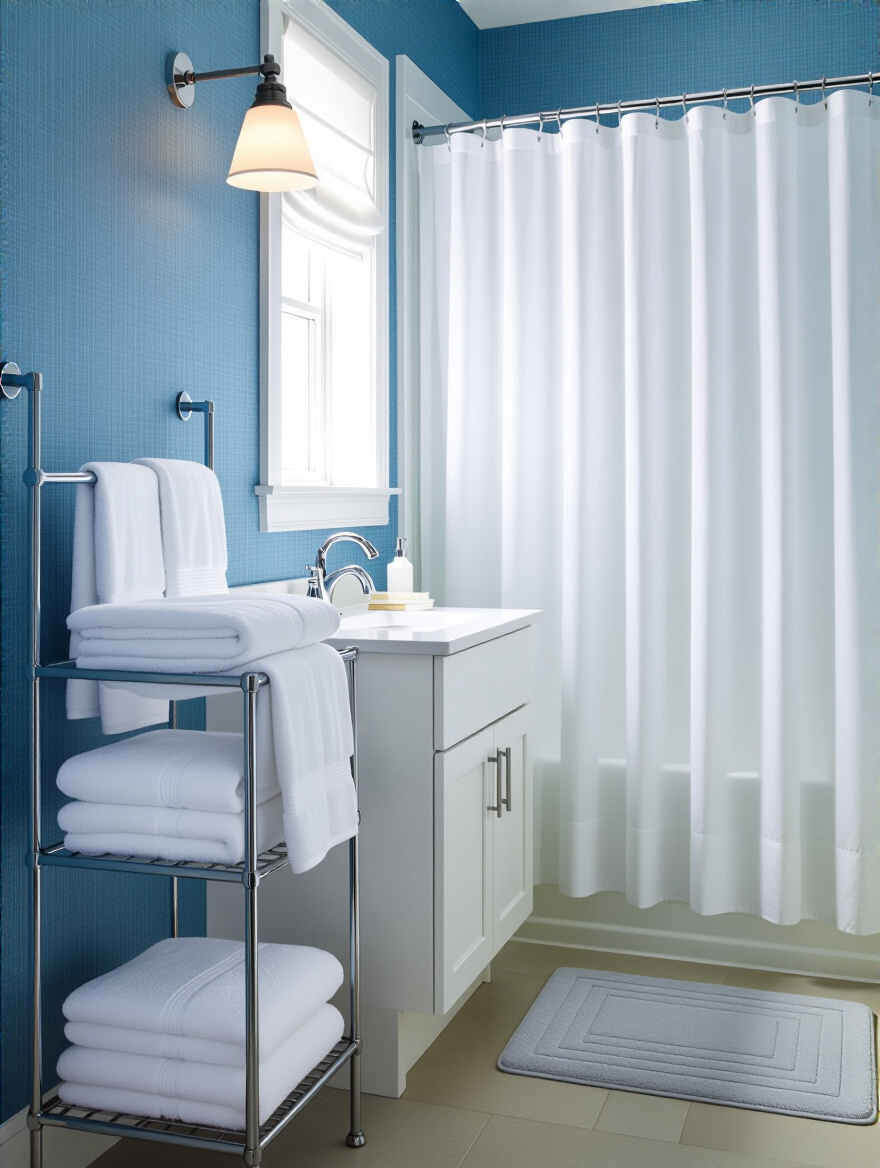
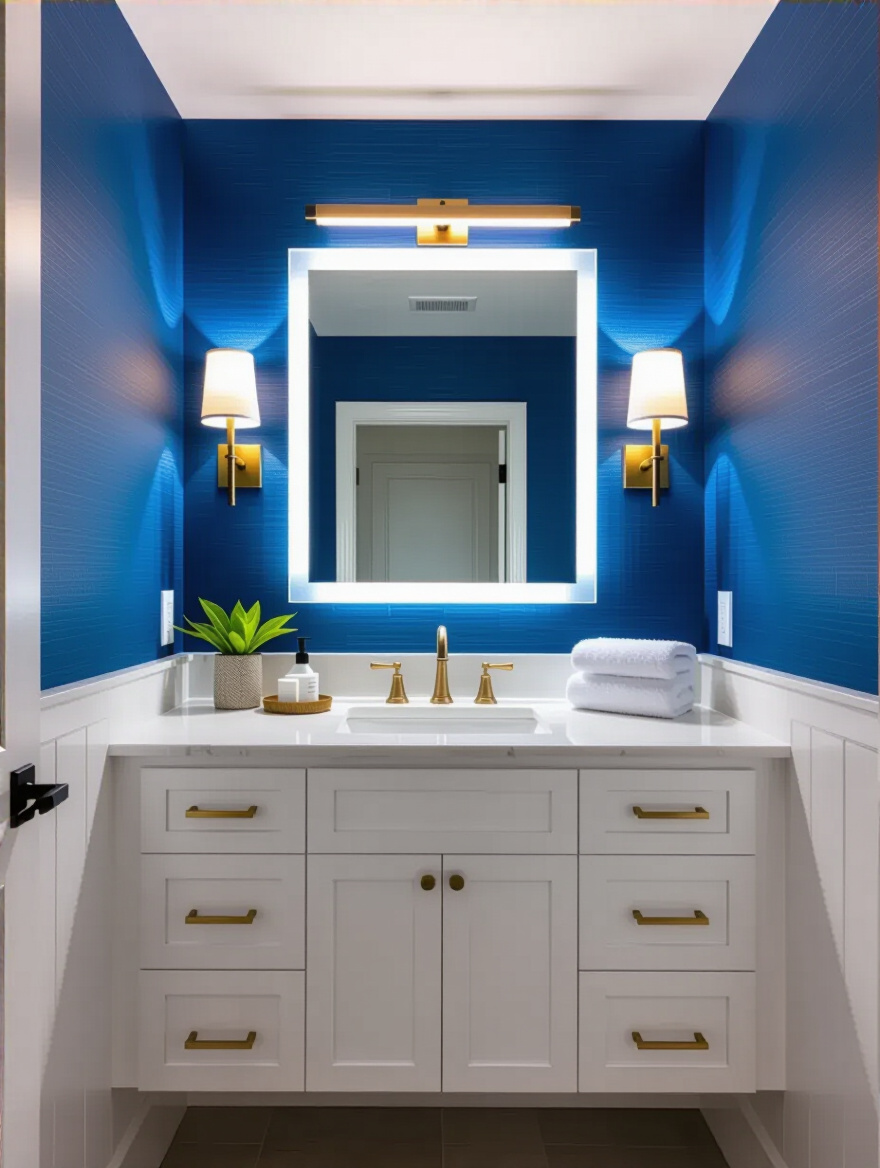
For warmer, deeper blues like navy or indigo, consider the richness of brushed brass or unlacquered gold. This creates a classic, sophisticated tension that feels both timeless and luxurious. For cooler, lighter blues like sky blue or periwinkle, the crisp, clean lines of polished chrome or brushed nickel can reinforce a sense of modern serenity. The BS to avoid is the “matchy-matchy” look where every single metal element is identical. A thoughtful mix, like brass fixtures with a matte black mirror frame, can add depth and personality.
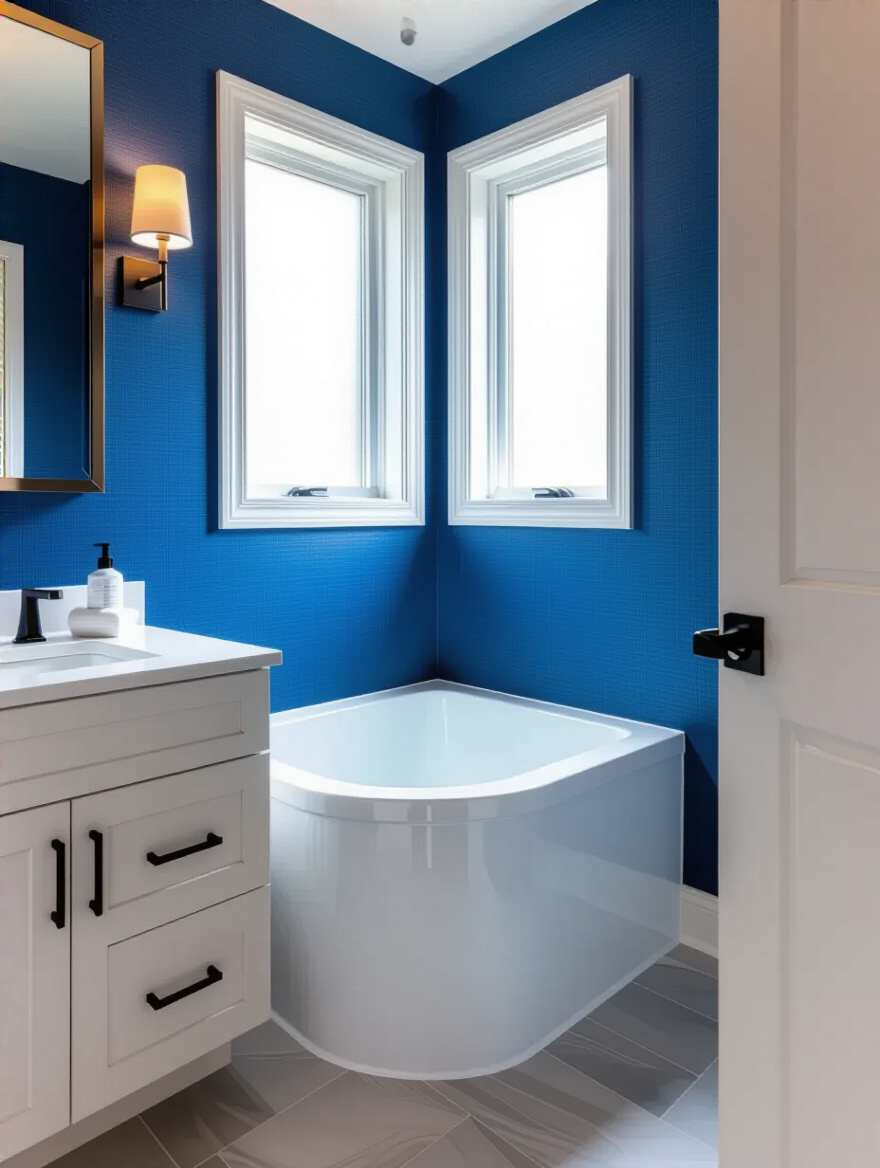
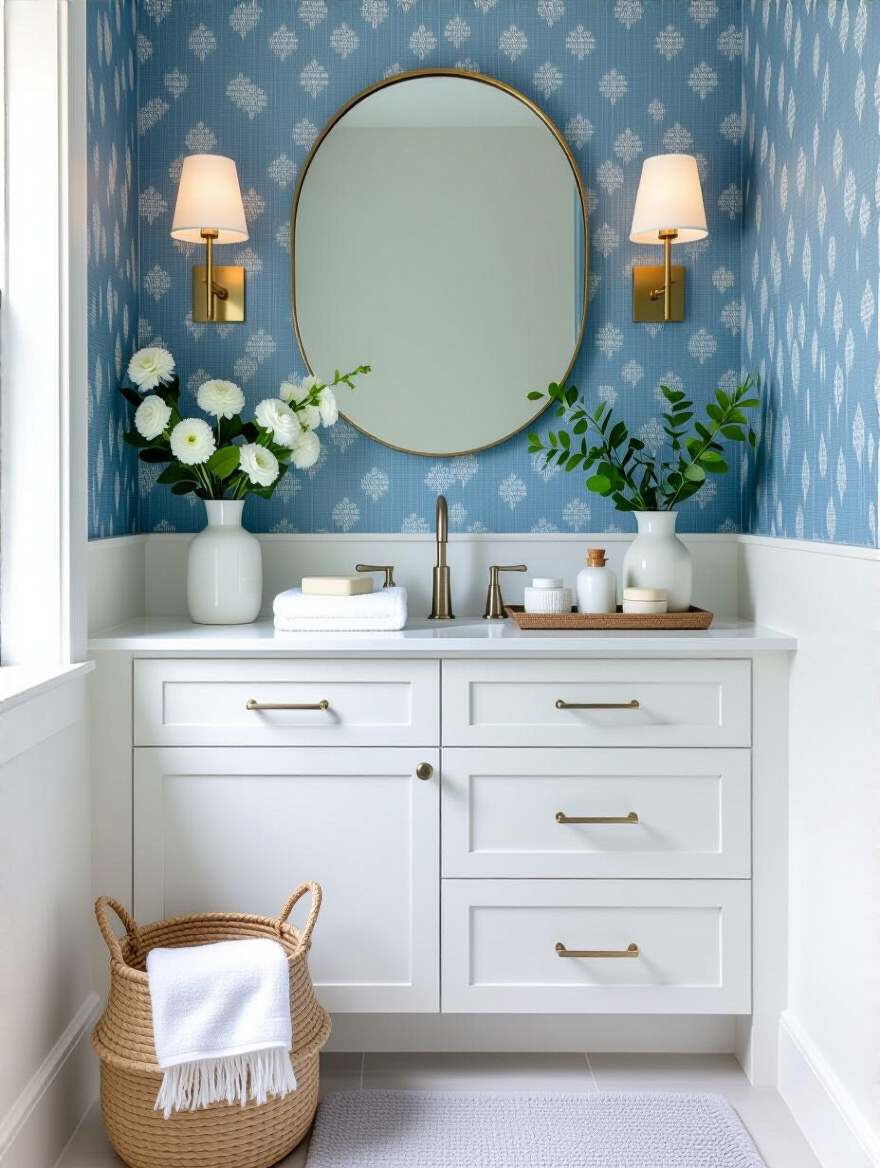
The vanity is your anchor. For a bold, patterned blue wallpaper, a simple, solid-colored vanity (in white, gray, or even a coordinating blue) can provide a calm place for the eye to rest. For a more subtle, textured blue wallpaper, a beautiful wood vanity can introduce organic warmth and texture, preventing the room from feeling cold. The goal is balance—a dialogue between the elements, not a shouting match.
If the walls are the prose and the fixtures are the punctuation, then textiles are the poetry of the room. They bring softness, texture, and an essential layer of comfort. This is a shortcut to making any bathroom feel more luxurious and inviting. Don’t treat your towels as just functional items; they are a significant block of color and texture.
For a cohesive look, pull a secondary color from your wallpaper pattern for your towels. If your blue floral paper has hints of soft green, then sage green towels will look intentional and curated. For a bolder look, choose a complementary color. With a deep navy blue wall, a set of crisp, coral-colored towels can be a stunning, energetic contrast. The key is to be intentional.
And please, invest in quality. Good towels not only feel better but they also hold their color and shape, looking more luxurious for longer. The same goes for your shower curtain and bath mat. A cheap, flimsy shower curtain can undo all the good work of your beautiful wallpaper. Choose one with a nice weight and texture—a simple linen-blend or a crisp waffle-weave can add a touch of understated elegance that ties the whole room together.
I’ll say it again: light is the reader of the room. Poor lighting can make even the most magnificent design feel flat, dull, and uninspired. A single, harsh overhead fixture is the enemy of good design, especially when you’re working with a color as nuanced as blue. It will create unflattering shadows and misrepresent the color you so carefully chose. The secret is layered lighting.
You need at least two, and ideally three, layers of light. First is ambient light, the general overhead lighting that illuminates the whole space (like recessed lights). Second is task lighting, which is focused where you need it most, like sconces flanking the mirror for shaving or applying makeup. Third is accent lighting, which is purely for drama—a small spotlight on a piece of art or a fixture that grazes the wallpaper to bring out its texture.
And the single most impactful shortcut? Put everything on a dimmer. This is a non-negotiable. It allows you to transform the room’s mood instantly, from bright and functional for your morning routine to soft and atmospheric for a relaxing evening bath. It gives you complete control over how your blue walls are read, allowing their full character to shine through.
Mirrors are the oldest trick in the design book for a reason: they are magic. A mirror doesn’t just show you your reflection; it reflects light, it reflects your beautiful blue wallpaper, and it creates a profound illusion of depth. In a small bathroom or powder room, a large, well-placed mirror can visually double the size of the space.
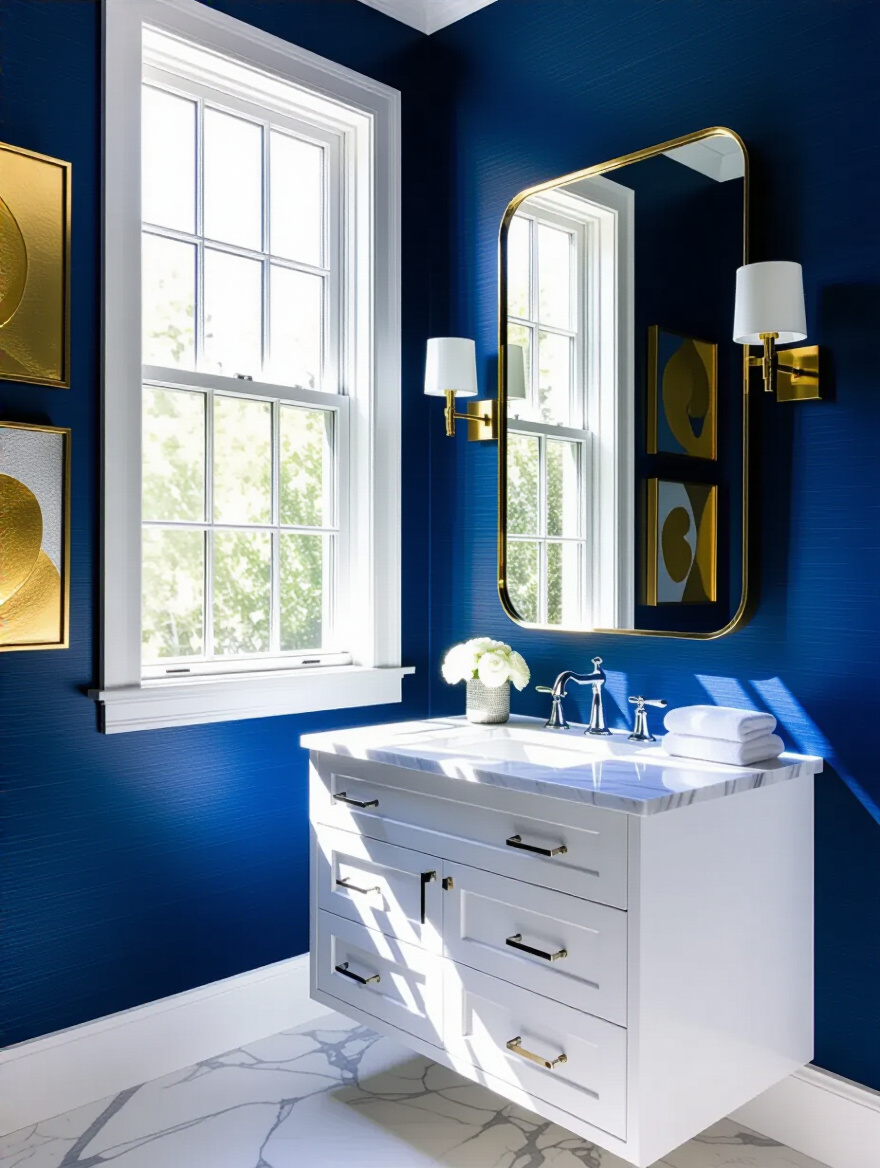
The best placement is often opposite a window or on the wall opposite the door, to catch the light and create an expansive view as you enter. Don’t be afraid to go big. An oversized, framed mirror can act as a piece of art in its own right. Or consider multiple smaller mirrors arranged in a gallery style for a more eclectic look.
Art is the final layer of personality. People are often afraid to hang art in a bathroom, but it’s the perfect place for it. A beautiful print or a simple abstract painting can provide a focal point and introduce new colors that play off your blue walls. The key is to frame it properly with a sealed back to protect it from moisture. Art in the bathroom signals that this is not just a utilitarian space; it is a room to be lived in and enjoyed, a true sanctuary.
Our sanctuary is nearly complete. The walls tell a story, the fixtures provide structure, and the lighting sets the mood. Now we turn to the final, living touch. By inviting a piece of the natural world inside, we can deepen the sense of calm and create a space that doesn’t just look serene, but feels fundamentally restorative to the human spirit.
There is no better companion for the color blue than the vibrant life of the color green. Placing a live plant in your bathroom is the fastest and most effective way to breathe life and organic beauty into the space. The crisp green of a fern against a deep navy wall is a timeless and powerful combination, evoking a sense of harmony and natural tranquility. It softens the hard edges of tile and porcelain and connects your carefully designed interior back to the living world outside.
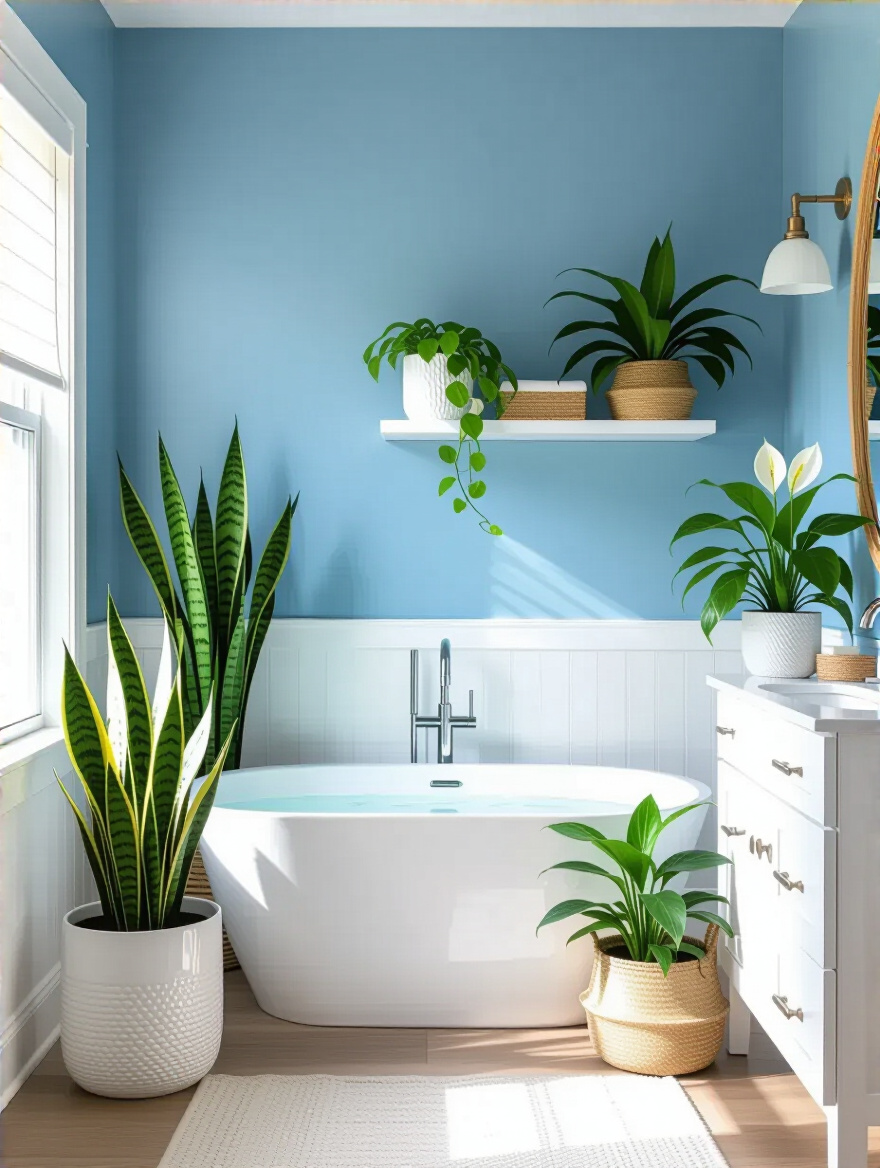
The key is to choose the right plant for the right place. Bathrooms are typically high-humidity, often low-light environments, which is actually a perfect climate for many species of plants. Think tropical. Ferns, snake plants, pothos, and ZZ plants all thrive in these conditions and are famously low-maintenance. They are natural air purifiers, turning your personal sanctuary into an even healthier space.
A common mistake is to simply place a small pot on the corner of the vanity. Think more dynamically. A trailing pothos hanging from the ceiling, a tall snake plant in a floor planter, or a collection of small succulents on a floating shelf can add layers of visual interest. The greenery becomes a living sculpture, constantly growing and changing, ensuring your bathroom never feels static.
The story of your beautiful blue bathroom doesn’t end once the last accessory is placed. Now begins the long and satisfying chapter of its life and care. Like a cherished collection of books, it requires gentle, consistent maintenance to protect it from the ravages of time and its environment. These are the archival practices that will ensure your investment remains as stunning in five years as it is today.
I know we’ve already discussed ventilation, but it is so important that it bears repeating as the cornerstone of long-term care. All the careful cleaning and maintenance in the world will mean nothing if the room is in a constant state of high humidity. The consistent use of a properly-sized exhaust fan is the single most effective act of preservation you can perform for your wallpapered bathroom.
Run the fan during every single shower or bath, and—this is the part most people forget—leave it running for a full 15-20 minutes afterward. This is the crucial period when the most moisture is lingering in the air. Letting it settle on your walls is an invitation for trouble. Think of it as allowing a fine book to air out after being in a humid room; it prevents the slow, creeping damage that is so much harder to reverse later on.
If you are renovating, I strongly suggest investing in a fan with a built-in humidistat. This brilliant little device automatically turns the fan on when it senses a rise in humidity and turns it off when the air is clear again. It removes human error and provides perfect, silent protection for your walls. It’s a small upfront cost for invaluable peace of mind.
The key to keeping your blue wallpaper looking pristine is frequent, gentle cleaning, not occasional, aggressive scrubbing. You must treat it with the same care you would the delicate pages of an old book. Once a month, use a soft, dry duster or the brush attachment on your vacuum cleaner to gently remove any dust that has settled on the surface.

For small smudges or splashes—a bit of toothpaste, a drop of soap—act quickly. Use a slightly damp, clean sponge or microfiber cloth and gently blot the spot. Never scrub. Aggressive rubbing can damage the finish or the pattern of the paper. For vinyl or vinyl-coated wallpapers, you can use a tiny drop of mild dish soap in water, but always “rinse” the spot afterward with a fresh, damp cloth to remove any soap residue.
The biggest mistake is letting small spots sit. They can set into stains that are much harder to remove later. Regular, light maintenance is far more effective and far less damaging than a deep clean once a year. Always test any cleaning solution on an inconspicuous area first, just to be safe.
Over time, in a high-traffic room, minor damage is inevitable. A corner might begin to lift slightly. A small tear might appear near a light switch. Do not despair. These are minor imperfections that can be easily and invisibly mended if you act promptly. Letting them go is what turns a small issue into a large one, as moisture gets behind the paper and causes more widespread peeling.
For a lifting seam or corner, the only tool you need is a small tube of specialized wallpaper seam adhesive. It’s inexpensive and invaluable. Gently lift the edge, apply a tiny bead of the adhesive to the wall underneath, and then press the paper firmly back into place. Use a damp cloth to wipe away any excess that squeezes out immediately. Roll it flat with a seam roller for a perfect, professional bond.
For a small tear, you can use the same adhesive. Carefully apply a tiny amount under the edges of the tear with a toothpick or a fine artist’s brush. Gently press the torn pieces back together, ensuring any pattern aligns perfectly, and wipe away the excess. A simple, five-minute repair can save an entire panel of wallpaper and keep your bathroom looking flawless.
A truly thoughtful design considers not just the present, but also the future. One day, you may wish to change your decor. And the greatest gift you can give your future self is a wallpaper that is easy to remove. The misery of scraping off old, stubborn wallpaper is a well-known home improvement tragedy, and it is entirely avoidable.
This all comes back to that one crucial step: proper wall preparation. Priming your walls with a dedicated wallpaper primer or “sizer” before installation is what makes easy removal possible. It creates a barrier between the adhesive and your drywall, allowing the paper to be stripped off in large sheets years later, rather than tiny, frustrating flecks.
If you have the option, choosing a “strippable” non-woven or fabric-backed wallpaper is another great future-proofing strategy. These materials are designed to peel off dry, leaving the wall beneath smooth and ready for its next chapter. And always, always keep the information about your specific wallpaper and the adhesive you used. Taping it to the inside of the vanity cabinet is a great trick. Your future self—or a future homeowner—will thank you profusely.
Finally, we arrive at the art of living with your design. A truly great space is not static; it evolves with you. Embracing the changing seasons and allowing for small shifts in decor keeps the room feeling fresh and alive, ensuring your blue sanctuary remains a source of inspiration and delight for many years to come.
One of the best things about having a strong, timeless backdrop like blue wallpaper is that it gives you a perfect canvas for seasonal styling. This is the secret to preventing design fatigue and keeping your bathroom feeling fresh and new without having to redecorate. It’s as simple as changing the supporting characters while the main character remains the same.
In the spring and summer, you can lean into the freshness of your blue walls with crisp white towels, light wood accessories, and perhaps a vase with a single green stem. For autumn and winter, you can shift the mood entirely. Swap out the white towels for a richer color pulled from your wallpaper, like a deep gold, a rust, or a charcoal grey. Add a textured bath mat, a scented candle with notes of cedar or spice, and perhaps some burnished brass accessories.
This simple act of swapping out the “soft goods” completely changes the emotional temperature of the room. It leverages the investment you’ve made in your beautiful wallpaper and multiplies its value, allowing it to tell a different story depending on the season. It’s a designer’s shortcut to a room that always feels personal, curated, and wonderfully alive.
Throughout this journey, we have treated the design of a bathroom not as a simple task of decoration, but as the careful curation of a personal sanctuary. By choosing to envelop this space in the rich and varied world of blue, you are making a statement about the value of peace, contemplation, and beauty in your daily life. We’ve explored the foundational science of preparation, the art of selection, the craft of installation, and the thoughtful practices of maintenance. You are no longer just choosing a pattern; you are authoring an environment.
Embracing blue wallpaper in your bathroom is an invitation to escape. It’s the chance to create a small world that is entirely your own—a place that can be as serene as a calm sea, as dramatic as a midnight sky, or as fresh as a spring morning. With these insights, you now have the tools not just to decorate, but to compose. You understand the interplay of light and color, of texture and pattern, of function and beauty.
The only step left is to begin. Take these ideas, filter them through your own unique taste, and start the process of creating the retreat you deserve. Whether you are planning a grand renovation or a simple, transformative refresh, you are now equipped to make choices that are both beautiful and wise. Your personal, blue-hued oasis is not just a dream; it is a story waiting to be written.


