Physical Address
304 North Cardinal St.
Dorchester Center, MA 02124
Physical Address
304 North Cardinal St.
Dorchester Center, MA 02124

My no-nonsense guide to bathtub remodels in older homes. Learn 22 essential tips for planning, budgeting, and executing a renovation that respects history.
Picture this: You’re standing in the bathroom of the old house you love. There’s a cast-iron tub, but it’s chipped and stained from a century of use. The tile around it is… interesting. Maybe it’s original and cracked, or maybe it’s a baffling 1970s avocado green nightmare layered over who-knows-what. You love the charm, but you also dream of a hot shower that doesn’t leak and a tub you actually want to soak in.
So you start Googling. And you get a firehose of generic, soulless advice that was clearly written for a new-build suburban tract home. It’s all noise. It doesn’t understand that your walls aren’t perfectly square, that your plumbing has seen a few things, and that you want to honor the house’s story, not just gut it for the latest trend.
This is the guide I wish my clients had before they called me. It’s for those of us who see ourselves as caretakers of these wonderful old buildings. Here’s what actually matters when you’re tackling a bathtub remodel in a home with history.
This is the most important part. Get this right, and the rest is just execution. Get it wrong, and you’re in for a world of hurt, delays, and surprise expenses. We’re talking about thinking before you even pick up a hammer.
You know the first thing people get wrong? The budget. They plan for the shiny new things—the tub, the tile, the faucet. They forget that old houses have secrets, and those secrets cost money. Your budget isn’t just a list of what you want to buy; it’s a financial plan for the unexpected. I tell every single client to build in a contingency fund of at least 20%. Not 10%. Twenty. Because you will find something.
Last year, a client was doing a “simple” tub swap in their 1920s Tudor. We opened the wall and found the original plumbing stack was cracked and the floor joists beneath the tub had the consistency of a damp sponge from a slow leak that had been happening for decades. Their 20% contingency fund was the only thing that kept the project from grinding to a halt. It’s not a “nice-to-have,” it’s a “must-have.” Think of it as your project’s insurance policy.
This financial planning sets the stage for every other choice, starting with the star of the show: the bathtub itself.
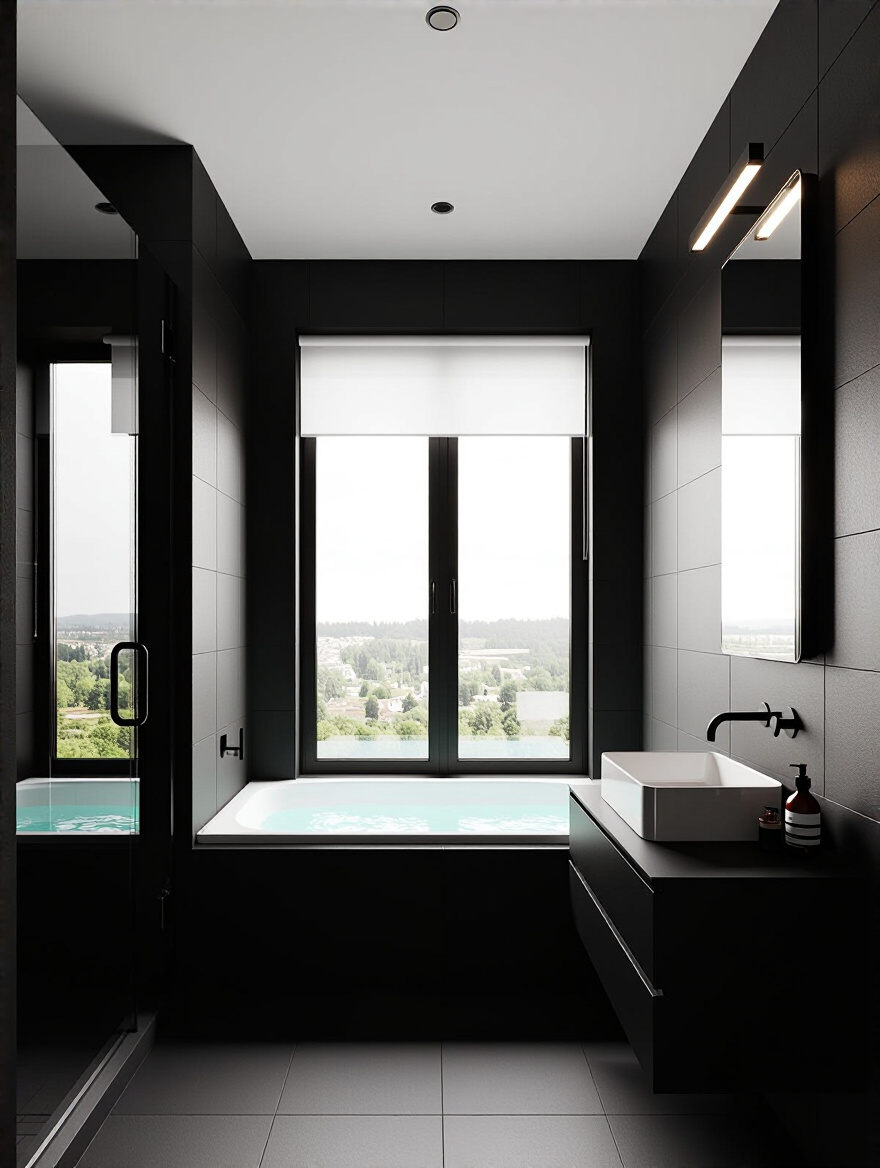
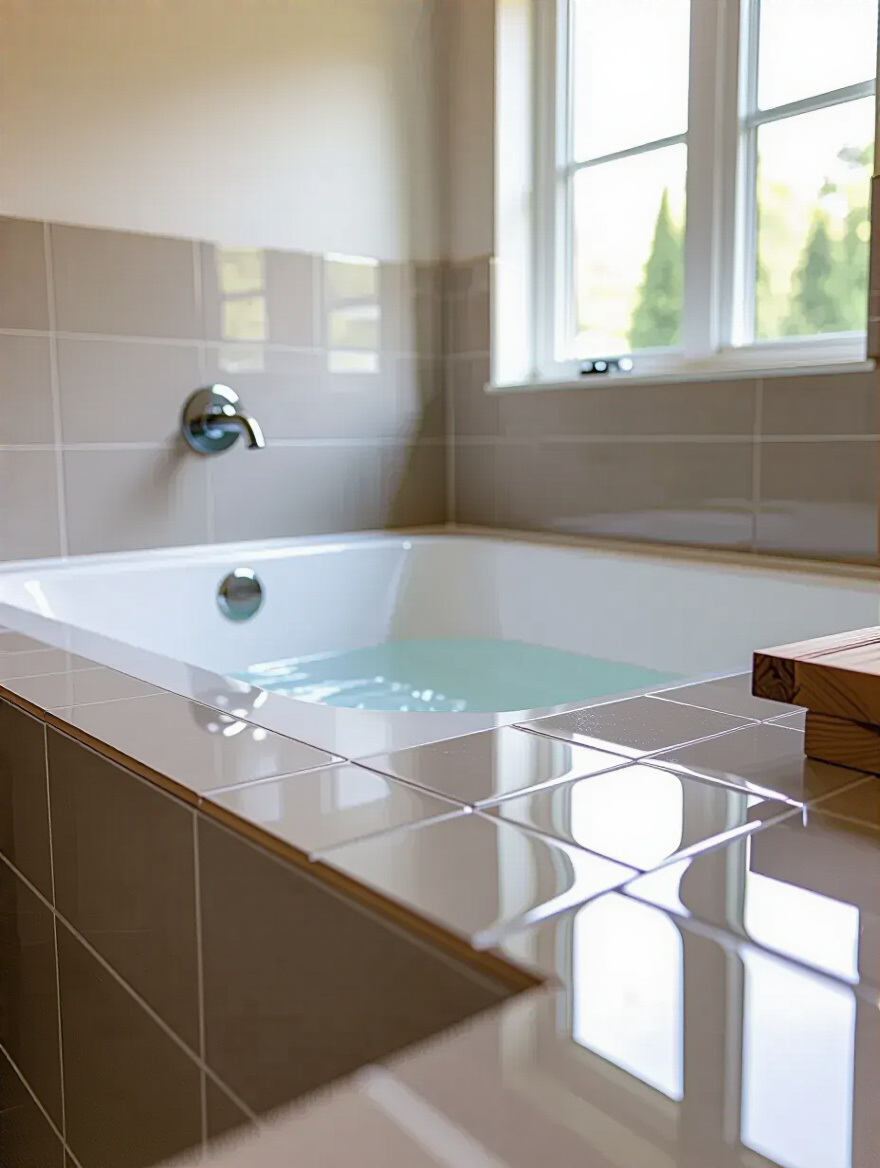
Everyone falls in love with pictures of giant, freestanding tubs in the middle of a cavernous room. But here’s the reality check: most old-house bathrooms are small. That stunning clawfoot tub you saw in a magazine might make your bathroom feel like an overstuffed closet. The most important thing is to choose a tub that fits the scale and style of your home and the reality of your life. An elegant alcove tub might be far more practical and historically appropriate for a Craftsman bungalow.
I once worked with a couple who insisted on a massive cast-iron soaking tub for their Victorian home’s second-floor bathroom. I had to bring in a structural engineer. The weight of the tub, plus water, plus a person, would have put a dangerous strain on the original floor joists. We ended up having to sister every joist under the bathroom to add support—an expensive lesson in gravity. So think about weight, think about scale, and be honest about how you’ll use it before you get seduced by a pretty picture.
Now that you have a style in mind, let’s make sure it actually fits.
Measure twice, cut once? In an old house, it’s measure five times, from three different angles, and then check again. Nothing is plumb, level, or square. The biggest mistake people make is measuring just the old tub. You need to measure the alcove itself—from the studs, if you can. You’ll often find the back wall leans, or the opening is a half-inch wider at the top than the bottom.

Don’t forget the journey the tub has to take to get into the bathroom. Measure your doorways, the turning radius in the hallway, and the clearance on the stairs. I had a client order a beautiful, one-piece tub that we literally could not get up the tight, winding staircase of their 1890s Queen Anne. We had to hire a crane to bring it in through a second-story window. It was dramatic and very, very expensive. A simple measurement would have saved us all the headache.
Once you know the dimensions you’re working with, it’s time to look below the surface.
Okay, let’s be brutally honest. This is the scariest part, and it’s where most of the budget-busting surprises hide. The plumbing in old homes is a history lesson in itself. You might have a mix of galvanized steel, copper, and if you’re really unlucky, some lead pipes lurking in the walls. Don’t just look for leaks. Galvanized pipes corrode from the inside out. They can look fine but be choked with rust, restricting your water pressure to a trickle.
If your house is more than 50 years old, I’m begging you: hire a good plumber to scope the drain lines before you do anything else. For a few hundred dollars, they can run a camera down the pipes and show you exactly what you’re dealing with. It’s the best money you’ll spend. Finding a major blockage or a cracked cast-iron stack before you’ve tiled the new walls is a problem you can solve. Finding it afterward is a catastrophe that requires tearing out all your beautiful new work.
Assuming the plumbing checks out (or you have a plan to fix it), you need to make sure your work is legal.
Can we talk about my biggest pet peeve? It’s when people say, “Oh, it’s just a small project, I don’t need a permit.” If you are moving plumbing, changing electrical, or altering a single stud in the wall, you almost certainly need a permit. And if you live in a historic district, the rules are even stricter. Trying to skip this step is monumentally short-sighted.
Here’s why: unpermitted work can get you fined, force you to tear everything out, and become a massive red flag when you eventually sell the house. I watched a sale on a gorgeous Italianate fall through because the seller had remodeled a bathroom without permits a few years prior. The buyer’s inspector flagged it, and the deal collapsed. All that work, all that investment, and it actually devalued their home. Your contractor should handle the permit process, but you are the homeowner. It’s your responsibility to make sure it’s done.
Now, let’s talk about finding the right person to do all this work.
Please, I implore you, do not hire the first contractor who gives you a good price. And definitely don’t hire your brother-in-law unless he’s a licensed professional who specializes in old homes. A crew that’s used to slapping up drywall in new builds may have no idea how to handle horsehair plaster, protect original wood trim, or sister a sagging joist correctly. You need someone who speaks the language of your house.

Ask potential contractors for references from other old-house projects. Go see their work. Ask them how they handle dust containment—in a historic home, you need to protect original floors, windows, and hardware. Ask them about their process for dealing with out-of-plumb walls. Their answers will tell you everything you need to know. A good contractor is a partner in preservation, not just a hired hand. They are the single most important factor in whether this project is a joy or a nightmare.
With your team in place, it’s time for the fun part: picking out the materials that will bring your vision to life.
This is where your vision starts to become tangible. It’s the balance between honoring the home’s original character and incorporating modern comforts that will make the space a joy to use every day.
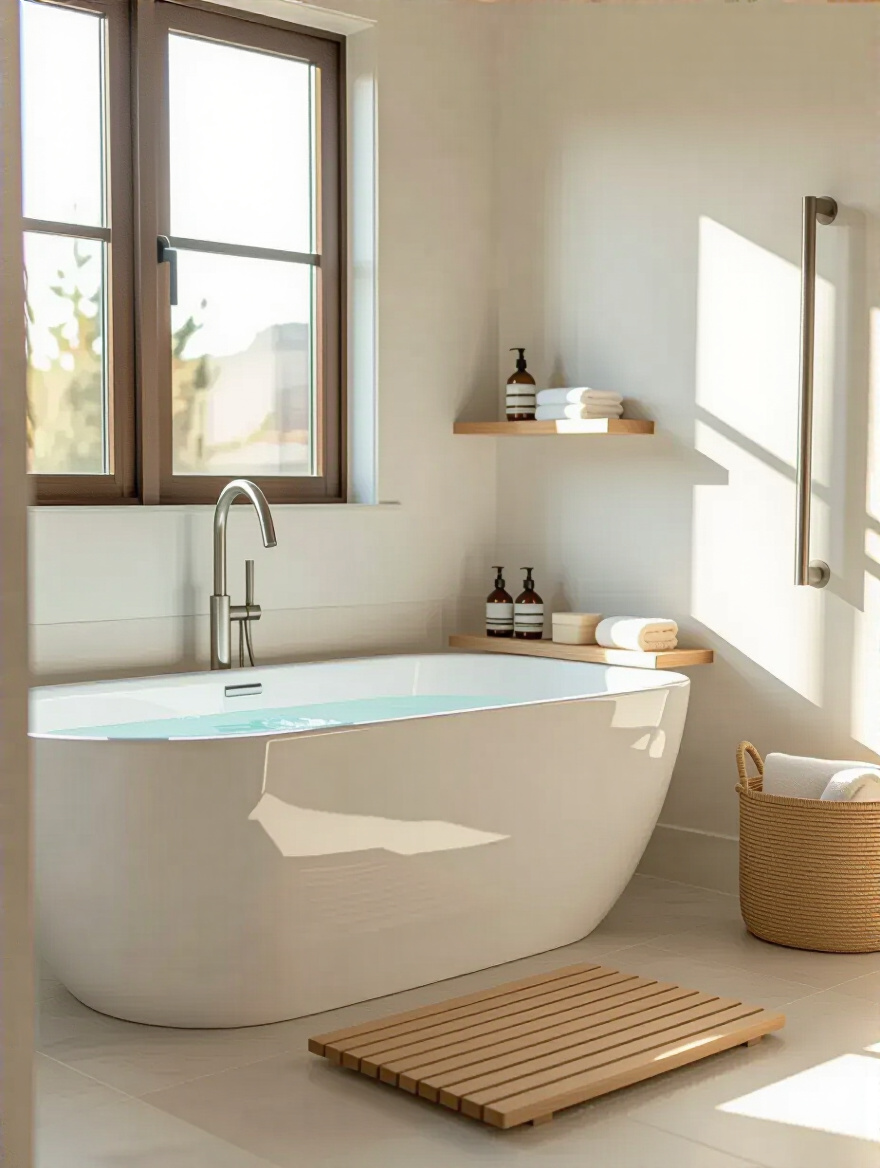
The classic cast-iron tub is a beautiful thing. It holds heat like a dream and has a substantial, authentic feel that’s perfect for a period bathroom. But as we discussed, it’s incredibly heavy. If your floor structure is a concern, modern acrylic can be a fantastic alternative. It’s lightweight, comes in countless shapes and sizes, and is much warmer to the touch than you’d expect.
I’m also a big fan of solid surface materials. They offer a clean, seamless look that can work surprisingly well in a thoughtfully updated older home, and their heat retention is phenomenal. The key is to match the material to the house’s bones and your lifestyle. Don’t be a slave to authenticity if it means sacrificing practicality. A well-chosen modern material can look perfectly at home, and your back will thank you when it comes time for installation.
Once you’ve chosen the tub, you need to think about what goes on the walls around it.
Here’s where a lot of people go wrong. They think the tile and grout are the waterproofing. They are not. The tile is decorative. The real hero is the unseen waterproof membrane behind the tile. In an old home with plaster walls, this is non-negotiable. You must have a modern, continuous waterproofing system like a sheet membrane (Schluter-KERDI is my go-to) or a liquid-applied one.
If you have beautiful original tile you want to save, a skilled tile setter might be able to repair it, but if it has to come down, you have a choice. You can replicate the original look with new tile, or you can opt for large-format panels of solid surface or cultured marble for a cleaner, grout-free look. I often steer clients toward classic, timeless tile patterns like subway or hex tiles. They looked good in 1920, and they’ll still look good in 2050, which is the whole point of owning a historic home.
The right wall surrounds provide the perfect backdrop for your fixtures.
Choosing faucets and showerheads for an older home is a delightful design challenge. Do you go for historically accurate reproductions or a clean, modern contrast? There is no wrong answer, as long as it’s intentional. You can find stunning replicas of Edwardian or Art Deco fixtures that will look perfectly at home. Or, a simple, unadorned modern fixture in a timeless finish like unlacquered brass or polished nickel can be a beautiful counterpoint to ornate, original details.
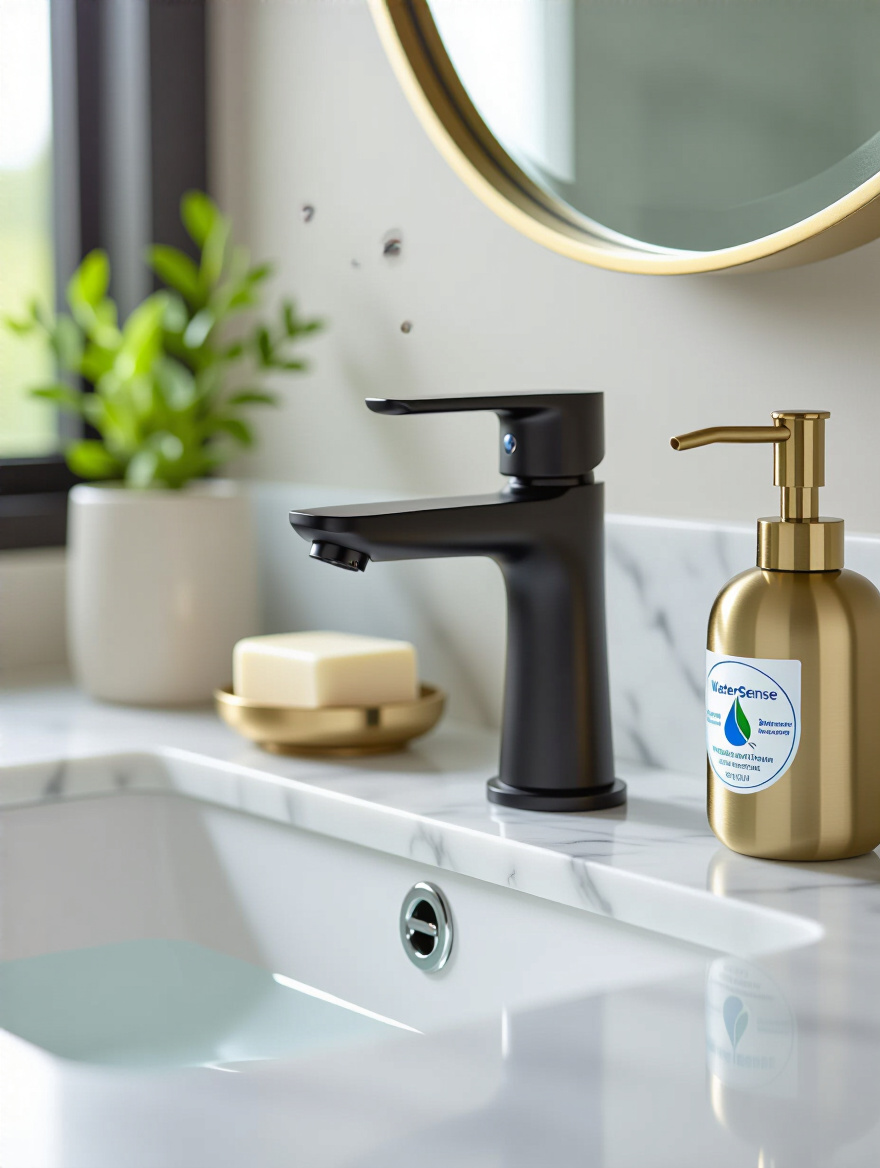
What matters more than the style is the guts inside. Modern fixtures with ceramic disc valves are far more reliable and less prone to drips than the old-style compression faucets. And don’t forget water efficiency. The new WaterSense-labeled fixtures use a fraction of the water of their vintage counterparts without sacrificing performance, which is good for the planet and your water bill. It’s the perfect marriage of historic style and modern engineering.
This thoughtful approach extends to ensuring the bathroom serves you well for years to come.
Let’s talk about aging in place. You love your old house and want to stay in it forever. Making smart choices during your bathroom remodel is the key to making that a reality. And the best part? Modern accessible design can be beautiful and completely unobtrusive. It doesn’t have to look like a hospital. You can find elegant grab bars that double as towel bars or toilet paper holders. A low-threshold or “walk-in” tub can be a godsend.
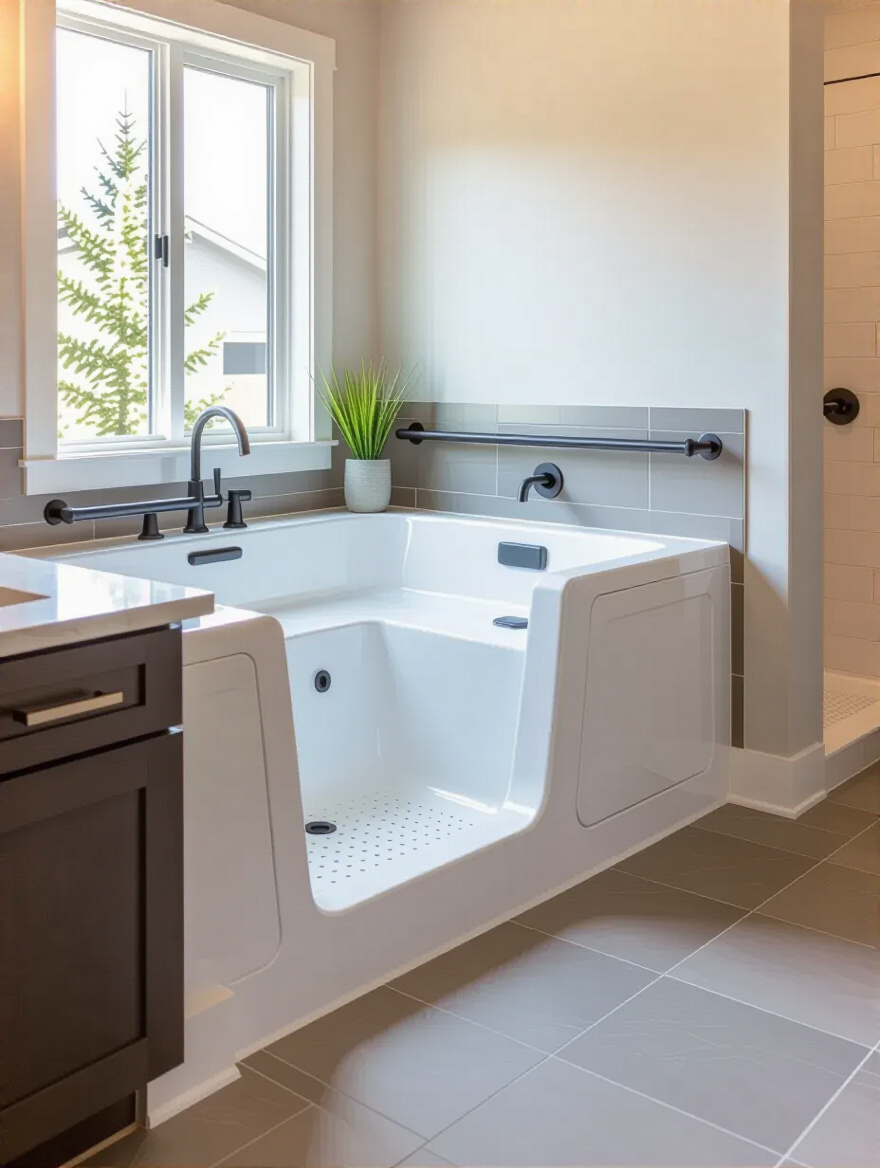
The most important shortcut is to plan for the future, even if you don’t need these features now. While the walls are open, add solid wood blocking between the studs where grab bars might go one day. It costs almost nothing to do during the remodel, but it saves you from having to tear open the walls again later. It’s the smartest, cheapest insurance policy for your future comfort and safety in the home you cherish.
Properly seeing all these beautiful new features requires one more crucial element.
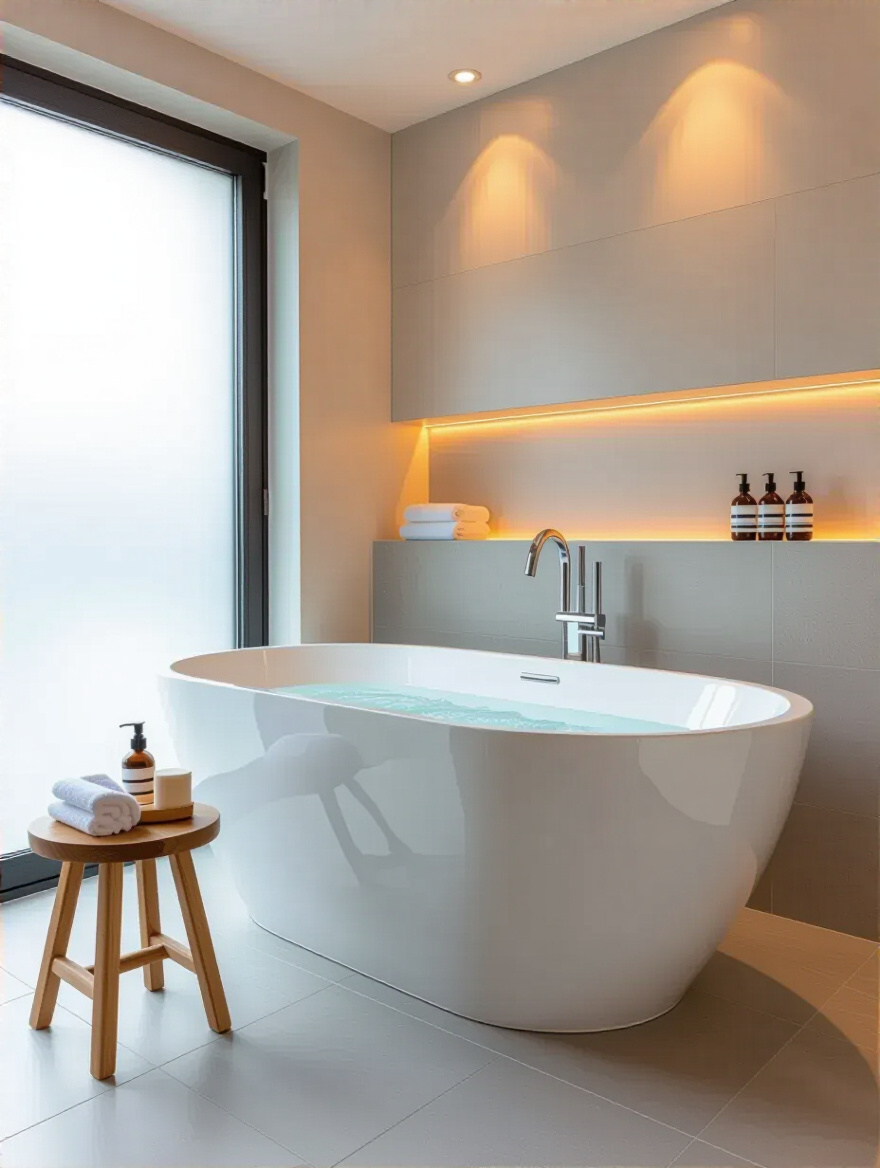
Old-house bathrooms often have one single, sad light fixture in the middle of the ceiling, which casts unflattering shadows everywhere. A good lighting plan is one of the most transformative things you can do. Think in layers: ambient light for general illumination (like an updated central fixture or recessed cans), task lighting where you need it (like sconces by the mirror), and accent lighting to add a bit of drama.

A waterproof recessed light directly over the tub, put on a dimmer switch, can completely change the mood from functional to spa-like. Or, for a freestanding tub, a small, dramatic chandelier (hung safely away from the water, of course) can be a stunning focal point. Good lighting makes a small space feel bigger, a beautiful tile job look even better, and turns a utilitarian room into a true retreat.
But even the best lighting can’t fix a room that’s full of steam.
This is critical. Most bathrooms in homes built before 1960 have no mechanical ventilation—maybe just a window. This is a recipe for peeling paint, mildew, and long-term moisture damage. Installing a high-quality, quiet exhaust fan is one of the best investments you can make to protect your remodel and the rest of your house.

The key is to vent it properly—directly to the outside, through the roof or a side wall, not into your attic where it will cause a whole new set of moisture and mold problems. I always recommend putting the fan on a humidity sensor switch. It automatically turns on when the air gets steamy and turns off when it’s dry. This way, you never forget to run it, and it does its job perfectly, preserving all the hard work you’re about to put in.
Now that the plans are set, it’s time to get your hands dirty.
This is where the rubber meets the road. All that careful planning pays off now. The key here is patience and precision. Old houses don’t forgive sloppy work.
In an old house, we don’t “demolish.” We “deconstruct.” You never know what treasures you might find. Carefully remove old trim and hardware; they can often be refinished and reused. If you’re taking out an old clawfoot tub or a vintage sink, there’s a thriving market for them. One person’s trash is an architectural salvage yard’s treasure. Be methodical.
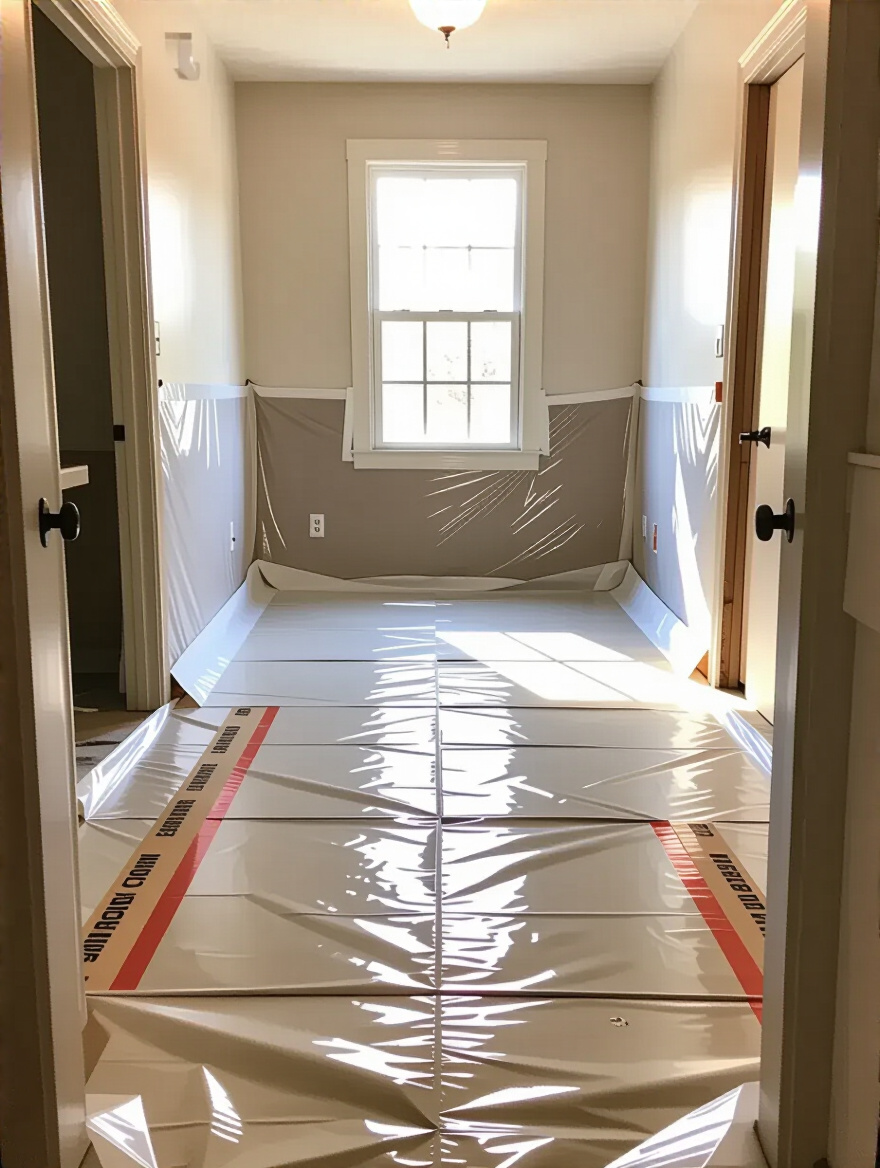
The most important part of this stage is dust control. Old houses have layers of dust that can contain lead paint and other unpleasant things. Seal the bathroom off from the rest of the house with thick plastic and a zippered door. Use a fan in the window to create negative pressure, blowing dust outside, not into your living room. A little prep here saves you from a massive, house-wide cleanup later.
With the old materials gone, it’s time to inspect the bones of the room.
Once the old tub is out, you get your first real look at the subfloor. In older homes, this is often made of thick planks, not modern plywood. Your job is to poke, prod, and scrutinize every inch of it. Look for water stains, dark spots that could be rot, and any signs of insect damage. Use a level to check for sagging.
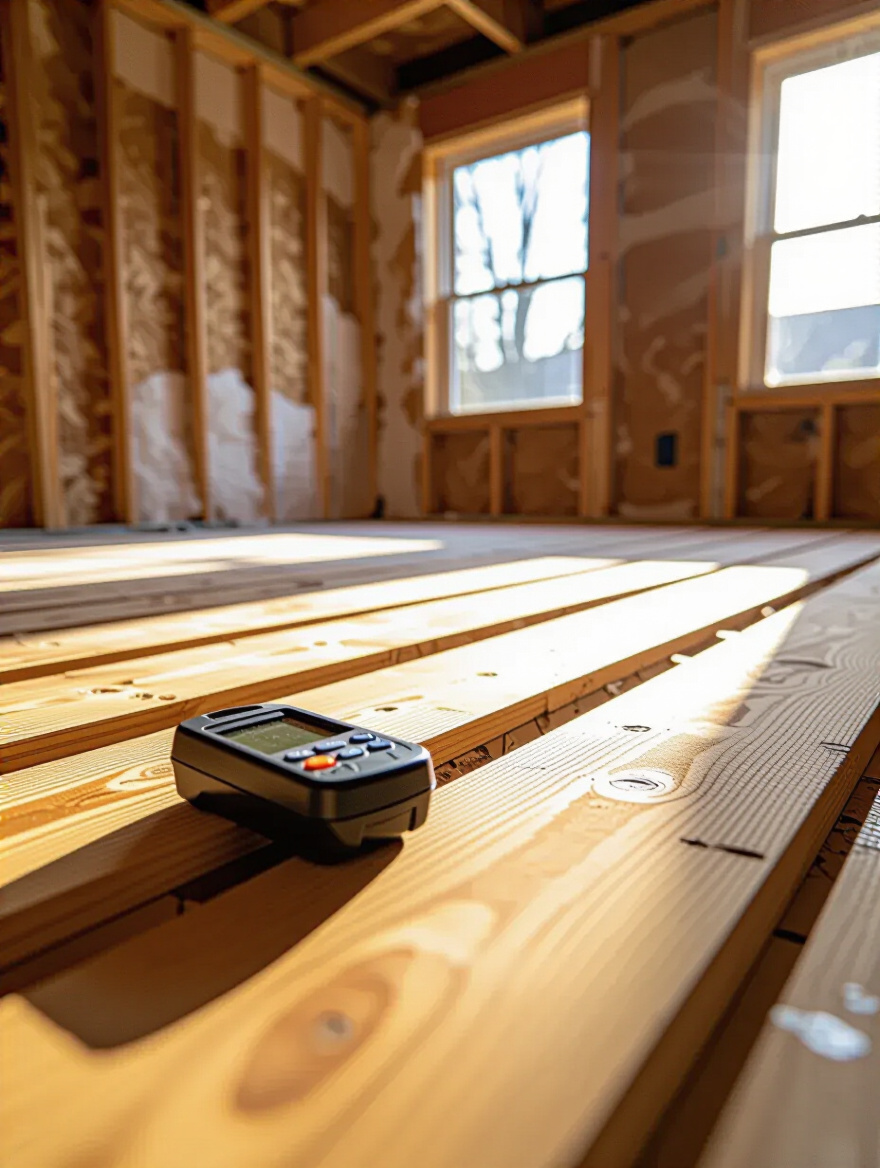
If you find soft spots or rot, they have to be cut out and replaced. Don’t just patch over it. This is your only chance to get it right. If you’re installing a heavy cast-iron tub, this is also the time to add extra blocking between the joists directly under where the tub will sit. This creates a rock-solid foundation, prevents flexing, and ensures your tub and tile will last for generations.
A solid subfloor is the canvas for your most important layer of defense.
I’m going to say it again because it’s that important: your tile is not waterproof. You must install a modern waterproofing system. I’ve been called in to fix “new” bathrooms that were failing after just a few years because the contractor skipped this step, and the walls behind the tile were turning to mush. It is a heartbreaking and expensive failure to witness.

Whether you’re using a sheet membrane like KERDI or a paint-on membrane, follow the manufacturer’s instructions to the letter. Every corner, every seam, and every screw hole must be sealed. The membrane needs to overlap the flange of the new tub, creating a continuous, uninterrupted barrier. This is the step that separates a beautiful but temporary remodel from one that will genuinely last a lifetime.
With the waterproofing in place, it’s time for the new fixtures to go in.
Connecting shiny new fixtures to quirky old plumbing requires finesse. This is a job for a pro, but it’s good for you to know what’s involved. All the connection points are potential failure points. Using the right kind of sealant (plumber’s putty or silicone, depending on the material) and proper thread tape is crucial.

The cardinal sin is overtightening. It’s tempting to crank down on a fitting to make sure it’s tight, but this can crack the fixture or strip the threads, which paradoxically causes leaks. A good plumber tightens until it’s just snug and then tests everything meticulously. They’ll fill the tub and let it sit to check the drain, then run the water to check the supply lines, looking for even the tiniest drip.
Next comes the most visually satisfying part of the job.
Tiling on a perfectly flat, square wall is easy. Tiling on an old plaster wall that has the gentle wave of the sea is an art form. This is where a true craftsperson shines. They know how to prep the wall to make it as flat as possible and how to adjust the thickness of the thin-set mortar to trick the eye into seeing a perfectly straight line, even when the wall behind it isn’t.
Pay attention to the layout. A good tile setter will do a “dry layout” first to make sure you don’t end up with tiny, awkward slivers of tile in the corners. They’ll start from the most visible point and work their way out. And one more thing: where tile meets the tub deck or another wall, that joint should be filled with flexible, color-matched silicone caulk, not rigid grout. The house will move, and caulk will flex with it; grout will just crack.
With the heavy lifting done, it’s all about those final details that make a project sing.
You’re in the home stretch! Don’t rush this part. These final steps are what separate a good job from a great one and ensure your beautiful new bathroom stays that way.
This is the final line of defense. Every single seam—where the tub meets the floor, where the tile meets the tub, where the faucets meet the wall—needs a perfect bead of 100% silicone sealant. I repeat, 100% silicone. Don’t let anyone talk you into a cheaper acrylic or “siliconized” latex caulk for the wet areas. It will shrink, crack, and mildew in a fraction of the time.
The trick to a professional-looking bead of caulk is to use painter’s tape to create crisp, clean lines. Apply the silicone, smooth it with a wet finger or a tool, and then pull the tape off immediately. You’ll be left with a perfectly straight, uniform line that looks amazing and provides a durable, waterproof seal. It’s a small detail that makes a huge difference.
Now, let’s add the jewelry.
The right accessories are what make the room truly functional and tie the whole design together. This is your chance to reinforce the historic character of your home. Look for towel bars, hooks, and toilet paper holders in finishes that match your faucets. Check out architectural salvage shops or reproduction hardware companies for pieces with real character.
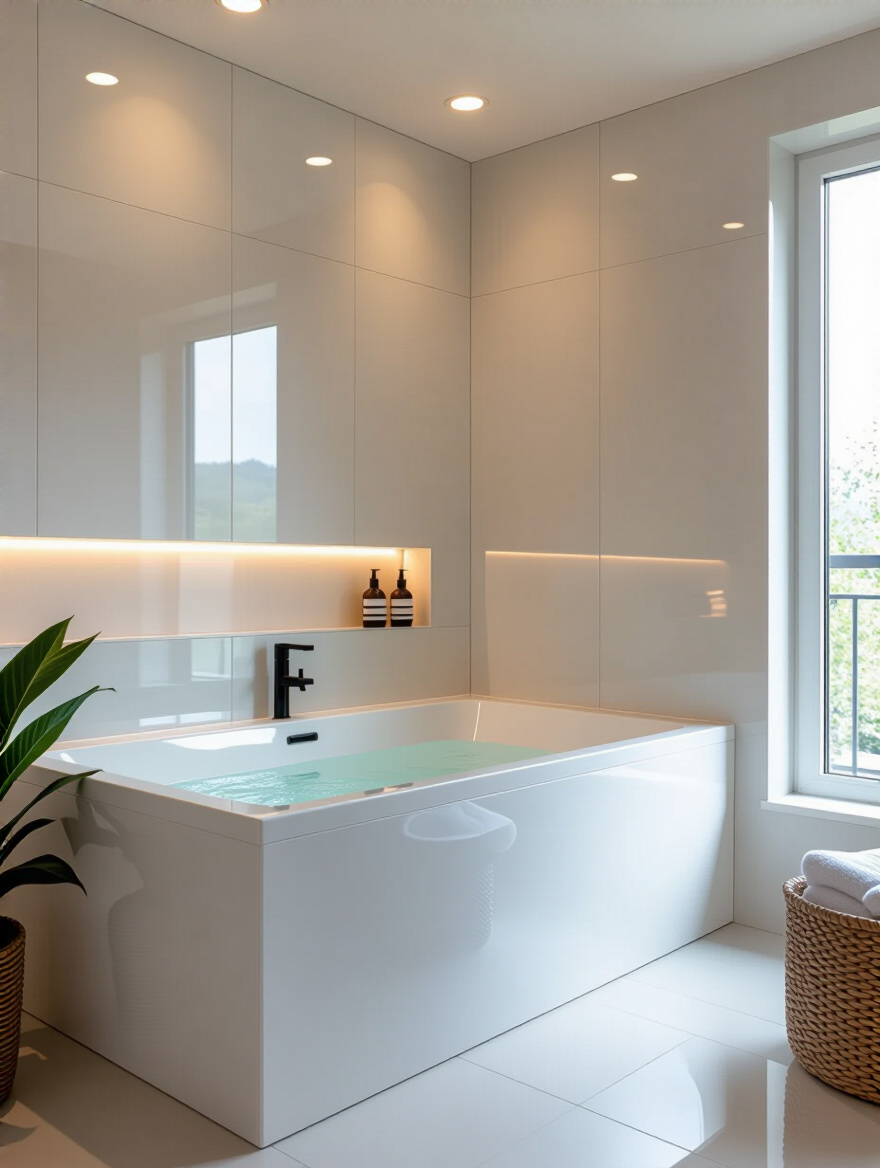
And please, think about storage. One of the best things you can add is a recessed niche in the tub surround. It’s a clean, built-in spot for your shampoo and soap that eliminates the need for a clunky, rust-prone shower caddy. It’s a bit of extra work during the framing stage, but the payoff in clean lines and daily convenience is enormous.
One more sealing step to protect your beautiful new tile.
Standard cement-based grout is porous, like a tiny concrete sponge. It will soak up water, soap scum, and grime, leading to stains and mildew. After your new grout has fully cured (check the manufacturer’s instructions, but it’s usually a few days), you need to seal it with a high-quality penetrating sealer.
This is an easy DIY job. You just paint or spray the sealer onto the grout lines, let it soak in, and then wipe the excess off the tile. It creates an invisible shield that repels water and stains, making cleaning infinitely easier and keeping your grout looking fresh and new for years. Plan on doing this once a year to keep the protection topped up.
Now that everything is perfect, let’s keep it that way.
Your beautiful new bathroom isn’t a museum piece; it’s going to be used every day. A simple maintenance plan is the key to keeping it looking great. Use gentle, pH-neutral cleaners that won’t damage the finish of your tub or the sealer on your grout. A quick squeegee of the walls and door after a shower can do wonders to prevent soap scum buildup.

Once a month, do a quick inspection. Look at the caulk lines. Are there any cracks or gaps? Check for any drips from the faucets. Catching these small things early prevents them from becoming big, expensive problems. A little bit of proactive care is all it takes to protect your significant investment.
And that investment goes beyond just your own enjoyment.
A poorly done bathroom renovation can actually hurt your home’s value. But a thoughtful, well-executed remodel that respects the home’s character is a huge selling point. Buyers of older homes are looking for that perfect blend of historic charm and modern convenience. They want to see that the work was done with care and quality.
By using timeless materials, professional craftsmanship, and honouring the architectural style of your house, you’re not just creating a space you’ll love; you’re adding real, tangible value to your property. You’re being a good steward of the home, and that’s an investment that always pays off.
Remodeling a bathtub in an old house is more than a construction project. It’s an act of preservation, a dialogue between the past and the present. It requires patience, a respect for craftsmanship, and a willingness to listen to what the house is telling you.
But by planning carefully, hiring the right people, and insisting on quality at every step, you can create a bathroom that is not only beautiful and functional but also feels like it has always belonged there. You’ll have a space that serves your modern life while honoring the soul of your historic home. And there is no better feeling than that. Now go enjoy that well-deserved soak.


