Physical Address
304 North Cardinal St.
Dorchester Center, MA 02124
Physical Address
304 North Cardinal St.
Dorchester Center, MA 02124
Master dining room chandeliers with 23 expert tips on sizing, style, and maintenance for historic homes. Preserve character while adapting for modern living.
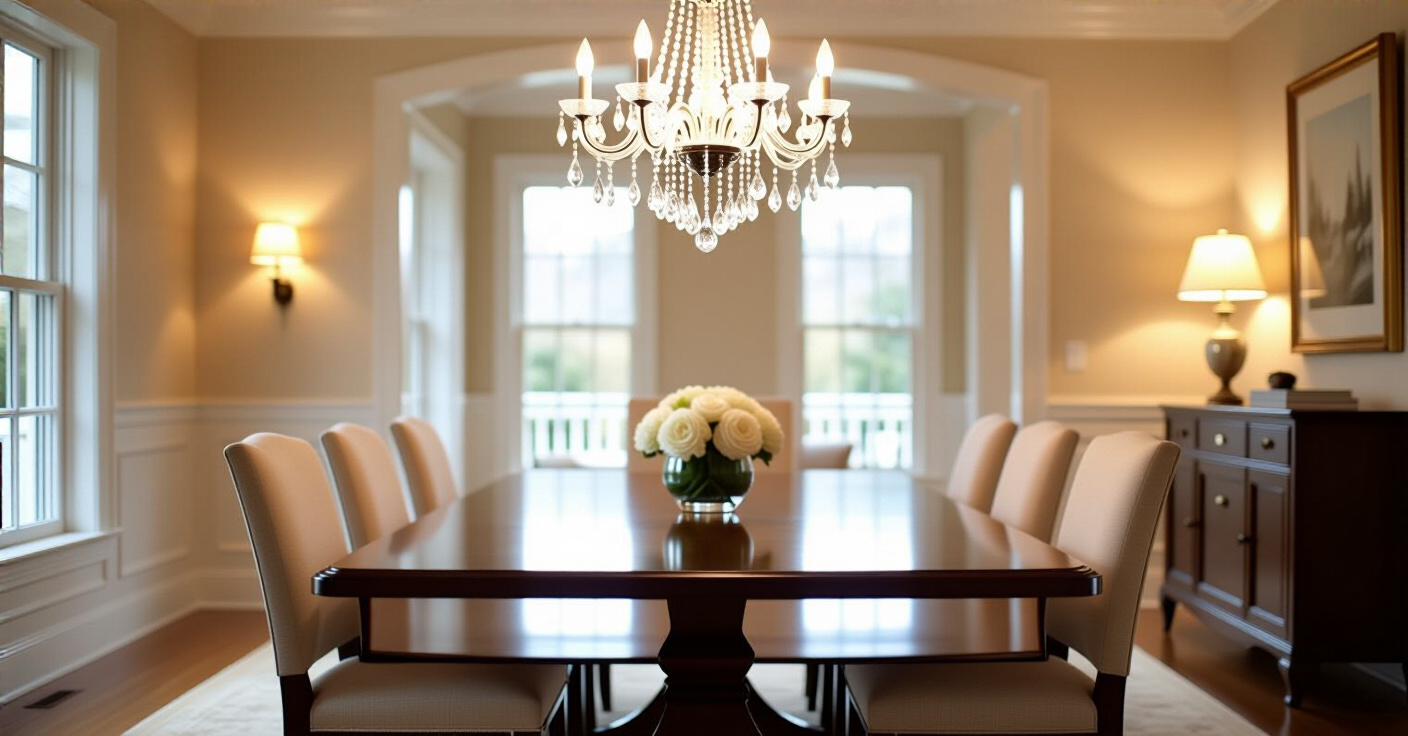
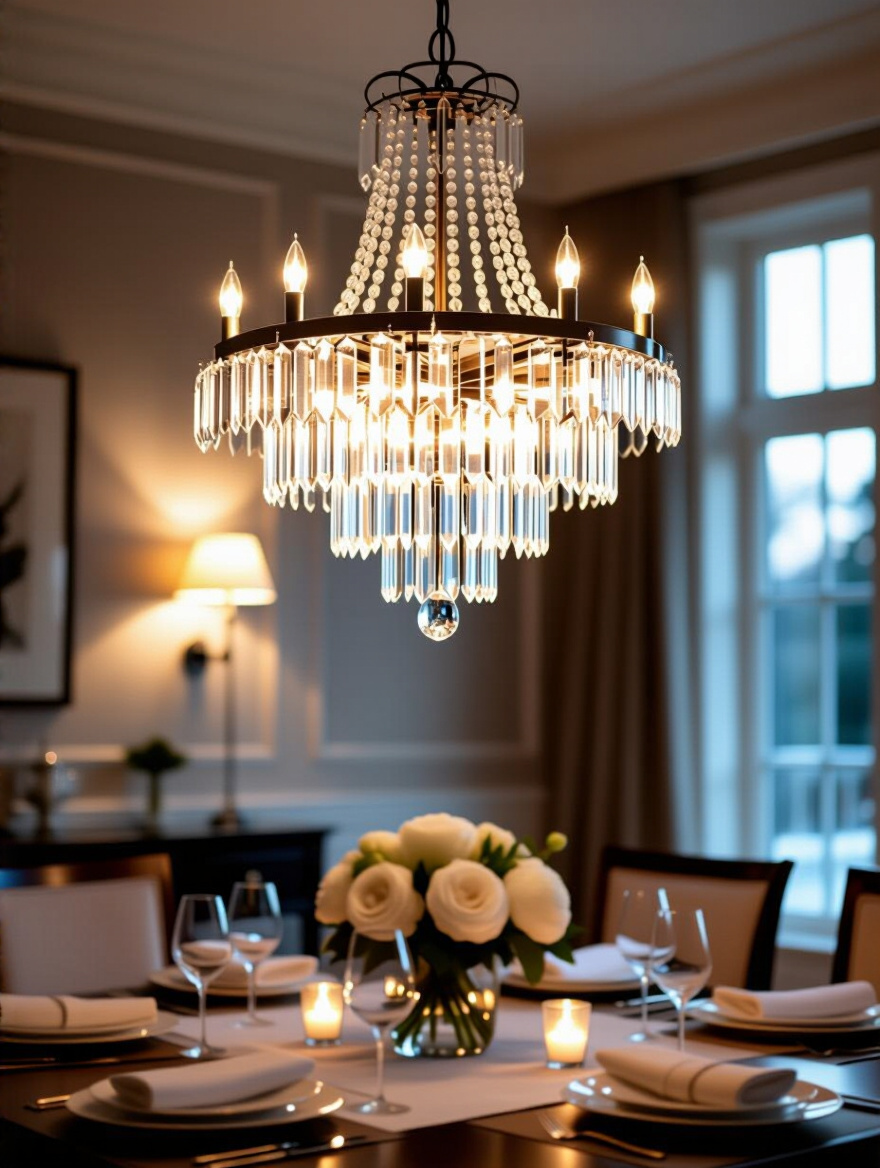
Picture this: You’re standing in the dining room of a beautiful 1920s Arts and Crafts home. The light from the original wavy glass windows is casting long shadows across the dark oak wainscoting. The air smells of old wood and history. And hanging right in the middle of the room, like a glaring mistake, is a brand-new, glittery, mass-produced light fixture that looks like it belongs in a suburban tract house. It’s not just wrong; it’s disrespectful to the house itself.
You know what people always ask me? “How do I light my old dining room without making it look like a museum or, even worse, a soulless new build?” The answer is that the dining room chandelier is the heart of the room. It’s not just a light source; it’s the anchor that tells the story of every meal, every holiday, every late-night conversation held under its glow. Getting it right is about listening to the house first and the trends second.
So, let’s talk about what really matters. Forget the corporate jargon and the endless scrolling. Here are the real-deal truths I’ve learned from decades of saving old homes from well-intentioned but misguided lighting choices.
Before you even think about styles or finishes, you have to get the foundation right. This is the unglamorous part, but it’s where projects succeed or fail. Rushing this is like building a house on a shaky foundation—it doesn’t matter how beautiful the structure is if the base is wrong. This is about measurement, context, and understanding the light your space truly needs, not just the fixture you think you want.
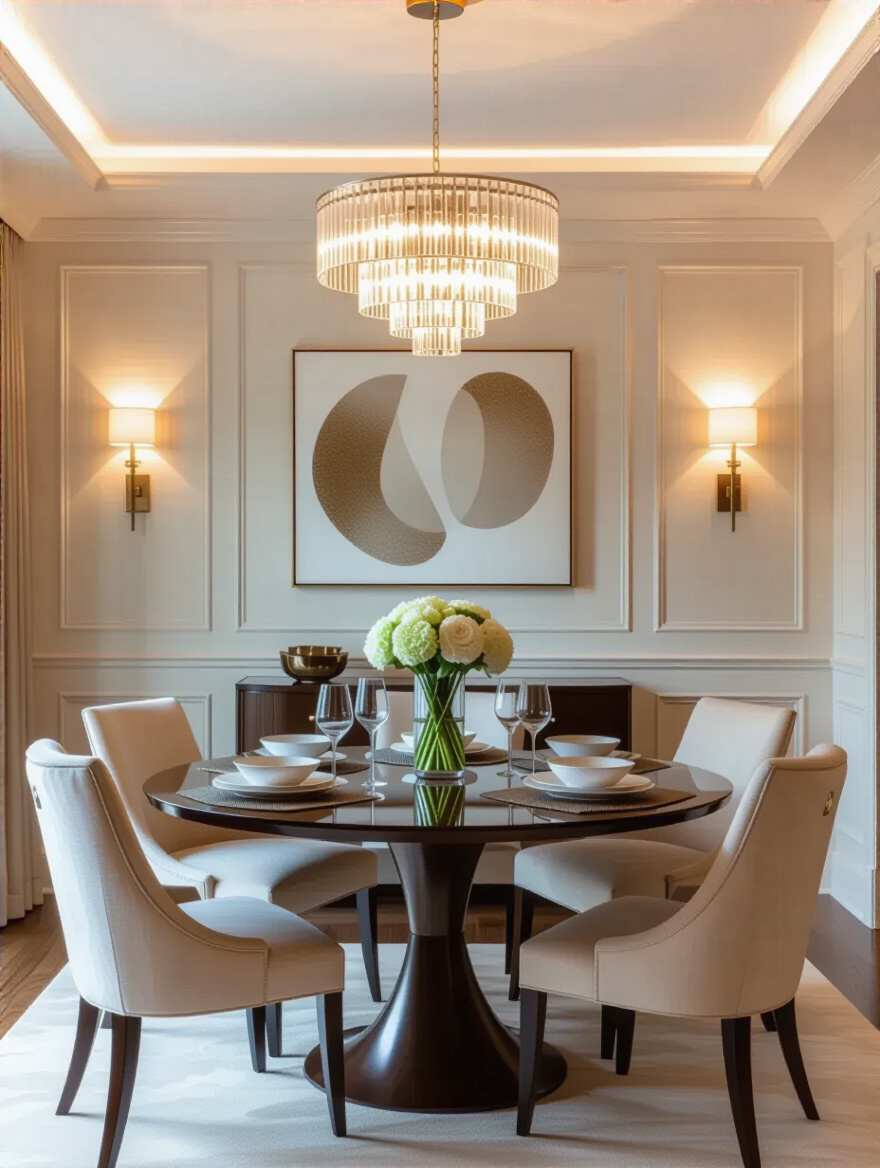
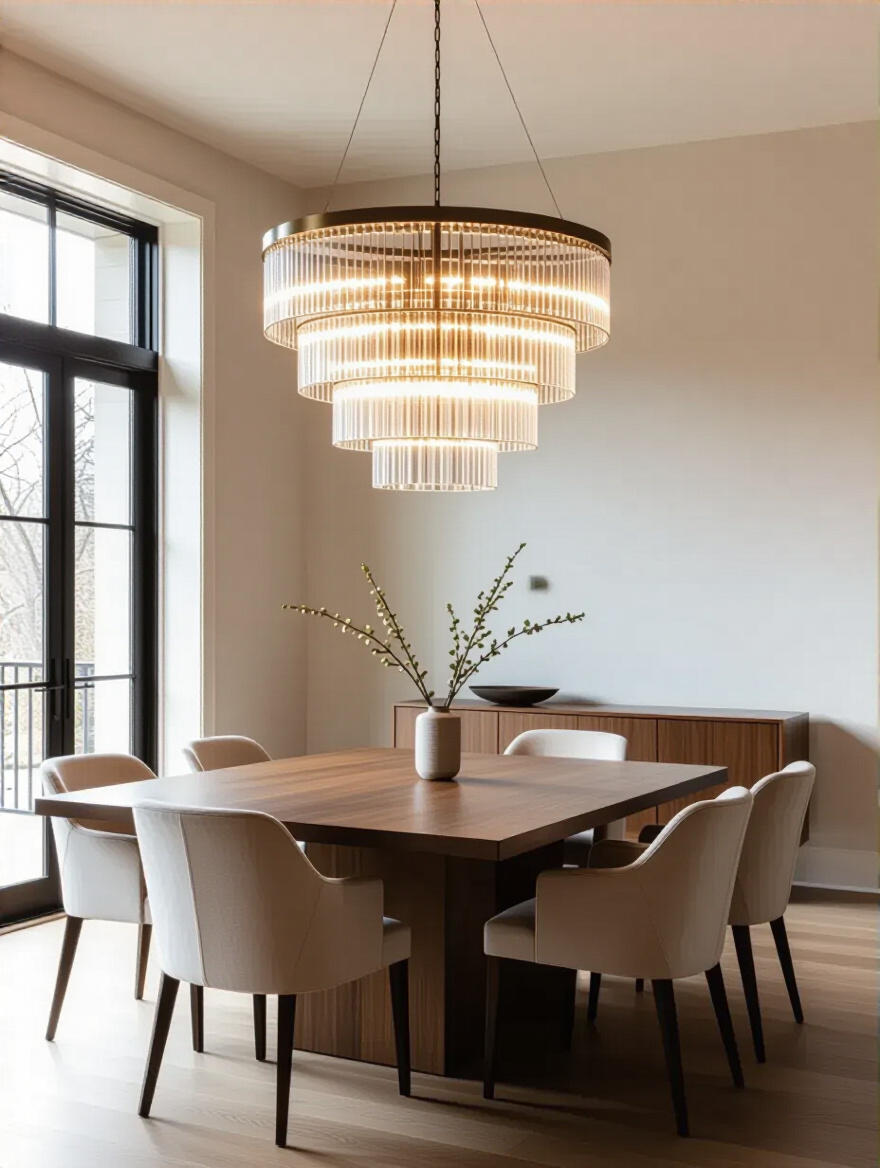
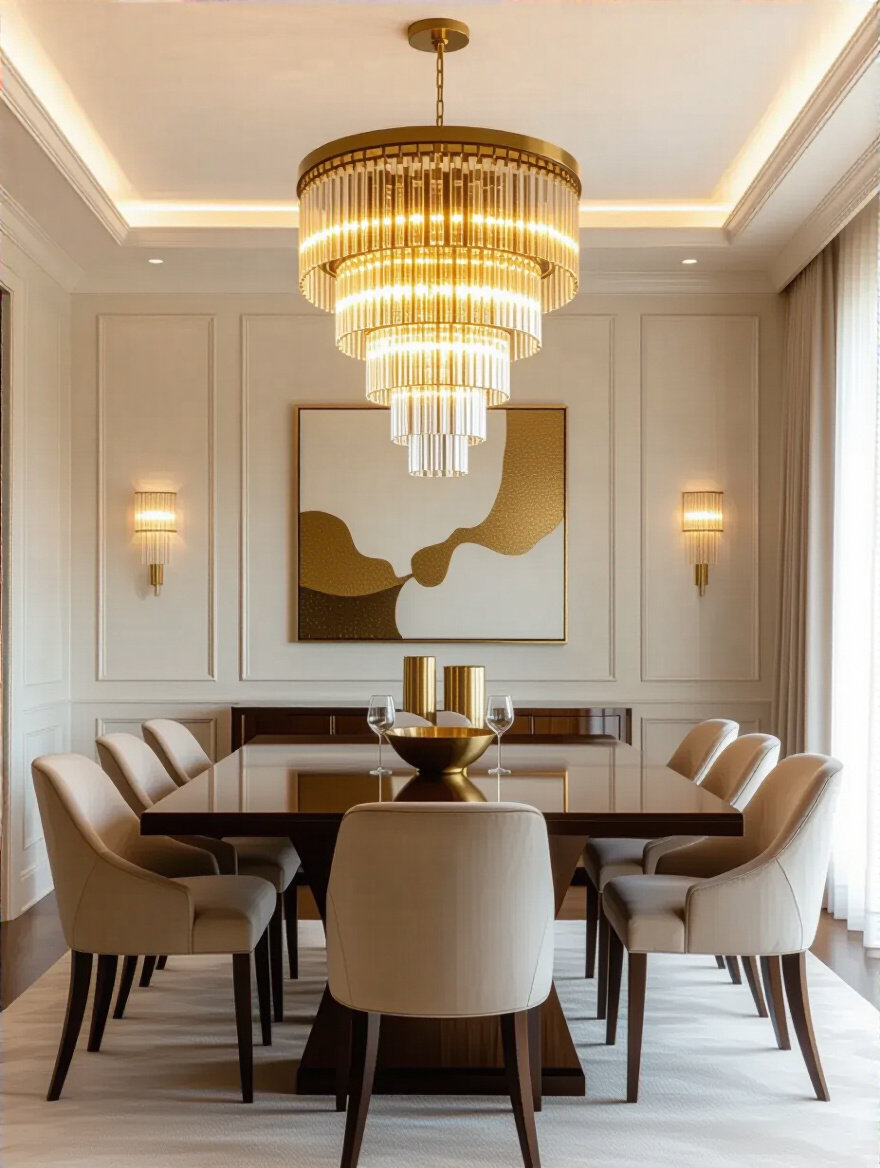
People get this wrong constantly. They measure their dining room and buy a huge fixture to “fill the space.” Stop. Your chandelier doesn’t have a relationship with the walls; it has a relationship with your dining table. The table is its partner, and they need to be in proportion to one another. An oversized chandelier hanging over a modest table looks aggressive and shrinks the table, while a tiny fixture over a grand table looks timid and lost.
I once worked on a beautiful Georgian revival where the homeowner, before calling me, installed a massive tiered chandelier that was almost as wide as their delicate Hepplewhite-style table. It felt oppressive, like a storm cloud about to burst over dinner. We swapped it for a more slender, elegant brass fixture two-thirds the width of the table, and suddenly the entire room could breathe. The goal is a dialogue, not a shouting match.
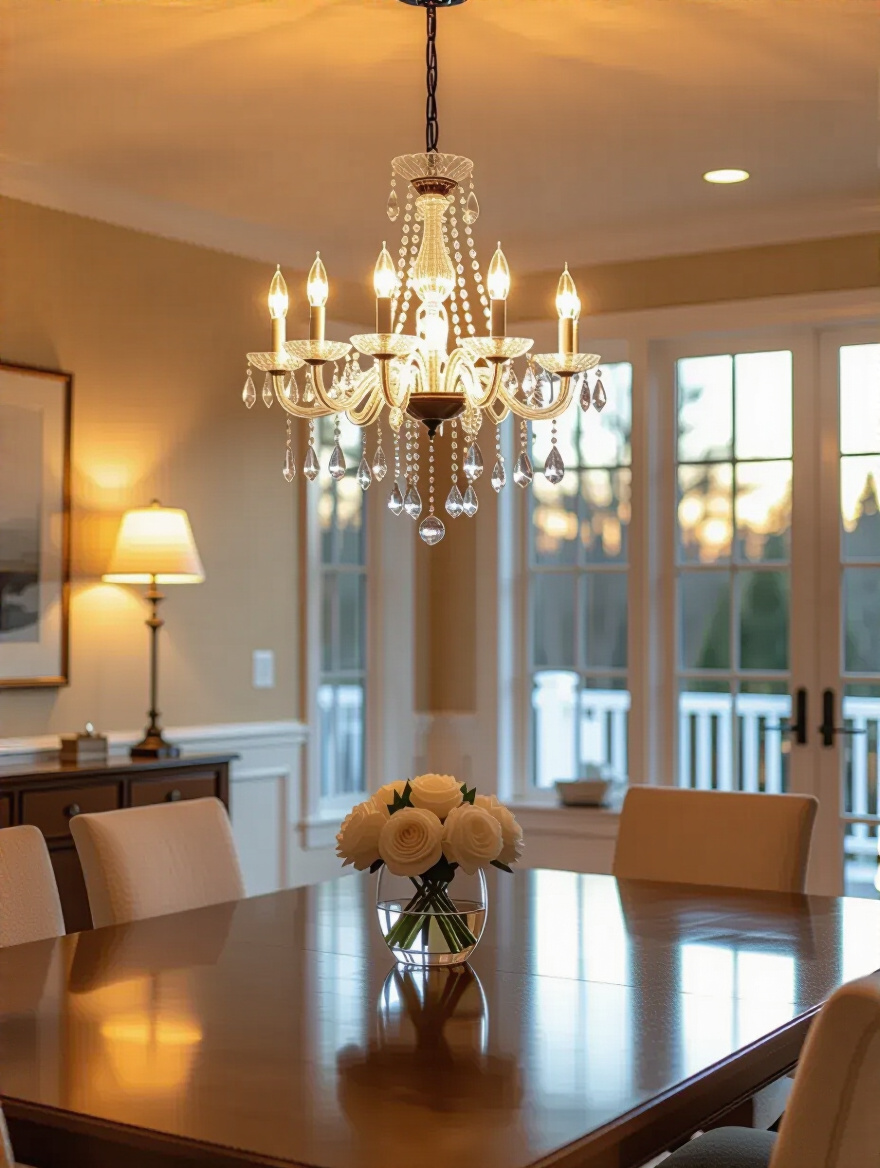
The second cardinal rule is about vertical space. The height at which a chandelier hangs is non-negotiable for both aesthetics and function. Hang it too high, and it becomes a glorified ceiling light, completely disconnected from the table and the people around it. It just floats aimlessly up there. Hang it too low, and you’re blocking sightlines, making conversation awkward, and risking a guest getting a face full of crystal when they stand up.
The shortcut everyone should know is this: The bottom of your fixture should hang 30 to 36 inches above your tabletop for a standard 8-foot ceiling. That’s the magic number. For every foot of ceiling height you have above 8 feet, add another 3 inches to that height. This simple math preserves the intimate connection between the light and the table while acknowledging the scale of the room. Don’t let a lighting showroom convince you that higher is always grander—it’s not.
I have a pet peeve. It’s when people ignore the innate architectural style of their home. A Tudor Revival doesn’t want a spiky, mid-century modern sputnik chandelier any more than a Craftsman bungalow wants a frilly French crystal basket. Your house is telling you what it needs. Before you shop, take a hard look at the “bones” of your space: the woodwork, the windows, the hardware, the plaster details.
This doesn’t mean you need a stuffy, period-perfect fixture, especially if your furnishings are more transitional. But the fixture you choose should at least nod to the home’s heritage. For a Victorian, that might mean a beautifully restored gasolier-style fixture. For an Arts and Crafts home, it could be a simple hammered copper or mica lamp. You are the current caretaker of this house’s history. Choose a fixture that honors that legacy instead of fighting it.
Here’s some BS you’ll hear: “A great chandelier is all the light you need.” That’s nonsense. Relying on a single, overhead fixture as your only source of light is a recipe for a terribly lit room. It creates harsh shadows on people’s faces (not a good look for a dinner party) and leaves the corners of the room feeling dark and cavernous. It’s what we call “flat” light, and it’s devoid of all charm.
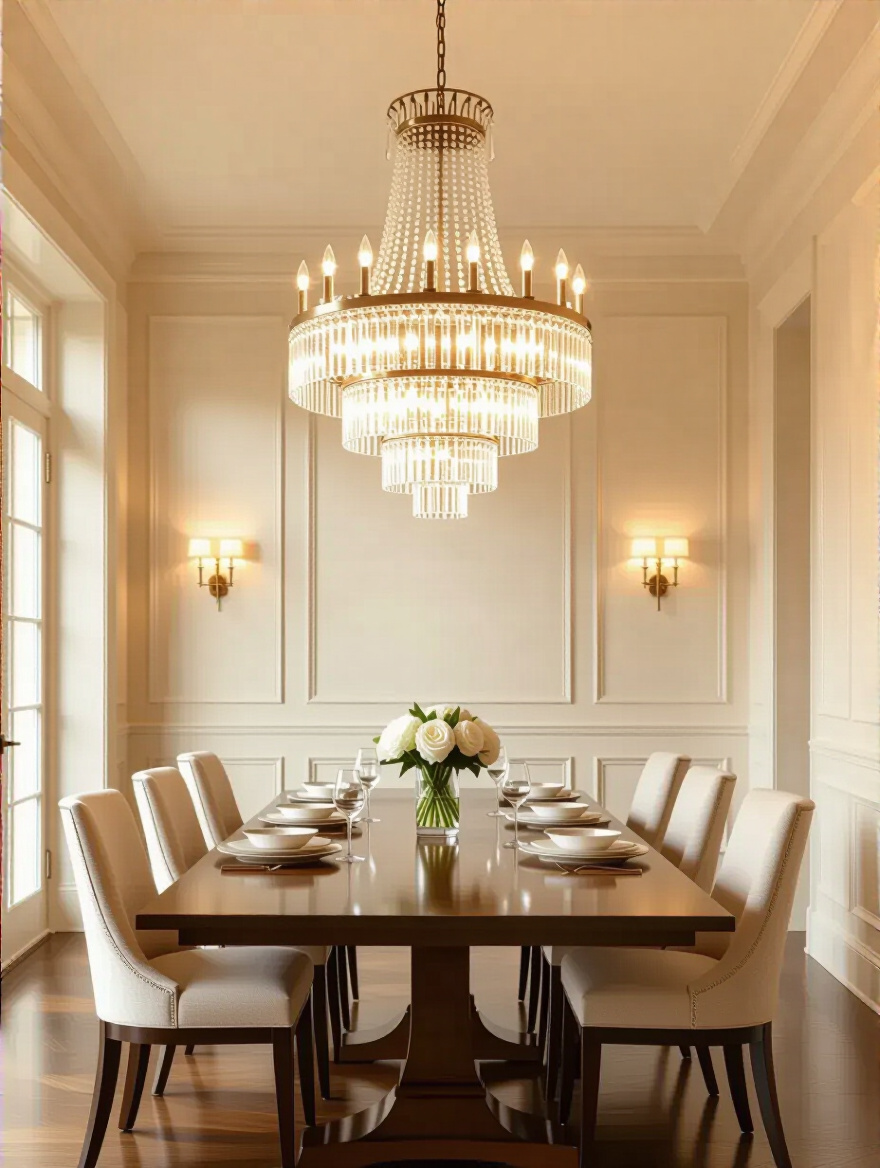
Good lighting is layered. Your chandelier provides the ambient, beautiful glow—the “jewelry” of the room. But you still need other sources. This is where accent and task lighting come in. A pair of elegant lamps on a buffet can cast a warm, welcoming light. Picture lights over artwork add depth. Wall sconces can wash the walls in a soft glow. You need a team of lights working together, with the chandelier as the lead actor, not a lonely soloist.
Okay, now that we’ve covered the room’s context, let’s talk about the practical constraints: money and power. It’s easy to fall in love with a fixture, but if it’s not in your budget or your 100-year-old wiring can’t handle it, it’s just a beautiful problem waiting to happen. Thinking about this now will save you a world of headaches later.
When you’re setting a budget, please, I beg you, think beyond the cost of the fixture itself. This is a classic rookie mistake. The price you see online is just the down payment. The real cost includes professional installation—which is non-negotiable, especially in an old house—and any potential electrical work that needs to be done to support it safely.
I’ve seen clients buy a “deal” on a $500 chandelier only to find out they needed a new junction box reinforced to hold the weight and a dedicated circuit run to the panel, adding another $1,000 to the project. A realistic budget accounts for the chandelier, the electrician’s time, new bulbs, a compatible dimmer switch, and a 15% contingency fund for the surprises that old houses inevitably hide in their walls. Plan for the full project, not just the pretty part.
The wiring in historic homes is a world of its own. You might have knob-and-tube, brittle cloth-wrapped wires, or decades of questionable “updates” from previous owners. Simply assuming your existing junction box can handle the weight and wattage of a new chandelier is a dangerous gamble. It’s one of the few things I am an absolute stickler about.

Before you buy anything, find out what the circuit can handle. A licensed electrician can tell you if the existing box is braced properly to hold a heavy fixture and if the circuit has the capacity for the new load. A confession: early in my career, I let a client hang a heavy iron fixture on an existing box without checking. A week later, I got a call that it was pulling away from the ceiling. We were lucky it didn’t come crashing down onto their antique dining table. Don’t learn that lesson the hard way.
Now for the fun part: picking the actual chandelier. This is where you get to translate all that planning into a beautiful object. We’ll talk about materials, shape, and the quality of the light itself. This is about making a choice that not only looks right but feels right in your home.
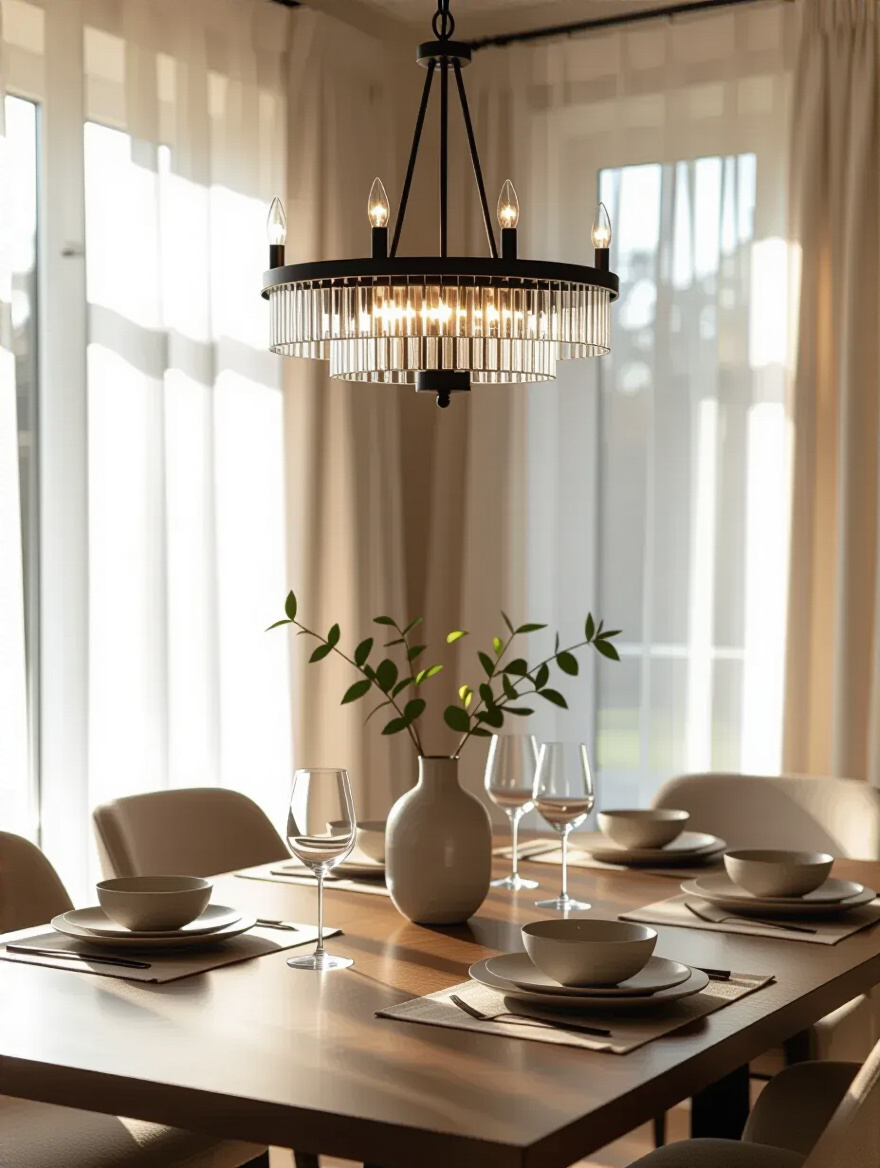
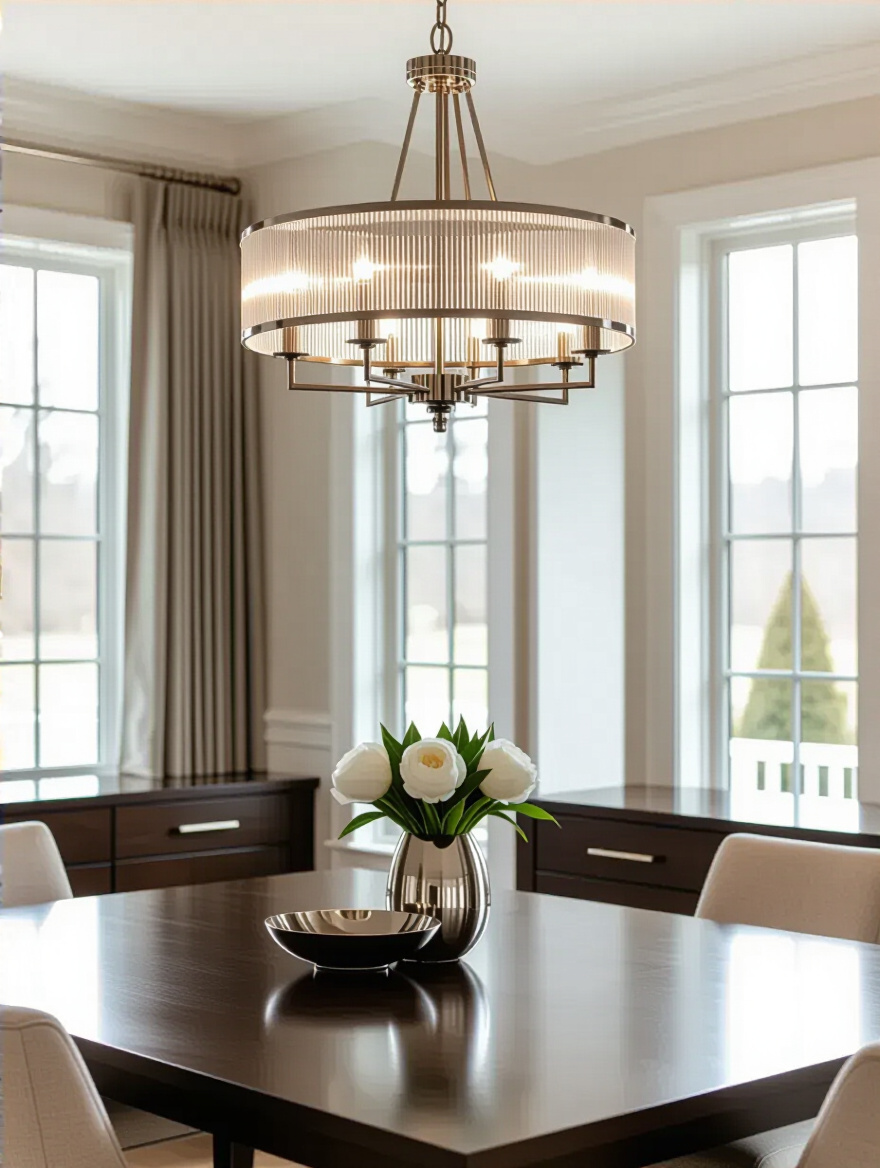
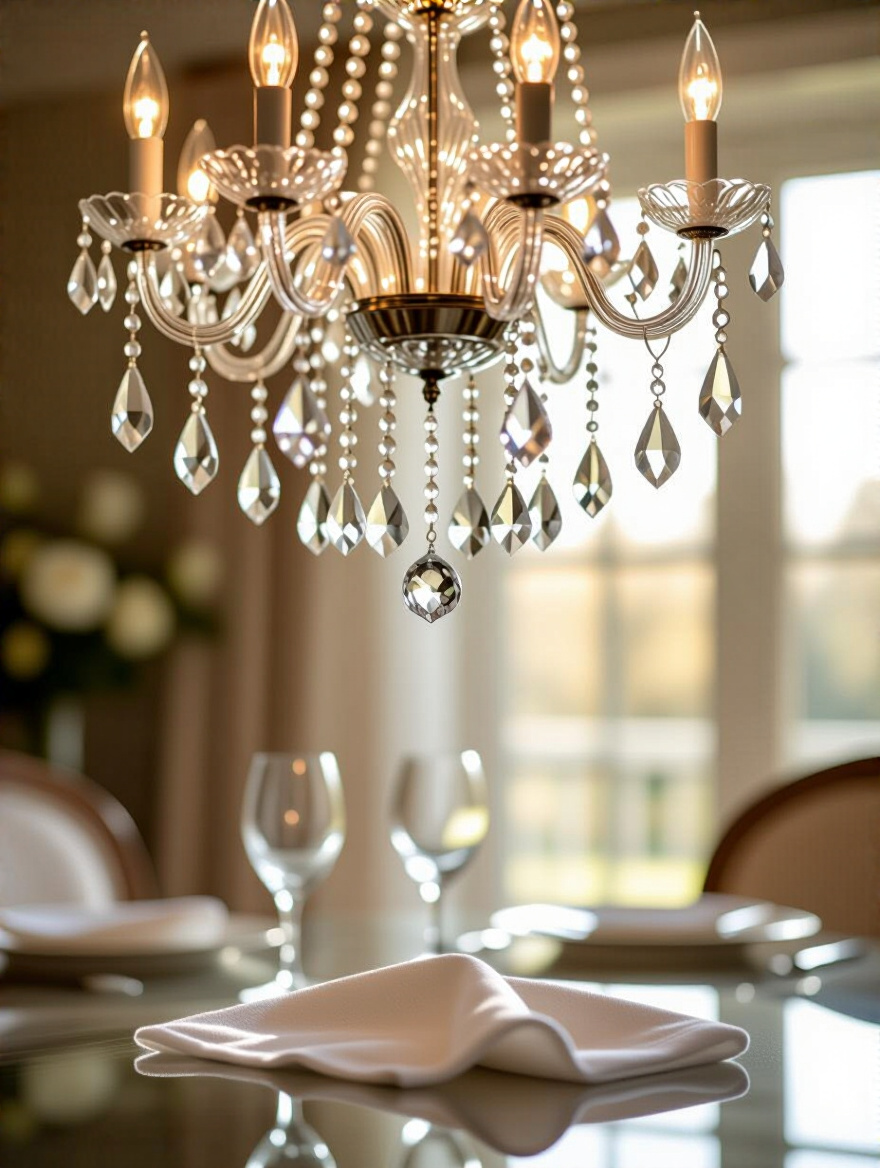
The material of your chandelier says just as much as its shape. Wrought iron feels rustic and solid, perfect for a Tudor or Spanish Colonial Revival. Polished brass feels formal and traditional, at home in a Federal or Colonial home. Crystal can be beautiful, but it must be used correctly—it was a sign of immense wealth, meant for grand, formal spaces, not humble farmhouses.
Don’t just chase trends. Consider the other finishes in your room. If you have original brass hardware on your doors and built-ins, a brass or bronze chandelier will create a sense of cohesion and history. A shiny chrome fixture would feel like an intruder. The material should feel like it belongs to the same family as the rest of the room’s details, even if it’s a more modern interpretation.
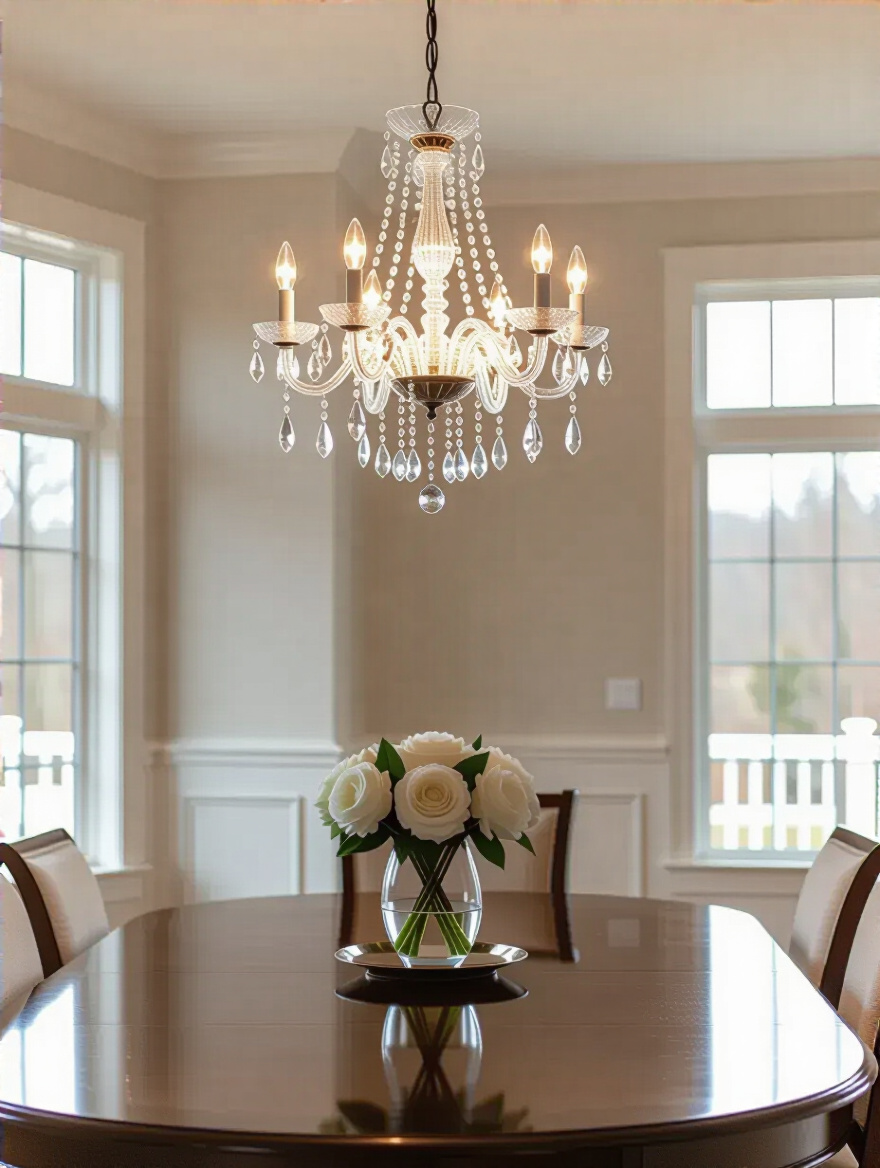
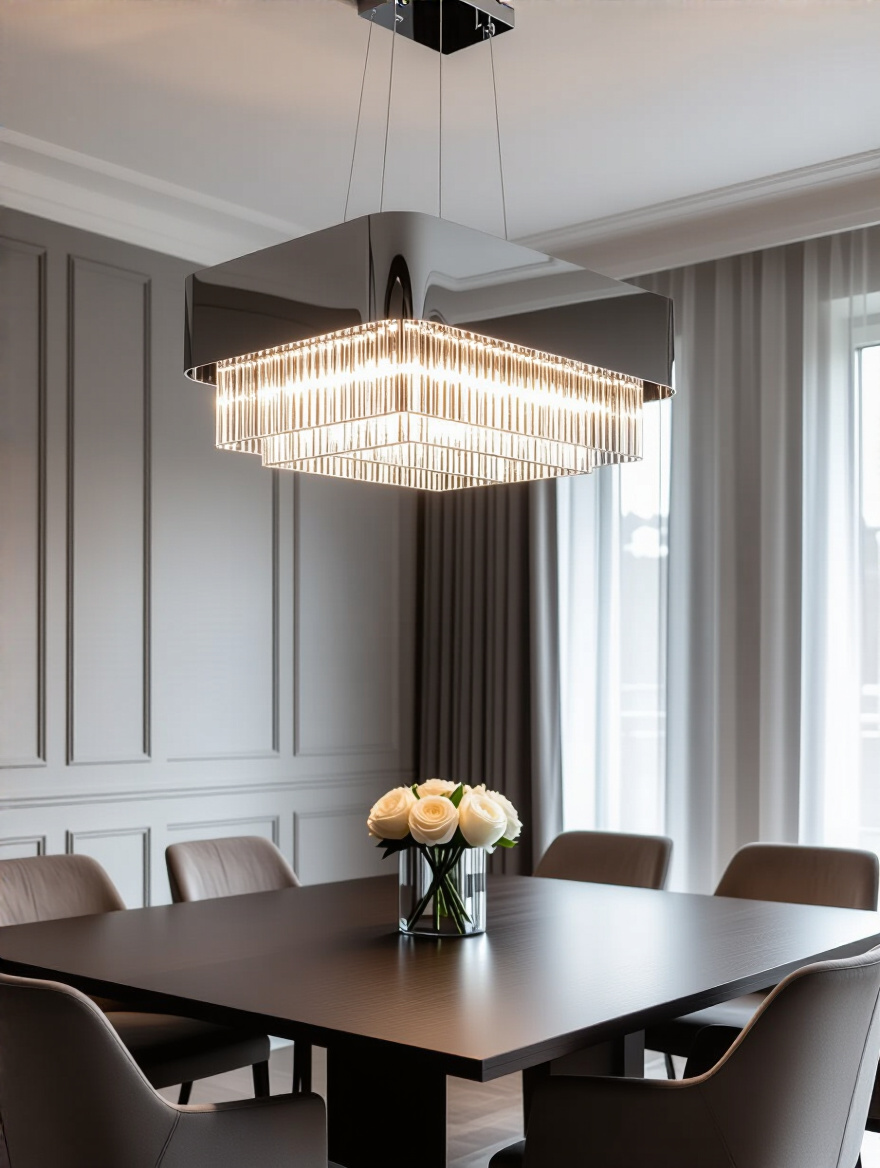
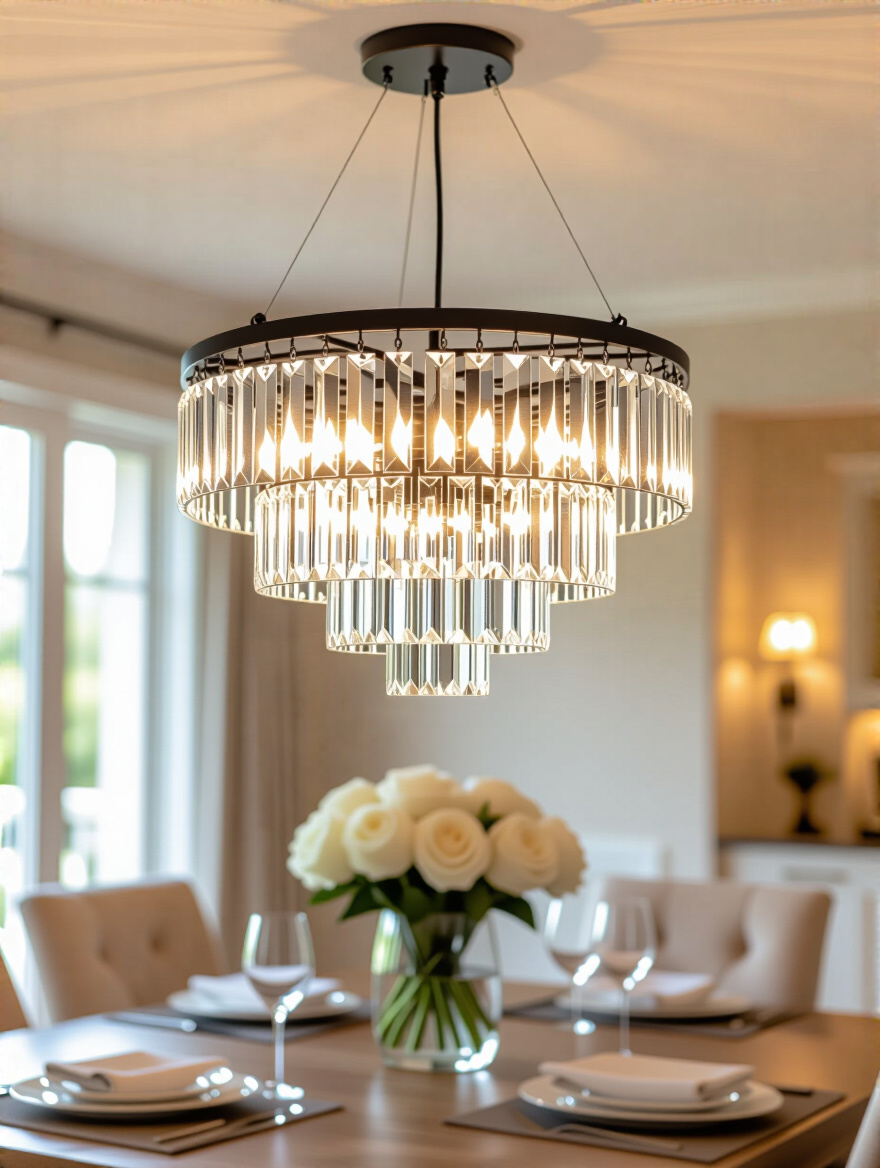
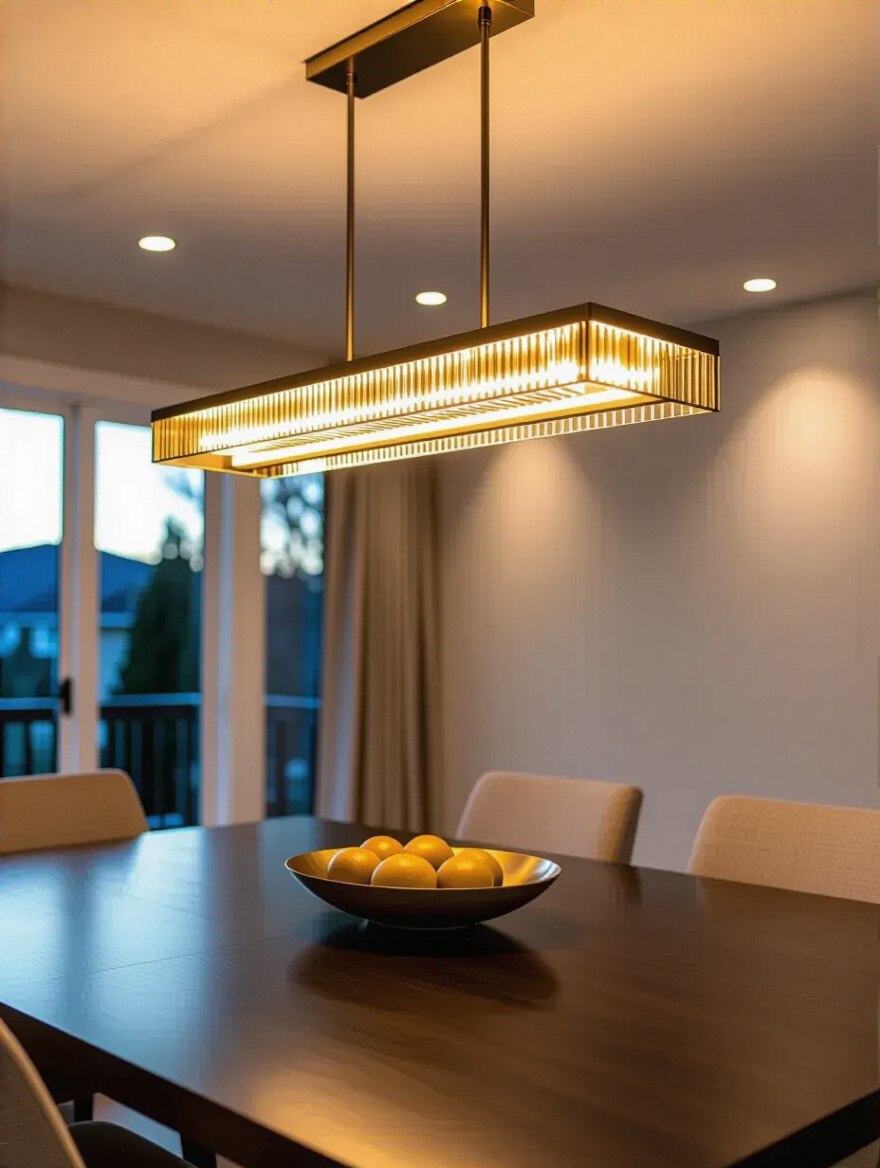
This is one of the easiest rules to follow, yet people break it all the time. The visual connection between the chandelier and the table is strongest when their shapes echo each other. If you have a long, rectangular dining table, a linear chandelier or two smaller pendants spaced apart will provide better light distribution and look far more balanced than a single round fixture stranded in the middle.

Conversely, a round or square table calls for a fixture with a similar central, compact footprint—think a classic bowl, a drum shade, or a multi-armed circular design. I had a client with a magnificent round pedestal table who fell in love with a long, linear chandelier. We had to have a gentle heart-to-heart. Once we installed a round crystal fixture instead, the entire room clicked into place. The synergy was undeniable.
Forget about wattage. That’s an old, obsolete way of thinking about light that only tells you how much energy a bulb consumes. The two words you need to know now are lumens (which measure brightness) and Kelvin (which measures color temperature). For a dining room, you’re generally looking for a warm, inviting glow, not a cold, sterile light that feels like an operating room.
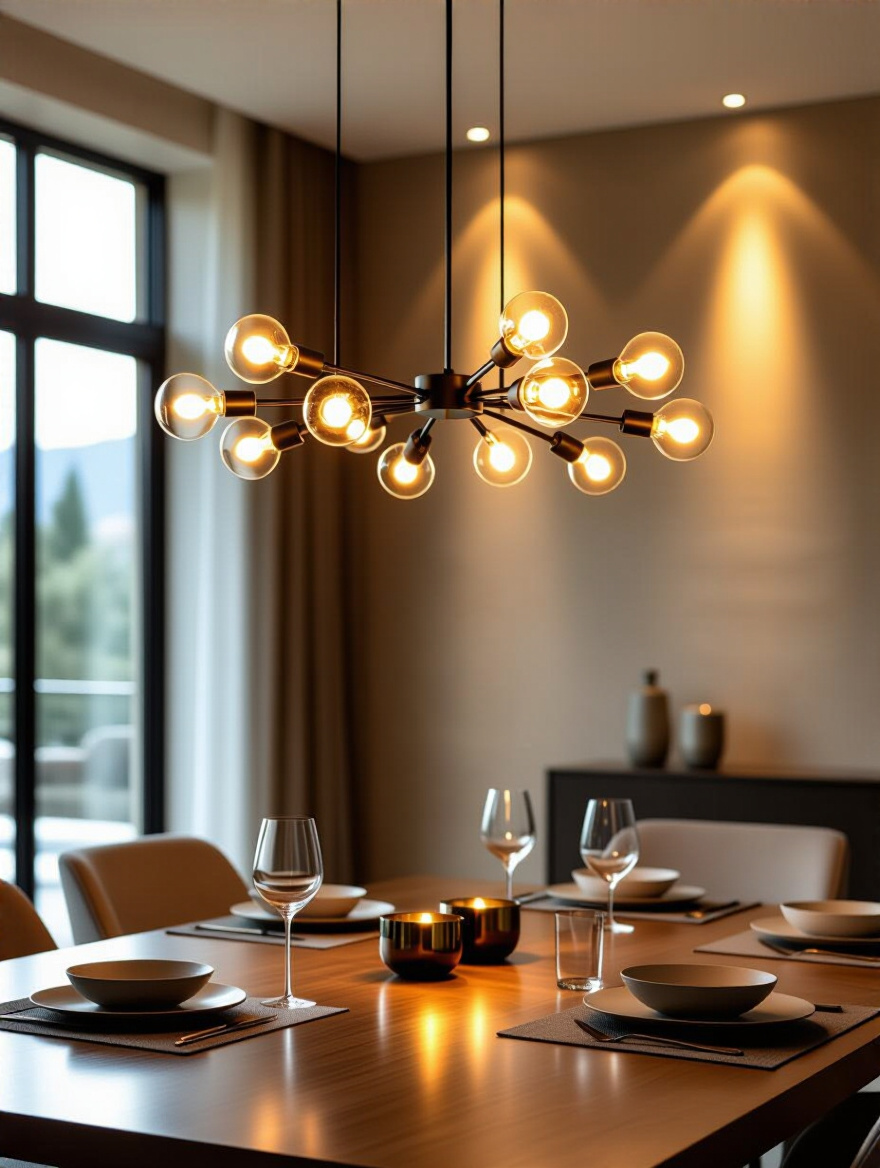
Aim for a color temperature between 2700K and 3000K. This is the “warm white” range that mimics candlelight or incandescent bulbs and is incredibly flattering to both people and food. As for lumens, a good rule of thumb for a dining room is to aim for a total of 30-40 lumens per square foot, but you MUST put it on a dimmer. That way you can have bright light for cleaning or homework, and a soft, intimate glow for dinner parties.
If you take only one piece of advice from me, let it be this: install a dimmer switch. A chandelier without a dimmer is a one-trick pony. It’s either glaringly bright or it’s off. There is no in-between. The ability to control the intensity of the light is what creates atmosphere and mood. It’s the single most impactful—and affordable—upgrade you can make to your dining room.
A dimmer allows your lighting to adapt to the function of the room throughout the day. Bright for a bustling family breakfast, medium for a casual weeknight dinner, and low and romantic for a special occasion. I once had to convince a client who thought dimmers were “too fancy.” After one dinner party where he could finally set the perfect mood, he called me to say it had completely changed how he used the room. It’s a small detail with a massive impact.
We’re in the home stretch of the installation phase. You’ve picked your fixture, and now it’s time to get it up on the ceiling. This part is less about design and more about execution. Doing it right means a safe fixture that looks professionally installed.
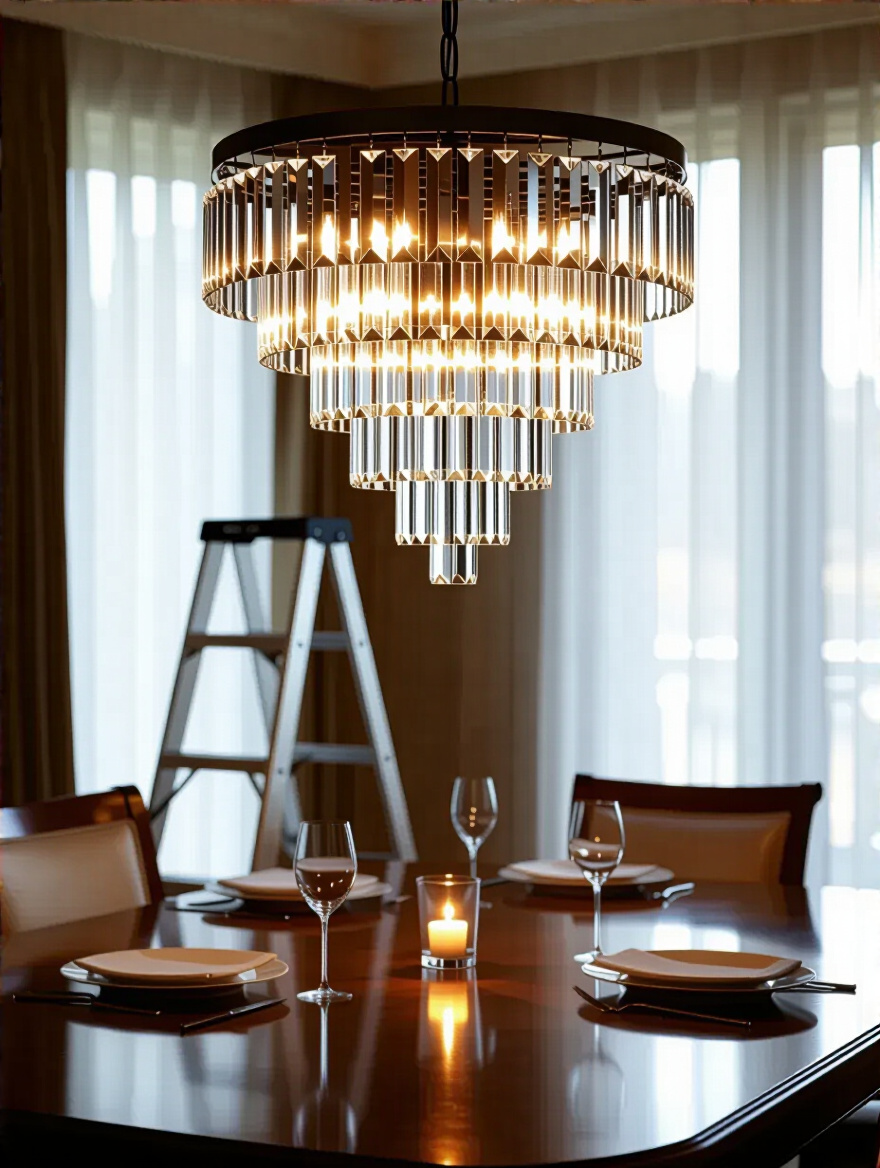
I know I’ve said this before, but it bears repeating: do not hang a chandelier yourself, especially in an old house. This is not the place to save a few hundred dollars. A certified electrician knows how to test old wiring safely, properly brace a junction box for a heavy fixture, and ensure everything is up to code. It’s about safety, pure and simple.
Think of it as insurance. You are protecting your home, your expensive new fixture, and your family from the risks of a fall or an electrical fire. Find an electrician who has experience working in older homes; they understand the quirks and are less likely to be surprised by what they find in your ceiling. A true professional’s work is an investment in your peace of mind.
We talked about calculating the right height, and now it’s time to enforce it. When the electrician is there, be ready to measure and confirm the final hanging height. Have them hold the fixture in place so you can see it before they make the final connections. This is your last chance to get it perfect.
Remember, the goal is for the chandelier to illuminate the table and create an intimate bubble of light for diners, not to light up the ceiling. If you’re tall, sit at the table to make sure your view of the person across from you isn’t blocked. It’s a balance of science and art, but that 30-36 inch starting point (for an 8-foot ceiling) is almost always right.
With the chandelier safely installed, the real artistry begins. Now it’s about making it feel like an intentional, integrated part of your room’s design. This involves harmonizing it with the other elements in the space to create a cohesive, polished look.
The finish of your chandelier should feel related to the other hardware in the room. I’m talking about your curtain rods, doorknobs, cabinet pulls, and sconces. You don’t need an exact match—in fact, that can look a little too perfect. But the finishes should be in the same family. Mixing an aged brass with a dark bronze can be beautiful. Mixing polished chrome with oil-rubbed bronze is often a visual clash.
A great shortcut is to choose a primary metal for the room and let that guide your major decisions. For example, if your home has original brass hardware, make that your primary finish. Your chandelier and sconces can be brass, and maybe you introduce a secondary finish like matte black in smaller doses, like picture frames or chair legs, to add depth and interest.
While the table is the chandelier’s main partner, you also have to consider the scale of the other furniture in the room. A massive, visually heavy chandelier can make delicate chairs look like doll furniture. Similarly, a wimpy chandelier will be dwarfed by a substantial sideboard or a heavy, carved dining set.
Take a step back and look at the whole picture. How does the visual weight of the chandelier balance with the hutch against the wall? Does it complement the scale of the artwork? It’s about creating a pleasing composition where no single piece bullies the others. The goal is harmony, and that means looking at the room as a complete ecosystem, not just a collection of individual parts.
We talked about Kelvin, but let’s go a bit deeper. The color of the light itself is what sets the entire mood of your dining room. A warm, slightly amber light (2700K) feels cozy, intimate, and historic—it evokes candlelight. A neutral white light (3500K) can feel clean and modern, but it can also feel a bit sterile in a dining setting. Anything cooler (4000K and up) should be avoided in a dining room at all costs; it makes people and food look sickly.
A client of mine installed “daylight” bulbs in his beautiful Victorian dining room chandelier, thinking “brighter is better.” The effect was disastrous. The rich wood tones looked washed out, the food looked unappetizing, and the room felt like a hospital cafeteria. We switched to 2700K dimmable LED bulbs, and the warmth and soul of the room instantly returned. This is a small change with a profound emotional impact.
Remember how the chandelier shouldn’t be your only light source? Here’s where you bring in its supporting cast. Accent lighting is what makes a room feel truly three-dimensional and alive. It’s about “painting” with light to draw attention to the things you love.
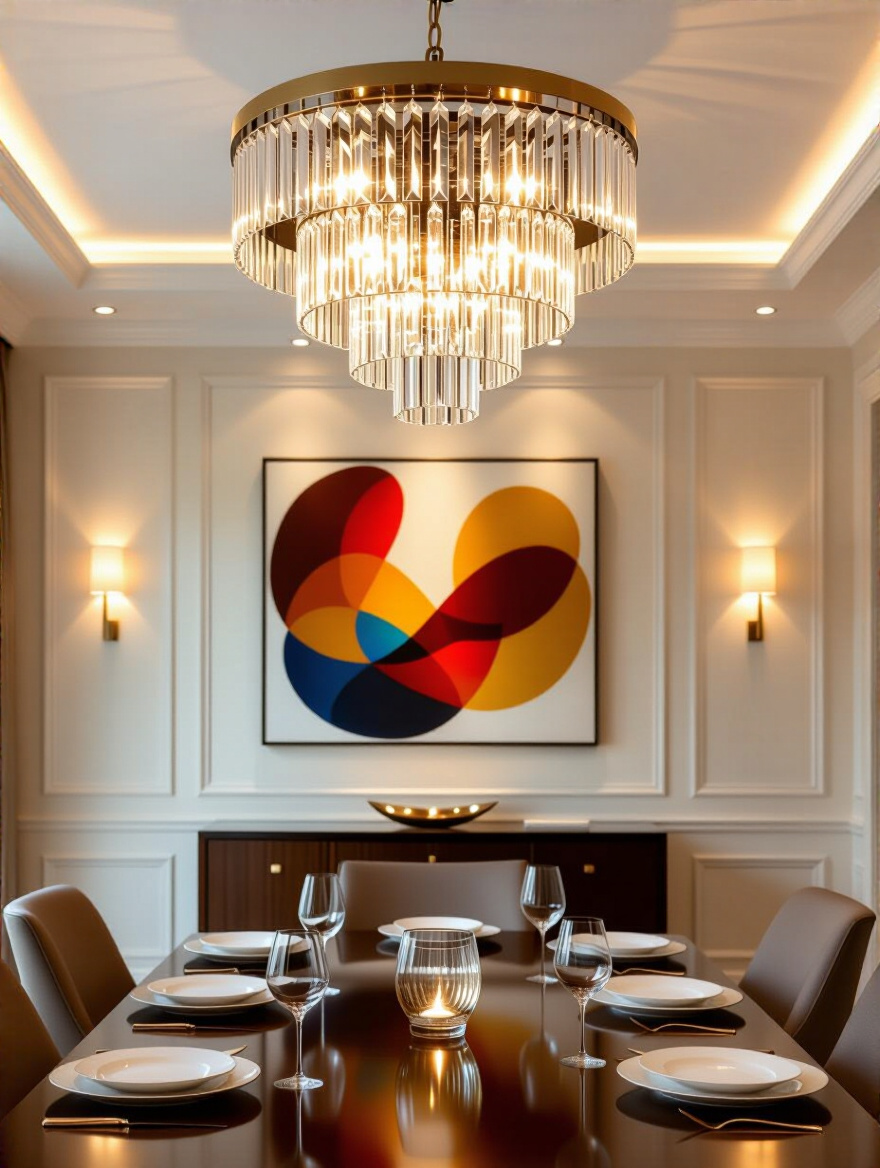
Put a small, focused spotlight on a piece of art. Place a beautiful lamp on the buffet to create a warm pool of light. Use uplights behind a plant in the corner to create dramatic shadows on the ceiling. These extra layers of light add depth, create interest, and make the room feel much more luxurious and custom-designed. They take the lighting load off the chandelier, allowing it to be the beautiful centerpiece it’s meant to be.
We’re moving into the final, finessed details of styling. This is about advanced composition and making sure your beautifully lit room doesn’t feel cluttered or chaotic. Think of yourself as the editor of the space, making sure every element has a clear and purposeful role.
The human eye loves symmetry. It creates a sense of order, calm, and intentionality. Your chandelier and table create a natural centerpiece for the room, and you can amplify that by creating symmetrical arrangements around them. This is a classic designer trick that makes any room feel more sophisticated and put-together.
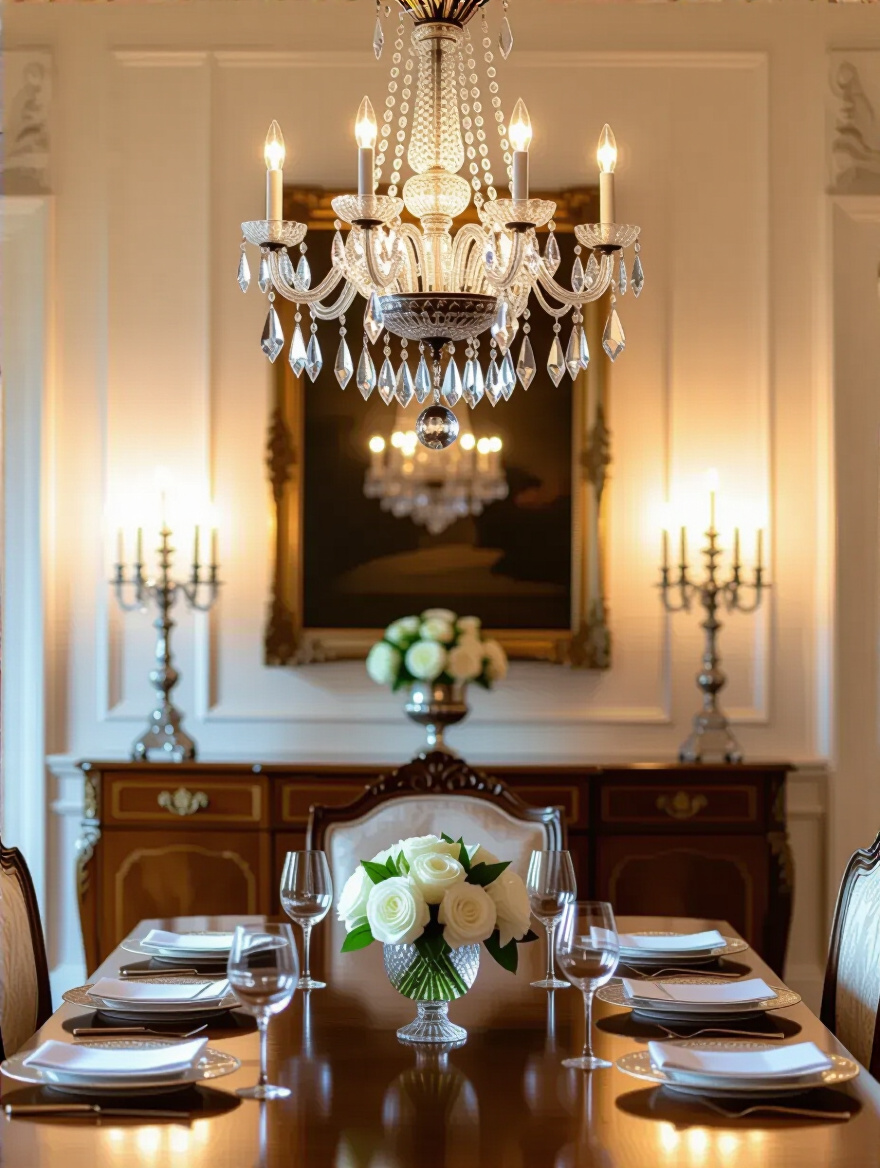
For instance, flank a sideboard with a pair of matching lamps or tall topiaries. Hang a pair of identical art pieces on the wall opposite a window. Place two elegant host and hostess chairs at either end of the dining table. These mirrored elements create a visual rhythm that anchors the chandelier and makes the entire composition feel balanced and serene.
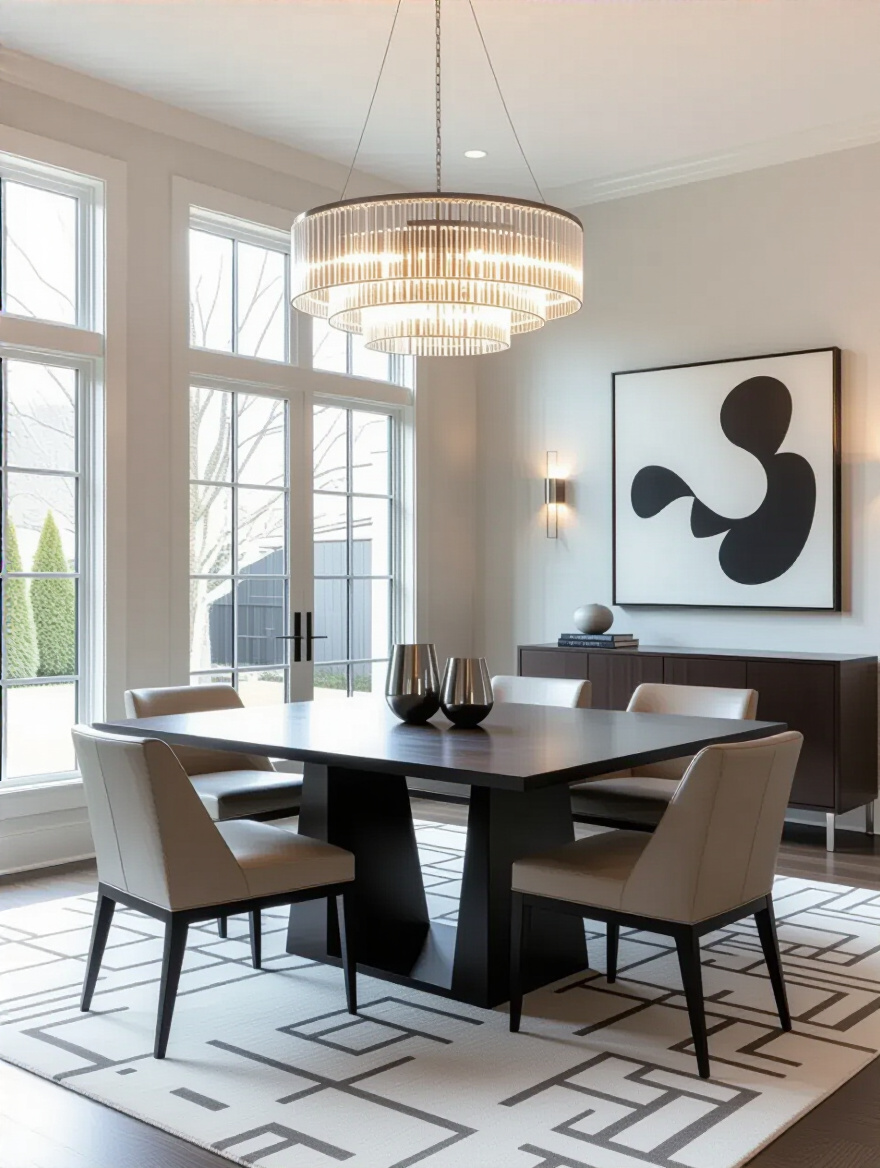
More is not always more, especially when it comes to statement lighting. Your dining room should have one star, and that is your chandelier. Avoid adding other large, complex, or visually loud fixtures in the same line of sight. A common mistake is hanging dramatic pendants over a nearby kitchen island that compete with the dining chandelier for attention.
It creates visual chaos. Choose one hero fixture for the zone. Any other lighting in the immediate area should be simple and supportive, like discreet recessed cans or understated track lighting. Let the chandelier have its moment. Don’t force it to fight for the spotlight with another “look at me” fixture just a few feet away.
A chandelier is an investment that needs care. Dust and grime are the enemies of sparkle and brilliance. A little bit of regular maintenance will keep your fixture looking its best and ensure it functions safely for decades to come.
Crystal, glass, and polished metal are designed to reflect light. When they’re covered in a fine layer of dust, they can’t do their job. The sparkle disappears, and the light becomes dull and muted. A regular, gentle dusting every couple of weeks is essential.
I recommend using a soft microfiber cloth or an electrostatic duster. For intricate crystal fixtures, a very soft, clean paintbrush can get into the small crevices. The key is consistency. A light dusting on a regular schedule is far easier and safer for the fixture than a major deep clean once a year where you risk knocking prisms loose.
Please, step away from the all-purpose spray cleaner. Harsh chemicals like ammonia can damage delicate finishes, strip protective lacquers from brass, and leave a residue on crystal that dulls its shine. Different materials need different care.
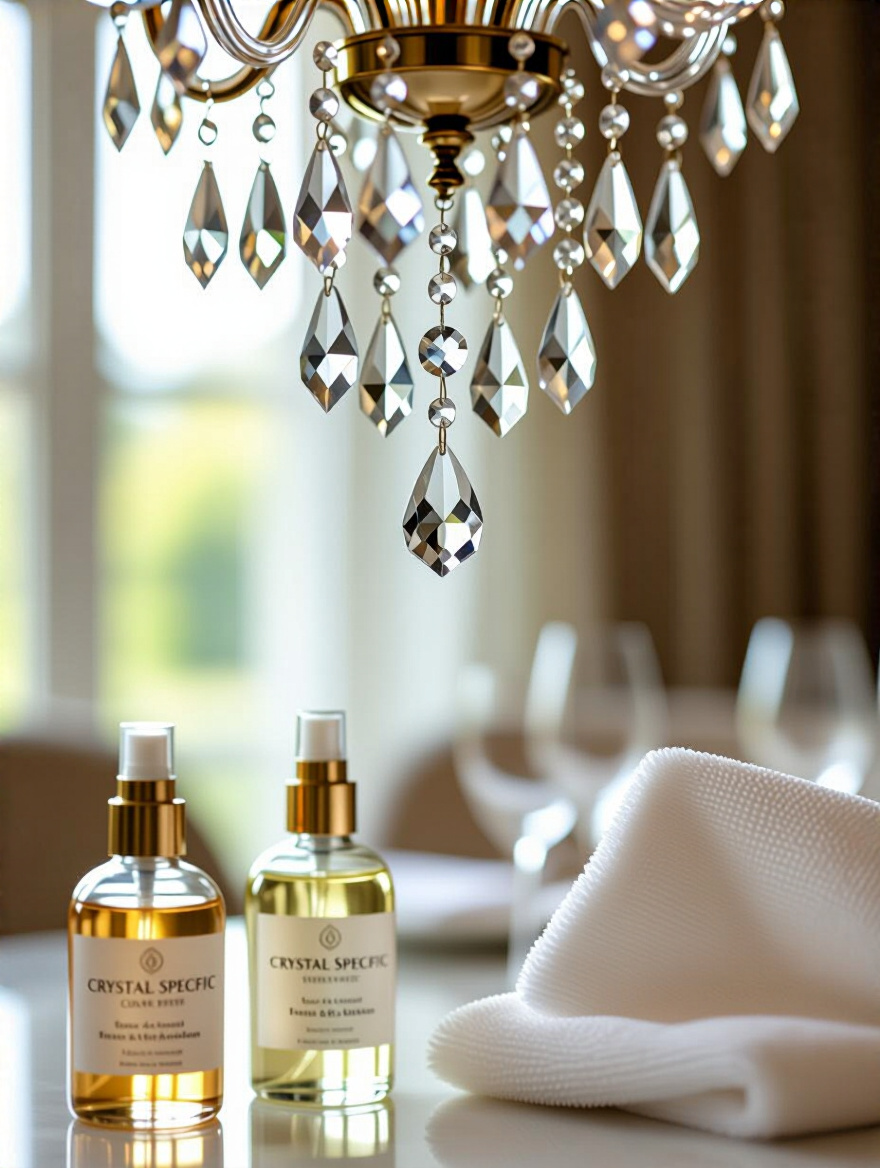
For crystal, a simple solution of one part isopropyl alcohol to three parts distilled water in a spray bottle is perfect. Spray it on your microfiber cloth, not directly on the fixture, to avoid getting moisture in the electrical sockets. For metal, use a cleaner specifically formulated for that material. A little research upfront will prevent you from causing permanent damage to your beautiful investment.
This might seem minor, but a single burnt-out bulb in a multi-light chandelier is like a missing tooth in a beautiful smile. It disrupts the symmetry, creates an uneven “hole” in the light, and frankly, just looks neglected. Replace burnt-out bulbs immediately.
The pro tip here is “group re-lamping.” If the bulbs were all installed at the same time, they’re all likely nearing the end of their life. When one goes out, it’s often wise to replace them all. This ensures a consistent color temperature and brightness across the entire fixture. Keep a box of the correct replacement bulbs on hand so you’re always prepared.
This is your annual safety check-up. Once a year, turn off the power at the circuit breaker and take a close look at your chandelier’s wiring and connections. Check the canopy where it meets the ceiling. Are the connections tight? Do you see any discoloration or fraying on the wires?

In older homes, insulation on wires can become brittle and crack over time. A visual inspection can help you spot trouble before it becomes a serious fire hazard. If you see anything that looks even slightly questionable, call your electrician. It’s a simple five-minute check that could literally save your house.
Finally, let’s talk about bringing your historic lighting into the 21st century. With today’s technology, you can enjoy modern convenience without sacrificing the vintage soul of your fixture. It’s the perfect blend of preservation and modern living.
You don’t need a new fixture to have a “smart” chandelier. Upgrading to smart bulbs or a smart dimmer switch can revolutionize how you use your dining room light. Imagine being able to dim the lights with your voice, schedule them to turn on automatically at sunset, or set custom “scenes” for different occasions like “Dinner Party” or “Homework Time.”
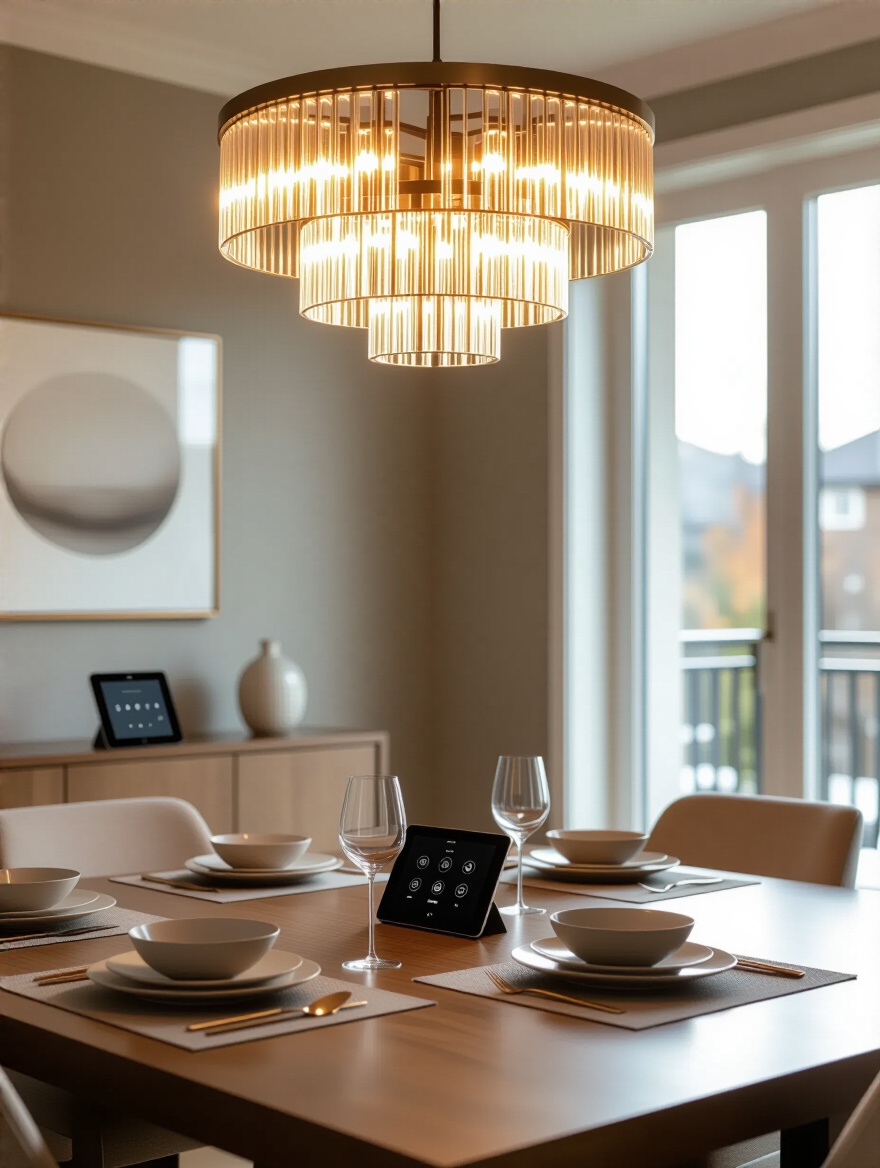
This is the ultimate in modern convenience. Brands like Lutron Caseta make smart dimmer switches that are compatible with most fixtures, and Philips Hue offers smart bulbs in a variety of styles, including beautiful candelabra and Edison bulbs that look perfect in vintage chandeliers. It gives you incredible control without compromising the historic character of your fixture, which is the perfect end goal.
So there you have it. Choosing and caring for a dining room chandelier in a historic home is about so much more than just picking something pretty. It’s about respecting the architecture, understanding proportion and scale, and mastering the art of creating a mood with light. It’s a thoughtful process, but the reward is immense.
By following these principles, you move from simply owning a house to becoming its steward. You’re making a choice that adds to its story, that honors its past while lighting its future. The right chandelier will transform your dining room from just a room where you eat into a space that feels like the true, glowing heart of your home—a place where memories are made and cherished for years to come. Now, go create that beautiful light.


