Physical Address
304 North Cardinal St.
Dorchester Center, MA 02124
Physical Address
304 North Cardinal St.
Dorchester Center, MA 02124
Picture this: The lights dim. The opening credits roll. You're settled into the perfect viewing spot. But what's the first thing you see on screen? The establishing shot. It’s the single frame that tells you everything you need to know about the world you’re about to enter—its mood, its style, its very soul. That, my friend, is what a great accent wall does for your living room. It's not just slapping up some fancy paper; it's production design for your life.
Picture this: The lights dim. The opening credits roll. You’re settled into the perfect viewing spot. But what’s the first thing you see on screen? The establishing shot. It’s the single frame that tells you everything you need to know about the world you’re about to enter—its mood, its style, its very soul. That, my friend, is what a great accent wall does for your living room. It’s not just slapping up some fancy paper; it’s production design for your life.
Everyone thinks they can just pick a pretty pattern and call it a day. That’s how you end up with a room that feels… off. Like a bad edit or a continuity error you can’t unsee. But getting it right? That’s how you transform your space from a generic set into an immersive experience. I’ve seen people create sheer cinematic magic, and I’ve seen them waste thousands on a wall that fought with everything else in the room. Let’s make sure you’re in the first camp. Here’s the real story on how to direct your own blockbuster accent wall.
Before a single light is set or a camera rolls, a film has been planned to death. This is that phase. This is where you lay the groundwork, make the crucial decisions, and prevent disasters before they happen. Get this right, and the rest is just execution.
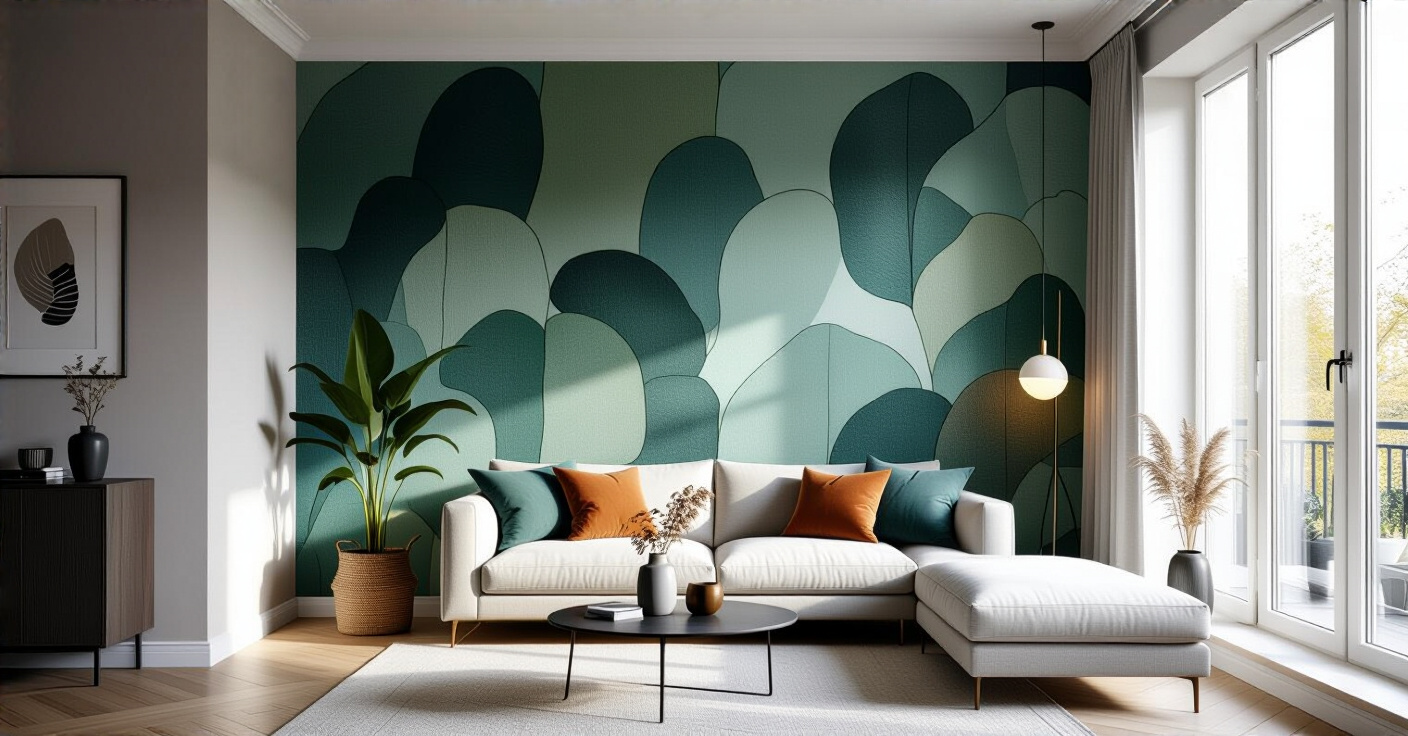
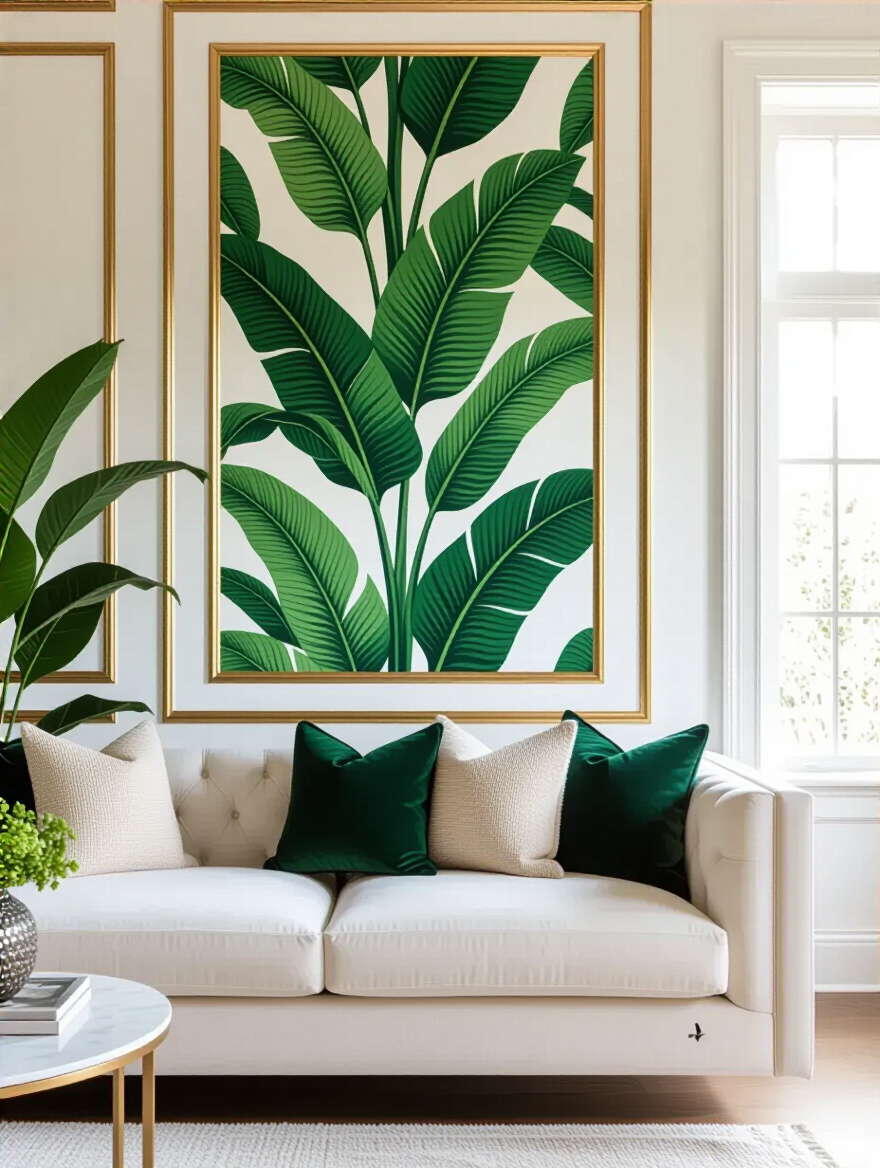
You know what people always ask me? “Which wall should I do?” They think it’s about the biggest wall. It’s not. It’s about finding the hero wall—the one that your eye is naturally drawn to when you walk into the room. It’s the wall that says, “This is the story.” Usually, it’s the wall behind your media console or your main sofa, the natural anchor of the space.
Putting your accent on a busy wall full of doorways and windows is like putting your star actor in the back of a crowd shot. It just gets lost. The real pro move is to think about the “unfolding effect.” As you enter and move through the room, which wall reveals itself and delivers that “wow” moment? I once watched a client pick the long wall down a hallway, and it just made the hallway feel like a tunnel. We moved it to the wall opposite the main entrance, and boom—instant drama, instant focus. The whole room just clicked into place.
Once you have your hero, you need to decide on the genre of your film—I mean, room.
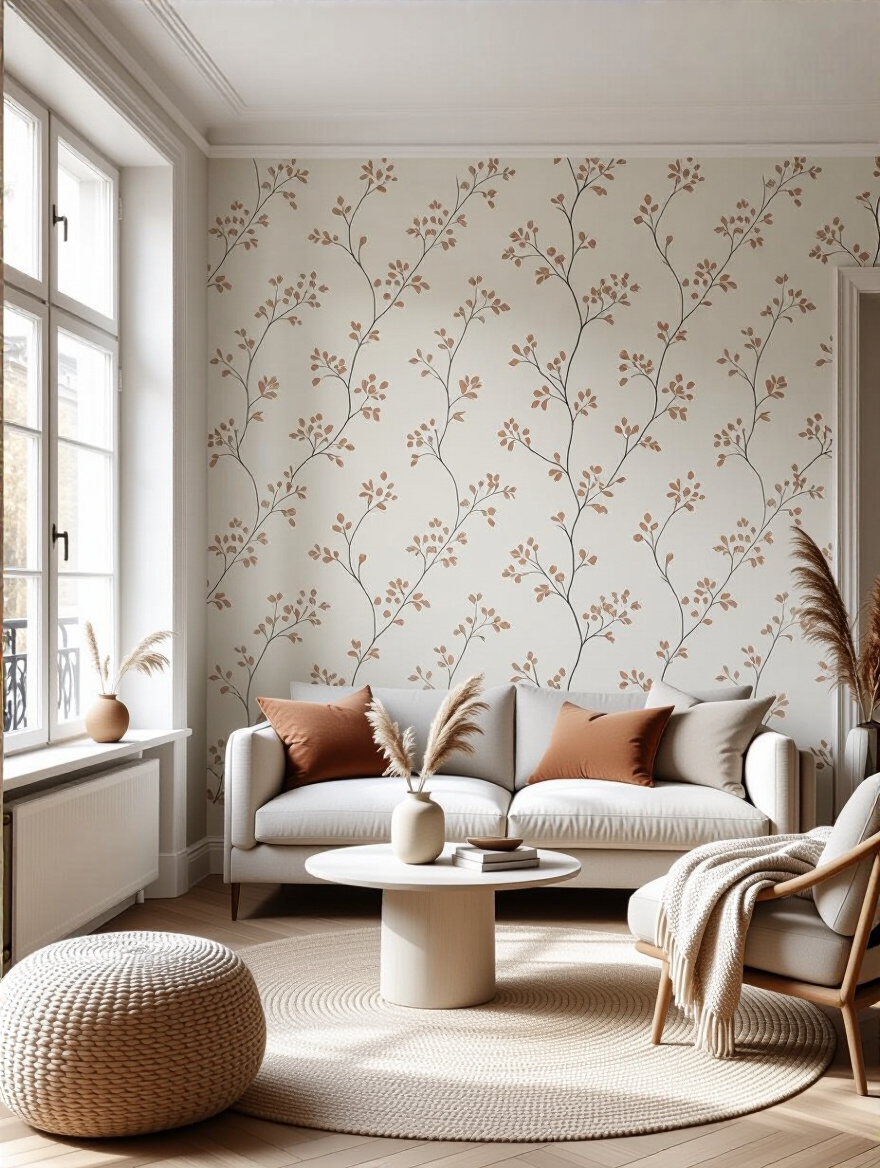
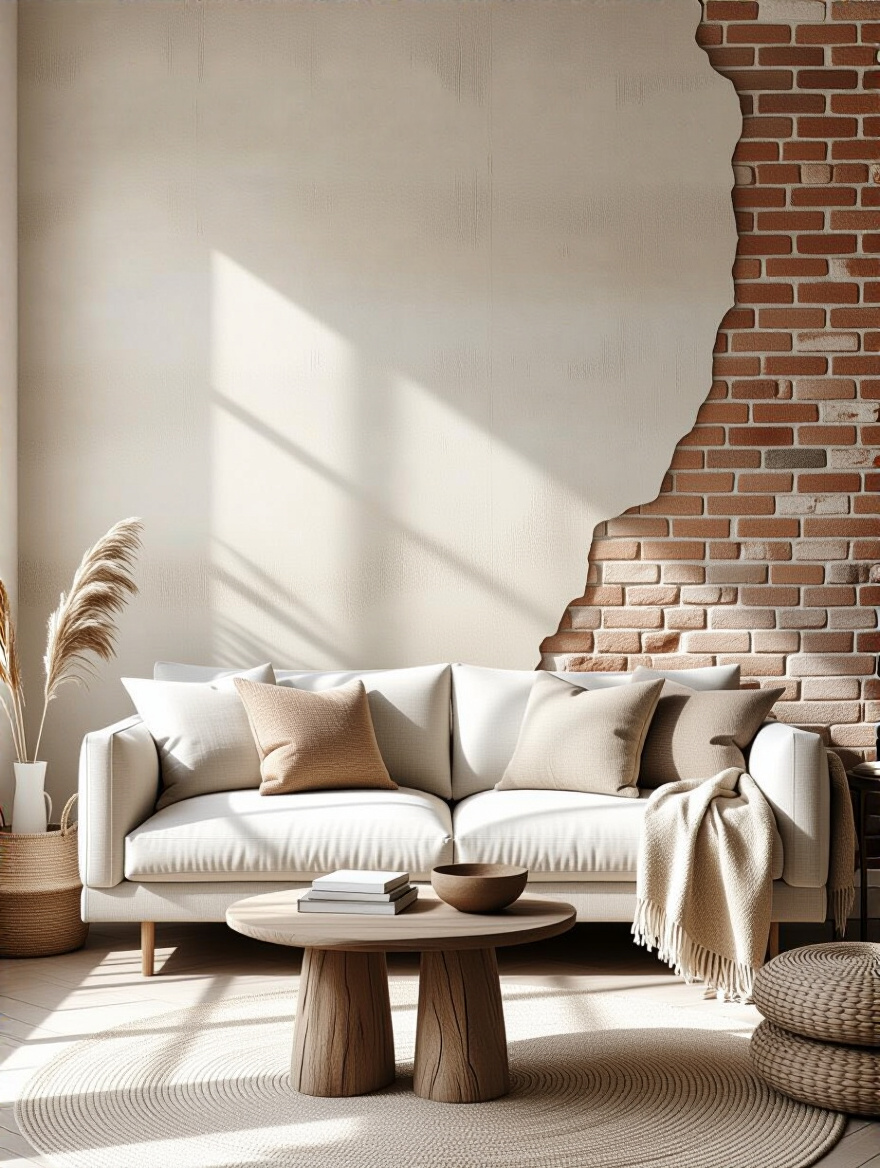
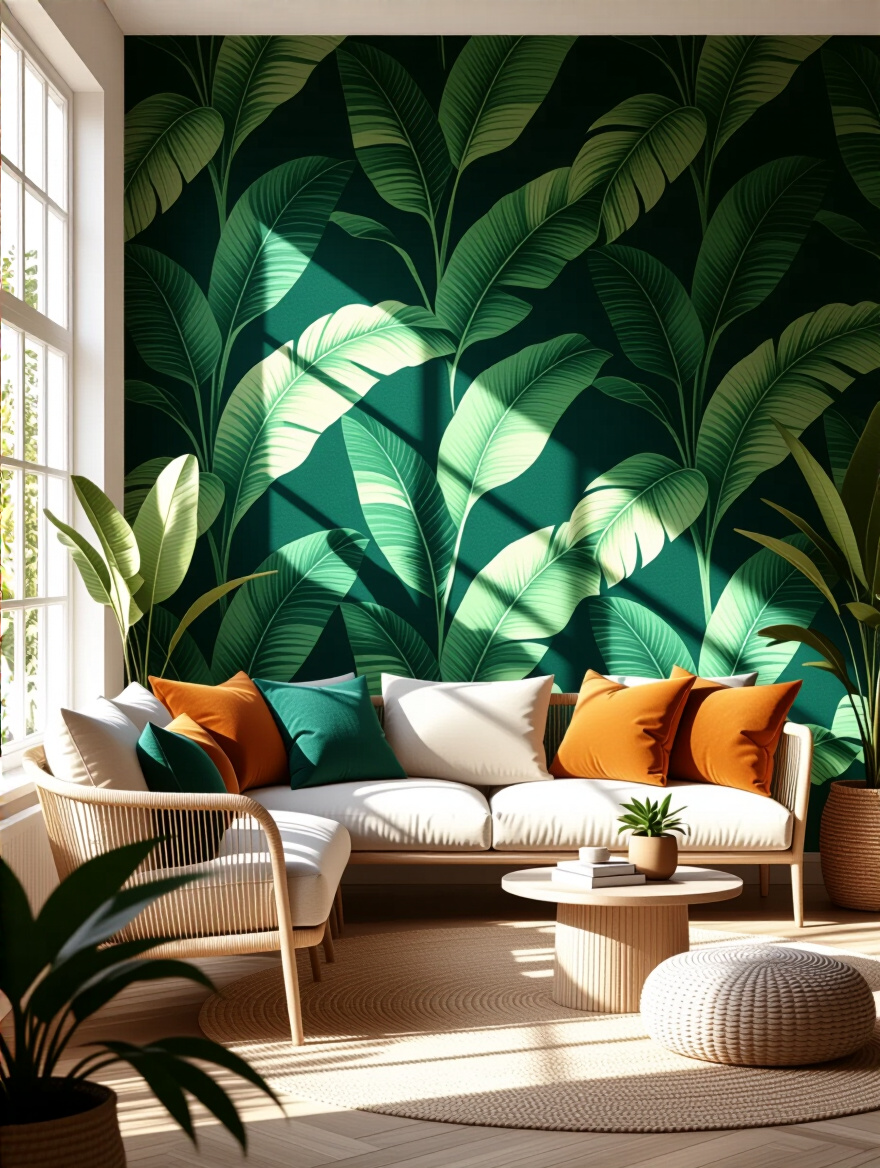
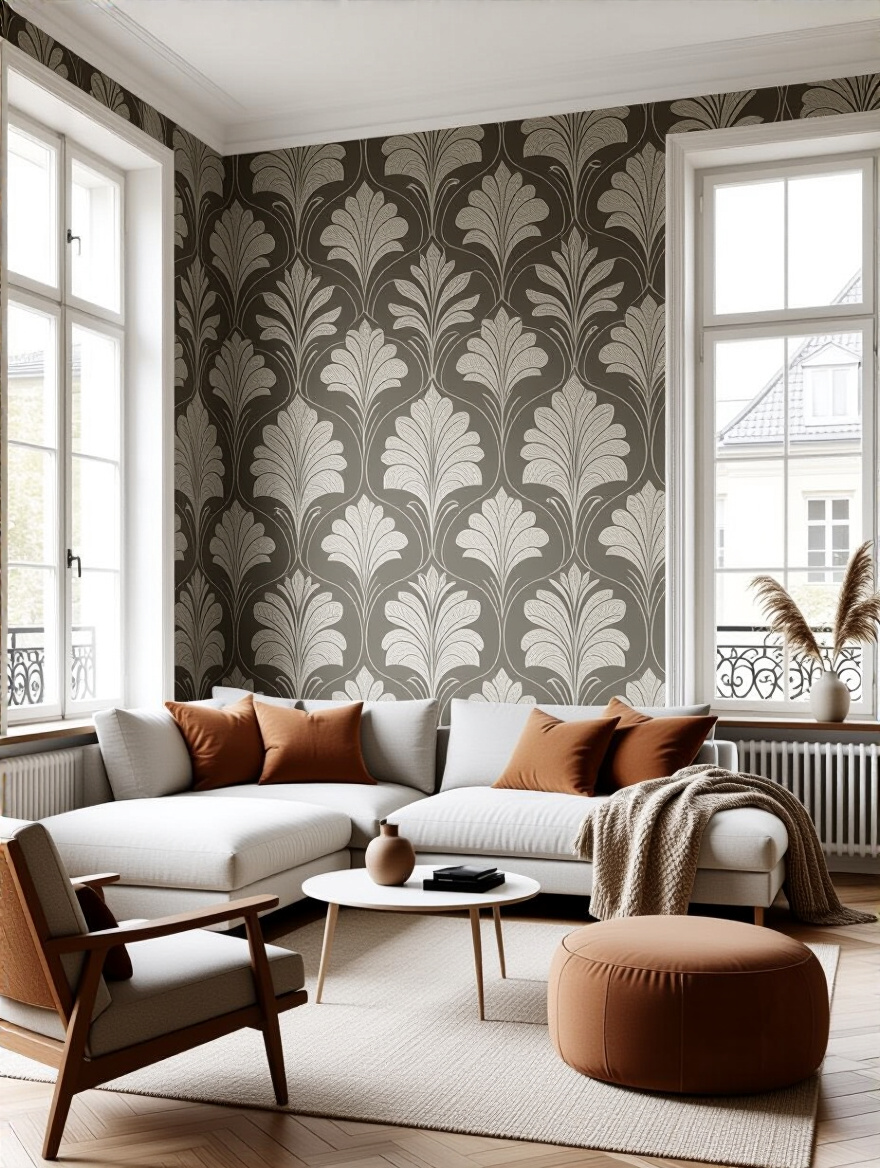
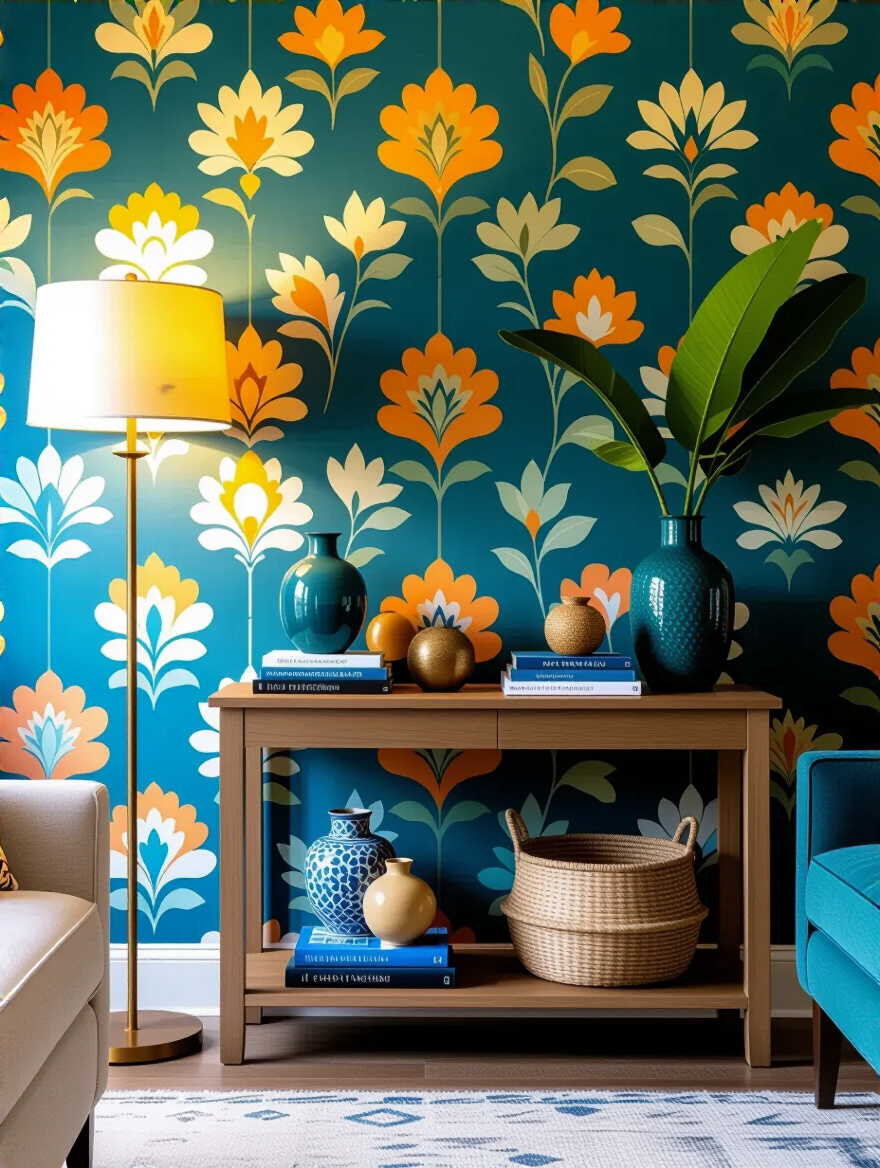
Don’t just pick a wallpaper you think is pretty. Your accent wall has to serve the story of your room. Is your space a gritty, industrial neo-noir like Blade Runner? Then you want something with texture, like distressed brick or concrete. Is it a whimsical, symmetrical Wes Anderson comedy? Hello, quirky, repeating patterns. A serene period drama? Time for a sophisticated damask or a floral that feels straight out of a Merchant-Ivory film.
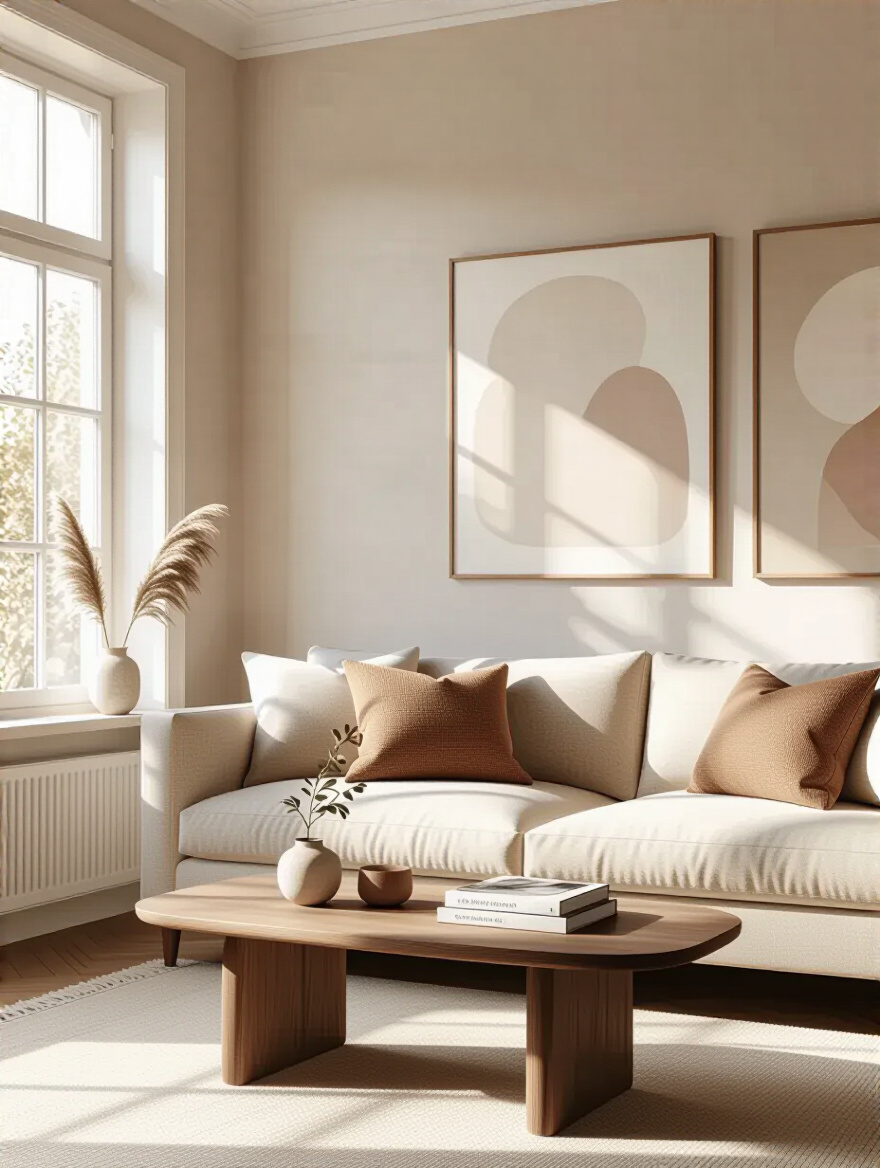
Look at your furniture, your art, your rugs. What’s the vibe? The worst thing you can do is introduce a style that fights everything else. I learned this the hard way on one of my first projects. I fell in love with a bold, 70s-style geometric paper for a room filled with rustic, farmhouse furniture. It looked like two different movies were playing on the same screen. The fix was a subtle grasscloth wallpaper. It added incredible texture and depth without screaming for attention, perfectly complementing the organic, rustic feel. Your accent wall should be the main character, but it has to be in the right movie.
And like any good cinematographer, you have to obsess over your lighting.
I can’t scream this loud enough: Light changes everything. A wallpaper you love in the store can look dead, flat, or just plain wrong under the lights in your home. Before you even think about buying, you have to analyze your light. North-facing rooms have cool, indirect light that can make warm colors look muddy. South-facing rooms get blasted with bright, warm light that can wash out subtle patterns.
You need to become your own gaffer. Get large samples—I’m talking poster-sized if you can—and tape them to your chosen wall. Then watch. Watch what they do in the morning, at noon, and at night under your lamps. Is the paper matte? It will absorb light, creating a moody, velvety look perfect for a cozy home theater. Does it have a metallic or satin finish? It will bounce light around, making the space feel brighter and more alive. Remember that the color temperature of your bulbs (Kelvin) will dramatically shift the color. A paper that looks cool and blue under a 5000K bulb can look warm and green under a 2700K bulb. Test it all.
With your lighting script ready, it’s time for the technical scout.
This is the boring part, I know. But screwing this up is a classic rookie mistake that can halt your entire production. You run out of wallpaper mid-job, and surprise, the batch lot you bought is now discontinued. I saw a client lose a weekend and hundreds of dollars because they forgot to account for the pattern repeat. Their wallpaper had a 24-inch vertical repeat, meaning they lost two feet of paper for every strip just to get the pattern to line up. Ouch.

Here’s the shortcut you need: Don’t just measure the height and width once. Measure the width at the top, middle, and bottom. Measure the height on the left, right, and center. Walls are never perfectly square. Use the largest of these numbers for your calculation. Then, find the pattern repeat on the label and use an online wallpaper calculator that accounts for it. Finally, add 15-20% for waste and mistakes. Always buy one extra roll. Seriously. It’s the cheapest insurance policy you’ll ever buy.
Now that you know what you need, let’s talk about money.
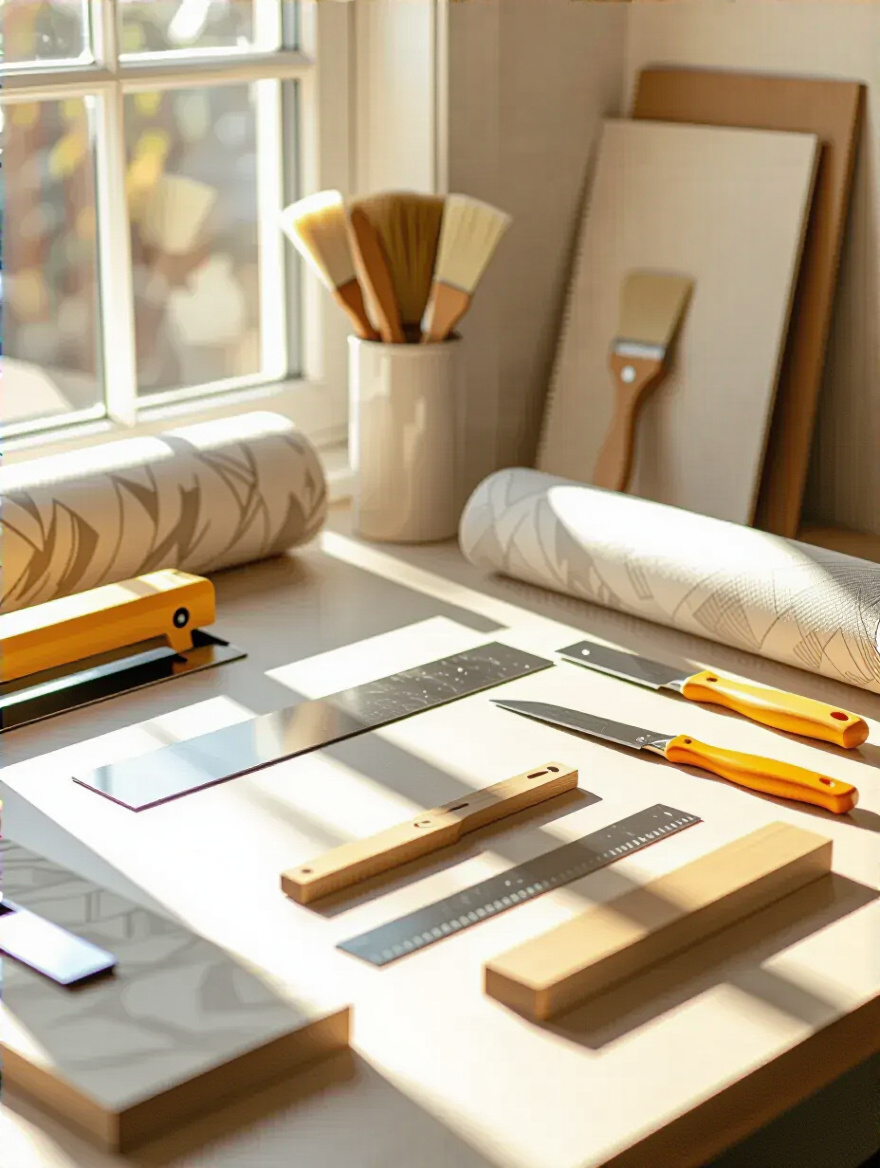
Can we talk about why everyone gets budgeting wrong? They see the price per roll and think, “That’s the cost.” No. That’s like saying the budget for Star Wars was just Harrison Ford’s salary. You’re forgetting the crew and the equipment. Your budget needs three lines: the wallpaper itself, the tools (smoother, sharp blades, level, primer), and potentially, the professional installer.
If you’re using a $300-a-roll, hand-painted paper with a complex drop-match pattern, do not hang it yourself unless you’ve done this before. Wasting a roll of that stuff costs more than hiring a pro for the day. A pro will have it done perfectly in a few hours, while you’d spend a whole weekend cussing at bubbles and mismatched seams. For peel-and-stick or simple patterns, go for it. But be honest with yourself about your skills and your patience. A wobbly, bubbled wall will taunt you every time you sit on the sofa.
Okay, the script is locked, the budget is approved. Now comes the fun part: making the creative choices that will appear on screen. This is where you bring your vision to life.
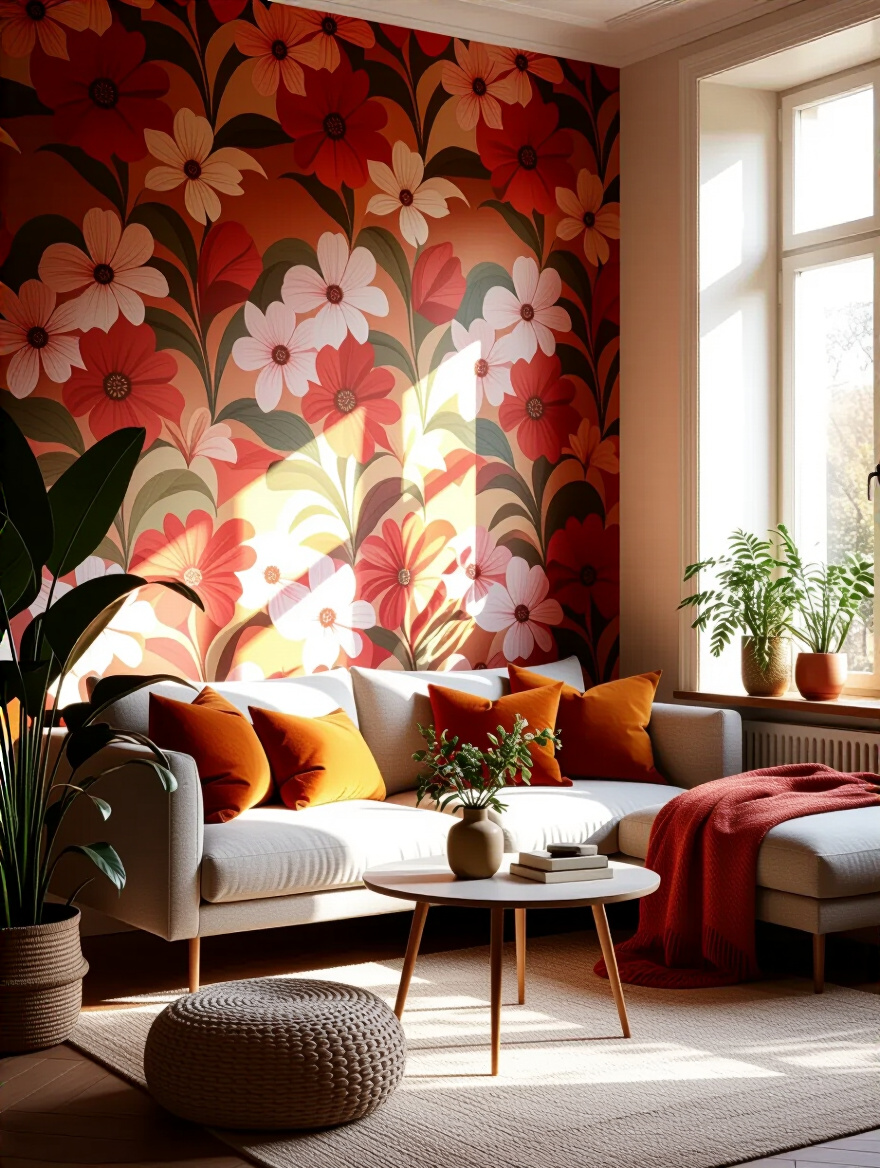
The scale of your wallpaper’s pattern is your camera lens. In a huge room with tall ceilings, a tiny, delicate pattern will just get lost—it’s like using a 50mm lens when you need a wide-angle. You need a large-scale, bold pattern to fill that space and command attention. It gives the room a focal point that feels intentional and properly proportioned.
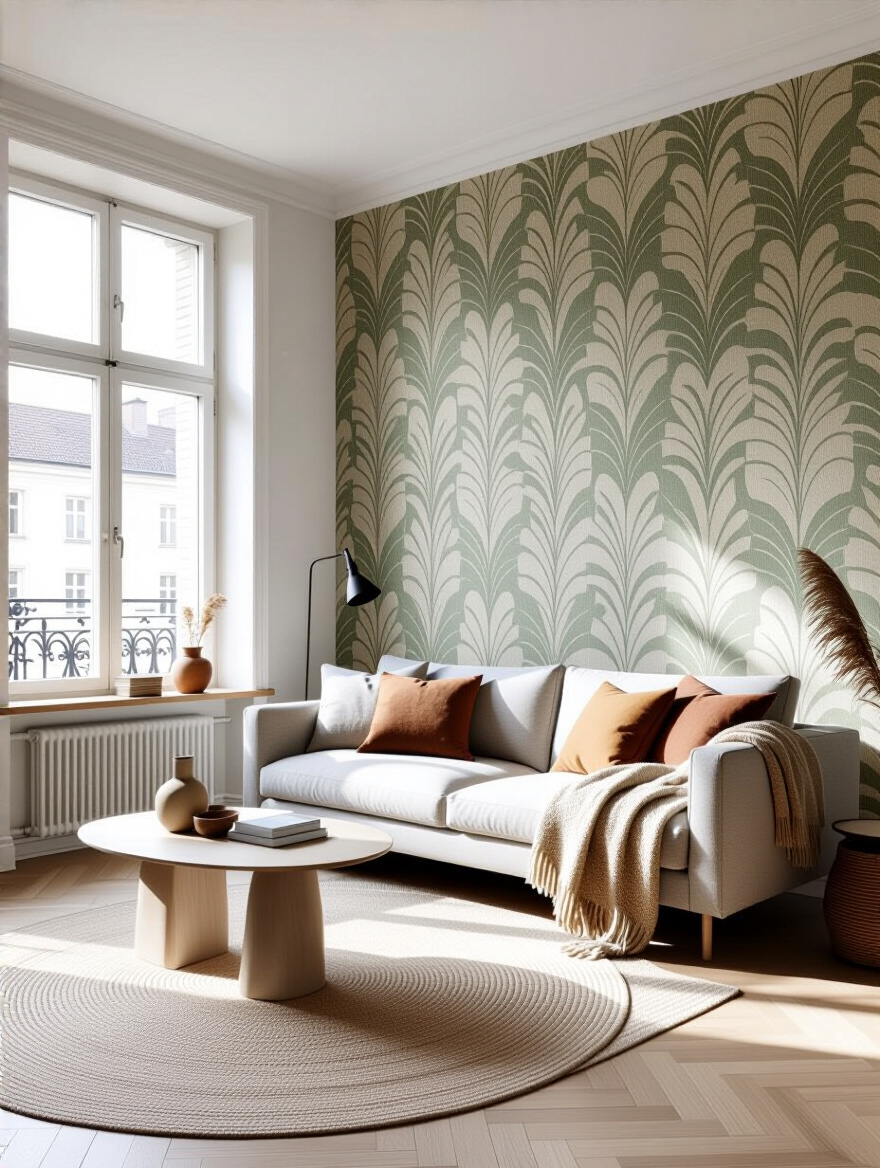
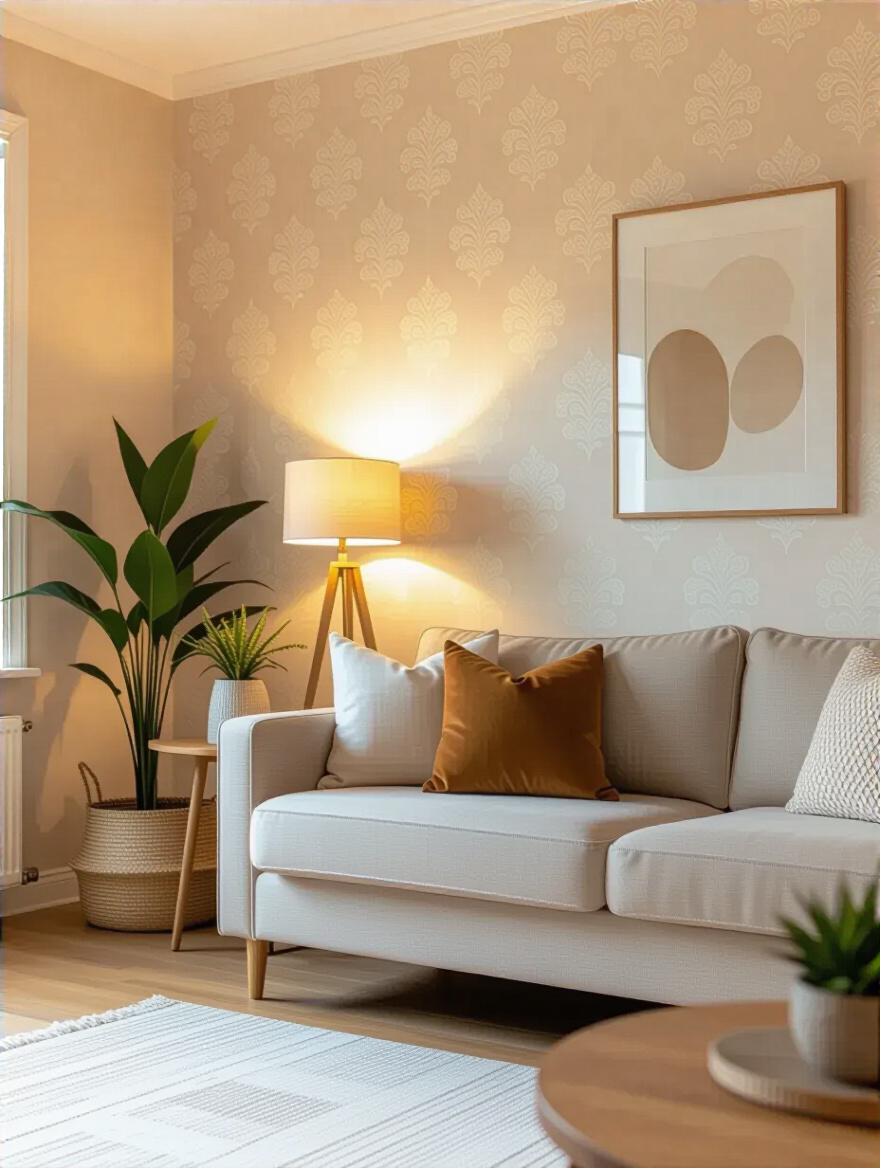
Conversely, in a small living room or a cozy den, a massive, overwhelming pattern will make the walls feel like they’re closing in on you. It’s claustrophobic. For smaller spaces, you want a pattern with a smaller repeat or a more subtle, textural feel. A simple rule of thumb: vertical patterns (like stripes) will draw the eye upward, making the ceiling feel higher. Horizontal patterns can make a narrow room feel wider. You’re not just decorating; you’re manipulating the audience’s perception of the space.
Beyond the visual, think about how the wall will feel.
I see flat, printed wallpaper as the CGI of the design world. It can look amazing, but you can’t beat a good practical effect. Textural wallpapers—grasscloth, cork, linen, faux brick—are the practical effects. They add a tangible, sensory dimension to the room that invites you to touch it. They play with light and shadow in a way that flat paper just can’t replicate.
Plus, many of them have an acoustic benefit. I love using grasscloth or other fabric-based wallpapers in media rooms because they help absorb sound, cutting down on echo and improving the audio experience. Think about it: You’re adding a beautiful design element that also makes dialogue in your movies clearer. That’s a win-win. Don’t be afraid of texture. It’s what gives a room soul and makes it feel rich and layered, not like it was decorated in a day.
Texture works with color to create the final mood.
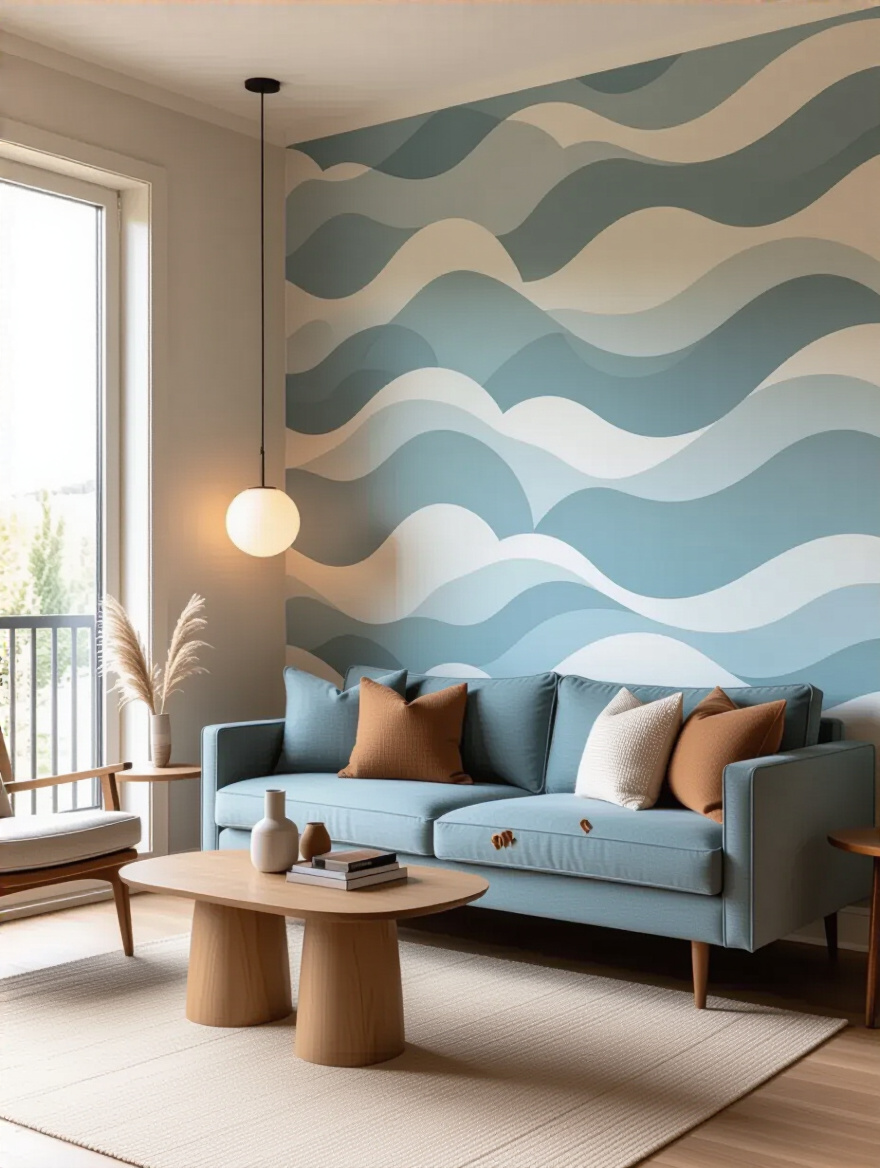
In filmmaking, color grading is the process of altering the color and tone of the footage to create a specific mood. A film can be warm and saturated like Amélie, or cool and desaturated like The Matrix. Your wallpaper’s color palette does the exact same thing for your living room. You have two main choices: high contrast or serene harmony.
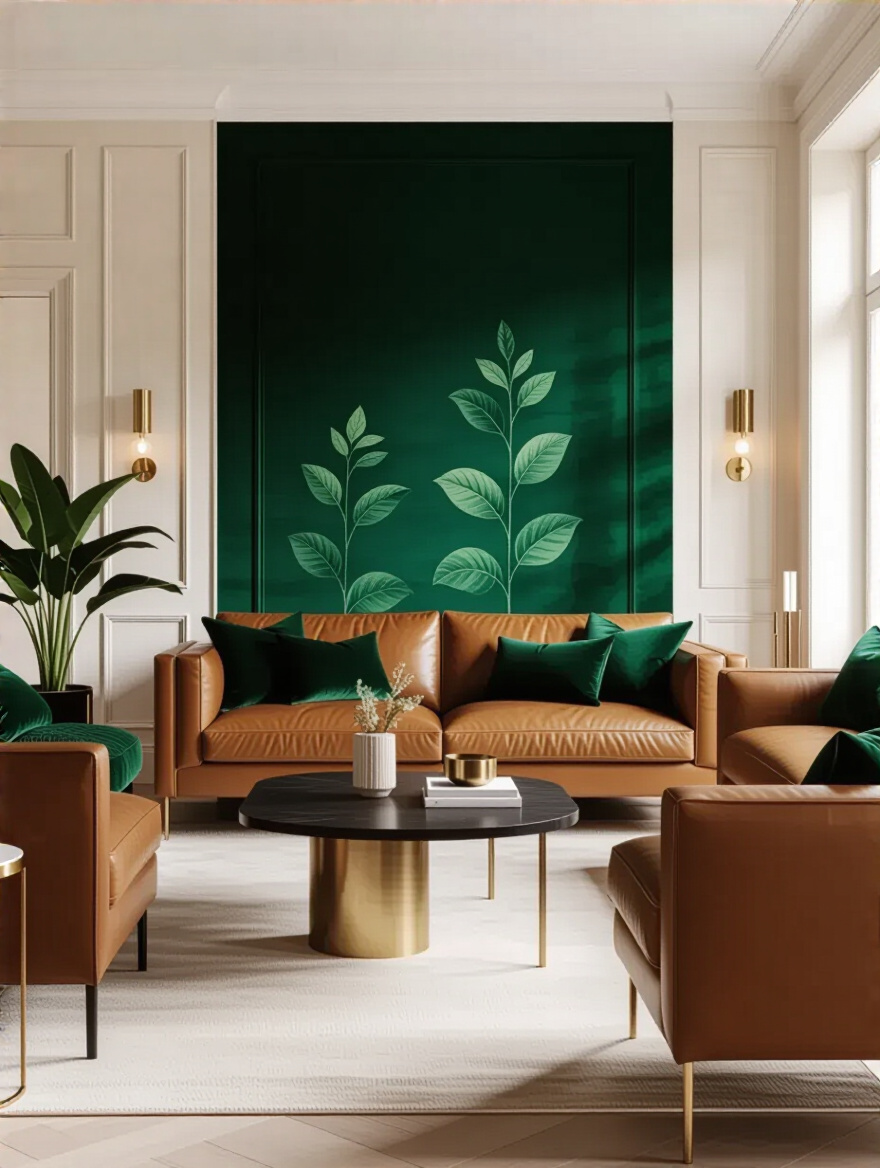
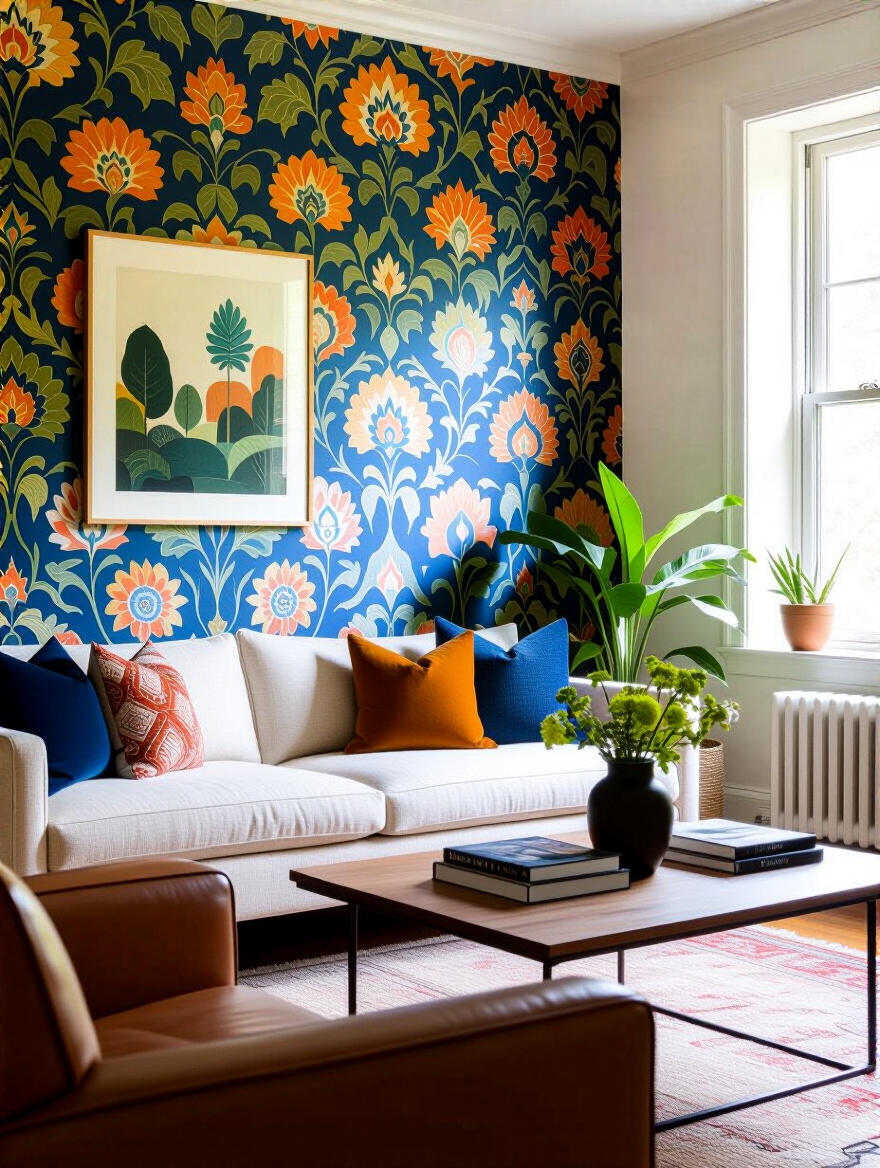
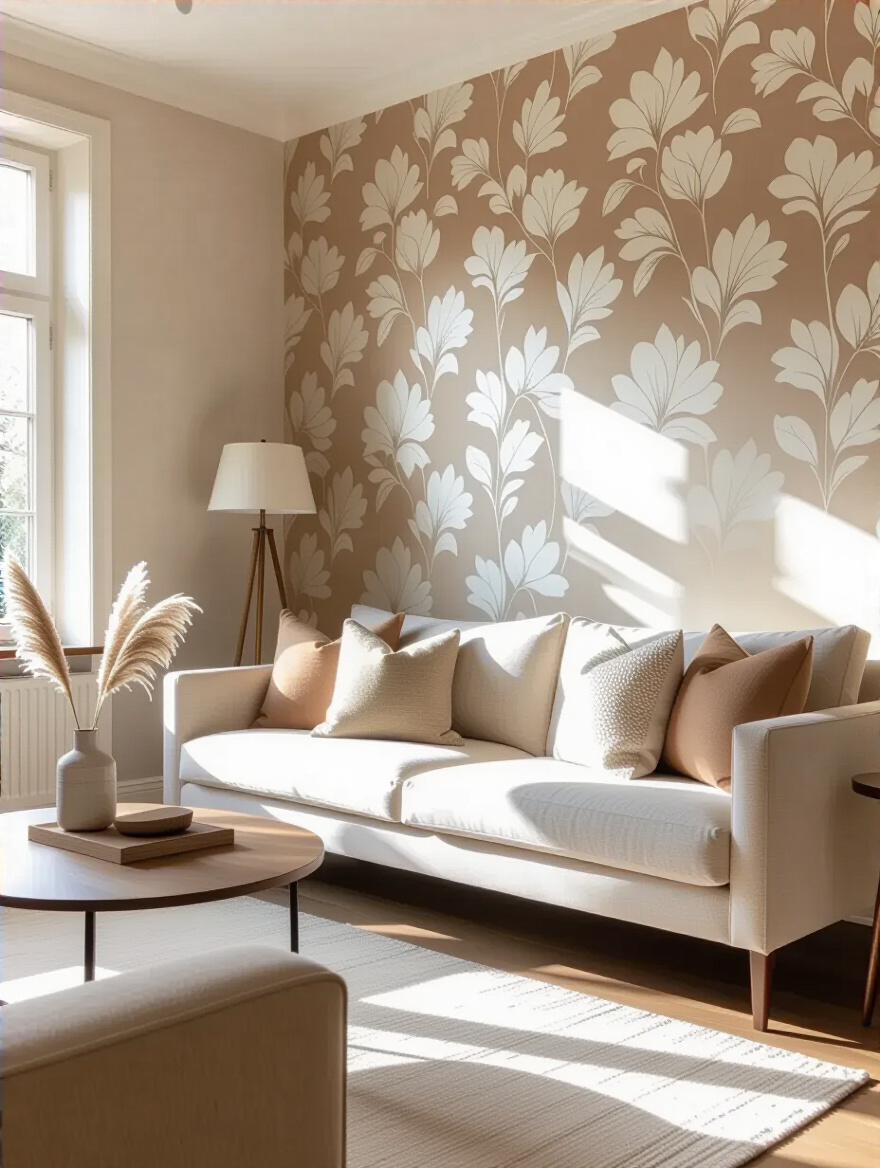
High contrast is your action movie. A deep, dramatic wallpaper on one wall with crisp, light walls surrounding it creates energy and a powerful focal point. It’s bold, it’s confident, and it defines a zone. Serene harmony is your prestige drama. Choosing a wallpaper that’s a few shades darker or a complementary tone to the other walls creates a seamless, calming, and sophisticated flow. There’s no right answer, but you have to choose your intention. Just picking a color you like without considering its relationship to the rest of the room is the biggest BS move. It’s a guaranteed way to make your expensive wallpaper look cheap.
But what if you’re not ready to commit to a five-picture deal?
I used to think peel-and-stick wallpaper was flimsy, student-film stuff. I was wrong. The quality has gotten so good that it’s now a legitimately brilliant tool, especially for renters or people who, like me, love to change things up. It’s the ultimate reshoot option. You can try a bold, trendy pattern for a year or two, and if you get tired of it, you just peel it off. No steamers, no scraping, no damage.
The key is prep. Don’t just slap it on the wall. The wall needs to be clean, smooth, and—this is crucial—painted with an eggshell or satin finish. Matte paint is too porous, and the adhesive can bond with it and peel the paint off when you remove it. Wait at least a month after painting to apply it. For anyone nervous about making a big, permanent statement, this is your secret weapon. It gives you the freedom to experiment without the fear.
Now, for one of my favorite cinematic tricks…
Want to make a small, dark room feel brighter and more expansive without adding a single window? Use a wallpaper with a metallic or reflective finish. It’s the design equivalent of a J.J. Abrams lens flare—it catches the light and bounces it around the room, creating life and energy. A paper with subtle gold threads, a pearlescent sheen, or a foil pattern can make a north-facing room feel twice as bright.
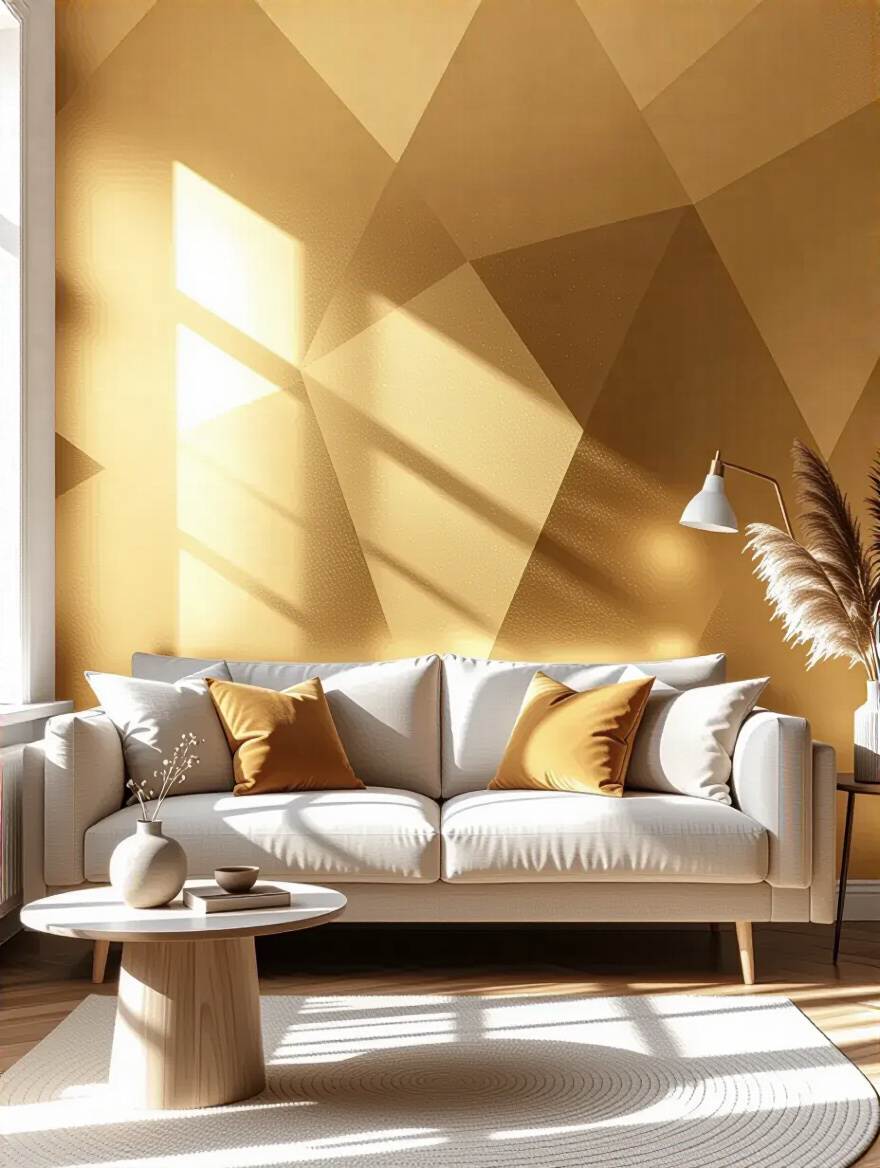
This is a trick cinematographers use all the time—using reflective surfaces just out of frame to bounce light onto an actor’s face. You’re doing the same thing for your whole room. The key is to be strategic. Putting it on a wall that gets direct sunlight might create too much glare. But putting it on a wall opposite a window? Chef’s kiss. It grabs that light and throws it deep into the room. In a home theater, a dark wallpaper with subtle metallic flecks can create a stunning “starfield” effect when the lights are low. It’s pure magic.
The footage is shot. Now you have to assemble it into a masterpiece. This is the installation phase, where precision and technique turn good ideas into a flawless final cut.
You wouldn’t shoot a movie through a dirty camera lens. So why would you put expensive wallpaper on a dirty, unprepared wall? This is the most skipped step, and it’s the reason most DIY wallpaper jobs fail. You have to clean the wall to get rid of dust and grease. You have to fill any holes or cracks and sand them perfectly smooth. Any imperfection will show through the paper like a giant pimple.

And for the love of all that is holy, you have to use a wallpaper-specific primer. It’s not the same as paint primer. It creates a sealed, uniform surface that allows the paper to “slip” a little as you position it and ensures it adheres perfectly. It also makes removal a thousand times easier down the road. Skipping primer is like building a house on a sand foundation. It might look fine for a week, but it’s doomed to fail.
Once prepped, it’s time for the most crucial moment.
This is where the shaky-cam DIY-er is separated from the steady-handed pro. Matching a complex pattern seamlessly is an art. The secret isn’t just to measure carefully; it’s to lay out and “dry fit” your strips on the floor first. Roll out two or three strips, line them up perfectly, and see how the pattern flows before you even think about putting paste on the wall.
And here’s the shortcut I wish someone had told me years ago: A sharp blade is not a suggestion; it’s a law. Use a snap-off utility knife and snap off a segment for a fresh, razor-sharp edge after every two or three cuts. A dull blade will snag and tear the paper, especially when it’s wet with paste, leaving you with fuzzy, ugly seams. Also, never, ever trust your eye or the ceiling line. Your first strip must be set with a plumb line or a laser level to ensure it’s perfectly vertical. Every other strip will align with that one, so if it’s crooked, your whole wall will be crooked.
Now let’s blend the special effect with the live-action.
Your wallpaper doesn’t exist in a vacuum. It has to talk to everything else in the room. A great accent wall can be ruined by art that clashes or a sofa that ignores it completely. The goal is harmony. Pull a secondary or tertiary color from your wallpaper pattern and repeat it in your Throw Pillows, a vase, or the matting of a picture frame. This is what makes a design feel intentional and cohesive.
Here’s the BS to watch for: “The accent wall should match everything.” No. It should complement everything. If your wallpaper is the star of the show—big, bold, and dramatic—then your furniture and art should be the supporting cast. Let them be more muted and subtle. If your wallpaper is textural and understated, you can afford to have a brightly colored sofa or a gallery wall of bold art on an adjacent wall. It’s about balance. The room can only have one diva.
To put a final touch on it, you need to frame your masterpiece.
This might sound a little old-fashioned, but hear me out. For certain styles, a thin wallpaper border or a piece of painted molding can frame your accent wall and elevate it from a wall covering to a piece of art. It creates a crisp, defined edge and makes the whole installation look incredibly polished and high-end.
This works especially well for creating a framed “panel” effect on a larger wall or for cleanly separating the wallpaper from a painted surface. A thin, metallic trim around a bold art-deco pattern, for example, looks absolutely stunning. It’s a small detail, but in design, as in film, God is in the details. It’s the little touch that says, “A professional did this,” even if that professional was you.
And of course, don’t ruin the rest of the set during filming.
This seems obvious, but you’d be surprised how many people get so excited they just dive in and make a huge mess. Wallpaper paste is sticky, wet, and gets everywhere. Before you start, tape off your baseboards, crown molding, and the corners of the adjacent walls with good quality painter’s tape. Lay down canvas drop cloths, not flimsy plastic ones that you’ll trip on.

I once saw a guy drip paste onto a brand new wool rug. He tried to clean it up and just smeared it in deeper, ruining a multi-thousand dollar rug to save five minutes of prep time. Don’t be that guy. Take the time to protect your set. The cleanup will be a thousand times faster, and you won’t have to live with the collateral damage of your creative burst.
The wall is done, but the film isn’t finished. This is post-production—the final tweaks that take a good project and make it great. It’s about lighting, maintenance, and those final touches that create a truly cohesive experience.
You’ve created a beautiful piece of art; now put a spotlight on it. Accent lighting is what makes your wallpaper come alive after the sun goes down. A well-aimed track light or a recessed “wall-washer” can graze light across a textured surface, creating dramatic shadows and highlighting its depth. Picture lights above can illuminate a mural like a painting in a gallery.
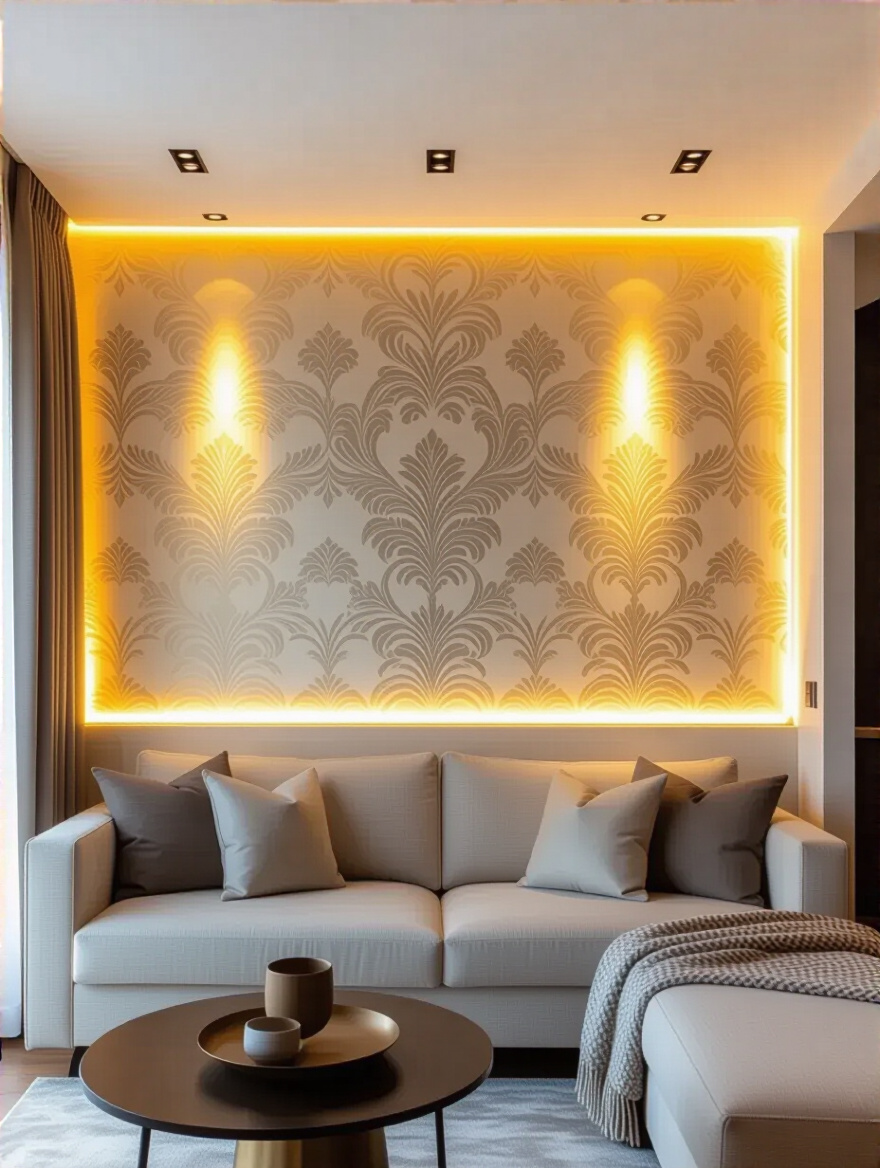
My favorite trick is to hide a flexible LED strip light at the top or bottom of the wall, either behind a piece of molding or the media console. It creates a gorgeous, soft glow that washes over the wall and creates an incredible ambiance. This is especially effective in a home theater setting. With the right lighting, your accent wall becomes a dynamic feature that changes its personality from day to night.
Even with the best plan, sometimes you need to fix things.
No shoot is perfect. Sometimes you get bubbles. Sometimes a seam doesn’t look quite right. The key is to address these things immediately, while the paste is still wet. For a small air bubble, use a smoother and gently push it toward the nearest seam. For a larger one, you can poke it with a tiny pin and smooth the air out.
If a seam is lifting slightly, you can use a small artist’s brush to apply a tiny bit of seam adhesive and roll it back down. The mistake everyone makes is waiting until it’s dry. Once that paste has cured, your options are basically zero. Don’t be afraid to gently peel a strip back a few feet and re-smooth it if you see a major problem. It’s much better to fix it in the moment than to stare at a mistake for the next ten years.
Once perfect, you have to preserve the print.
You wouldn’t let your film prints gather dust and decay, so don’t let your wallpaper get grimy. Maintenance is simple but critical. First, know what kind of wallpaper you have. Vinyls and other “washable” papers can be gently wiped down with a damp sponge and a tiny bit of mild soap. Delicate papers like grasscloth or unpasted traditional papers? Dust them regularly with a soft brush attachment on your vacuum, but that’s it. Water will ruin them.
Test any cleaning solution on a small, hidden area first—like behind the sofa. The goal is to keep dust from building up, which dulls the color and texture over time. A little bit of routine care will keep your wall looking as vibrant and fresh as the day you installed it, preserving your investment and the impact of your design.
Now, add the supporting elements that complete the story.
The final element of a film is the musical score. It’s what ties the visuals together and tells the audience how to feel. In your room, accessories are the score. They create the emotional connection between your accent wall and the rest of the space. As I mentioned before, pull colors from the wallpaper into pillows, throws, and decorative objects.
But also think about theme and material. If your wallpaper has a gold metallic element, add a couple of brass or gold-finished accessories around the room, like a lamp or a picture frame. If it’s a natural grasscloth, bring in other organic elements like a wooden bowl or a live plant. These repeating motifs are what create a rich, layered, and professional-looking design. It tells a cohesive story.
Finally, one last look at the entire composition.
You’ve just installed a stunning, brand-new 4K screen. Are you going to leave the 1980s wood-paneled walls around it? No. Your accent wall will make your other walls look tired and dingy by comparison. Refreshing the paint on the adjacent walls is non-negotiable. It’s what makes the entire composition work.
The pro move is to pull a very subtle background color from the wallpaper and use that for the other walls. Or, if the paper is super bold, go with a clean, complementary neutral. Get some paint swatches and hold them up against your new wallpaper. See how they interact. A fresh coat of paint on the other three walls will make your accent wall pop and feel like a deliberate, integrated part of a master plan, not just an afterthought.
There you have it. Creating a living room accent wall that feels like a masterpiece isn’t about luck; it’s about making a series of smart, intentional choices, just like a film director. It’s about understanding the script of your room, knowing how to light it, and editing all the pieces together into a seamless story.
Your home is the set where the movie of your life unfolds. It’s where you have family movie nights, watch the big game, and relax after a long day. So don’t settle for a boring backdrop. Take these tips, trust your creative instincts, and create a space with character, drama, and style. Create a space that gives you that “wow” feeling every single time you walk in.
Now go make some movie magic.