Physical Address
304 North Cardinal St.
Dorchester Center, MA 02124
Physical Address
304 North Cardinal St.
Dorchester Center, MA 02124
Transform your family bathroom! Explore 22 joyful and budget-friendly makeover ideas for a stylish, functional space that supports child development.
Picture this: It’s 7:15 AM. You’re standing in a bathroom that feels like a beige box of chaos. There’s toothpaste on the faucet, a damp towel on the floor (again), and you can’t find the kids’ detangling spray under a mountain of half-empty bottles. It’s a space that serves a purpose, but it certainly doesn’t bring anyone joy. You just want a bathroom that works for the whole family—a place where your toddler can reach the sink, your tween has a spot for their stuff, and you… well, you’d just like it to feel clean and calm for five minutes.
Everyone thinks creating a beautiful, functional family bathroom means a massive renovation and a price tag to match. That’s the noise. Here’s what actually matters: creating a space that supports your kids’ independence and makes your life easier, one smart, small step at a time. I used to think designing for kids was just about primary colors and plastic. Then I realized the magic happens when you combine smart design with a little insight into how kids learn and grow. You can have a bathroom that is stylish, budget-friendly, and a secret developmental powerhouse. Forget the total gut job; let’s talk about what really works.
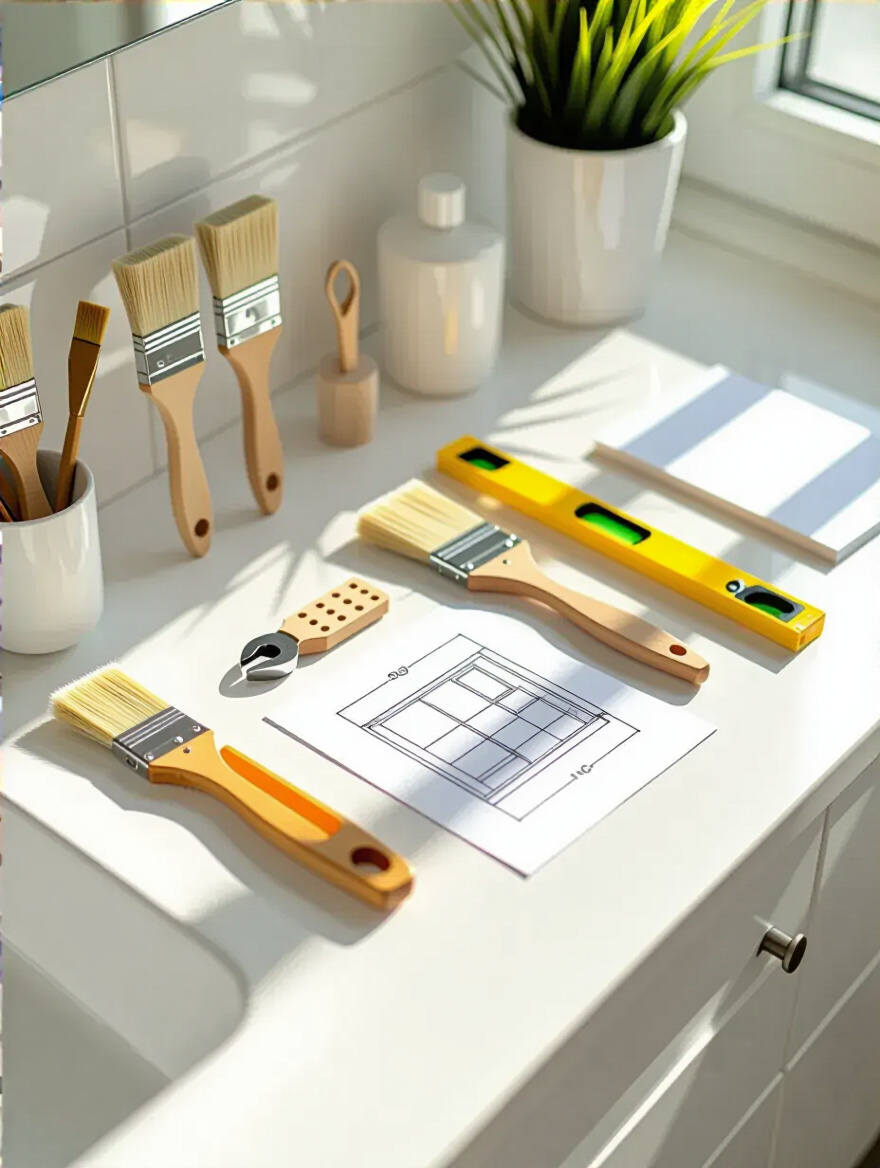
Before you even think about picking out a shower curtain, we need to play detective. The secret to a successful makeover that doesn’t spiral out of control is knowing exactly what you’re working with and what you truly need. This is where we put on our thinking caps and get strategic, making sure every dollar and every ounce of effort is aimed at making the biggest, most joyful impact for your family.
Let’s be real, a “bathroom audit” sounds terribly boring. So let’s reframe it: go on a treasure hunt for problems! Grab a notepad and look at your bathroom through the eyes of every person who uses it. What’s driving you nuts? Is the faucet a grimy mess because it’s impossible for little hands to reach without dripping everywhere? Is the grout around the tub looking more like a science experiment? Note it all down—the wobbly toilet paper holder, the chipped paint, the showerhead that sprays everywhere but on you.
This isn’t about judging; it’s about gathering clues. Prioritize your list into “Must-Fixes” (like a leaky tap that’s wasting water and money), “Should-Fixes” (like that ugly, peeling vanity), and “Dream-Fixes” (like fancy new floor tiles). This simple list is your roadmap. It stops you from getting distracted by a shiny new thing at the hardware store and helps you focus your budget on what will actually make your morning routine smoother and your space healthier for your family.
With your roadmap in hand, the next logical step is figuring out the budget to make it happen.
Okay, let’s talk money. Setting a budget feels restrictive, but trust me, it’s the most freeing thing you can do. It’s your permission slip to spend without guilt. Figure out a realistic number you’re comfortable with for the whole project. Then—and this is the part everyone skips—immediately set aside 10-20% of that for a “Surprise!” fund. Because every old house has surprises hiding behind its walls, like wonky plumbing or a bit of old water damage.
Your contingency fund is your superhero cape. It swoops in to save the day when the unexpected happens, so you don’t have to panic or abandon your vision. For everything else, get friendly with Google. Research the cost of paint, a new light fixture, and that faucet you’ve been eyeing. Write it all down next to your “Must-Fix” and “Should-Fix” lists. Seeing it all on paper transforms a vague wish into a concrete, achievable plan.
Now you know what to fix and what you can spend, so let’s make sure you’re spending it wisely.
Here’s a secret the big reno shows won’t tell you: you don’t have to do everything to make a space feel brand new. The key is to focus on the things that give you the biggest bang for your buck. Think about what your eyes land on first when you walk into the bathroom. It’s usually the vanity, the mirror, and the lighting. These are your power players. Painting an old oak vanity a fresh, modern color and swapping out the clunky hardware for something sleek costs less than $100 and completely changes the room’s focal point.
Forget spending a fortune on new tile (we’ll get to that later). Instead, invest in a new light fixture that isn’t from 1982. Good lighting makes a space feel cleaner, bigger, and more welcoming. Swapping out a faucet is another game-changer. It’s like putting on a great piece of jewelry—it instantly elevates the whole outfit. Focus your budget on these highly visible elements, and you’ll create a massive transformation for a fraction of the cost of a full overhaul.
Once you know where you want to focus, it’s time to decide what you can handle yourself.
You know what people always ask me? “Can I really do this myself?” The answer is almost always YES… for certain things. Labor is the most expensive part of any renovation, so every task you can confidently tackle is pure savings. But this requires some honest self-reflection. Are you a patient painter? Awesome, you just saved hundreds. Have you ever successfully used a power drill? Great, you can probably install new hardware or a towel bar.
The BS part is when DIY blogs make replacing a toilet look like a 20-minute task for a beginner. Be real with yourself. Things like painting, replacing cabinet knobs, and even changing a light fixture (after watching a dozen safety videos!) are totally doable for most people. Complex plumbing and electrical work? That’s where you call in a pro. A failed DIY attempt that causes a flood is way more expensive than hiring an expert in the first place. Start small to build your confidence, and celebrate every win!
To get the most out of that DIY spirit, you’ll need the right materials that won’t break the bank.
Okay, planning is in full swing! But a brilliant plan needs brilliant materials—and by that, I mean clever, budget-friendly options that look a million bucks. This next part is all about becoming a savvy shopper and a master scheduler, ensuring your vision comes to life beautifully, on time, and without any last-minute financial panic.
Can we talk about peel-and-stick products for a second? They used to be the sad, flimsy stuff of dorm rooms, but they have had a MAJOR glow-up. Modern peel-and-stick tiles for a backsplash or even the floor look incredibly realistic and are a total game-changer for a bathroom makeover on a budget. You can create the look of beautiful subway tile or a fun patterned floor in an afternoon, with just a utility knife. No grout, no mortar, no mess.
This is your shortcut to high style without the high cost or commitment. It’s especially perfect for a family bathroom where you might want a fun pattern for a few years while the kids are little, but don’t want to be stuck with it forever. The key is surface prep. Your wall or floor has to be squeaky clean and smooth for the tiles to adhere properly. Don’t skip this step! It’s the difference between a project that looks amazing for years and one that starts peeling in a month.
With these smart material choices in mind, let’s get this project on a calendar.
I know, I know, a “timeline” sounds like more boring homework. But think of it as the secret recipe for a stress-free project. A renovation without a timeline is how you end up with a half-painted bathroom for three weeks and your family brushing their teeth in the kitchen sink. You just need to map out the order of operations. You can’t paint the walls, for example, until after you’ve prepped them. And you definitely don’t want to install a new vanity on a floor you plan to replace later.
Just jot down the major steps on a calendar: Week 1 is for deep cleaning, patching holes, and buying supplies. Week 2 is for painting. Week 3 is for installing the new light fixture and faucet. This simple plan keeps you focused and helps you see the finish line. It also prevents that overwhelming feeling of “what do I do next?” because you’ve already decided. Plus, checking things off a list is one of life’s most satisfying little victories.
Now that the prep is done, it’s time for the fun part: making some big, beautiful changes.
This is where the magic really starts to happen! We’re moving on from planning to doing, focusing on the core pieces of your bathroom that have the power to completely change the feel of the room. These are the updates that you’ll see and appreciate every single day, proving you can get that high-end look without the high-end price tag.
Never, ever underestimate the power of paint. It is the cheapest, fastest, and most impactful way to transform a room. But in a bathroom, not just any paint will do. You need to get a can of mildew-resistant paint. The steam from showers and bath time splashes creates a paradise for yucky mold and mildew, which is not only ugly but also unhealthy for your family’s little lungs. This special paint has additives that stop that stuff from growing.
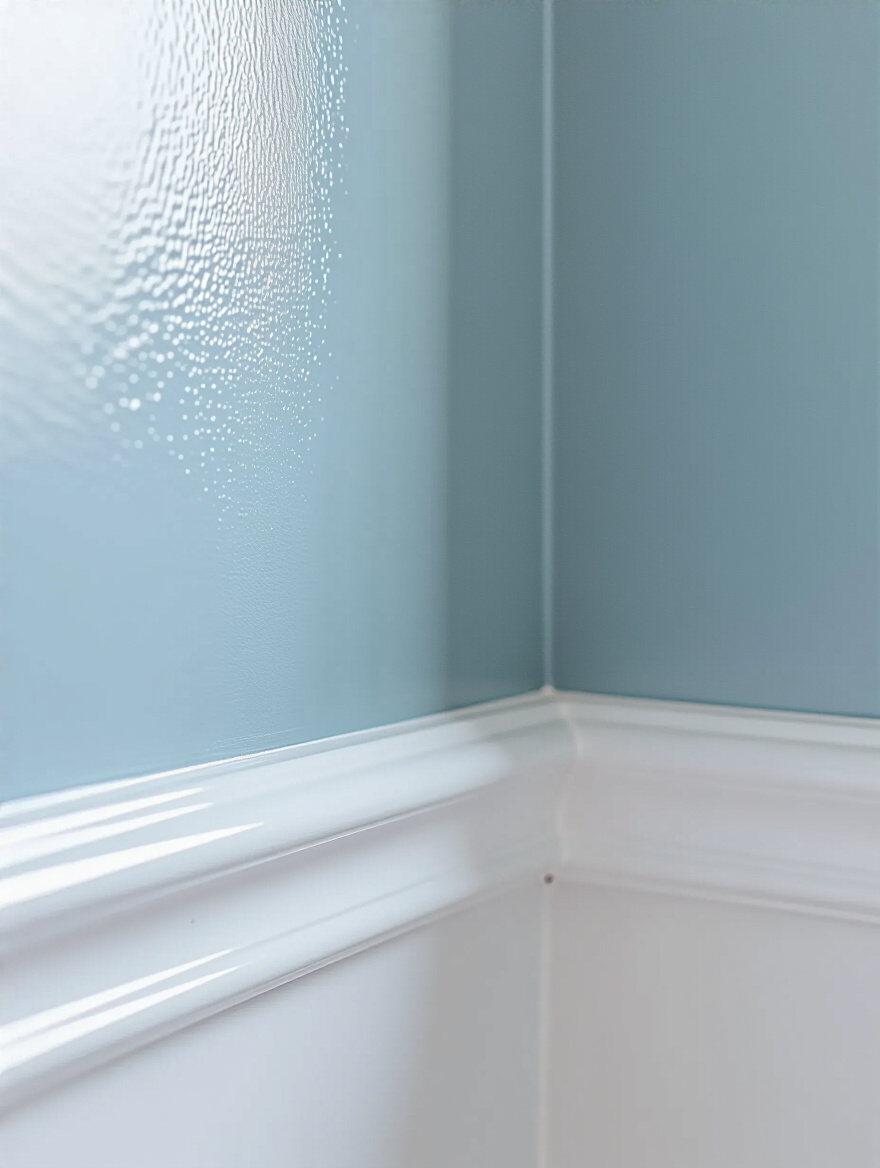
And let’s talk color! This is your chance to set the mood. A soft blue or green can create a calm, spa-like feeling—perfect for a peaceful bedtime routine. A bright, cheerful white can make a small bathroom feel bigger and cleaner. Before you commit, get a few sample pots and paint big swatches on the wall. Live with them for a day or two to see how they look in the morning light versus the evening. It’s a tiny investment that prevents major color regret later.
Once the walls are fresh and clean, let’s shine a light on them—literally.
Is your bathroom still rocking one of those Hollywood-style strips of giant globe bulbs from the 90s? Swapping out an old light fixture is a shockingly easy DIY that makes the entire room feel more modern and custom. Bad lighting can make even the cleanest bathroom feel dingy and sad. A new vanity light provides better, more flattering light for everything from shaving to brushing a toddler’s teeth.
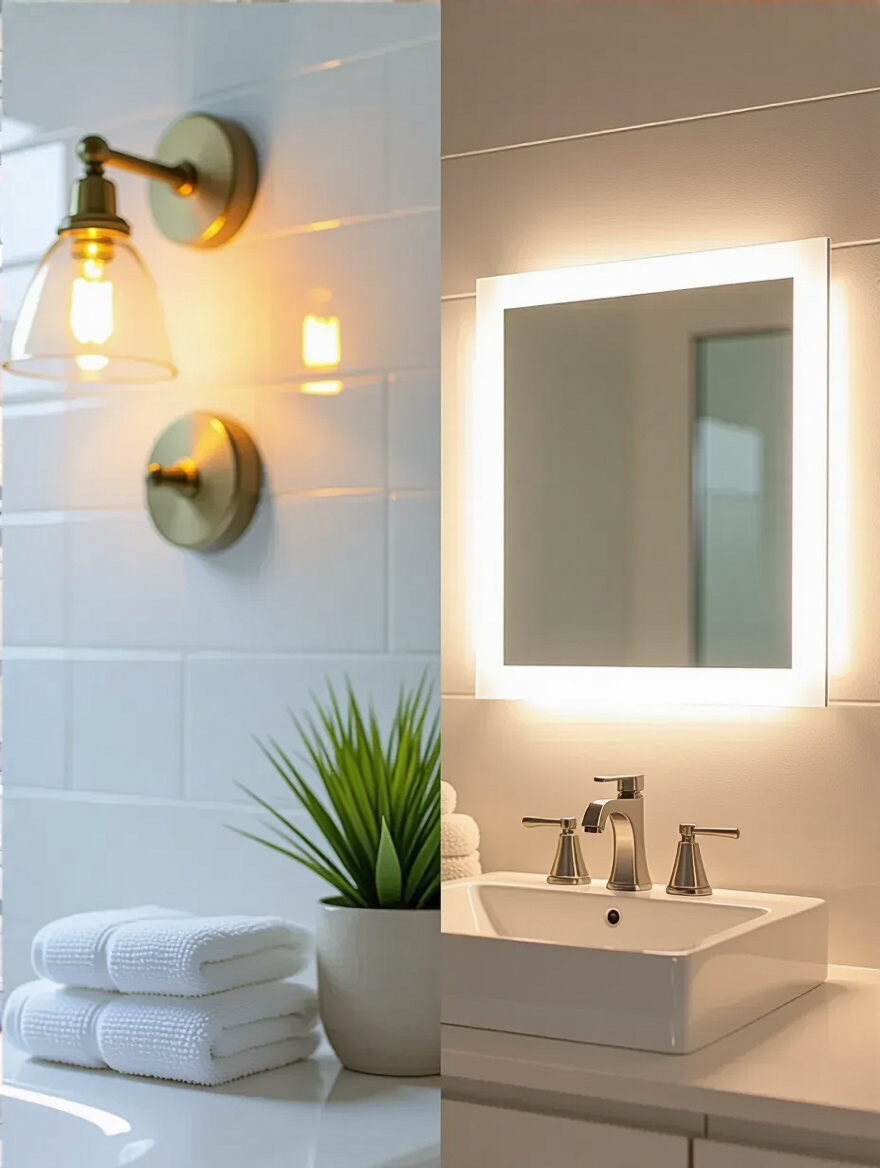
When you’re shopping, look for LED fixtures. They use way less energy (which will save you money on your electricity bill) and the bulbs last for ages, so you won’t be climbing on a step stool to change them every few months. And please, pay attention to the “color temperature” of the bulbs. You want something in the “soft white” or “bright white” range for a natural, clean light—not the harsh, bluish “daylight” bulbs that make everyone look like a zombie.
Next up, we’ll tackle the bathroom’s biggest piece of furniture.
If you have a perfectly functional but just plain ugly vanity, do not—I repeat, DO NOT—rip it out. A full vanity replacement is expensive and a huge hassle. Instead, give it a makeover with paint! With a little bit of prep work (cleaning, light sanding, and a good primer), you can paint almost any vanity, whether it’s old oak, laminate, or just a color you hate. It’s a weekend project that will make you feel like a DIY superhero.
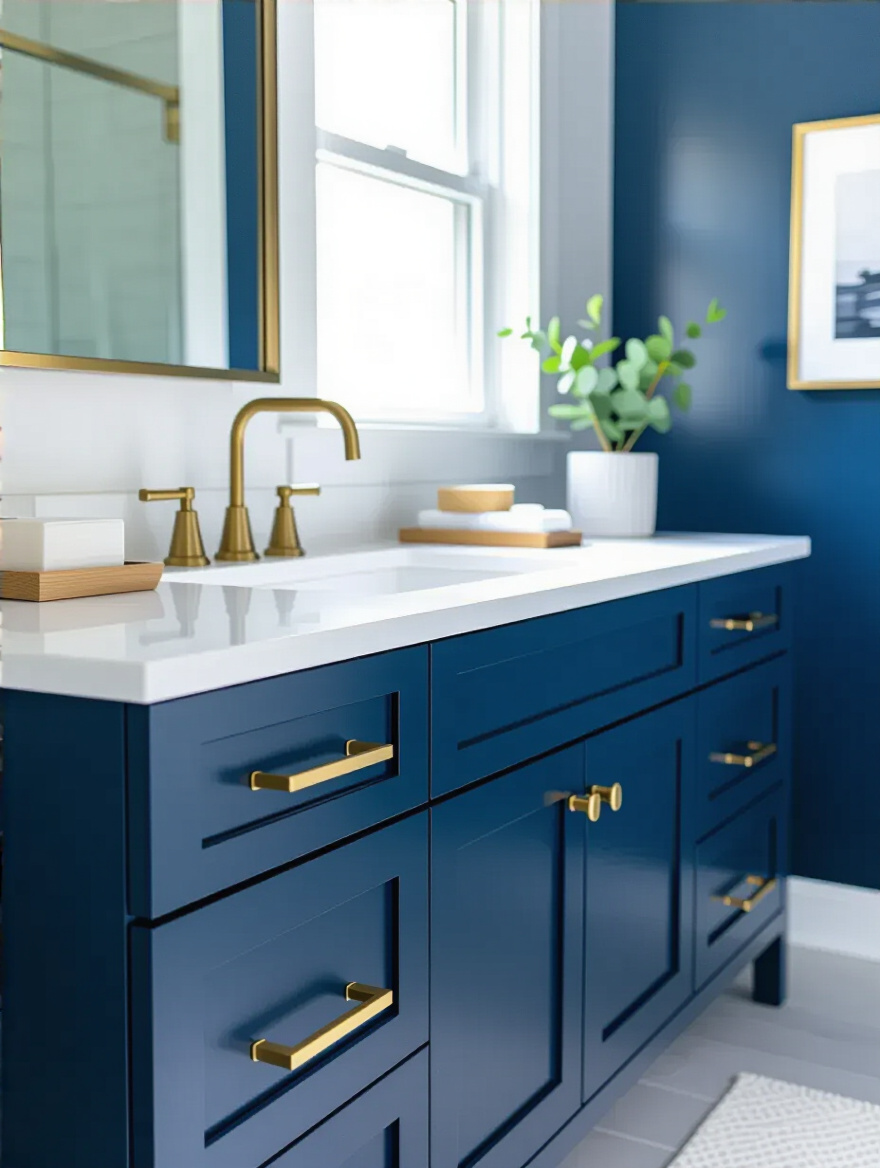
Choose a durable paint meant for cabinets, like an enamel or a chalk paint with a tough topcoat, to stand up to the wear and tear of family life. And while you’re at it, swap out the knobs or pulls. This is like changing the buttons on a coat; it’s a tiny detail that makes a world of difference. You can find stylish, affordable hardware online or at any home improvement store. Suddenly, your dated vanity looks like a chic, custom piece.
The vanity is looking great, now let’s update the jewelry it’s wearing.
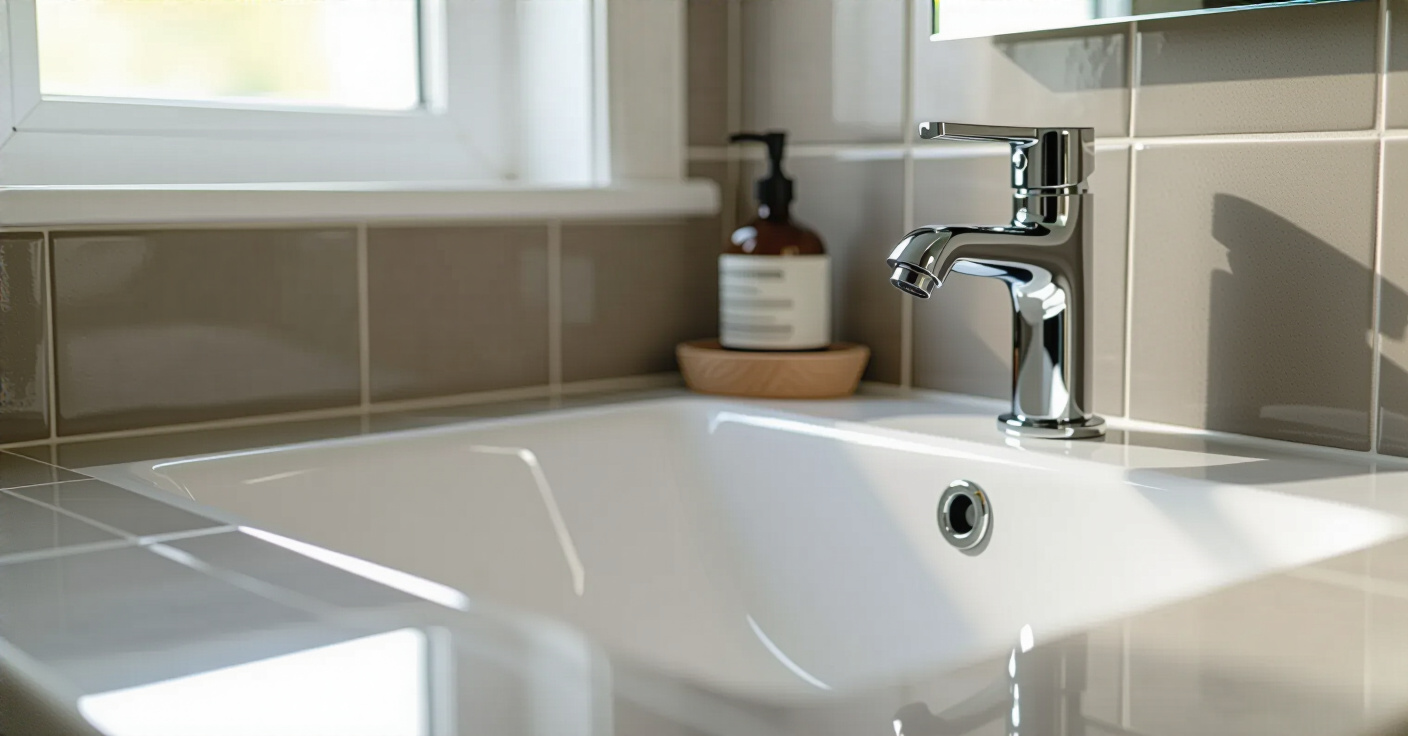
You touch your faucet and showerhead every single day, but you probably don’t think much about them—until they’re new and beautiful. Upgrading these fixtures is another one of those surprisingly simple jobs that gives you a massive style boost. A modern faucet in matte black or brushed gold can make your whole sink area look more luxurious and intentional. It’s an instant fix for a sink that feels dated.
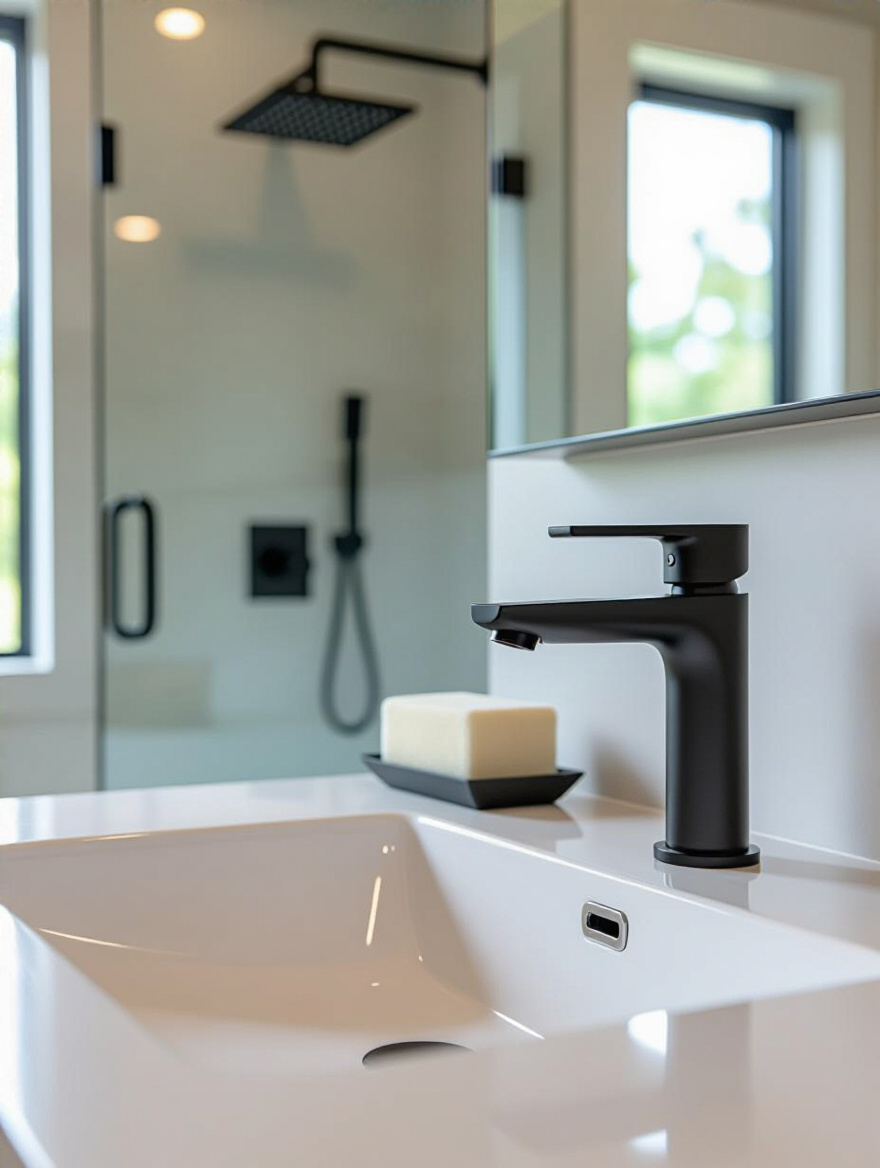
The same goes for the showerhead. Many newer models are designed to feel powerful while still saving water (which, again, saves you money!). Plus, there’s nothing like a great shower to start your day or wash off the stress of toddler negotiations. This is a fix you’ll not only see but feel the benefits of every single day. Just remember to turn off the water to the house before you start unscrewing things!
With those core elements upgraded, we can turn our attention to the unsung heroes of the bathroom.
We’re on a roll! Now we’re going to tackle some of the surfaces that take the most abuse and often show their age first. These projects require a little more elbow grease, but the payoff is enormous. Get ready to revive tired tile, give your tub a second chance, and play with light and space in a way that will make your bathroom feel twice as big.
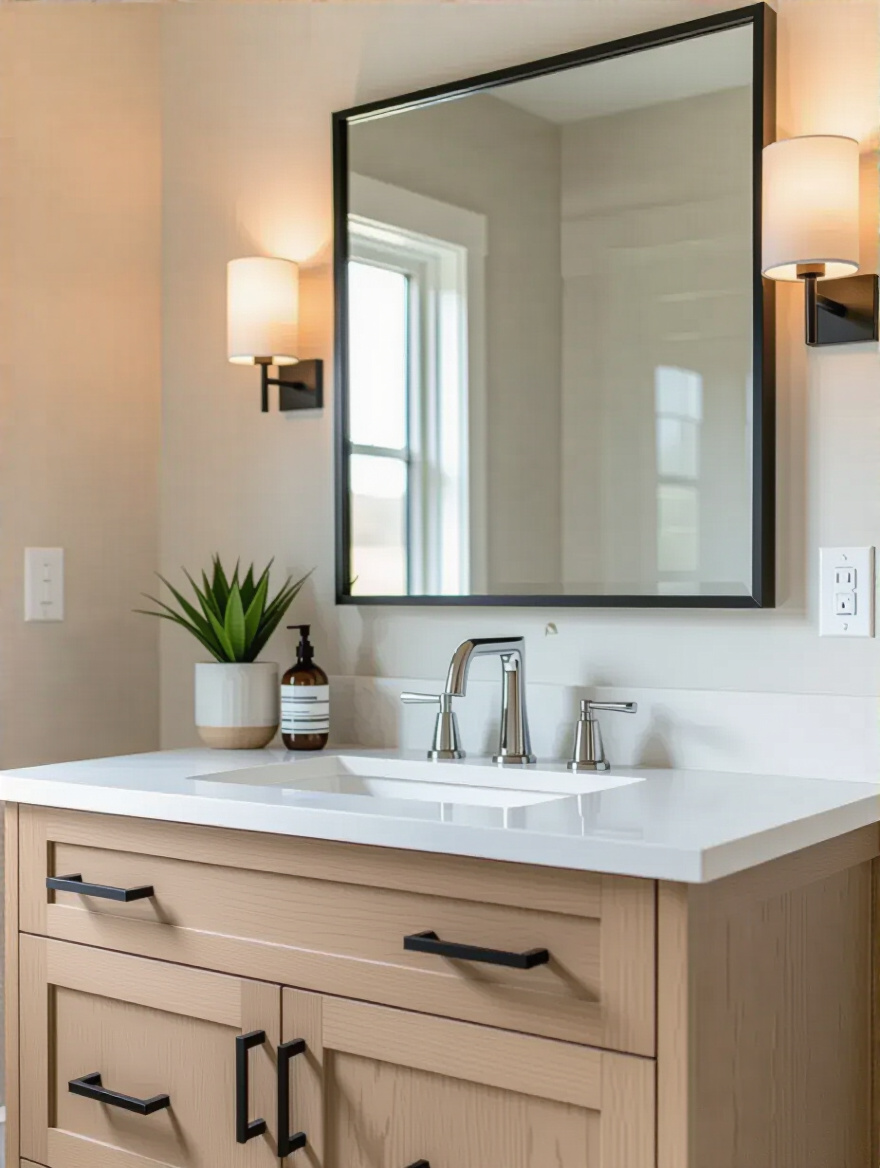
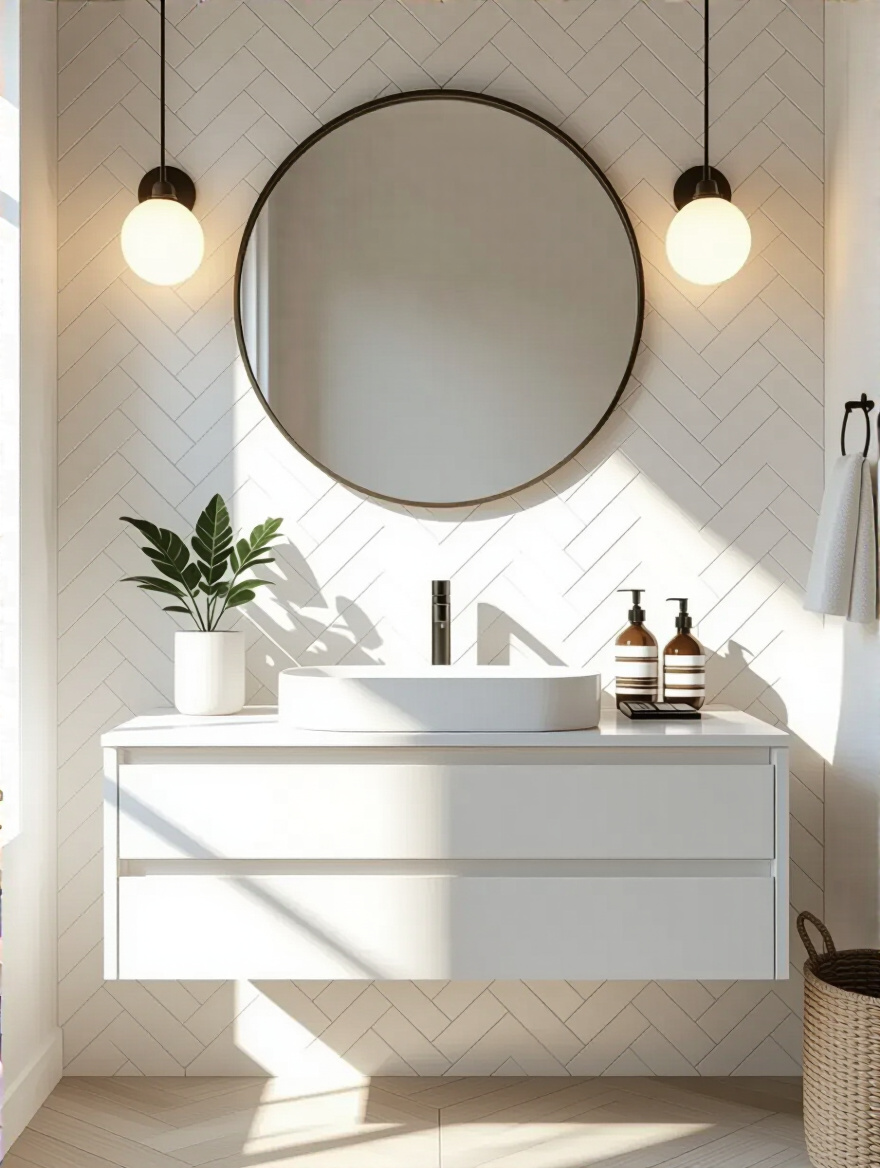
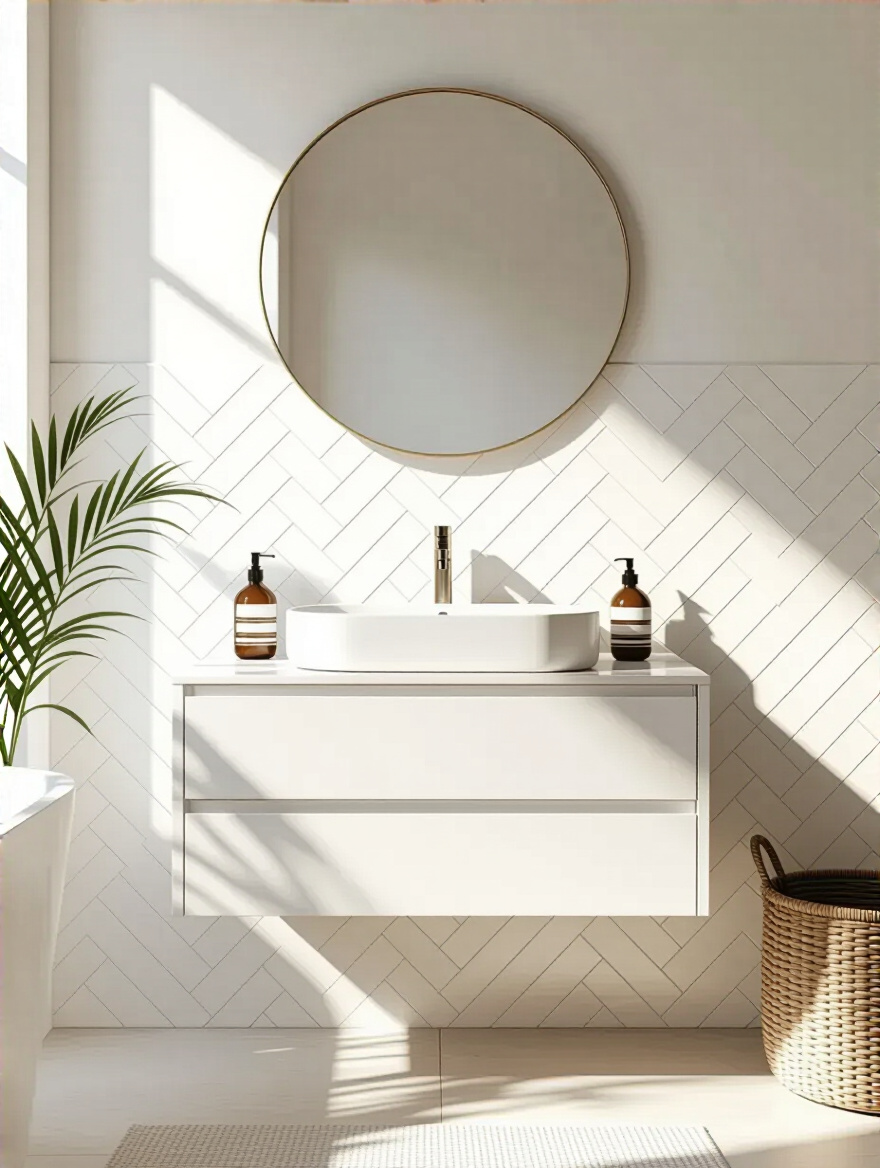
That basic, frameless builder-grade mirror is doing its job, but it’s not doing your bathroom any favors. A mirror is a designer’s secret weapon for making a space feel bigger and brighter. Think of it as a second window! By swapping out a small mirror for a larger one, or one with a beautiful frame, you create an instant focal point and bounce light all around the room.
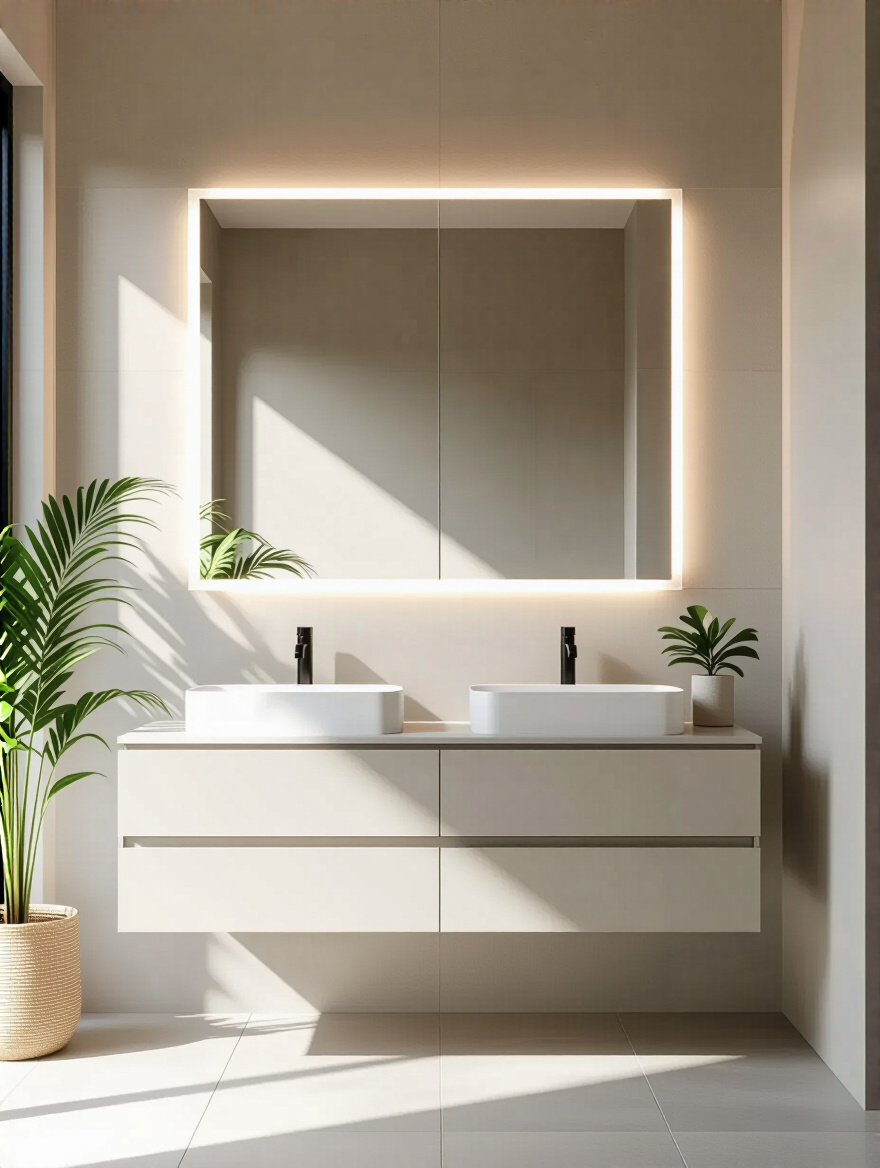
You don’t have to buy a pricey new mirror. A fantastic shortcut is to simply frame the mirror you already have! You can buy custom kits online or DIY it with some lightweight trim from the hardware store, painted to match your vanity or another accent in the room. This simple trick makes the mirror look intentional and custom-designed, elevating the entire wall for just a few bucks and an hour of your time.
After framing your new “window,” let’s fix the frame around your tiles.
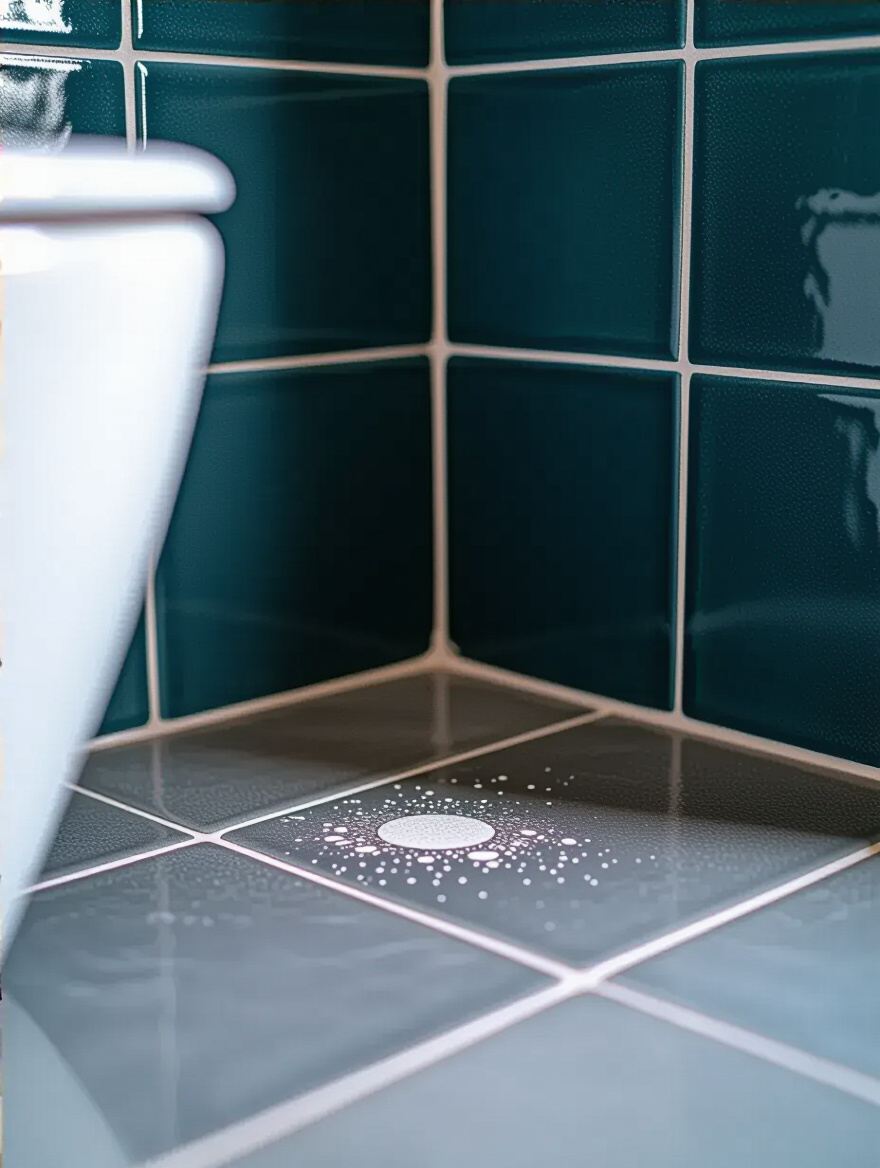
Is your grout… gross? Dirty, cracked, and discolored grout can make even the most beautiful tile look old and dingy. You might think you need to rip it all out, but you probably just need to regrout. It’s a tedious job, I won’t lie to you, but it is so, so worth it. Scraping out the old stuff and applying fresh, clean grout is like a magic trick—it will make your tile look brand new.
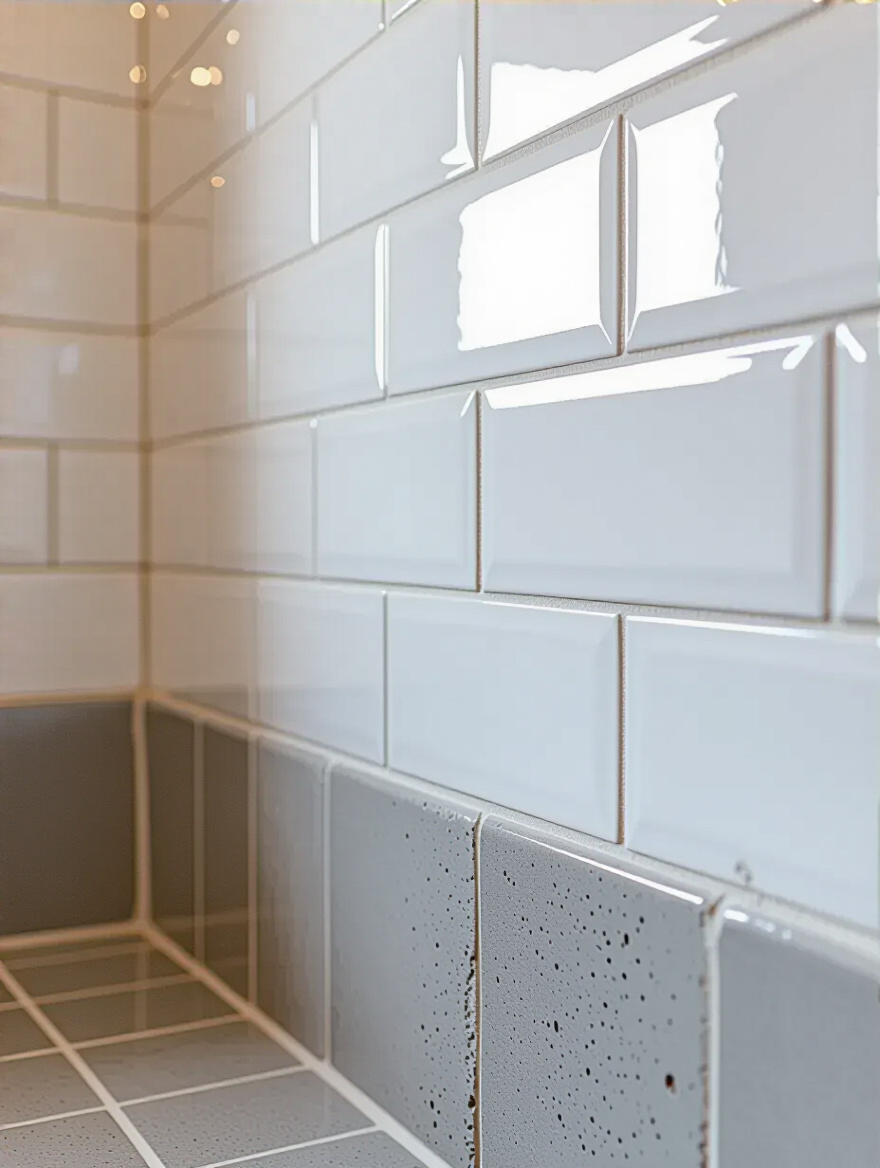
Once you have that beautiful new grout, you have to protect it. Grout is porous, which means it soaks up water and dirt like a sponge. Applying a grout sealer is a non-negotiable step. It creates an invisible barrier that repels water and stains, making it way easier to clean and keeping it from getting grimy again in six months. It’s that final step that protects all your hard work.
While we’re on the topic of reviving old surfaces, let’s talk about the biggest one of all.
If your bathtub or shower is a lovely shade of 1970s avocado green, or is just chipped and stained, your first instinct might be a full replacement. But that’s a massive, dusty, and expensive job. The shortcut you wish you’d known about is refinishing. You can hire a pro or even buy a DIY kit to apply a new, super-tough epoxy coating right over the old surface. The tub stays in place, and in a day or two, it’s transformed into a gleaming, bright white fixture.
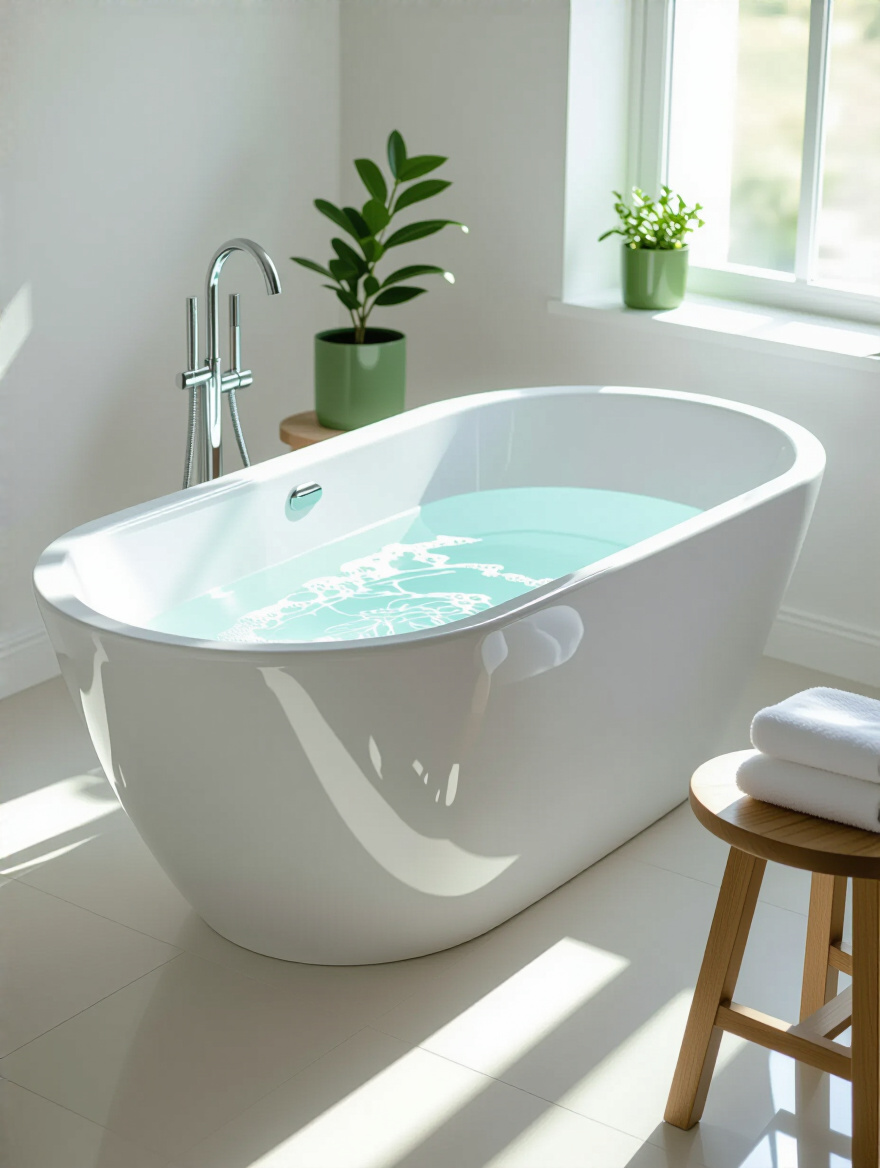
This is one of the biggest money-savers in the bathroom reno world. It costs a tiny fraction of a full replacement and gives you a tub that looks and feels brand new. The key to success with the DIY kits is ventilation—seriously, open every window and turn on every fan—and meticulous prep. The surface has to be perfectly clean and slightly sanded for the new finish to stick properly and last for years.
The heavy lifting is done! Now it’s time for the truly fun part: adding personality and order.
This is my favorite part! We’ve built a beautiful foundation, and now it’s time to bring in the layers that make a bathroom feel like a personal sanctuary instead of just a functional room. We’re talking about the details that conquer clutter, add softness and warmth, and truly make the space yours.
Can we just talk about bathroom clutter for a minute? It’s a beast. The secret to taming it isn’t more cabinets; it’s smarter storage. Think vertical! A simple set of floating shelves above the toilet can hold extra towels, toilet paper, or cute baskets with toiletries. An over-the-toilet unit is another classic for a reason—it adds a ton of storage without taking up any floor space.
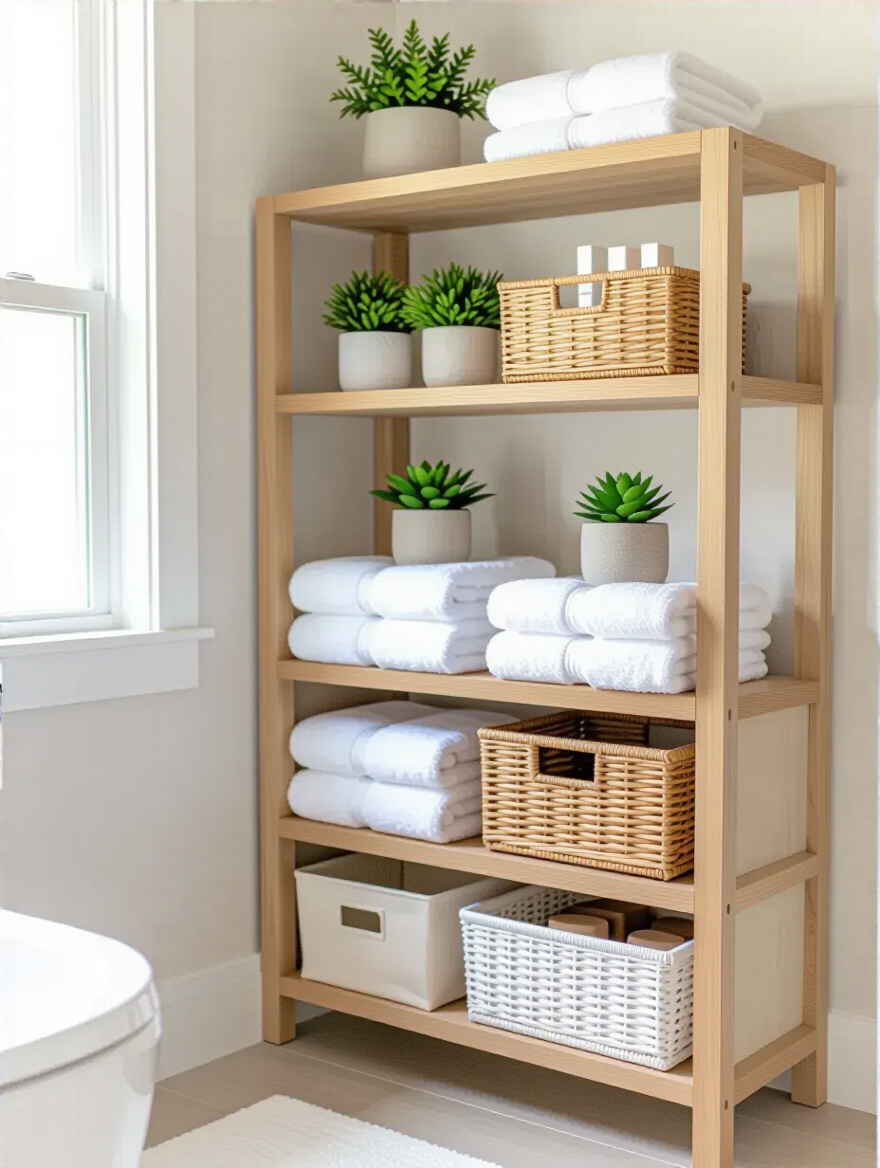
And baskets are your best friend. They are the ultimate clutter-hiders. Use them to corral everything from bath toys to hair styling tools. Here’s a little child development tip: place a low, open basket on the floor with your child’s bath toys and washcloths. This empowers them to help with cleanup time because they can actually reach where things go. It turns a chore into a moment of independence and learning.
Now that we have places for our things, let’s bring in some softness.
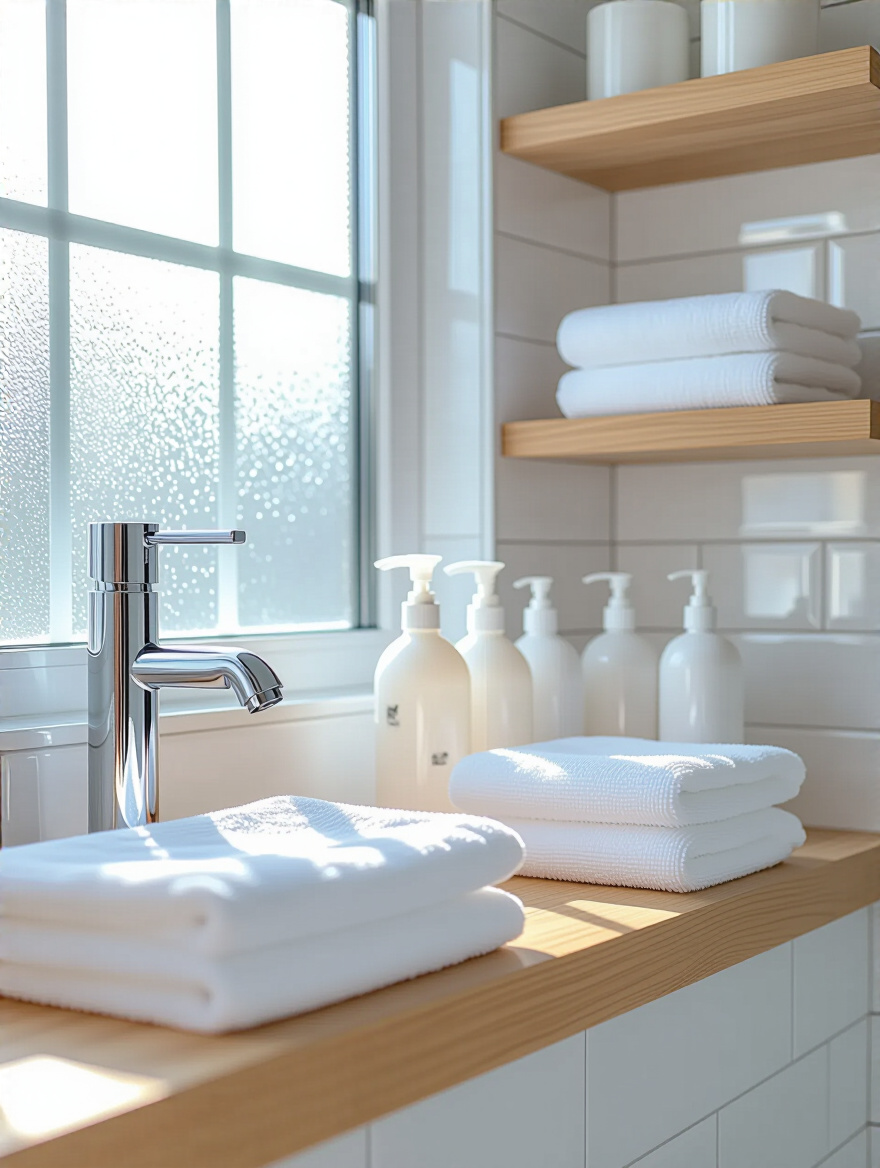
If you want the absolute fastest, most dramatic bathroom update for under $100, go buy a new shower curtain, bath mat, and towels. Instantly, the room is transformed. This is your chance to inject a big dose of color and personality without any permanent commitment. A tired, faded shower curtain can drag the whole room down, while a fresh, stylish one can become a piece of art.
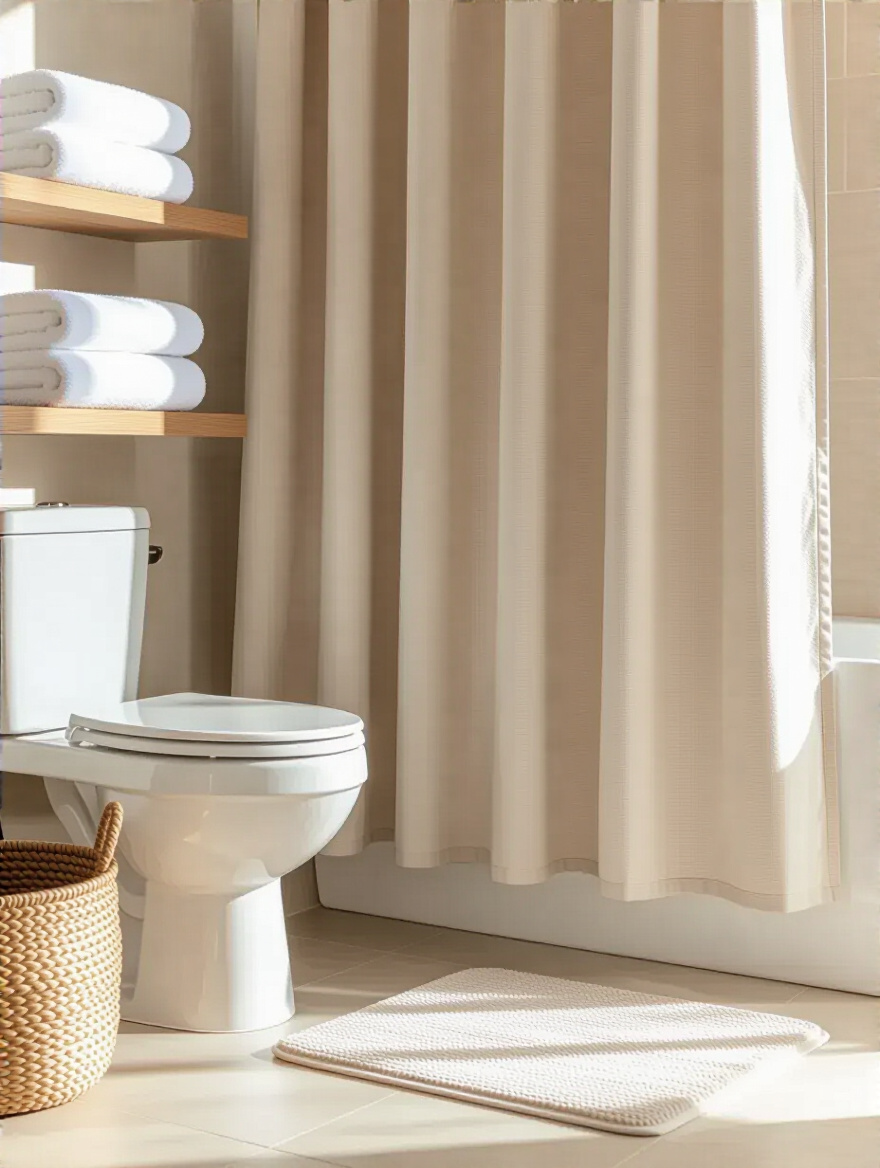
Don’t just grab the cheapest towels you can find. Look for a set that feels plush and absorbent—it’s a little touch of daily luxury that makes a big difference. And coordinate everything! A matching bath mat and towels, tied together with the colors in your new shower curtain, makes the whole space feel cohesive and thoughtfully designed. It’s the simplest trick in the book for making your bathroom feel pulled-together.
With softness added, let’s bring in some life.
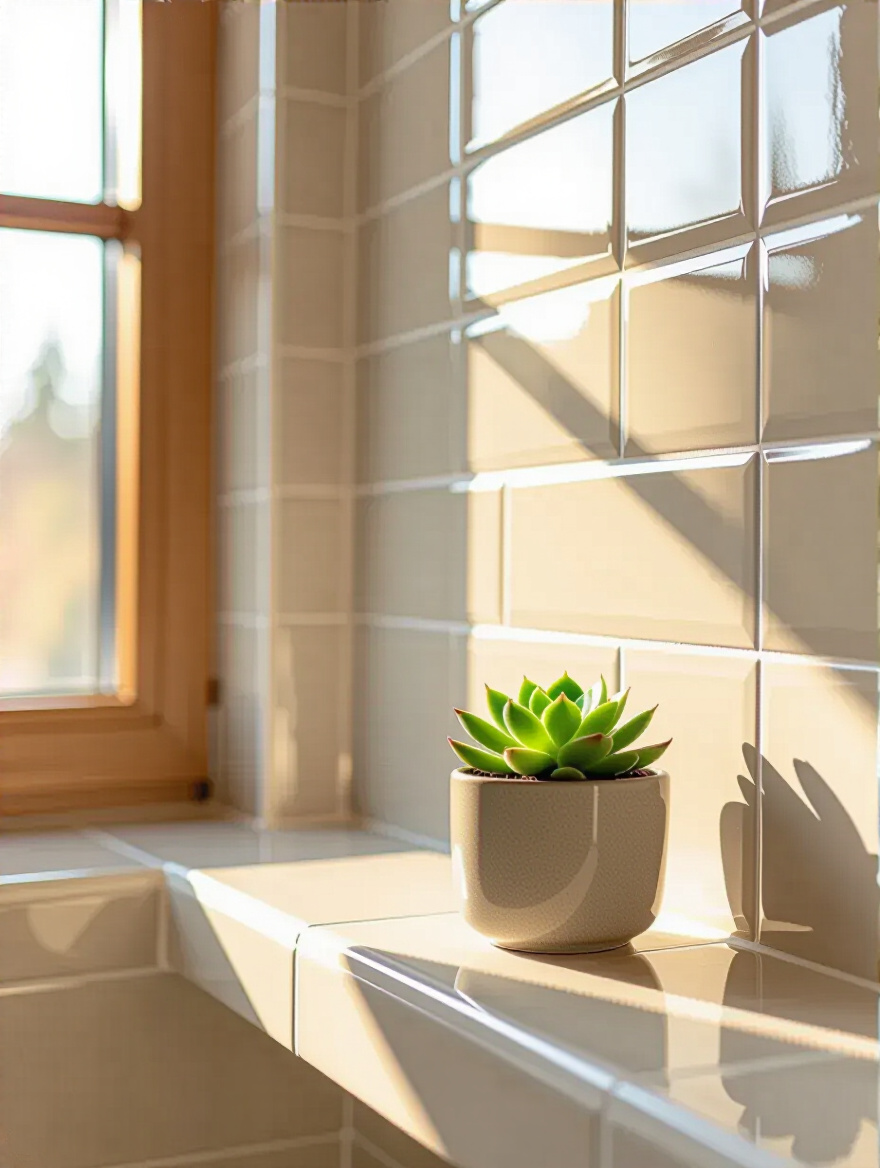
A bathroom can easily feel cold and sterile with all its hard surfaces like tile and porcelain. The quickest way to warm it up is to add a plant. Many plants, like snake plants or pothos, absolutely love the humidity of a bathroom and thrive there. They add a touch of nature, purify the air, and just make the space feel alive and happy. Pop one on a shelf or the corner of your vanity.
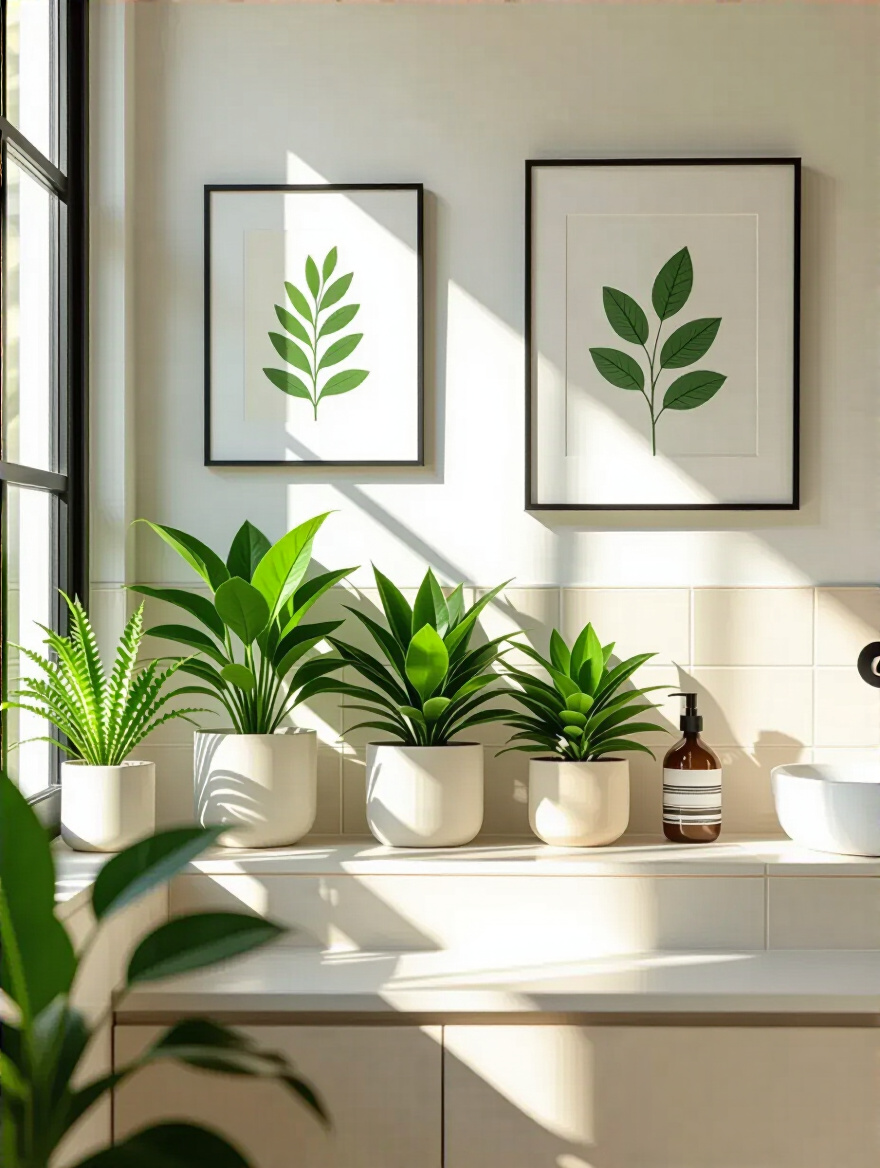
And your walls are a canvas! You don’t need expensive art. Frame a beautiful piece of scrapbook paper, a postcard, or even a page from a children’s book. You can find tons of gorgeous, free printable art online. Grouping a few small frames together creates a chic gallery wall effect above the toilet. It’s these personal touches that turn a house into a home.
To keep everything looking neat and tidy, we need the right accessories.
Let’s banish the “towel-on-the-floor” monster for good. A single towel bar for a family of four just isn’t going to cut it. My favorite solution is to install a row of decorative hooks instead. They take up less wall space, towels dry faster on them, and they just look cool. Here’s another tip for fostering independence: install a couple of hooks at your child’s height.
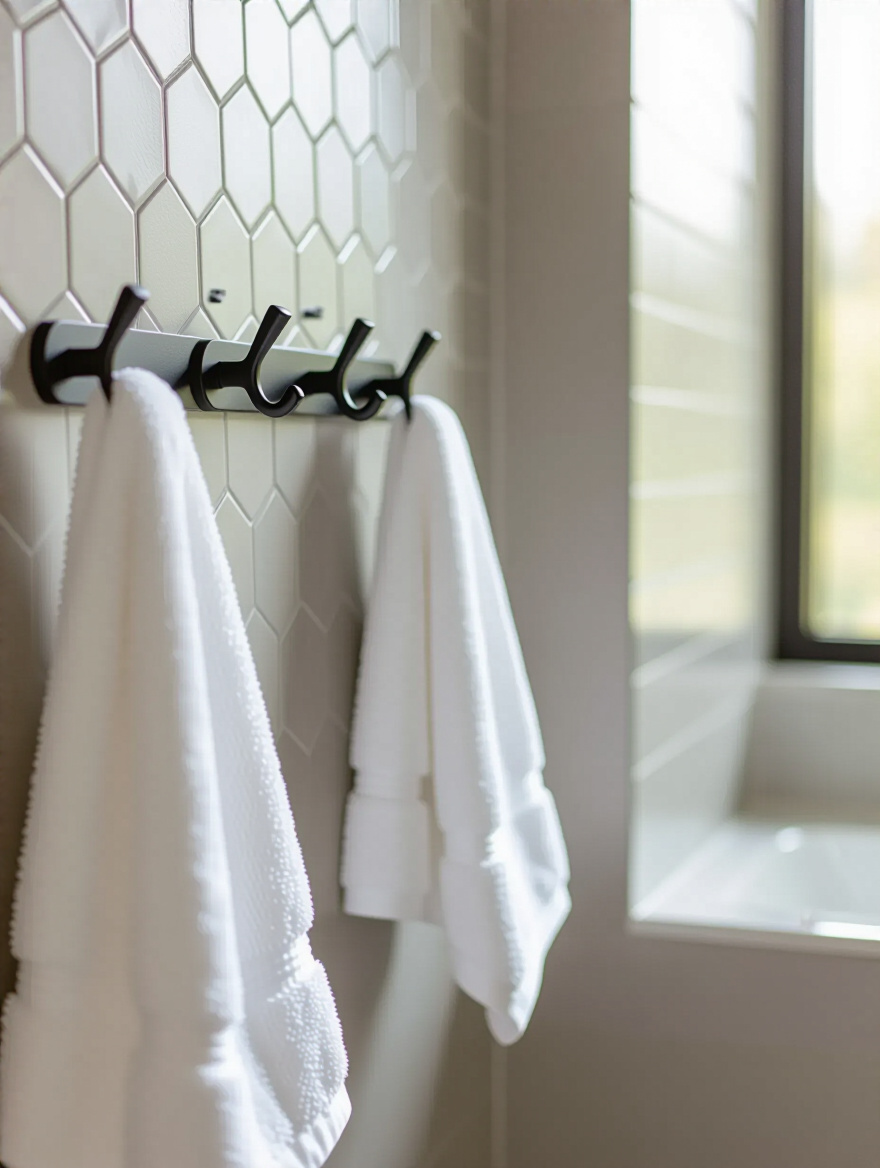
“A hook they can reach is a towel they can hang up themselves.”
This simple act teaches responsibility and gives them a sense of ownership over their space. They feel so proud when they can hang up their own things! It’s a design choice that is secretly a parenting win. Use these little “jewelry” pieces to add a metallic finish—matte black, brass, or brushed nickel—that ties the whole room together.
Now that the visible spaces are styled, it’s time to conquer the hidden chaos.
We’re in the home stretch! This last push is all about making your beautiful new space work effortlessly for you every day. It’s about creating systems that keep clutter at bay and adding those final layers of personality that make the room uniquely yours. Let’s make sure your bathroom stays as organized and joyful as it looks right now.
Okay, time to face the beast: the cabinet under the sink. It’s a dark hole where half-used bottles of lotion and old cleaning supplies go to die. Pull everything out. Everything. Be ruthless and throw away what’s expired or what you haven’t used in a year. Trust me, you’ll feel so much lighter. Then, head to the dollar store or a discount retailer and stock up on clear plastic bins and stackable drawers.
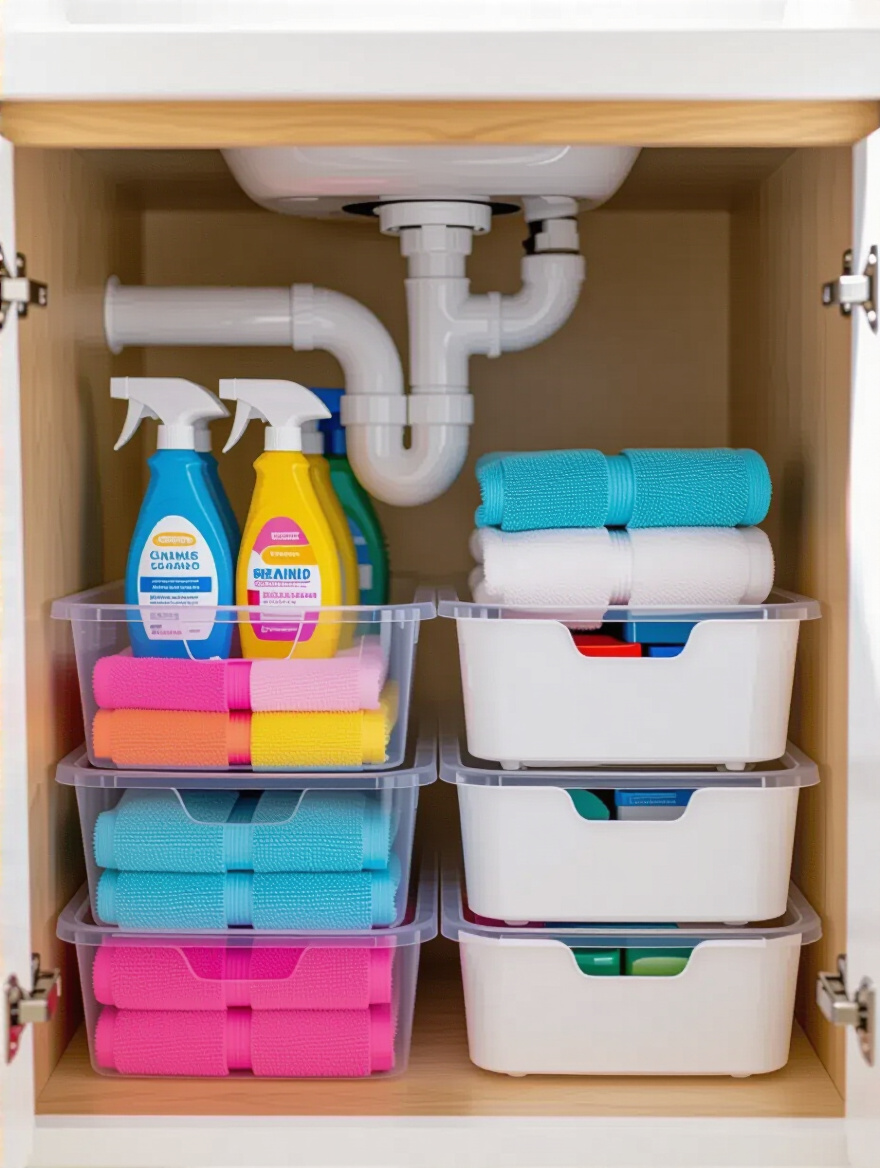
Give everything a category: “First Aid,” “Hair Stuff,” “Cleaning Supplies.” Containing items in bins means you can just pull out the one you need instead of digging around in the dark. Clear bins are great because you can see what’s inside, which prevents you from buying a fifth bottle of sunscreen you didn’t know you had. This ten-dollar fix will make your daily routine a hundred times smoother.
Now for one of my absolute favorite design hacks for adding a huge pop of personality.
Want a big, bold pattern but are scared of the commitment (or your landlord)? Peel-and-stick wallpaper is your new best friend. It’s completely removable, so it’s a zero-risk way to add incredible style. Use it on an accent wall—the one behind the toilet or vanity is usually perfect—to create a stunning focal point. It comes in a million different patterns, from sophisticated florals to fun, kid-friendly geometric shapes.

This is a fantastic way to involve your kids in the design process. Let them pick between two or three options you love for their bathroom. When children feel they have a say in their environment, it gives them a wonderful sense of belonging and pride. And if you’re not ready for a whole wall, removable wall decals are just as fun. A few playful polka dots or a sweet quote can add a touch of whimsy in minutes.
With our space fully styled, let’s talk about keeping it that way for the long haul.
Congratulations, you’ve created a beautiful space! But the work doesn’t stop here. The final piece of the puzzle is maintenance. A little bit of proactive care and some basic know-how will protect your investment of time and money, ensuring your lovely new bathroom stays sparkling and functional for years to come, saving you from bigger, more expensive problems down the road.
You don’t have to be a master plumber, but learning how to fix a running toilet or a dripping faucet is a superpower that will save you so much money. That constant drip… drip… drip… isn’t just annoying; it’s literally money going down the drain. A running toilet can waste hundreds of gallons of water a month! Most of these fixes are surprisingly simple and require a cheap part from the hardware store and a quick YouTube tutorial.
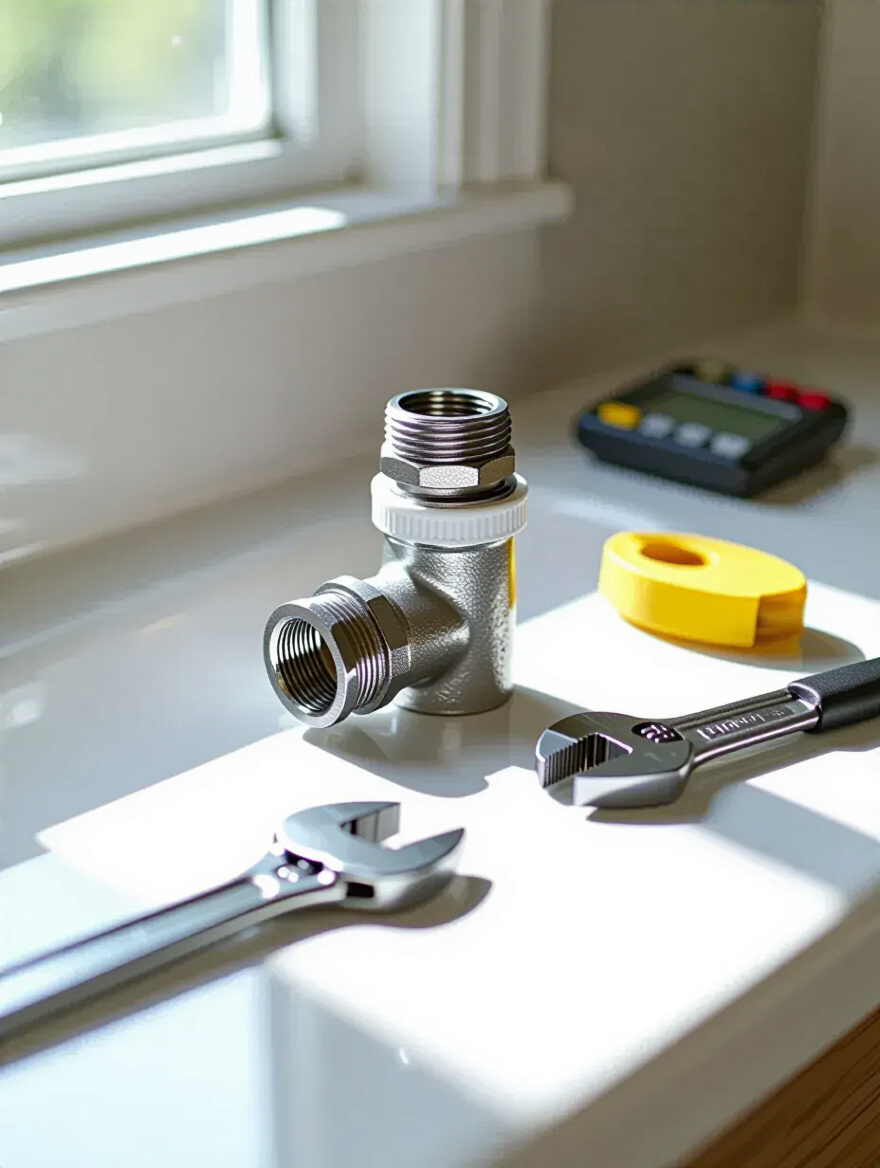
There are countless videos online that will walk you through, step-by-step, how to replace the flapper in your toilet or the O-ring in your faucet. Investing 30 minutes to learn one of these skills will save you a $150 plumber call-out fee. Think of it as another DIY project that pays you back every single month on your water bill.
And here’s one final DIY project for a huge impact.
If your bathroom floor is the last ugly thing dragging the whole room down, peel-and-stick floor tiles are the answer. Just like the ones for your walls, these have gotten incredibly good. You can find luxury vinyl tiles that convincingly mimic wood, stone, or beautiful patterned cement tiles. They install right over your existing clean, smooth floor (no demolition required!), and you can cut them to size with a simple utility knife.
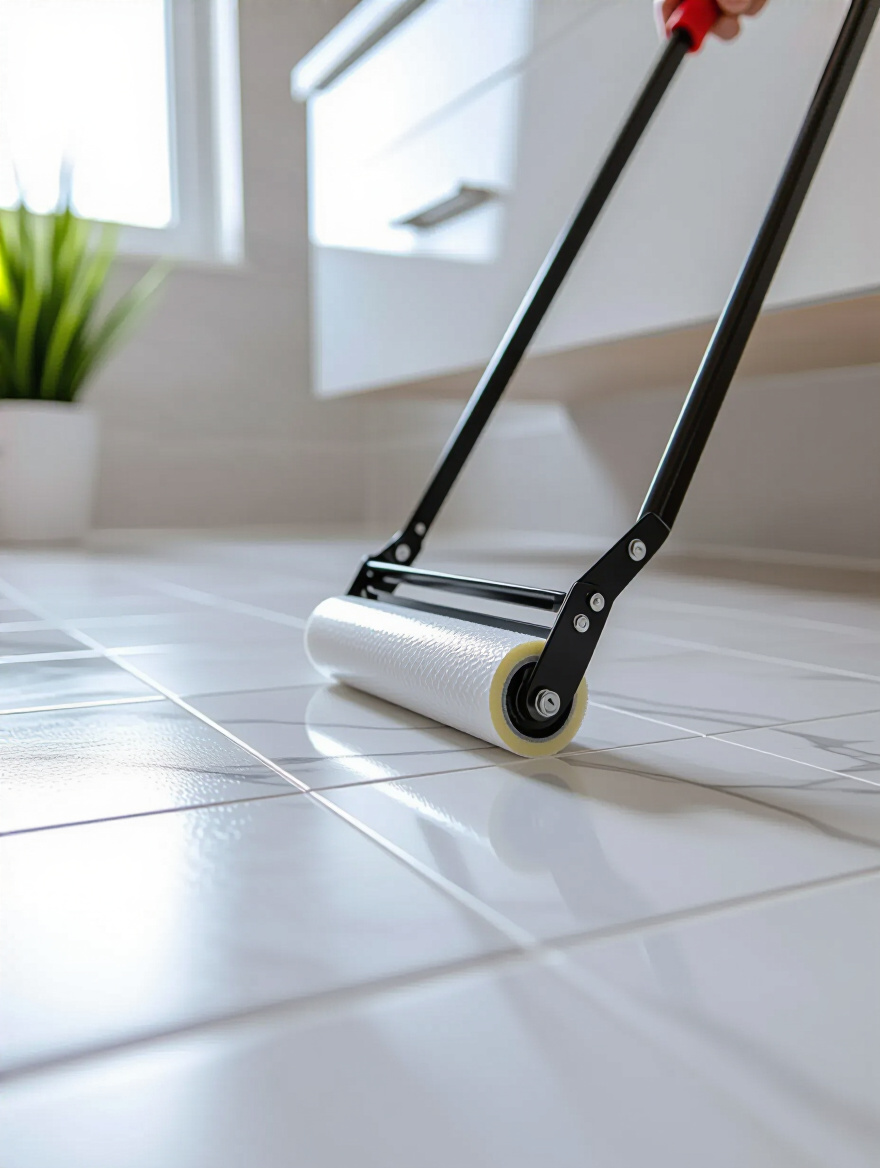
This is a weekend project that completely changes the foundation of the room. It’s a great way to cover up old, dated linoleum or cracked tile and create a fresh, clean slate for your beautiful new space. Again, the absolute most important step is cleaning the floor until it’s spotless before you start. A clean surface is key for a long-lasting, professional-looking finish.
With everything looking perfect, here’s how to keep it that way.
This might be the least glamorous tip, but it’s the most important. All your hard work deserves to be protected! You don’t need to spend hours deep-cleaning. The secret is “little and often.” Keep a squeegee in the shower and have everyone give the glass a quick wipe after they use it. This takes 30 seconds and prevents soap scum from ever building up. Keep gentle cleaning wipes under the sink for a quick swipe of the counter and faucet each evening.
By making these little tasks a part of your daily routine, you prevent grime from ever taking hold. This preserves your new paint, grout, and fixtures, keeping them looking brand new for so much longer. It also means you’ll rarely have to do a major, back-breaking scrub session because the bathroom will always be in a state of “pretty clean.” It’s the ultimate way to respect the beautiful, functional, and joyful space you’ve created for your family.
See? You did it! You’ve just walked through 22 ways to turn that chaotic, beige box into a bathroom that truly serves and delights your family. You’ve proven that you don’t need a giant budget or a demolition crew to create a space that feels fresh, organized, and full of personality. It’s about making smart, intentional choices—from a can of paint that fights mildew to a simple hook that teaches your child independence.
By tackling even a few of these ideas, you’re not just updating a room; you’re making your daily life a little easier and a lot more joyful. You’re adding real value to your home and creating a supportive environment where your family can thrive. So pick one project that sparked your excitement—just one!—and start there. Your dream family-friendly bathroom isn’t a far-off fantasy. It’s right here, waiting for you to bring it to life with your own hands and your big heart. Go enjoy the space you made.


