Physical Address
304 North Cardinal St.
Dorchester Center, MA 02124
Physical Address
304 North Cardinal St.
Dorchester Center, MA 02124
Discover 19 secrets for your bathroom remodeling on a budget. Get playful, practical tips & DIY ideas to create a stylish, family-friendly space without overspending.
You know the number one question parents ask me? “Sofia, how can I possibly redo our bathroom with kids underfoot and a budget that’s, let’s just say, aspirational?” They see these glossy magazine bathrooms and then look at their own, complete with mystery stains on the grout and a collection of rubber ducks that have probably achieved sentience. The idea of a full remodel feels completely out of reach.
But here’s the secret no one tells you: you don’t need a massive budget or a wrecking ball to create a bathroom that feels fresh, works for your family, and doesn’t make you want to cry. It’s about being clever and focusing on the little things that have a huge impact. Think of it like setting up a learning station for a child—it’s not about having the most expensive toys, but about arranging what you have in a smart, engaging way. Let’s dive into how to do that for your bathroom.
Before you even think about picking out a paint color, we have to do a little detective work. This is the part where we put on our thinking caps and figure out what really needs to change and what’s just noise. A good plan is the difference between a joyful weekend project and a six-week-long disaster that has you washing your hair in the kitchen sink.
First things first: forget the idea of a total gut job. That’s for TV shows with massive crews and fictional budgets. Instead, stand in your bathroom and identify the “pain points.” Is it the vanity that has zero storage? The faucet that drips and keeps everyone up at night? The lighting that makes you look like a zombie every morning? That’s where you start. Focus your money and energy on fixing the things that actively make your family’s life harder.
Think of it as triage. You’re not trying to rebuild the entire patient; you’re just stopping the bleeding and splinting the broken bones. A new vanity top, a modern light fixture, and a fresh coat of paint can honestly make it feel like a whole new room. The return on your “emotional investment” is huge because you’re solving a real, daily problem, and that feels amazing.
From a design perspective, tackling the one or two most dated elements is the quickest way to bring the whole space into the present.
Okay, let’s talk about the big scary B-word: Budget. The biggest mistake people make is having a “soft” budget, which is really just a vague hope. No, we need a hard number. Decide what you can actually spend and write it down. Then—and this is critical—take 15% of that and set it aside as your “oops” fund. Because there will always be an “oops.” You’ll open a wall and find weird plumbing or discover the subfloor is squishy. It happens.
I had a client who was so proud they were coming in under budget. Then the plumber discovered an old, leaky pipe behind the toilet. Their “under-budget” project suddenly cost them an extra $1,200 they hadn’t planned for. Their “oops” fund would have made that a surprise, not a catastrophe. Having that contingency cash means you can handle surprises without stress and without derailing the whole project.
That contingency fund is your secret weapon for staying calm, cool, and collected when things get weird.
You are more capable than you think! Things like painting, swapping out a faucet, changing hardware, or even installing a new pre-assembled vanity are totally within your reach. It’s just a matter of watching a few good tutorials (from reputable sources, please!) and being honest about your skill level. Not only does this save a ton of money on labor, but it’s also incredibly empowering.
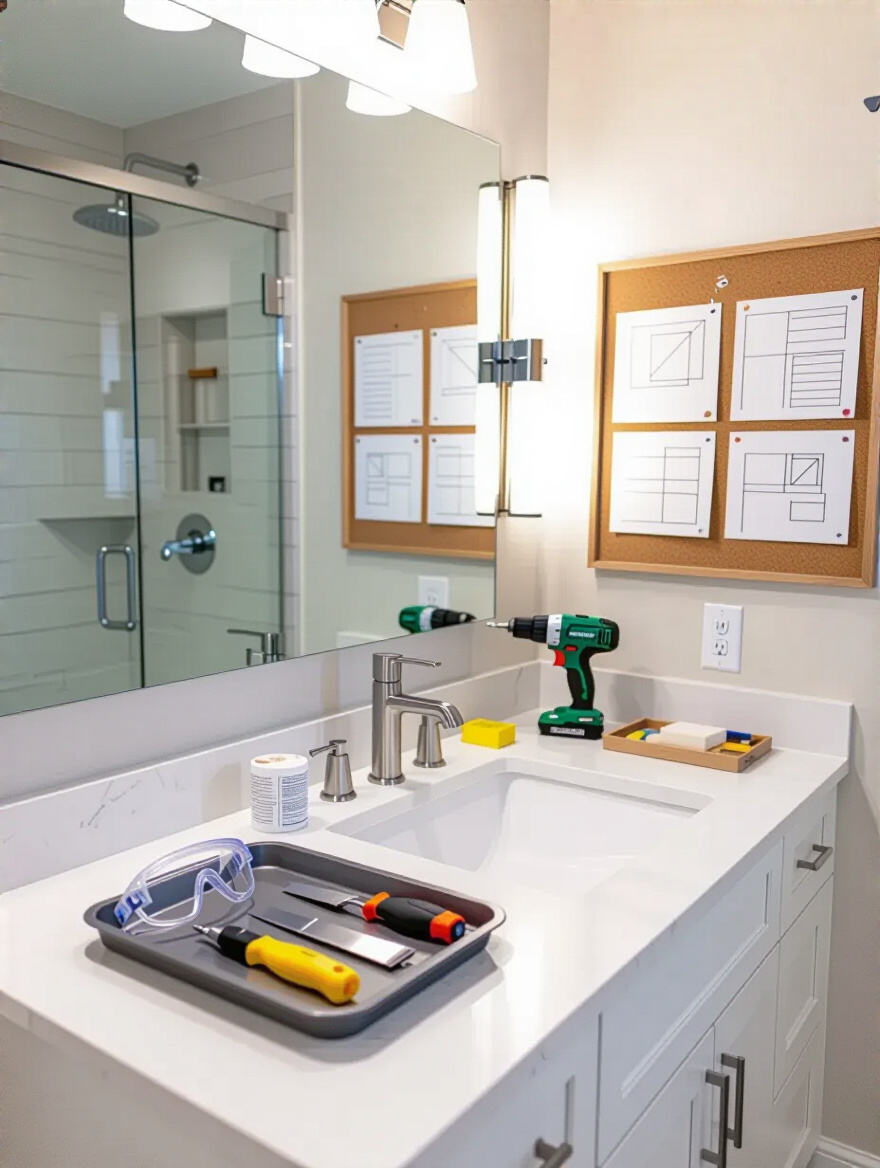
From a kid’s perspective, seeing a parent fix or build something is a powerful lesson in self-reliance and problem-solving. My absolute favorite part is letting little ones “help” in age-appropriate ways. Can they help you pull the plastic film off a new mirror? Can they hand you the screwdriver? Involving them makes it a family project, not just a stressful chore. But please, know your limits. Leave plumbing inside walls and any electrical work to the pros. It’s not worth the risk.
And that feeling of accomplishment when you finish? Priceless.
This is the treasure hunt part, and it’s so much fun. Forget walking into a high-end showroom and paying full price. Your new best friends are places like Habitat for Humanity ReStore, architectural salvage yards, and the clearance section of your local hardware store. You can find incredible, high-quality items—unique vanities, gorgeous light fixtures, beautiful tiles—for a tiny fraction of the retail cost.
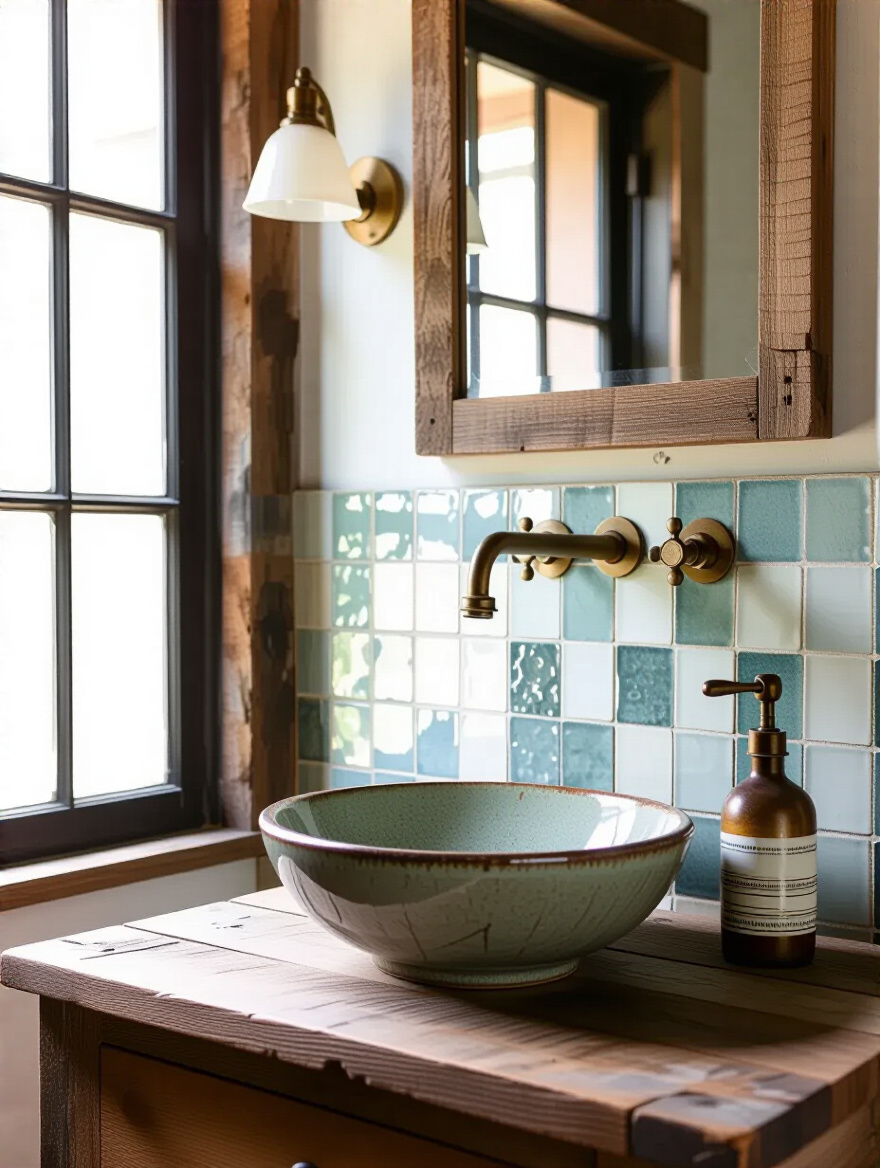
I once found a stunning vintage porcelain sink at a salvage yard for $50. It became the beautiful focal point of a client’s powder room, a piece with a story that you just can’t buy new. Keep an open mind! The trick is to go in with your measurements and a general idea of what you want, but be flexible enough to be inspired by what you find. It adds so much character to the space.
We’re still in the planning phase, but this next part is maybe the most important money-saving secret of them all. It’s about understanding the “bones” of your bathroom and making a solemn vow to befriend them.
Can we just make a pact right now? Do not move your toilet. Do not move your shower drain. I cannot say this loudly enough. The second you decide to relocate plumbing, you have just thrown your budget out the window. It is, without a doubt, the single most expensive and complicated thing you can do in a bathroom remodel. Suddenly, you’re not just dealing with tile and paint; you’re dealing with cutting into floors, rerouting pipes, and a whole world of expensive pain.
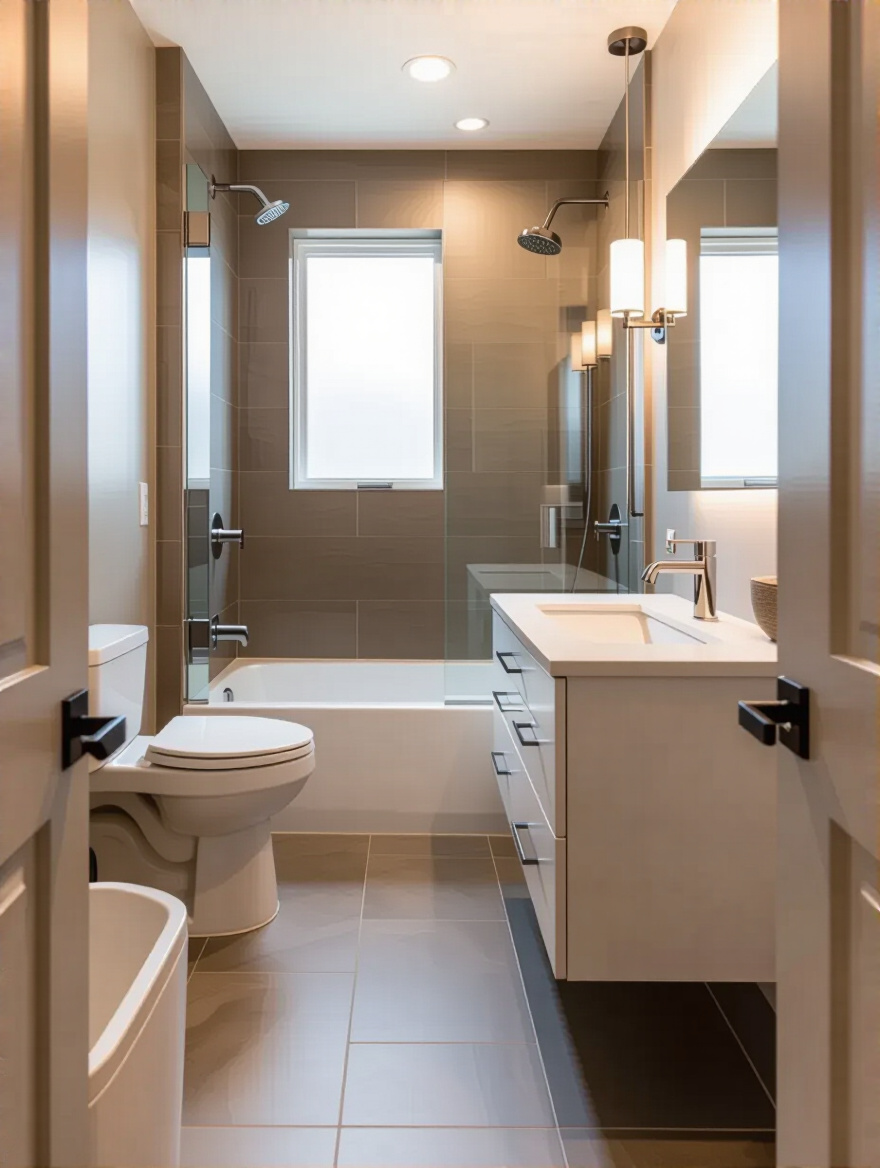
Instead, embrace your existing layout! This is a creative challenge. How can you make this exact footprint work better? Maybe a different style of vanity would free up more space. Perhaps a shower curtain instead of a glass door would make it feel more open. By keeping your plumbing where it is, you’ve just saved thousands of dollars that you can now put toward the pretty stuff, like gorgeous tiles or a faucet you truly love.
Alright, planning is done! Now for the fun stuff—making real, visible changes. These are the tricks that deliver that “wow” factor without the “ouch” price tag.
Everyone blames their old tile, but 90% of the time, the real culprit is dingy, stained grout. Before you even think about smashing out perfectly good tile, try giving your grout a major glow-up. You can get a grout pen or a colorant kit for less than $20 and spend an afternoon essentially “redrawing” the lines. It is tedious, I won’t lie, but the impact is absolutely staggering.
I’ve seen bathrooms go from looking 20 years old to practically brand new just by changing the grout color from grimy beige to crisp white or a chic dark gray. It re-frames the tile and makes the whole surface look clean and intentional. It’s the cheapest, most effective facelift for tile, full stop.
It’s amazing how much of an impact clean lines have, not just on the floor but on our sense of calm.
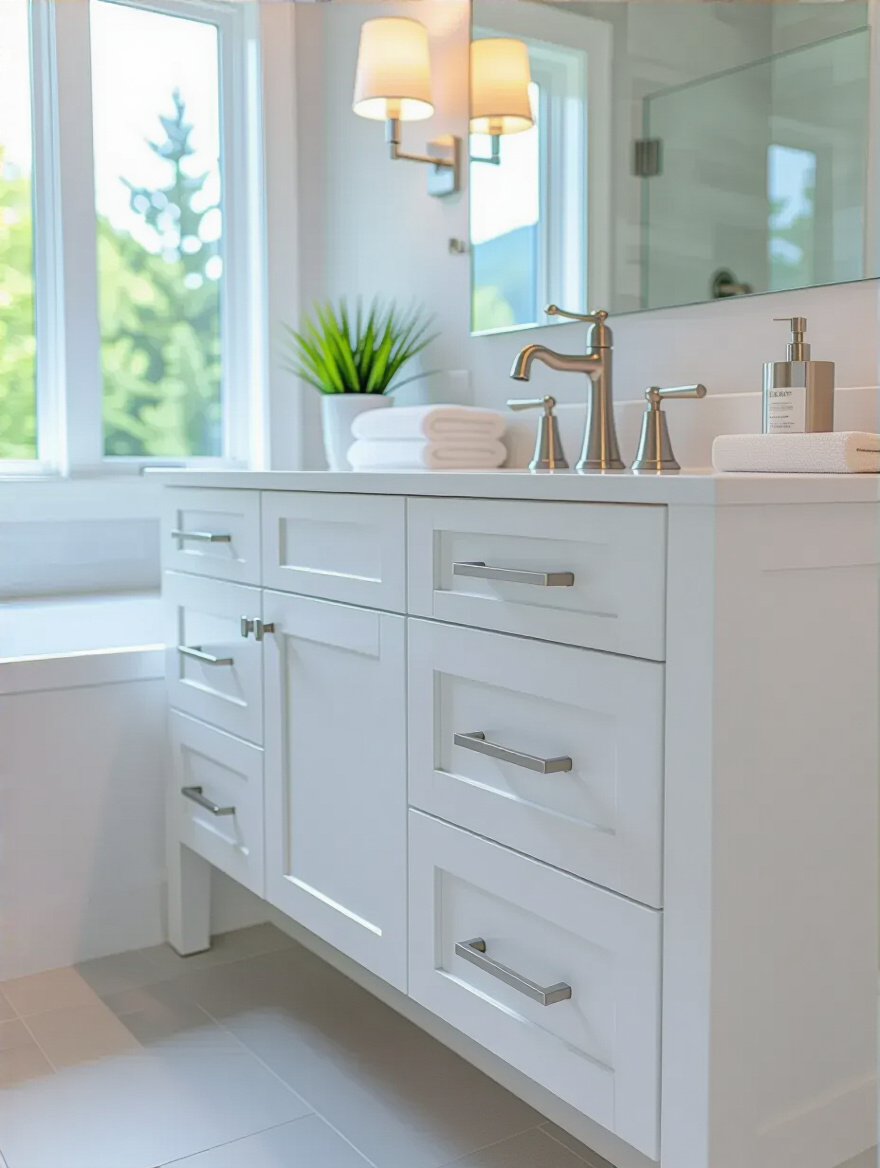
That honey-oak vanity from 1998 doesn’t need to be replaced—it just needs a new outfit! As long as the cabinet box is sturdy, a good sanding, a high-quality bonding primer, and a couple of coats of durable paint can completely transform it. Suddenly, it’s a modern, moody dark blue or a clean, classic white.
The secret everyone gets wrong? They rush the prep. You HAVE to clean the cabinet thoroughly to get all the grime off, and you absolutely cannot skip the primer. The primer is what makes the paint stick and last, especially in a humid bathroom. Then finish it off with new hardware, and I promise you, nobody will believe it’s the same cabinet.
That old vanity is a blank canvas just waiting for a little creativity.
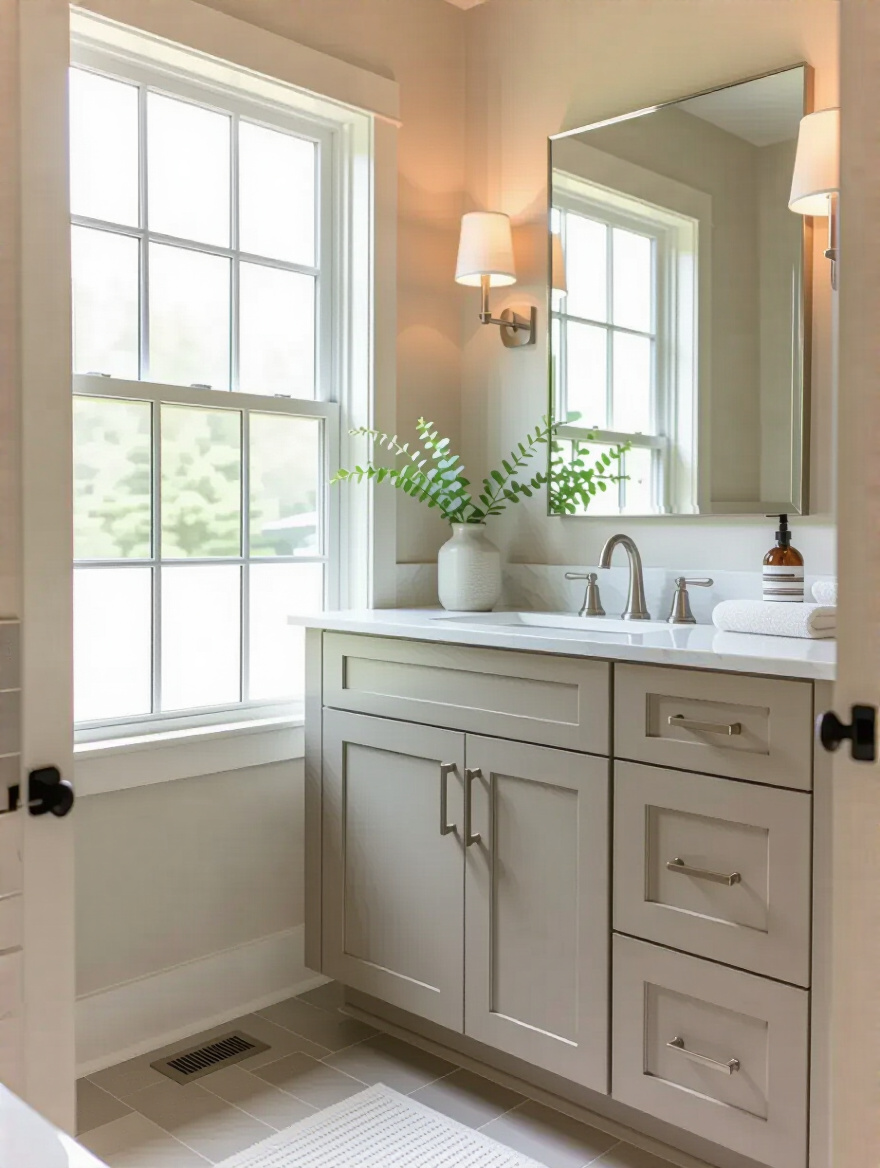
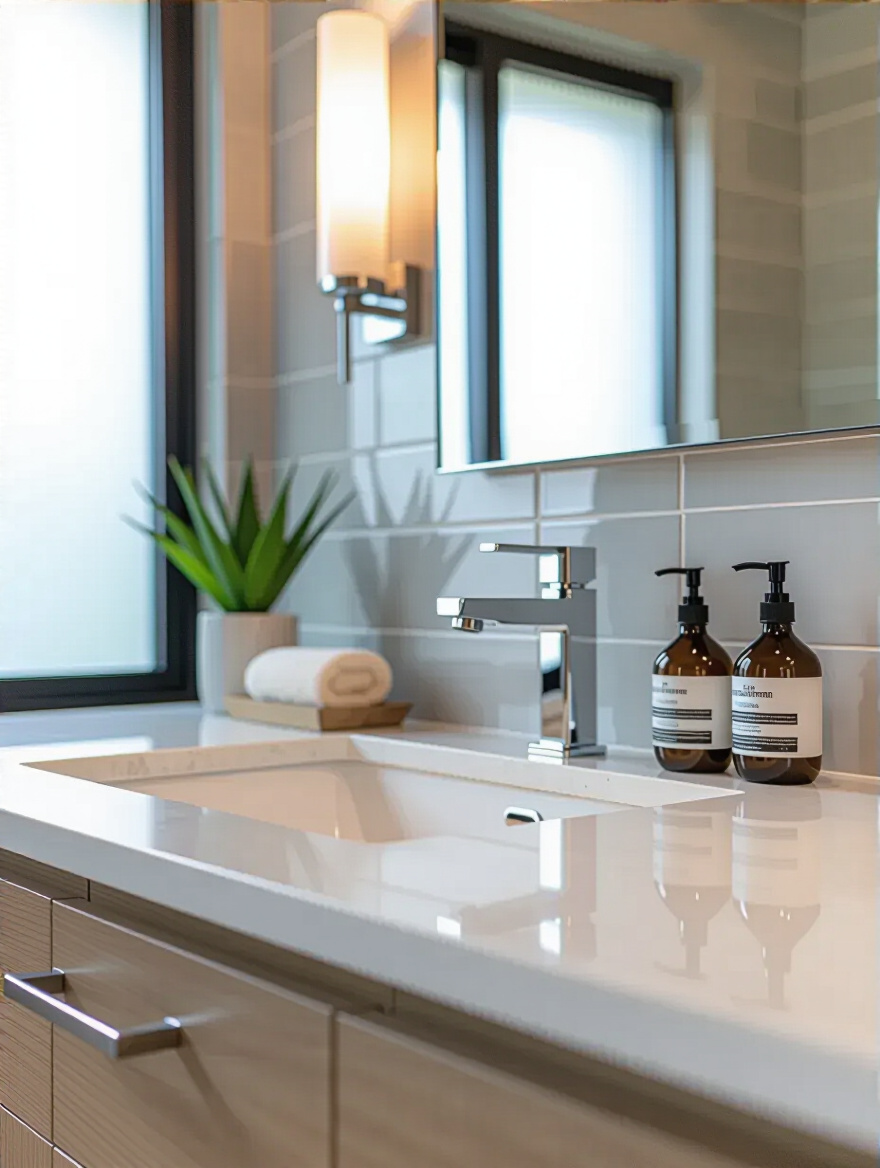
Bad lighting is a dream-killer. That single fixture above the mirror casting spooky shadows? Banish it. Good lighting is one of the most worthwhile investments, and it doesn’t have to be expensive. Swapping an old “Hollywood” strip light for a modern vanity bar or a pair of sconces on either side of the mirror makes a world of difference.
Go for LED fixtures. They use a fraction of the energy, last practically forever, and give off a much cleaner, brighter light. And here’s a designer trick: make sure your light is on a dimmer. Bright light is great for doing makeup or helping a little one brush their teeth, but a soft, warm glow is perfect for a relaxing bath after a long day. It’s about creating a space that adapts to your family’s needs at different times of the day.
Good lighting makes everything—and everyone—look and feel better.
Is your tub a questionable shade of avocado green or just chipped and stained? Tearing it out is a massive, messy, and expensive job. The alternative is refinishing or reglazing. A professional can come in and spray a new, super-durable enamel coating right over the old surface, making it look brand new.
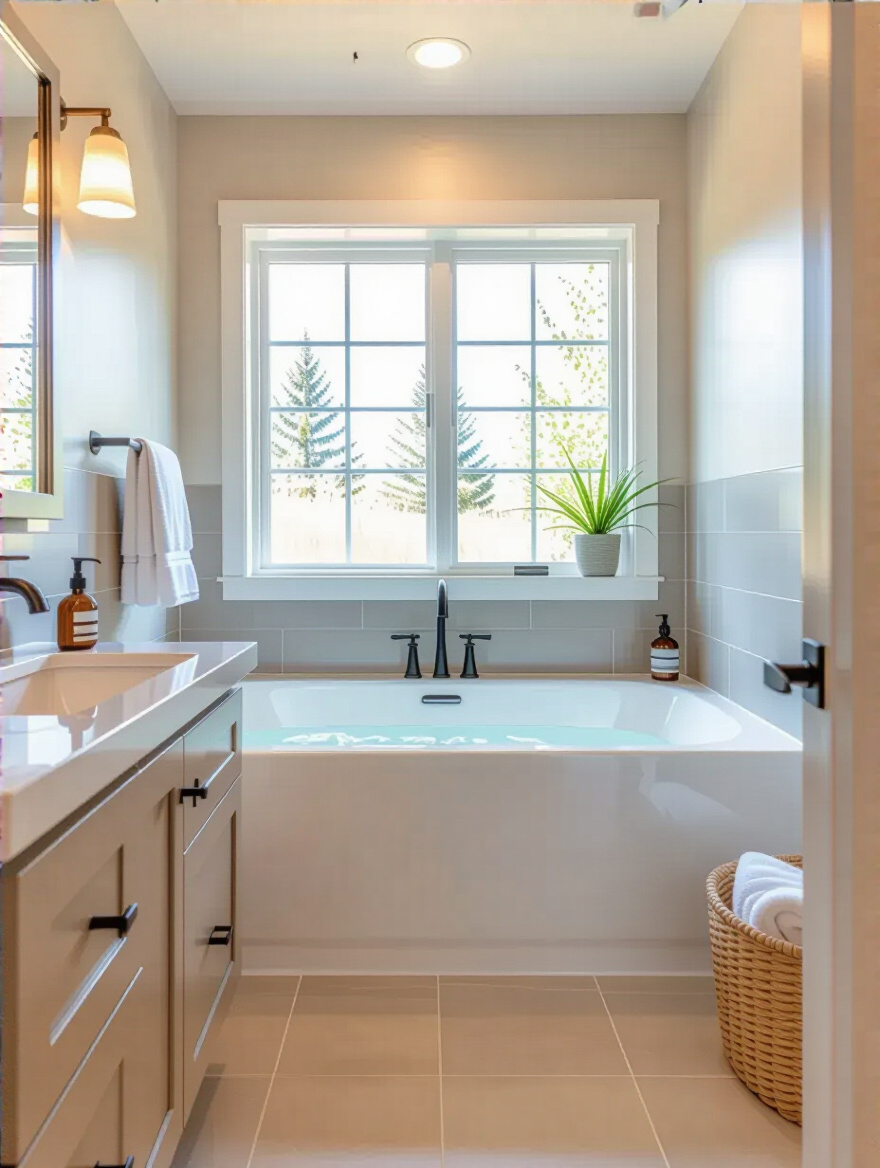
It’s a fraction of the cost of replacement, and it’s done in a day or two instead of a week. This is one of those times where I usually recommend hiring a pro over a DIY kit, just because their materials and ventilation systems are so much better, leading to a finish that will last for years. It’s a total game-changer for dated but structurally sound tubs and sinks.
Let’s keep the momentum going with a few more clever tricks. These are about using design principles to create the feeling of a bigger, more functional space without actually changing the square footage.
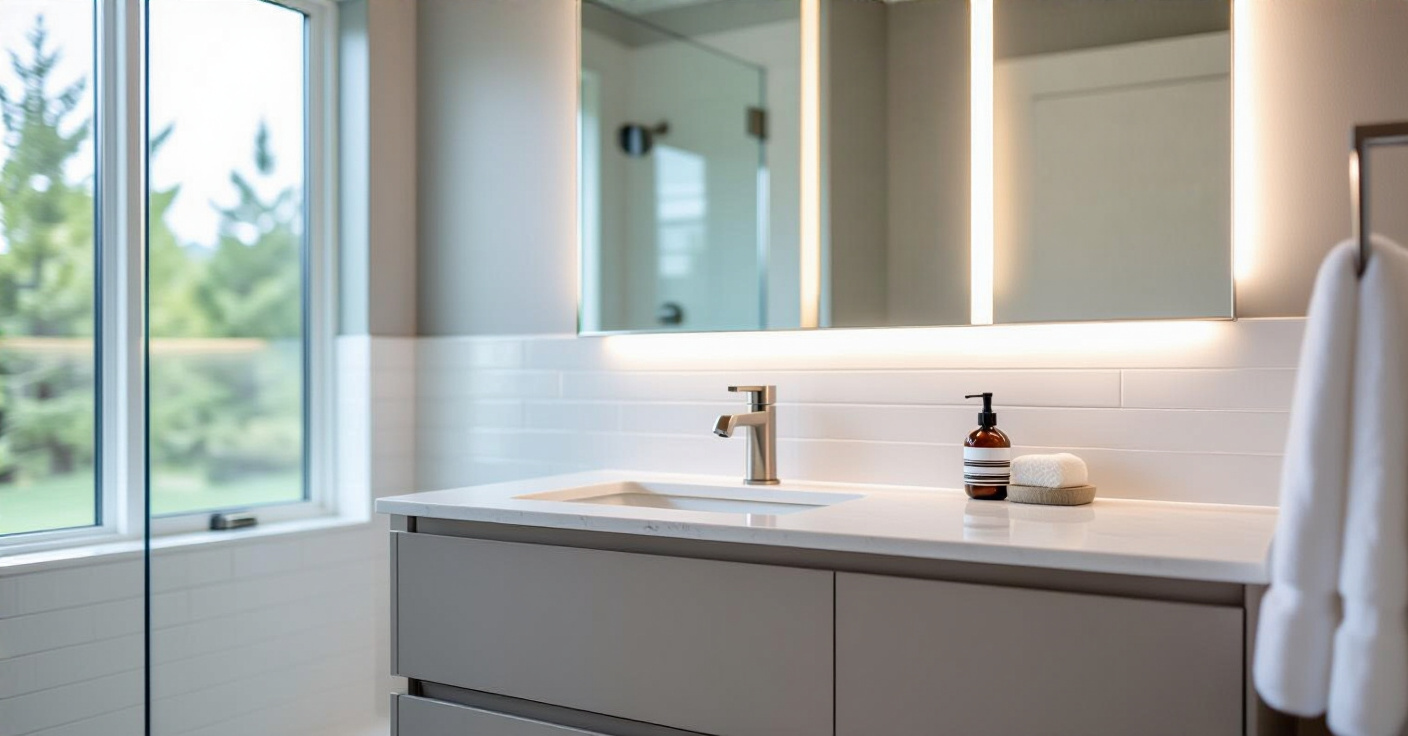
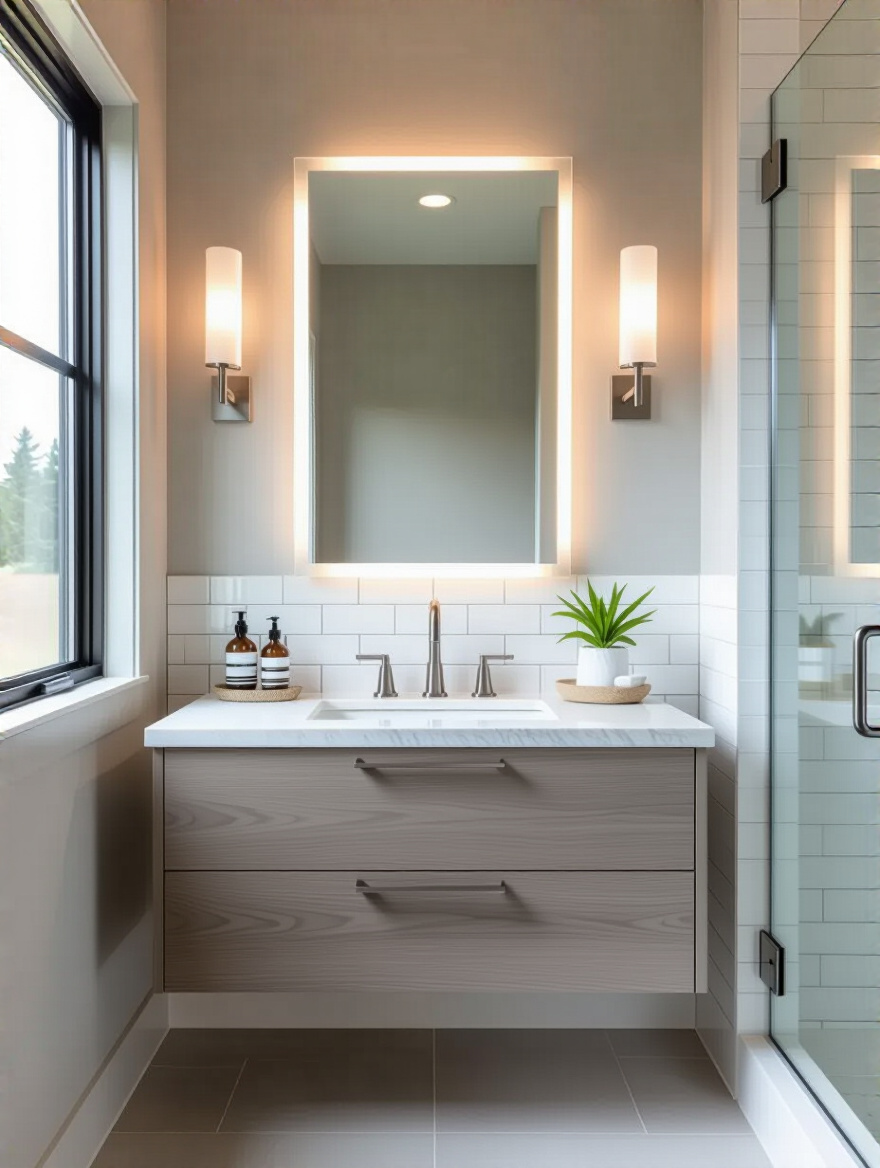
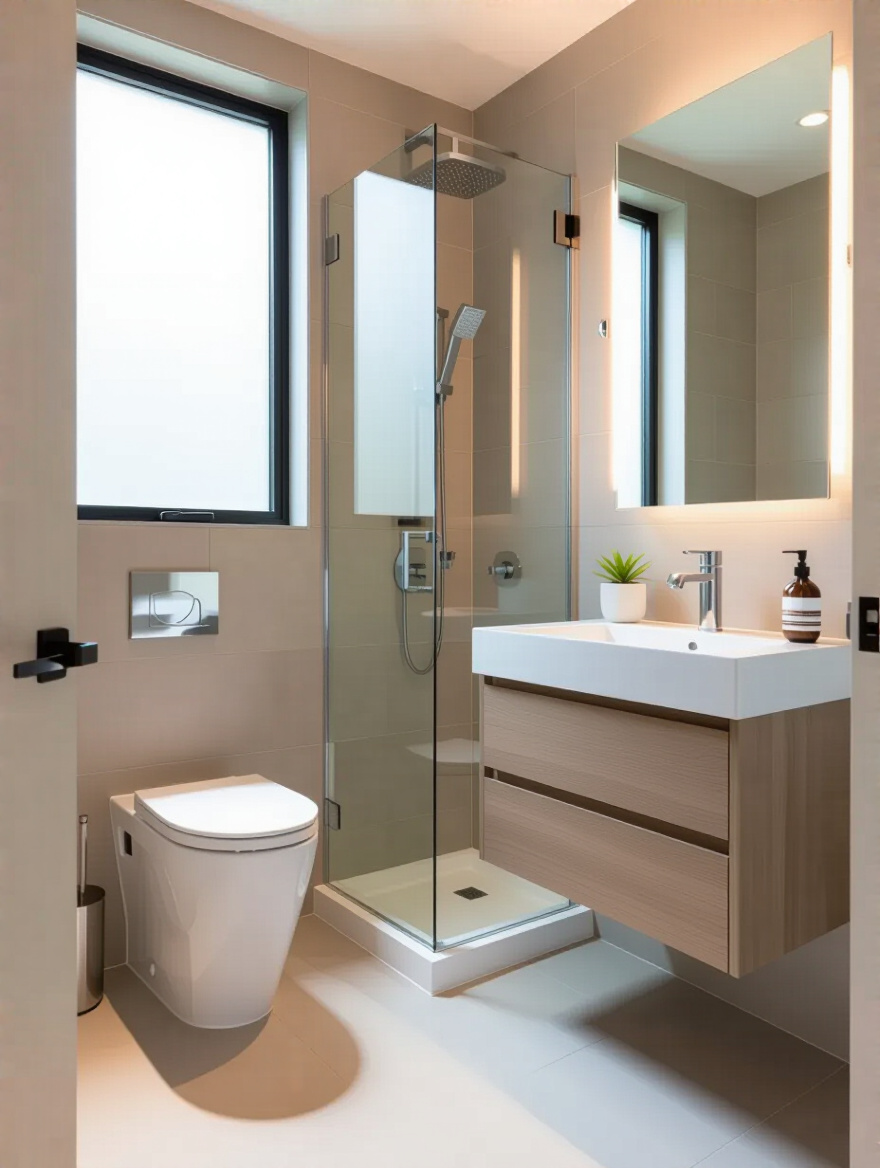
If you have a small bathroom, a floating vanity is your secret weapon. By mounting it to the wall and leaving the floor visible underneath, you instantly trick the eye into seeing more space. It makes the room feel lighter, airier, and so much less cluttered. It’s pure visual magic.
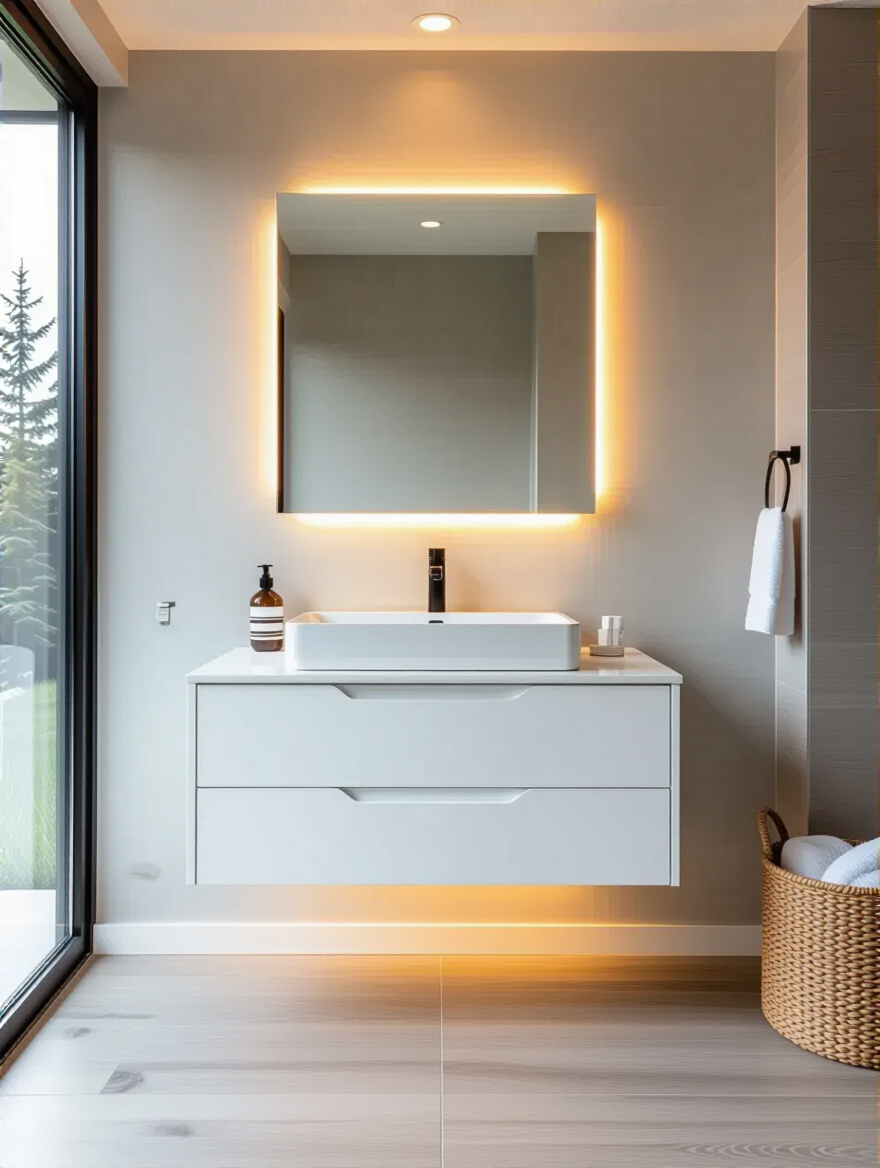
From a practical, kid-friendly perspective, it’s genius. That open space underneath is the perfect spot to tuck away a step stool, so little ones can build independence by reaching the sink on their own. And when they inevitably splash water everywhere, it’s way easier to clean up! No more weird, dusty corners you can’t reach. It’s a win for style and functionality.
This is where the personality comes in. The big stuff is done, and now we get to accessorize. These are the small details that make a space feel thoughtfully designed and truly yours.
Want the look of a fancy tile backsplash or a fun accent wall without the cost and commitment of real tile or messy wallpaper paste? Hello, peel-and-stick! The quality of these products has gotten so good. You can get realistic-looking subway tile, fun geometric patterns, or sophisticated floral prints.
It’s perfect for a backsplash behind the vanity or for creating a feature wall. And because it’s removable, it’s a fantastic, low-risk way to experiment with color and pattern. If your child is obsessed with dinosaurs, why not do a fun, removable dinosaur print wall? When they move on to superheroes in two years, you can just peel it off and try something new. It allows the room to grow and change with your family.
Design shouldn’t be scary or permanent; it should be playful!
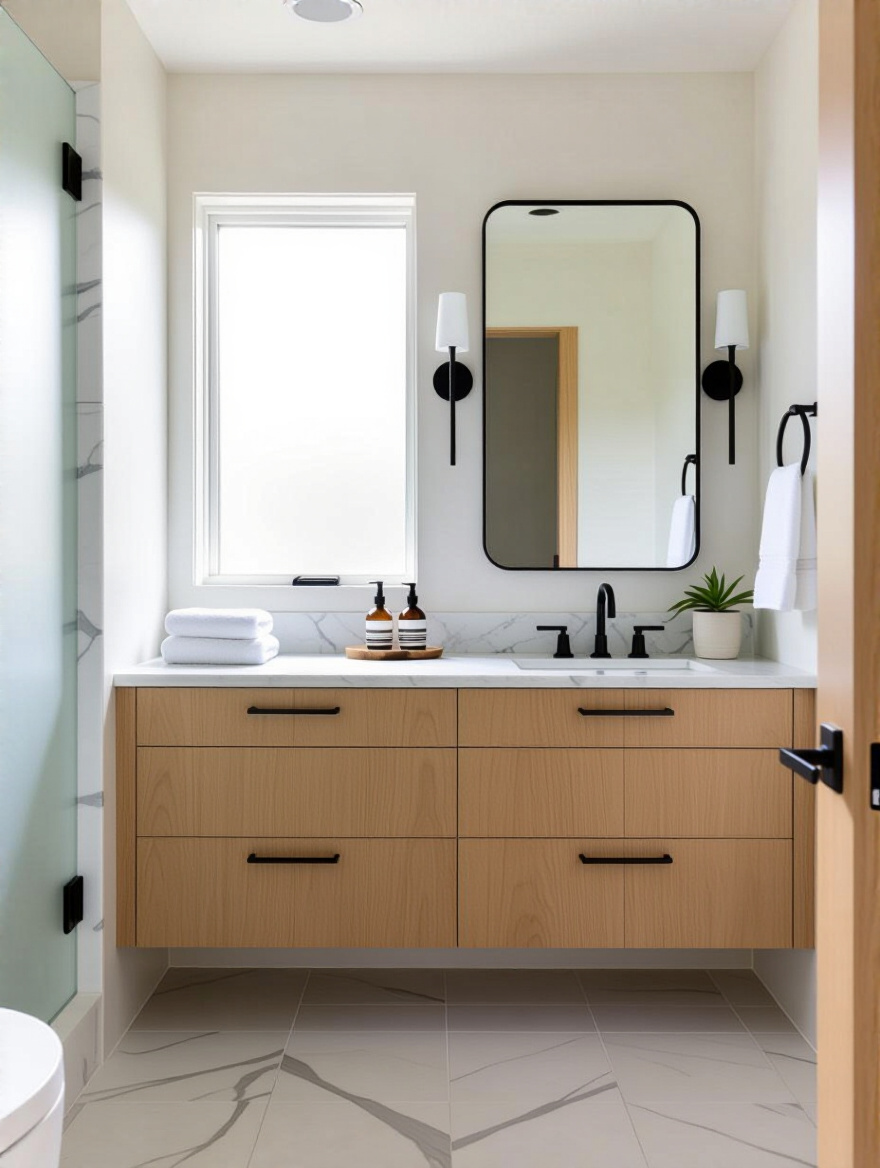
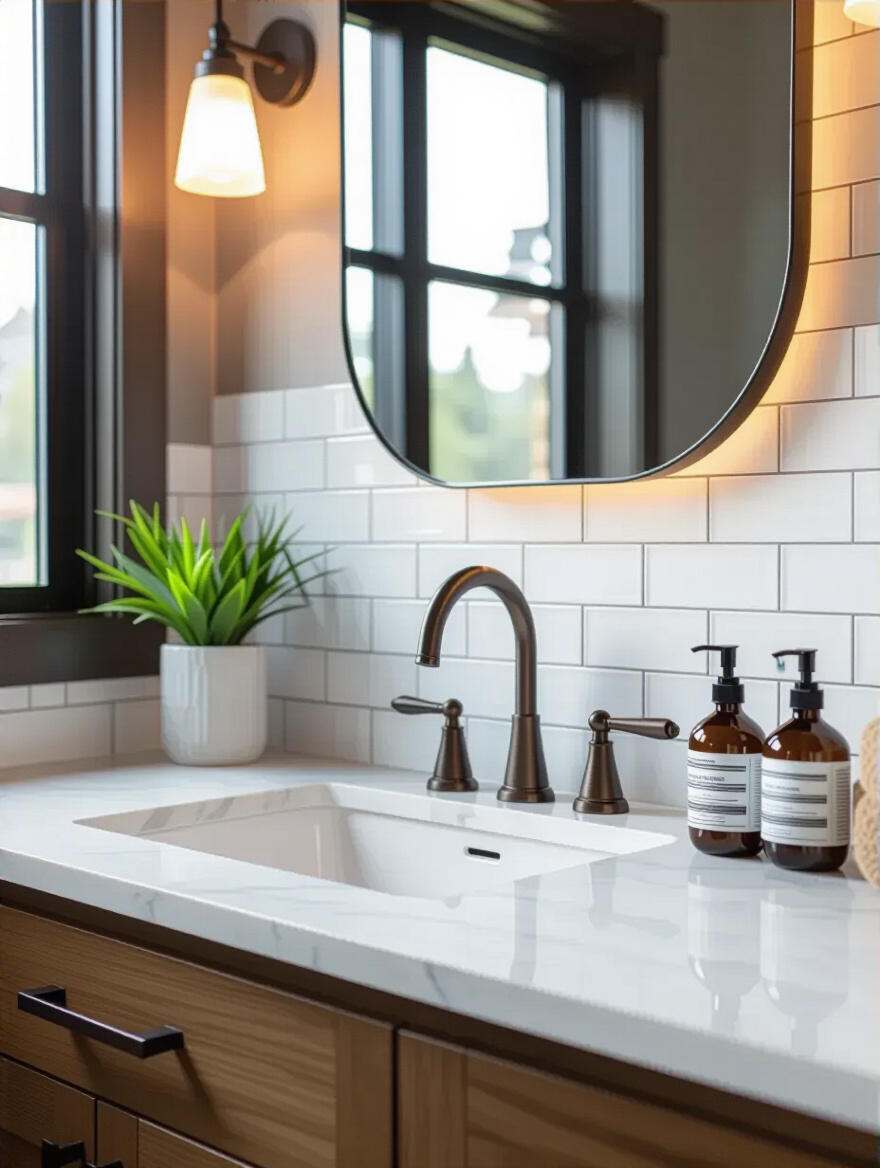
This is the easiest, fastest, and cheapest update on the entire list, and it has such a surprisingly big impact. Think of hardware as the jewelry for your bathroom. Swapping out old, dated knobs or pulls for something modern and sleek in a matte black or brushed brass finish can make a builder-grade vanity look custom-designed.
Make sure to measure the distance between the screw holes on your existing pulls before you buy new ones to save yourself a headache. Most handles and knobs are a standard size, but it’s always good to check. It’s a ten-minute job that will make you smile every time you open a drawer.
Sometimes, it really is the little things that make the biggest difference.
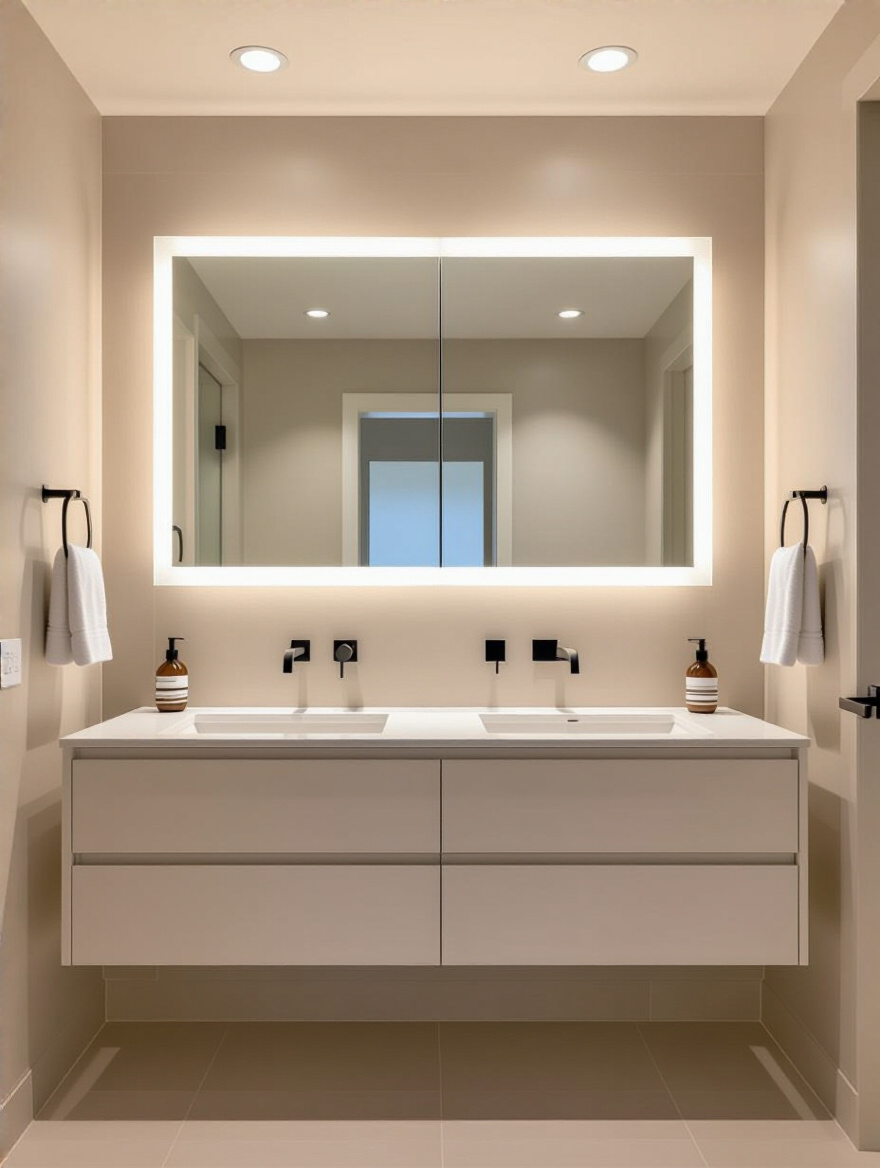
Ditch that boring, frameless slab of a mirror that the builder glued to the wall. A mirror can be a piece of art! Look for a large, interestingly shaped mirror or one with a beautiful frame. Thrifting is great for this—you can find ornate vintage frames and have a piece of mirror cut to fit.
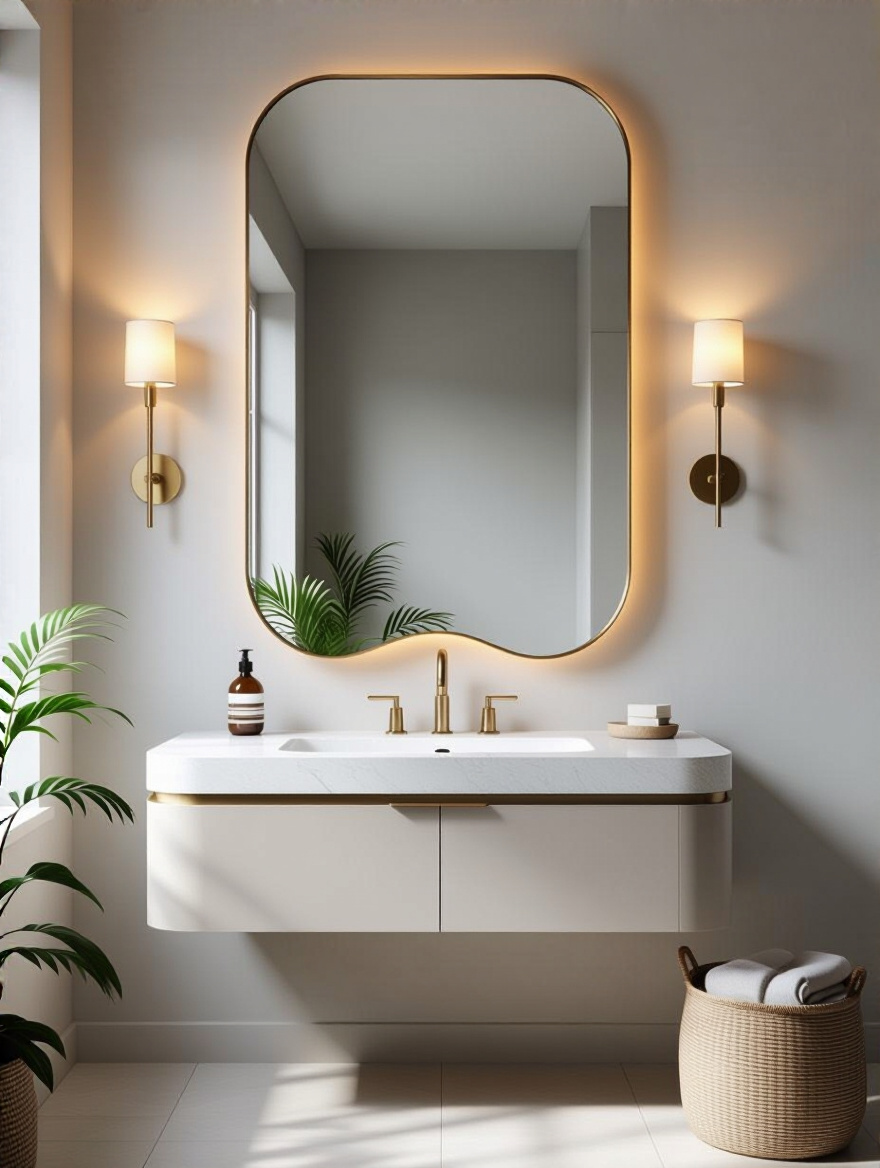
An oversized mirror does two magical things: it bounces light all around the room, making it feel brighter, and it creates the illusion of more space, making a small bathroom feel much bigger. It becomes the star of the show, the focal point that draws your eye and makes the whole room feel more grand and intentional.
And a bonus for parents: a big mirror is great for funny-face contests during toothbrush time.
Bathroom clutter is real. The solution isn’t always more cabinets; sometimes it’s smarter, more accessible storage. A few simple floating shelves above the toilet can transform unused vertical space into a powerhouse of organization. But here’s the key: use beautiful baskets and containers to corral the chaos.
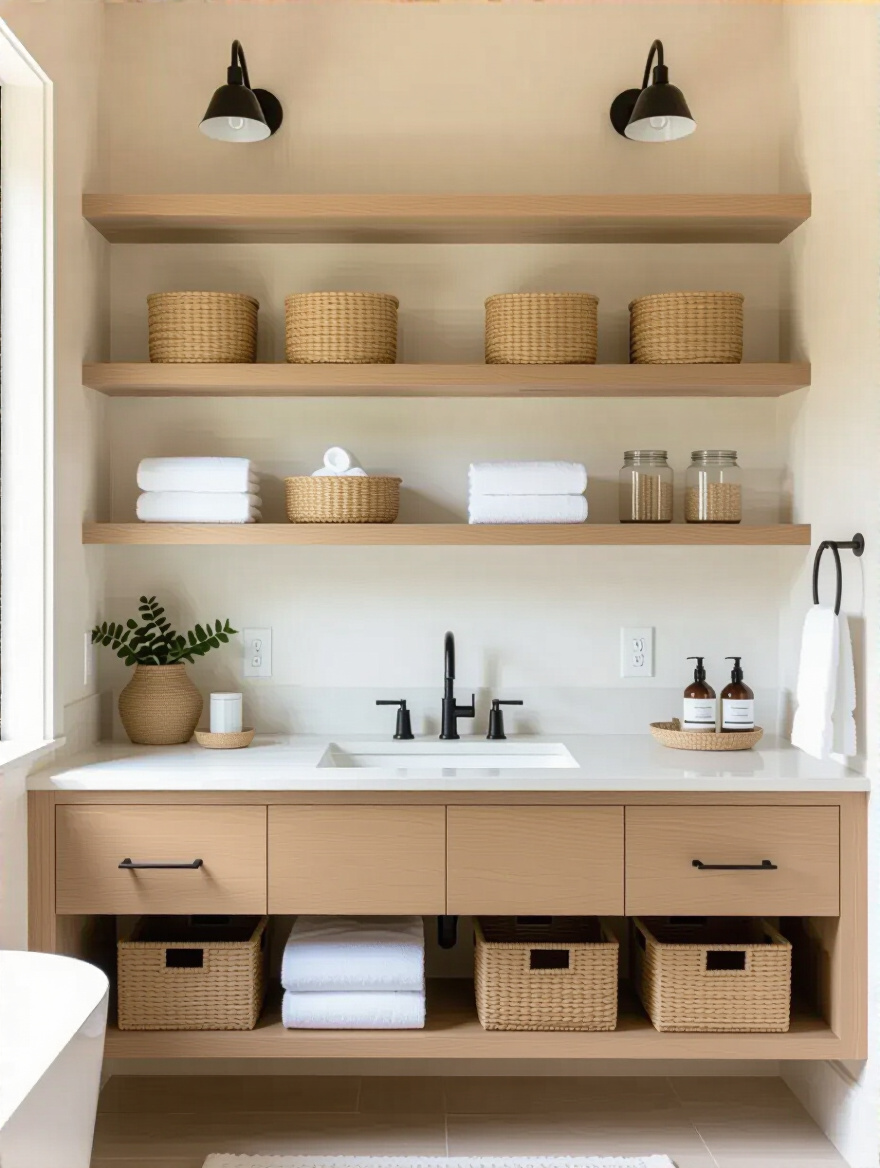
Put cotton balls and Q-tips in nice glass jars. Roll up extra hand towels and stack them in a woven basket. Use a decorative tray for everyday lotions and soaps. It turns your necessities into decor. This also teaches kids about organization—everything has a home. A basket for bath toys, a spot for their special toothbrush. It makes cleanup a simple, intuitive game.
We’re in the home stretch! This last bit is all about the soft touches that bring warmth, texture, and a sense of spa-like luxury to your bathroom without spending a lot of money.
Never underestimate the power of textiles. A new shower curtain can single-handedly change the entire color scheme and mood of your bathroom. It’s the largest piece of “fabric art” in the room, so make it count! Swap out that old, mildewed liner for a crisp new one and choose a curtain in a fun pattern or a luxurious, textured fabric.
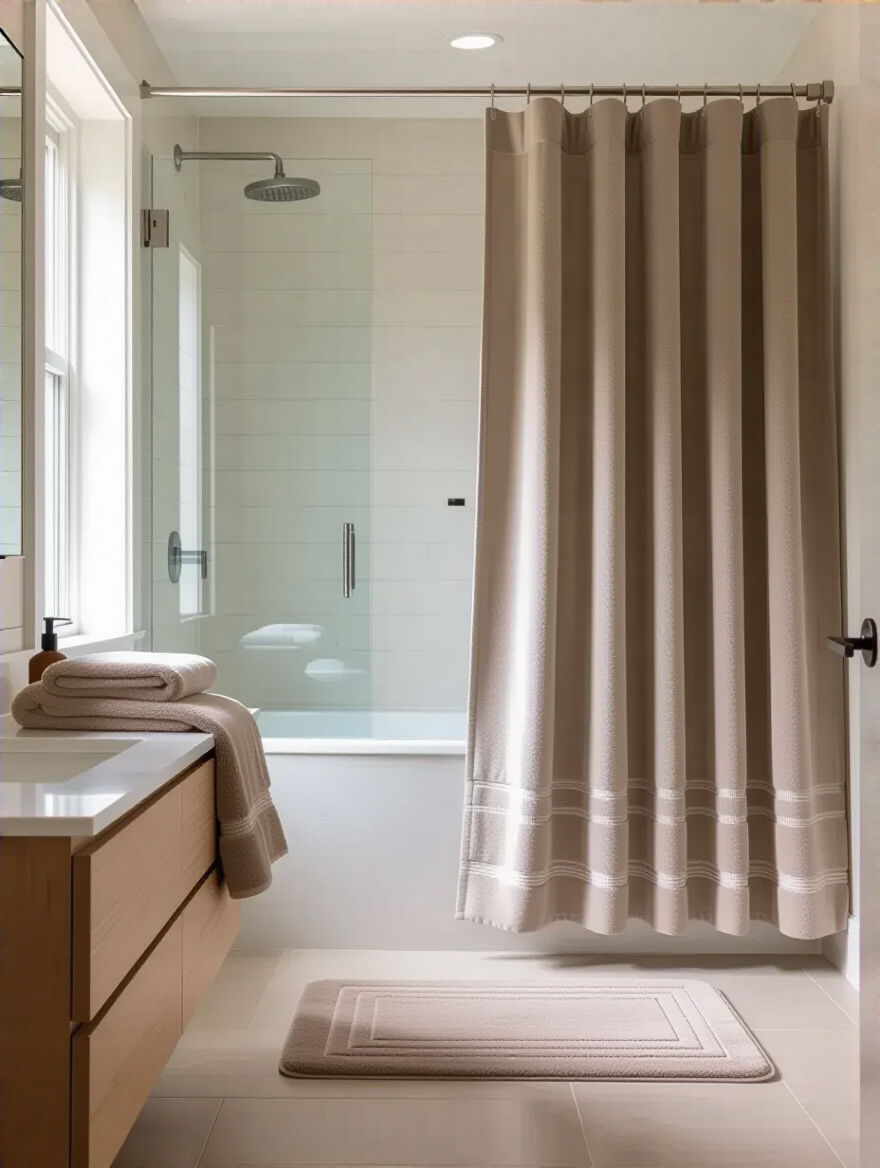
Then, coordinate! Get new bath mats and towels that pull a color from the curtain. This is what makes a space feel cohesive and “designed” instead of just thrown together. Fluffy new towels feel amazing and instantly elevate the everyday experience of getting ready. It’s an affordable luxury that makes a huge difference.
Okay, your bathroom looks amazing. Now let’s make sure it stays amazing. These final tips are about protecting your hard work and making smart choices that will pay off for years to come.
You just spent all that time making your grout look perfect; now it’s time to protect it. A couple of coats of grout sealer is a non-negotiable step. It creates an invisible barrier that repels water and prevents stains and mildew from taking hold. It’s a quick job that will save you hours of scrubbing in the future.
The same goes for any porous countertops like marble or granite. Sealing them annually prevents stains and keeps them looking beautiful. Think of it as sunscreen for your bathroom surfaces. It’s a simple, preventative step that protects your investment and keeps everything looking fresh and clean for so much longer.
An ounce of prevention is worth a pound of… well, future scrubbing.
This isn’t the sexiest upgrade, but it might be the most important. A bathroom without good ventilation is a science experiment for mold and mildew. If your fan is noisy, weak, or non-existent, replacing it with a quiet, efficient modern one is a critical investment. Moisture is the enemy of any bathroom, causing peeling paint, warping wood, and all sorts of grossness.
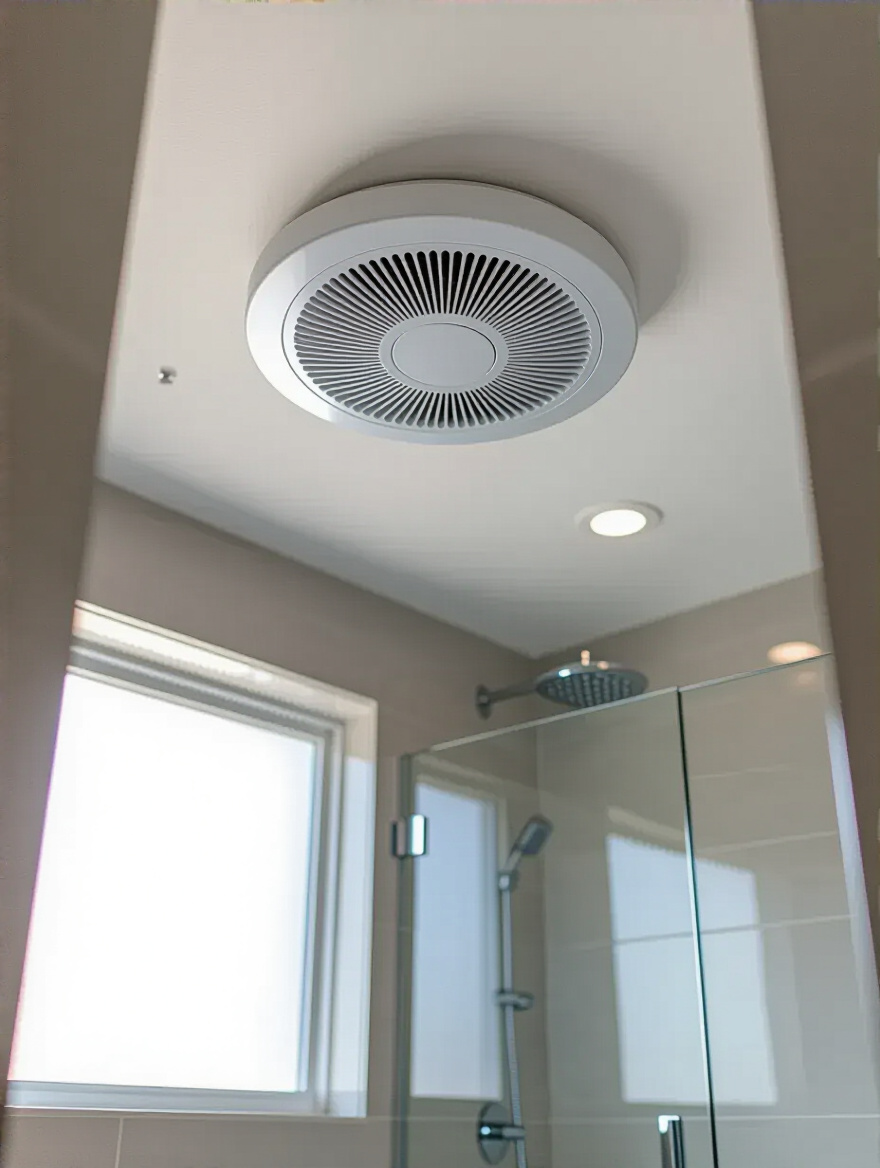
Look for a fan with a low “sone” rating (that means it’s quiet) and the right CFM (cubic feet per minute) rating for your room’s size. An expert tip? Get one with a humidity sensor that turns on automatically when things get steamy. This protects your beautiful new bathroom from moisture damage, keeping the space healthier for your family in the long run.
Your bathroom’s best friend is a fan that actually works.
Being budget-conscious doesn’t stop when the renovation is done. Swapping in water-saving fixtures is a smart move that saves you money every single month on your utility bills. Look for toilets, showerheads, and faucets with the EPA’s WaterSense label. They’re certified to use at least 20% less water without sacrificing performance.
This is also a wonderful, tangible way to teach children about conservation. You can explain that your new showerhead saves enough water every year to fill a swimming pool! It connects your home design choices to a bigger, more important lesson about taking care of our planet. Smart, beautiful, and responsible—that’s a triple win.
Saving money while saving the planet is always a good idea.
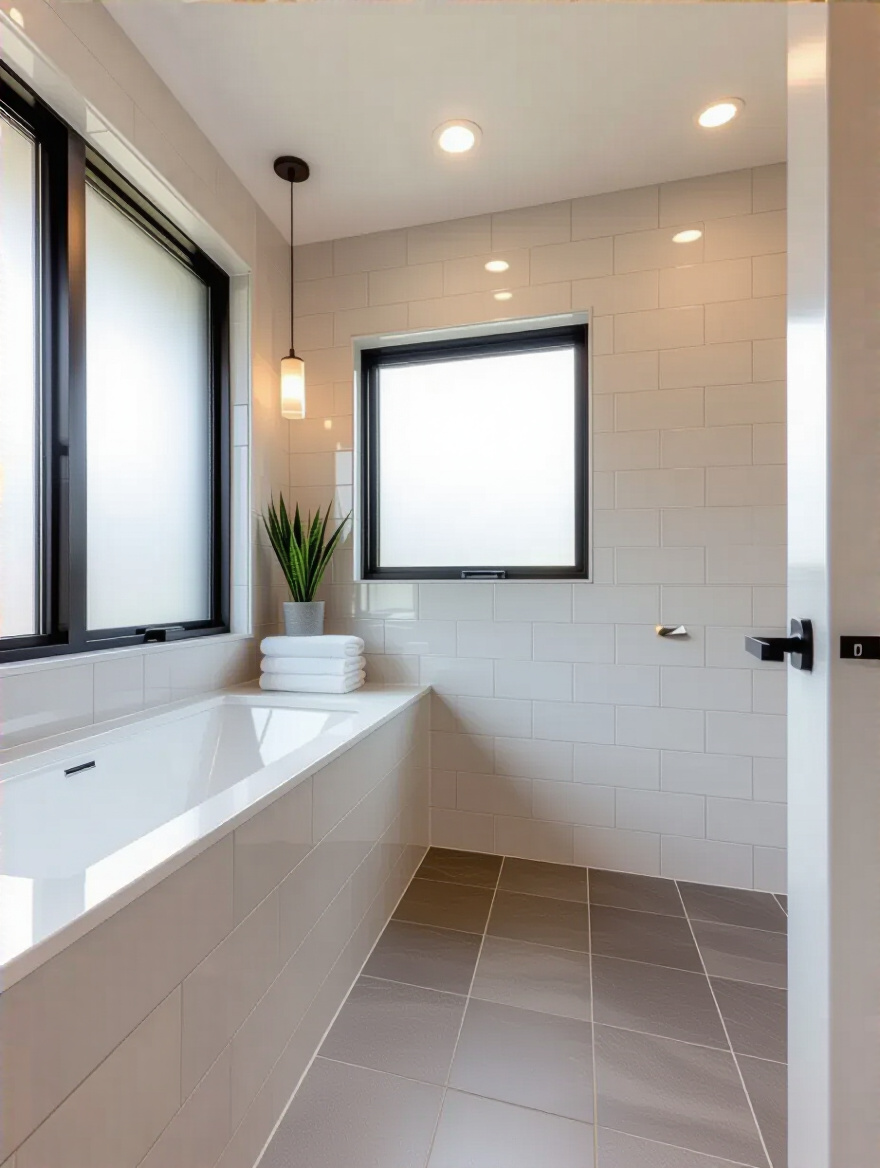
Last but not least, be realistic. Putting a $50,000 Italian marble bathroom in a modest starter home is what we call “over-improving.” You’ll never get that money back when you sell. The key is to make updates that are in line with the value of your home and the standards of your neighborhood.
Think clean, classic, and timeless. A beautiful subway tile, a simple and functional vanity, and neutral colors have broad appeal and will add real value. Focus on quality and functionality over flashy trends. This ensures that your hard work isn’t just an expense; it’s a smart investment in your home’s future.
See? A bathroom you love is totally possible, no matter your budget. It’s all about smart, playful choices that focus on impact. You don’t need to knock down walls to breathe new life into your space. A little paint, some clever sourcing, and a few thoughtful updates can create a room that not only looks fantastic but also works better for your family’s everyday life.
So pick one or two of these ideas that got you excited and just start. Don’t be afraid to get your hands a little dirty and have fun with it! You’re not just remodeling a bathroom; you’re creating a more joyful and functional backdrop for your family’s story—from chaotic toddler bath times to peaceful, spa-like moments for yourself. You’ve got this!