Physical Address
304 North Cardinal St.
Dorchester Center, MA 02124
Physical Address
304 North Cardinal St.
Dorchester Center, MA 02124
Master bathroom wallpaper vintage with 22 expert tips covering pattern selection, moisture-resistant materials, installation techniques, and period-authentic styling for timeless results.
Okay, let’s get real for a minute. Your bathroom might be the only room in the house where you can lock the door for five uninterrupted minutes. It’s your secret hideout, your quiet zone, your tiny personal retreat from the beautiful chaos of family life. So why does it so often get the short end of the design stick?
I see it all the time. We pour our hearts into creating magical playrooms and cozy nurseries, but the one space that’s just for us? It gets a coat of beige paint and a sensible bathmat. I’m here to tell you that this little room has big potential. With the right vintage-inspired wallpaper, you can turn that functional space into a personal sanctuary that tells a story and recharges your soul.
This isn’t about just sticking up some pretty paper. From my work designing developmental spaces for kids, I’ve learned that our surroundings have a huge impact on our mood and creativity—and that applies to grown-ups, too! Think of this as a creative project for you. A way to play with color, pattern, and history. Ready to build a little jewel box of your own?
Let’s dive in.
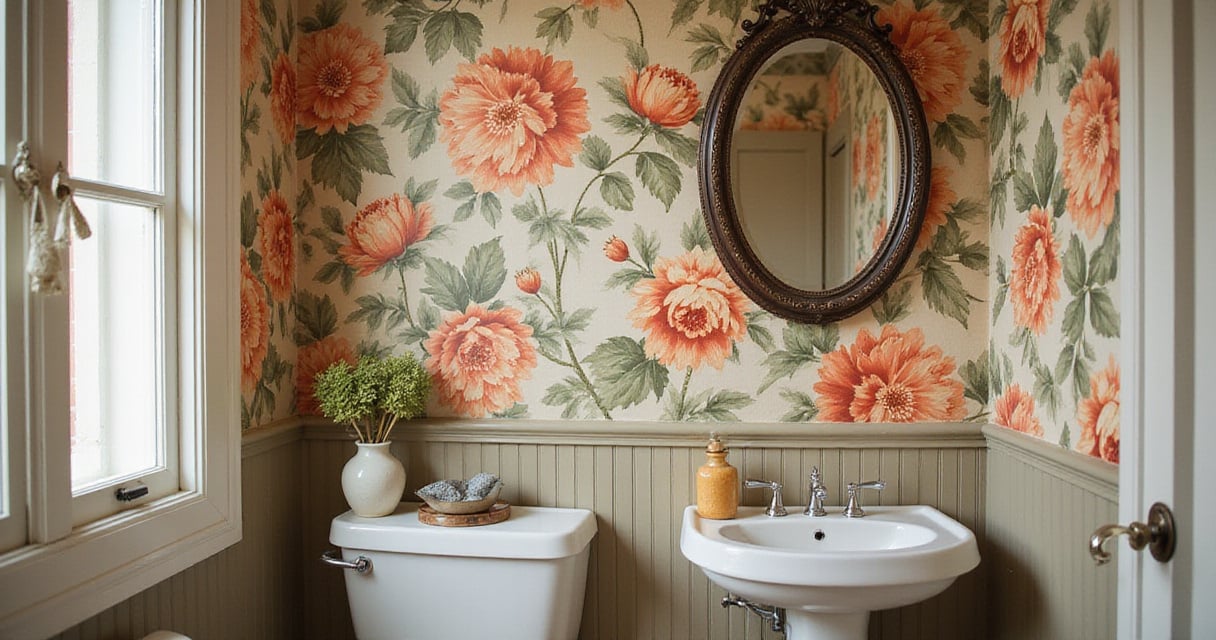
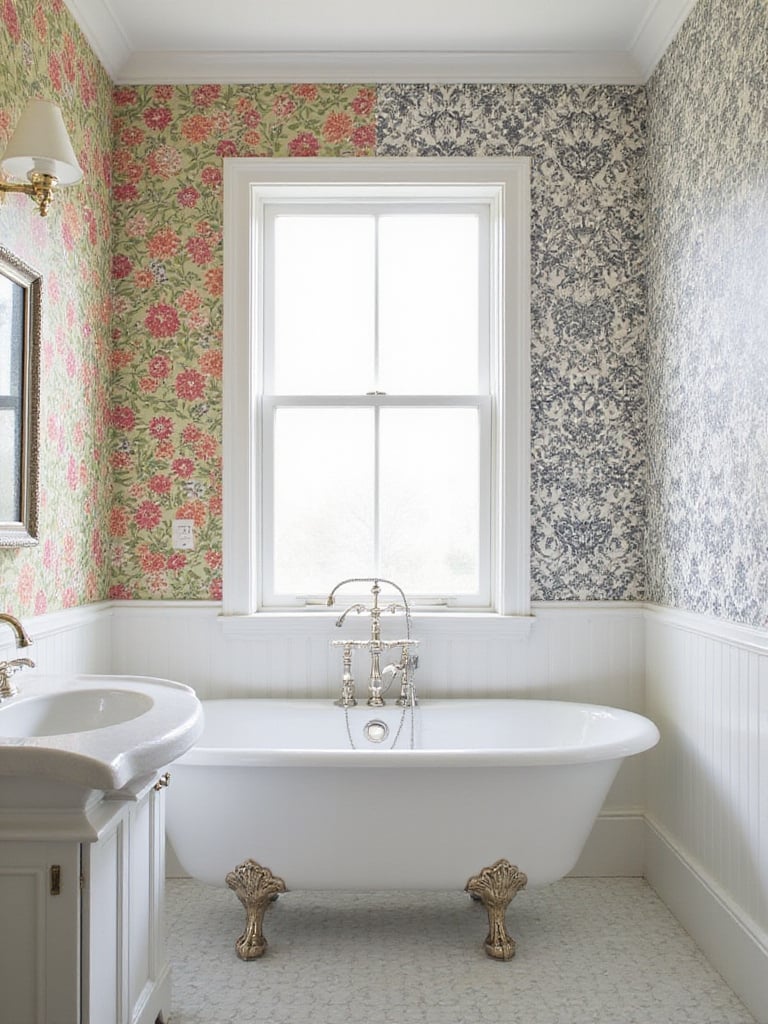
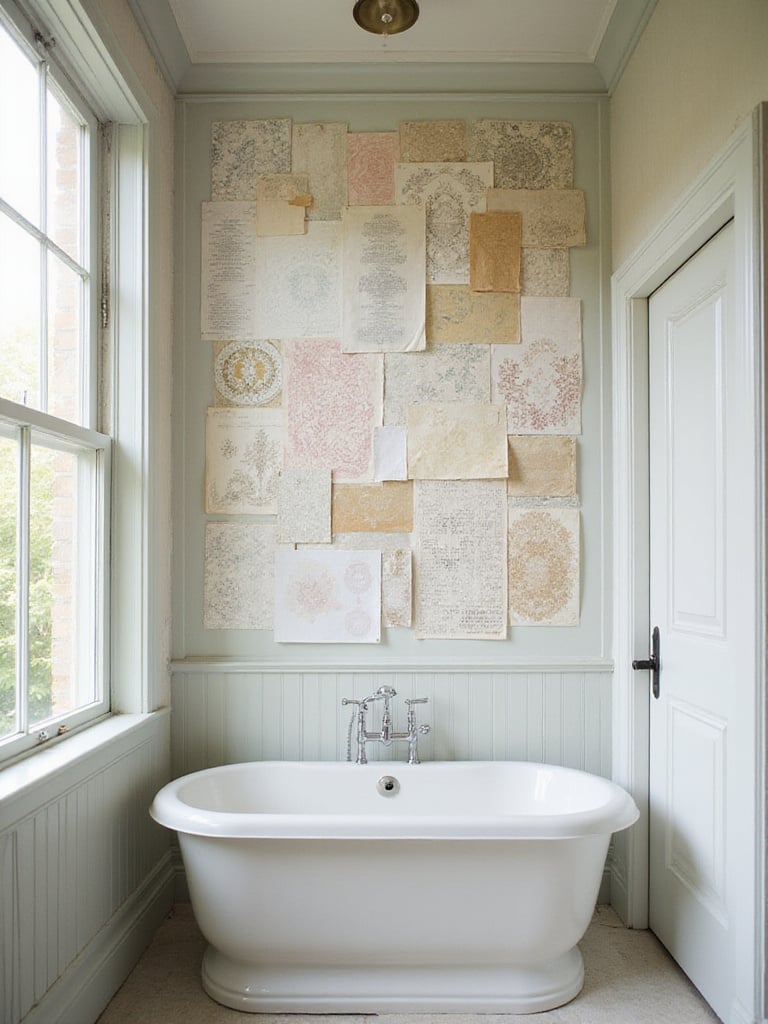
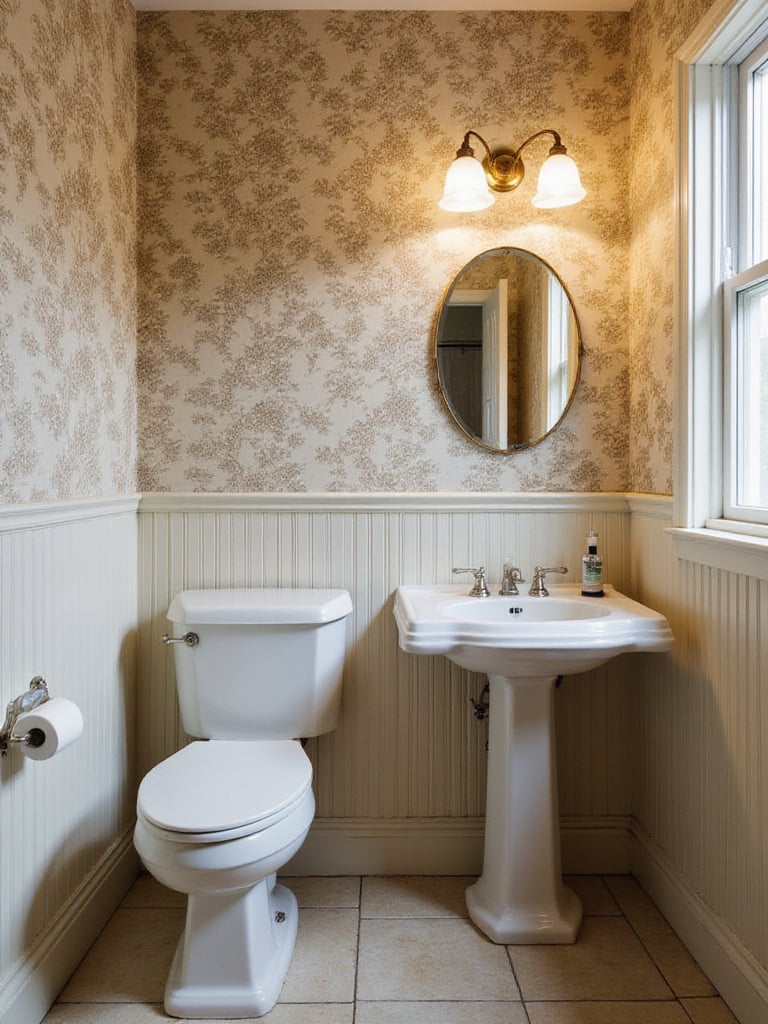
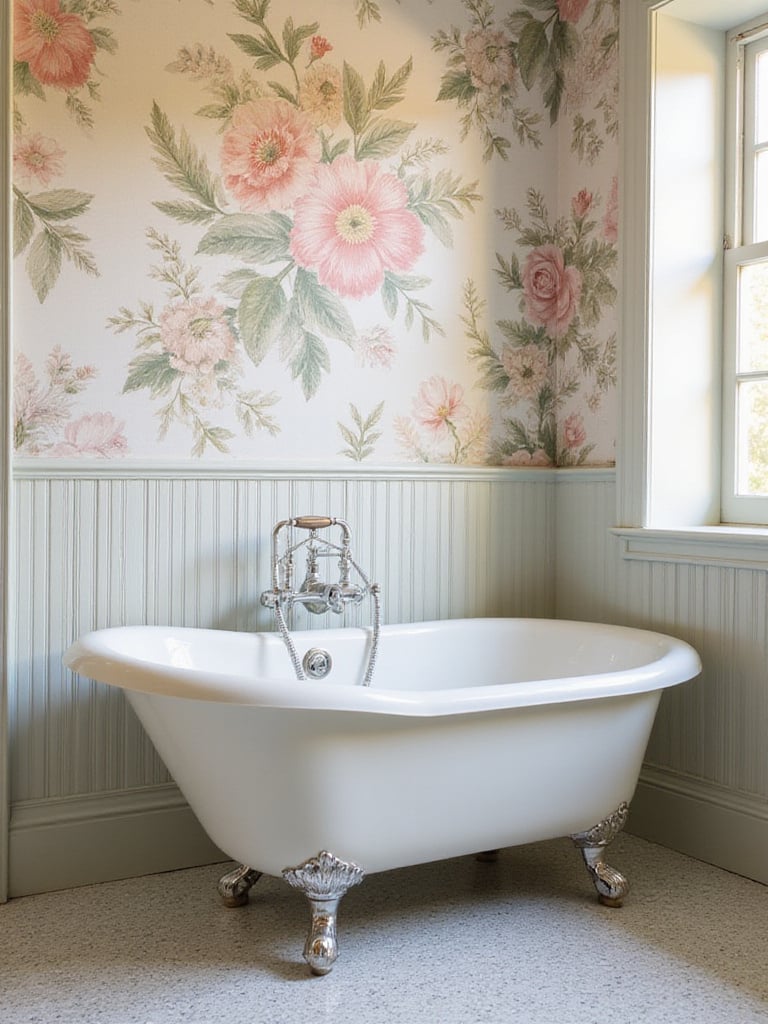
The single biggest myth I have to bust for parents is that you should use tiny patterns in tiny rooms. Nope! In fact, it’s usually the opposite. A ditsy little print can feel busy and frantic, almost like visual clutter, which is the last thing you need. A large-scale pattern, however, does something magical. It draws your eye into the design, making you forget the room’s actual dimensions.
I once worked with a mom on her teeny-tiny powder room off the kitchen. It was basically a closet. She fell in love with a huge, dramatic floral pattern—we’re talking peonies the size of dinner plates. She was terrified, but we went for it. The result? It felt less like a cramped closet and more like stepping inside a secret garden. The bold pattern gave the room a purpose and an identity. It became intentionally cozy, a little jewel box. So please, forget what you’ve heard. Be brave!
This is your chance to create a little world, a quick escape. The bolder the choice, the more transportive the space becomes.
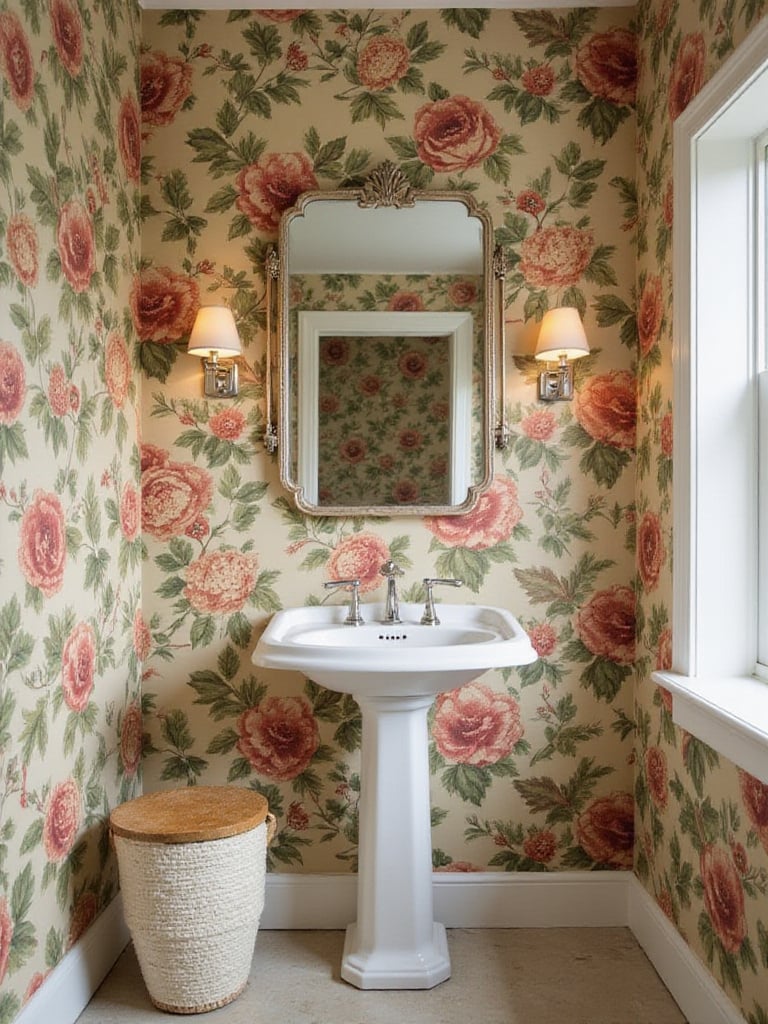
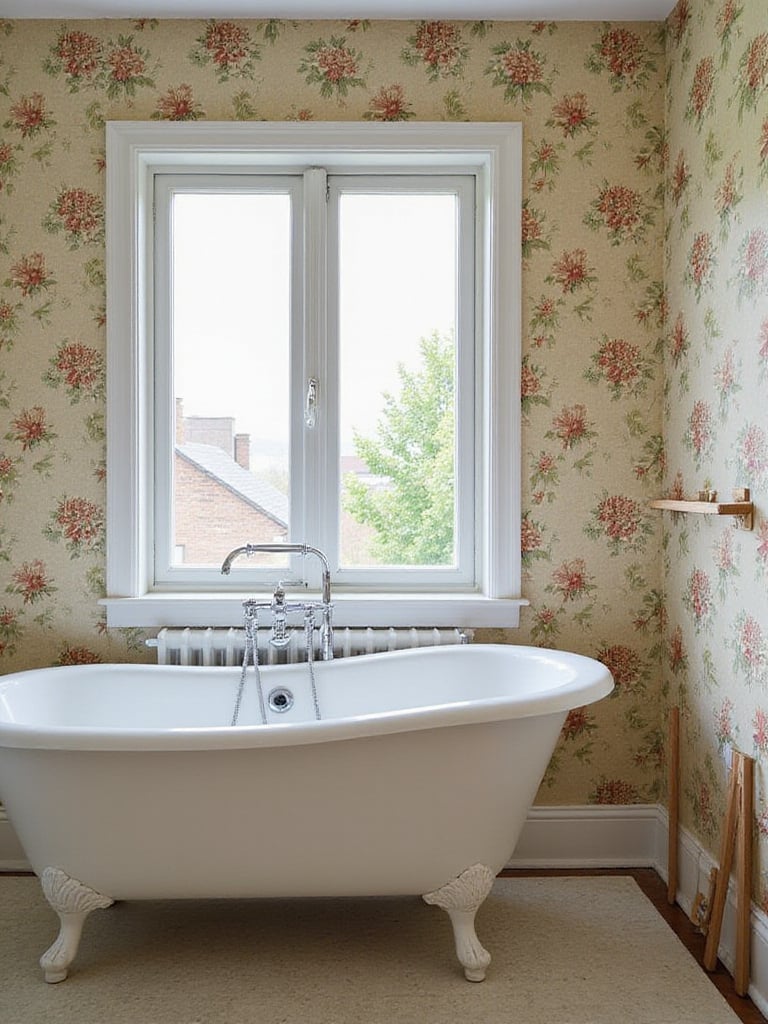
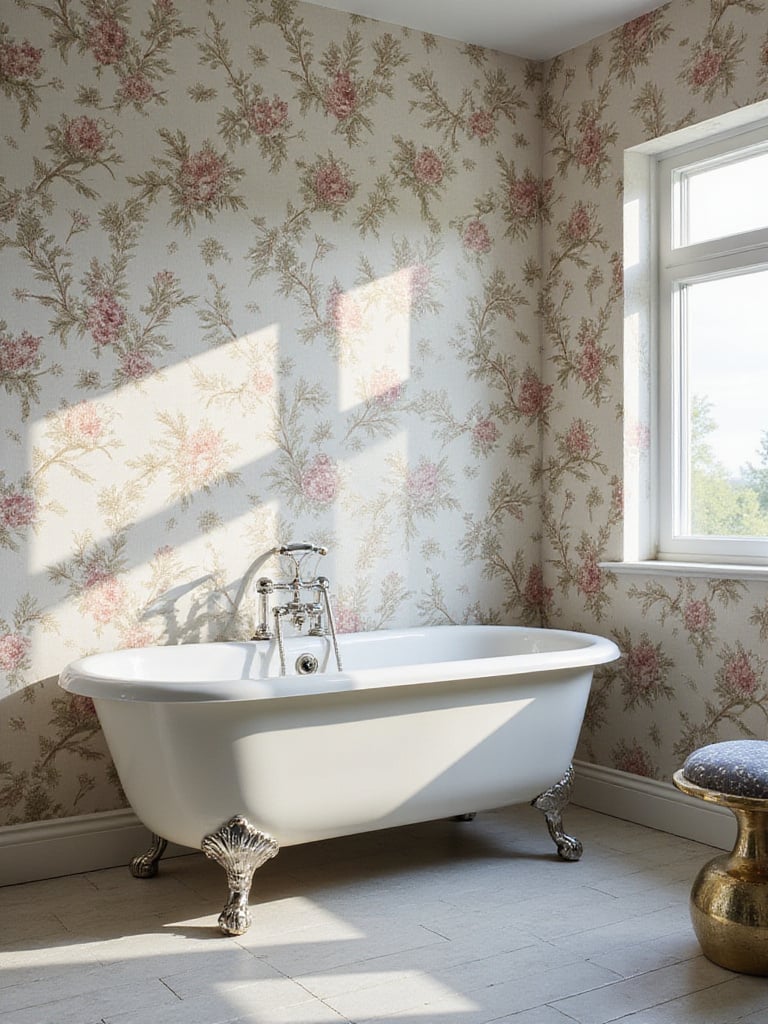
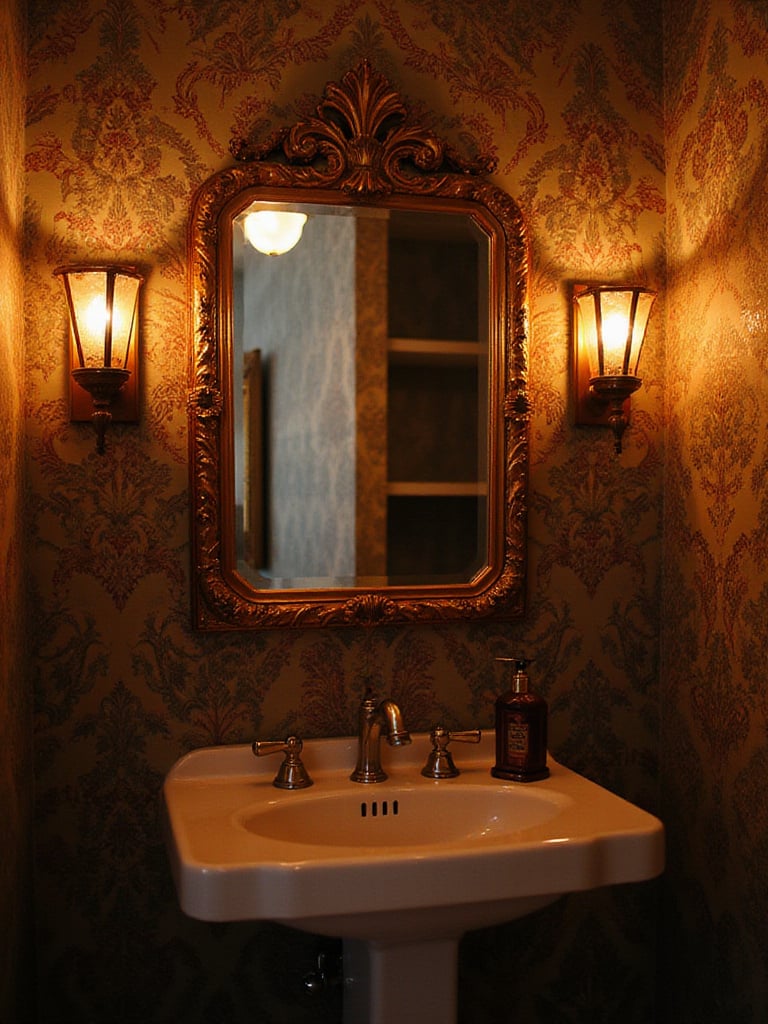
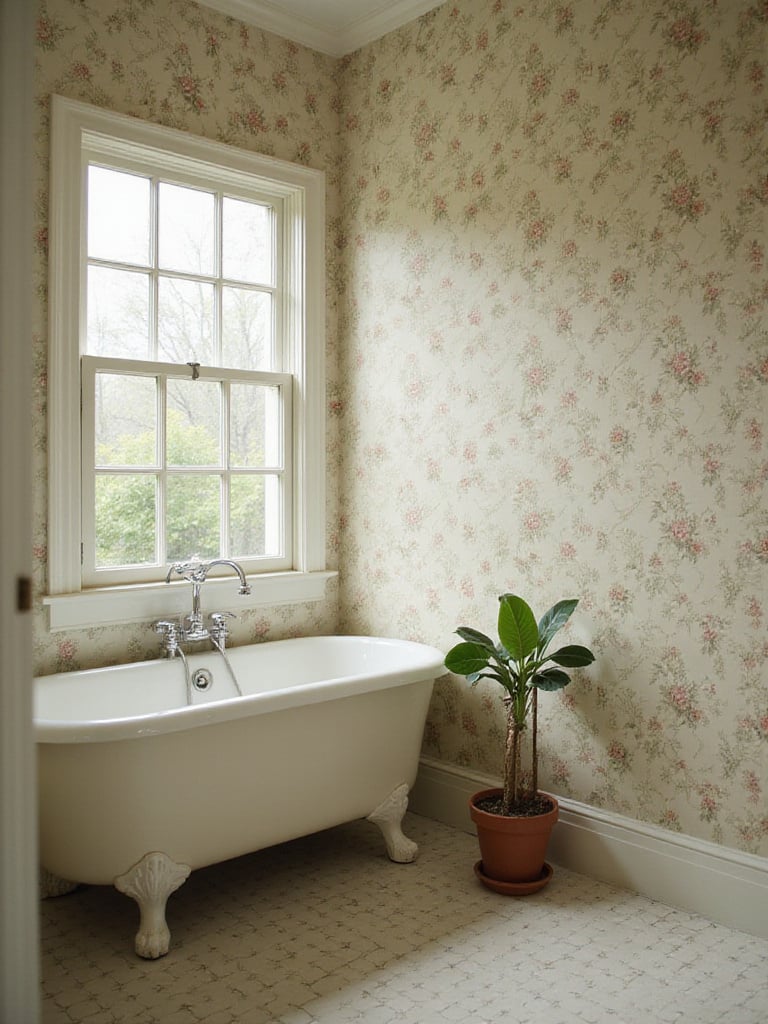
Choosing a vintage style is like picking out a favorite picture book—each one has its own mood, its own color palette, and its own story to tell. Instead of getting bogged down in historical accuracy, just think about the feeling you want to create for yourself.

Are you craving something lush, romantic, and a bit dramatic? Victorian florals with their deep, rich colors might be your chapter. Or maybe you need a dose of glamour and sophistication. The bold, shimmering geometric shapes of the Art Deco era are like a fancy cocktail party on your walls. If you’re drawn to clean lines and quirky, optimistic patterns, then Mid-Century Modern is your story. The key is to pick one era and let it guide you. This creates a cohesive look instead of a visual jumble.
“When everything in the room tells the same story—from the wallpaper to the light fixture—it creates a sense of calm and intention. It feels designed, not just decorated.”
Think of it this way: you wouldn’t mix a super modern chrome faucet with a rustic farmhouse sink, right? The same principle applies here. Let your wallpaper’s era guide the rest of your choices.
Okay, we’ve established that big can be beautiful in small spaces. But how big is too big? This is where sampling becomes your best friend. The scale of the pattern’s repeat—how far it is until the full pattern starts over—is what really matters. For a small powder room, a pattern with a repeat of around 18 to 24 inches often hits the sweet spot. It’s large enough to feel intentional without being so huge that you only see one part of the design.
In a larger primary bathroom, you can go even grander with repeats of 30 inches or more. These big, dramatic patterns create an incredible focal point and make the room feel anchored and sophisticated. But here’s the crucial part: you have to see it in your space. Order the largest sample you can get—at least the size of a placemat.
Tape it to the wall. Look at it in the morning when you’re brushing your teeth with the kids clamoring at the door. Look at it at night in the warm glow of your vanity lights. How does it feel? Does it make you happy? That’s the only test that matters.
This part is non-negotiable. A bathroom is a humid, splash-prone war zone, and your wallpaper needs to be ready for battle. I don’t care how beautiful a traditional, paper-backed vintage roll is—it will not survive. It will bubble, peel, and honestly, probably get a little moldy. Yuck.
You need to look for wallpapers that are specifically designed for bathrooms. The magic words are vinyl-coated, solid vinyl, or non-woven. These modern materials are amazing because they give you the authentic look of a vintage pattern but with the durability to withstand moisture. Many are even scrubbable, which is a lifesaver when a little bit of toothpaste (or who-knows-what-else) inevitably ends up on the wall.
Think of it like buying a snowsuit for a toddler. You don’t just get a cute jacket; you get the waterproof, insulated, ready-for-anything gear that will actually do the job. Your wallpaper is the same. Prioritize performance here, and your beautiful design will last for years instead of months.
The world of peel-and-stick wallpaper has exploded, and it’s a fantastic option for renters or for a quick, low-commitment project like lining the back of a bookshelf. But for a bathroom? I’m going to be honest: I almost always recommend traditional, pasted wallpaper.

Here’s why. Traditional paste creates a much stronger, more permanent bond with the wall. In a high-humidity environment, that’s exactly what you want. It’s less likely to have its edges curl or peel over time. Plus, the paste gives you a little more “slip” time during installation, letting you slide the paper around to get those intricate vintage patterns matched up perfectly. With peel-and-stick, once it’s stuck, it’s pretty much stuck.
It’s more work upfront, I won’t lie. But for a space you want to love and enjoy for the long haul, taking the time to do it the traditional way is a smart investment.
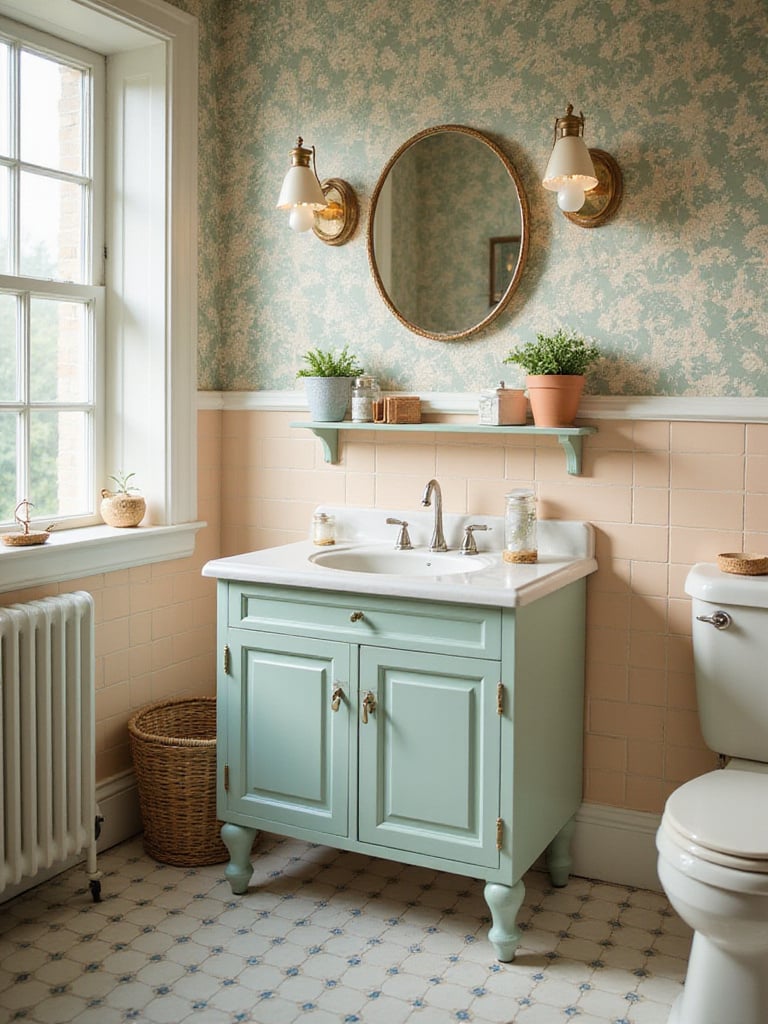
Have you ever stood in the paint aisle, completely paralyzed by a wall of 5,000 different shades of white? Here’s a little secret: if you pick your wallpaper first, it does the hard work for you. Your wallpaper pattern contains a built-in, professionally-curated color palette.
Once you’ve chosen your paper, pull the colors directly from it.
Suddenly, everything looks cohesive and intentional. You’re not just guessing; you’re following a roadmap that the wallpaper designer already created. This is how you get that polished, pulled-together look without hiring a designer. It creates a beautiful harmony that makes the whole space feel calm and complete.
If you have your heart set on the real deal—paper that was actually printed in the 1940s or 70s—then get ready for a treasure hunt! This is for the patient and the persistent, but the payoff can be incredible. Finding a roll of authentic vintage wallpaper is like finding a piece of history.
Your best bets are online marketplaces and specialized dealers. Sites like Etsy can be goldmines, but you have to be willing to dig. For more curated collections, look at specialists like Secondhand Rose or Bradbury & Bradbury, which deals in stunning, historically accurate reproductions. Don’t forget to check out local architectural salvage yards and even estate sales in older neighborhoods. You never know when you’ll stumble upon a few rolls tucked away in an attic for 50 years.
When you find something, ask the seller for tons of photos. Check for discoloration, brittleness, and water spots. And here’s the most important tip: make sure you can get enough rolls to finish your job, plus at least 15% extra for matching the pattern and for any “oops” moments. There’s nothing worse than running out of a paper that you can never, ever buy again.
Let me tell you, there is absolutely no shame in choosing a reproduction. In fact, for a bathroom, it’s often the smarter choice. The best reproduction companies (like Cole & Son, Morris & Co., or Zoffany) are masters of their craft. They have access to historical archives and use meticulous techniques to recreate patterns that are virtually indistinguishable from the originals.
But here’s the game-changer: they print these historic designs on modern, durable, moisture-resistant materials. So you get all of the charm and character with none of the headaches.
With a reproduction, you get:
Honestly, for most projects, this is the path I guide my clients down. It delivers that gorgeous vintage aesthetic while being perfectly suited to the realities of a modern home and family life.
I’m going to say this in big, bold letters: YOU CANNOT PICK WALLPAPER FROM A COMPUTER SCREEN. I’m sorry to yell, but this is so important! The colors will be wrong. The texture will be a mystery. The scale of the pattern will be impossible to judge. Ordering samples isn’t just a suggestion; it’s a mandatory part of the process.
Order the biggest samples you can afford and tape them up in your bathroom. Live with them for a few days. Look at them in the bright, chaotic morning light and in the calm, artificial light of the evening. See how the color shifts. A gray you loved online might look purple in your room’s light. A pattern that seemed charming might just feel… off.
Hold the sample up next to your tile, your vanity, and your fixtures. Do they play nicely together? Does the texture of the paper feel right? Running your hand over it can tell you a lot about how it will feel in the space. This simple step can save you from a very expensive and very frustrating mistake.
This is the part that no one gets excited about, but it is the single most important factor in whether your wallpaper job looks professional or… not. You can have the most expensive, beautiful wallpaper in the world, but if the wall underneath is a mess, the final result will be a mess, too.
First, you have to clean the walls like you’ve never cleaned them before. Use a TSP substitute to get rid of any soap scum, oils, or residue that could prevent the paste from sticking. Then, fill every single little nail hole and sand it smooth. Any bump or divot will show through the paper.
And now for the secret weapon: a high-quality wallpaper primer. This is not the same as paint primer. A wallpaper-specific primer (sometimes called a “size”) does a few key things: it seals the wall so the paste doesn’t just soak in, it gives the paper a good surface to grip, and it makes removal way easier down the road. For a bathroom, I always recommend a mold-and-mildew-resistant primer. It’s the invisible foundation that makes your whole project a success.
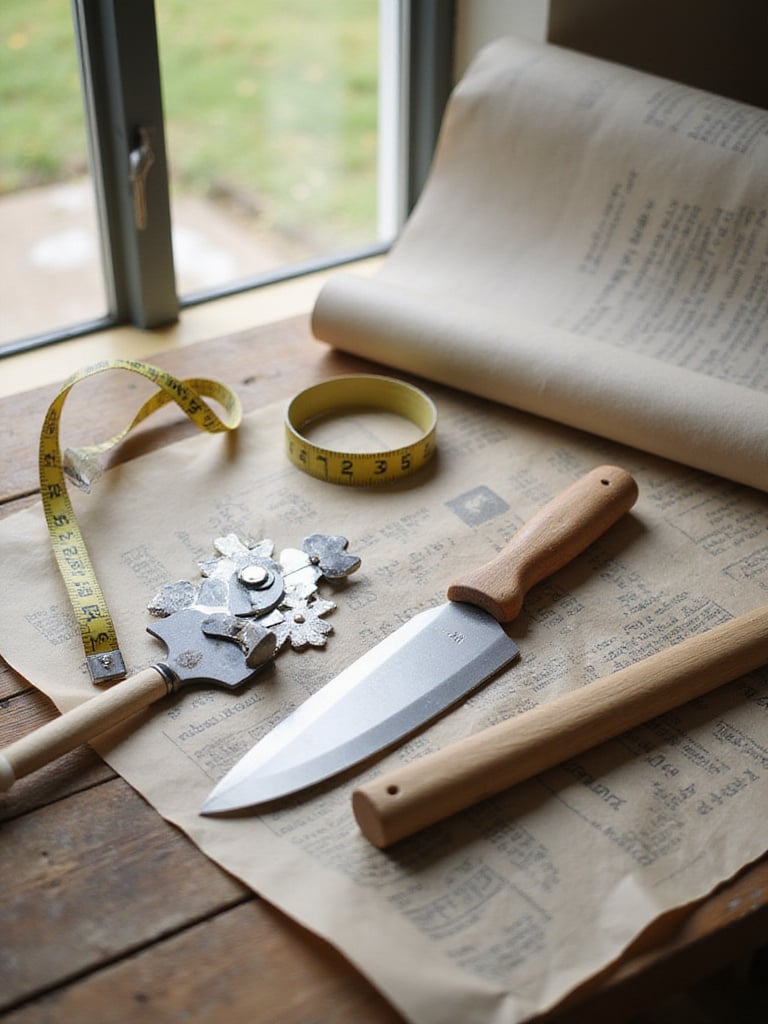
If you’re going to DIY this project, you need the right tools. But more important than anything else—more than a smoothing brush, a level, or a seam roller—is a utility knife with a stockpile of fresh, sharp blades.
A dull blade doesn’t cut wallpaper; it tears it. And a torn, ragged edge around a light switch or along the trim is a dead giveaway of an amateur job. You should be changing your blade far more often than you think. Pros will snap off a new section of the blade for almost every single long cut.
Think of it like this: a sharp blade glides through the paper, giving you a clean, crisp line that looks seamless. A dull blade snags and pulls, creating a fuzzy, homemade-looking edge. This one little detail makes a world of difference in the final finish.
Okay, deep breath. We need to talk about cutting around things like toilets, pipes, and pedestal sinks. These are the “fiddly bits” that can make even a seasoned DIY-er want to cry. The key here is patience and a little bit of clever trickery.
Don’t try to measure these complex curves. You’ll go crazy. Instead, create a template. Take a piece of kraft paper or old cardboard and hold it up to the area. Trim and tape it until it’s the exact shape you need. Then, you can lay this perfect template onto your wallpaper and trace it. It takes a few extra minutes, but it’s so much less stressful than trying to cut the expensive paper while it’s half-stuck to the wall.
For tight curves, make small “relief cuts”—little snips radiating out from the curve. This allows the paper to lay flat without bunching up or tearing. It’s a little pro trick that solves a lot of headaches.
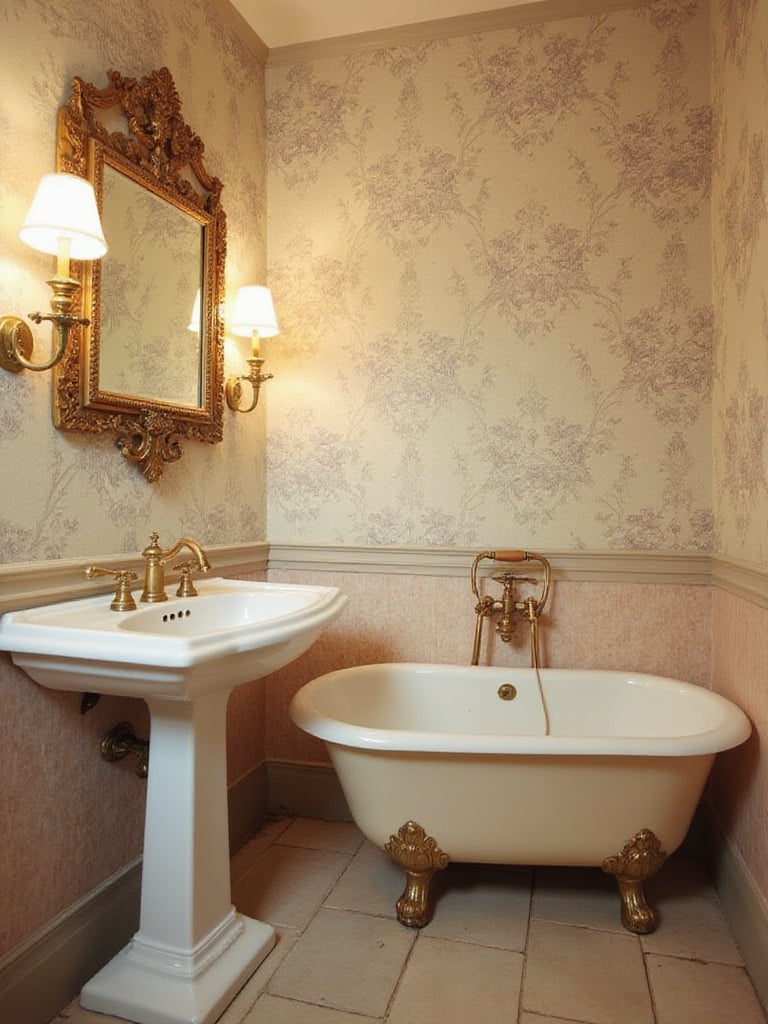
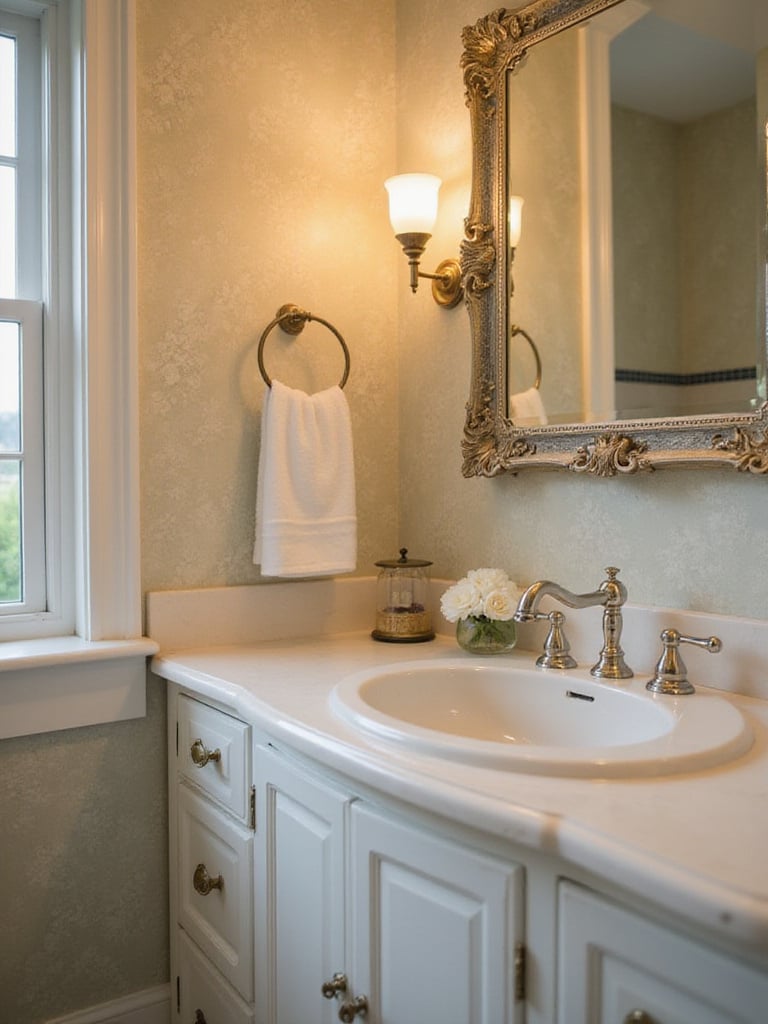
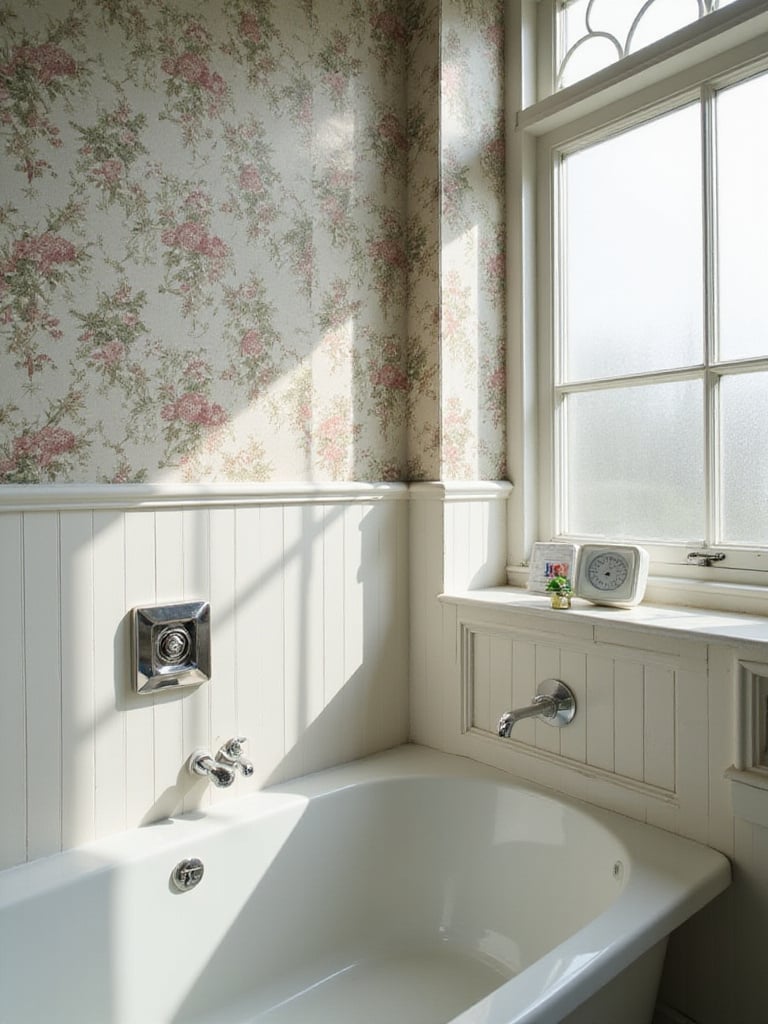
You’ve done all this work to create a beautiful, cohesive vintage look with your wallpaper, and then… there’s a super modern, blocky chrome faucet screaming from the sink. It just throws the whole vibe off. For true period authenticity, your fixtures, hardware, and lighting need to be on the same team as your wallpaper.
This doesn’t mean you have to spend a fortune on antique hardware (though architectural salvage yards can be amazing for this!). Many companies make beautiful, high-quality reproductions that fit the bill.
These finishing touches are what elevate a room from “nice” to “wow.” They complete the story you started with your wallpaper.
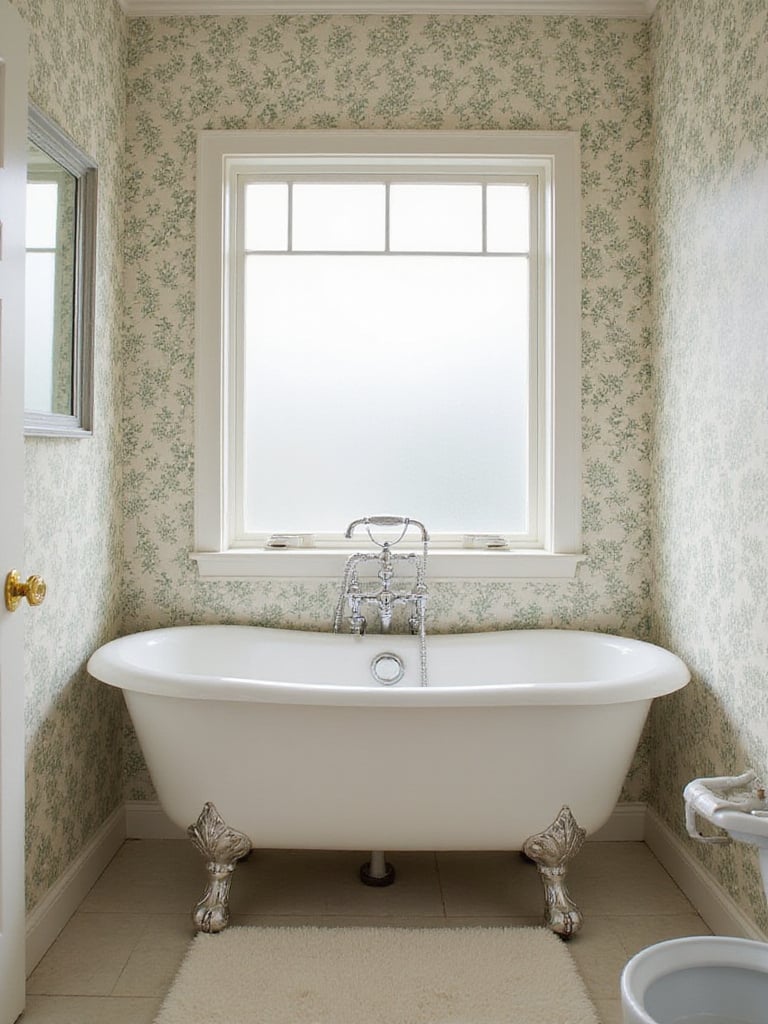
You wouldn’t hang a beautiful piece of art in a dark corner, would you? Your wallpaper is art for your walls, and the right lighting will bring it to life. This is especially true for vintage patterns, which often have subtle textures or metallic inks that can look flat in poor lighting.
Look for light bulbs with a high Color Rendering Index (CRI)—a CRI of 90 or above is great. This just means the light will show the colors of your wallpaper accurately and vibrantly. Then, think about layers of light. You need good “task” lighting at the vanity for practical things, but also softer “ambient” lighting for a relaxing bath. A dimmer switch is a must! It lets you control the mood and see how the pattern changes in different light levels.
For most vintage patterns, a warm white light (around 2700K on the package) creates a cozy, inviting glow that complements the historic color palettes. It’s the final touch that makes the whole room feel warm and welcoming.
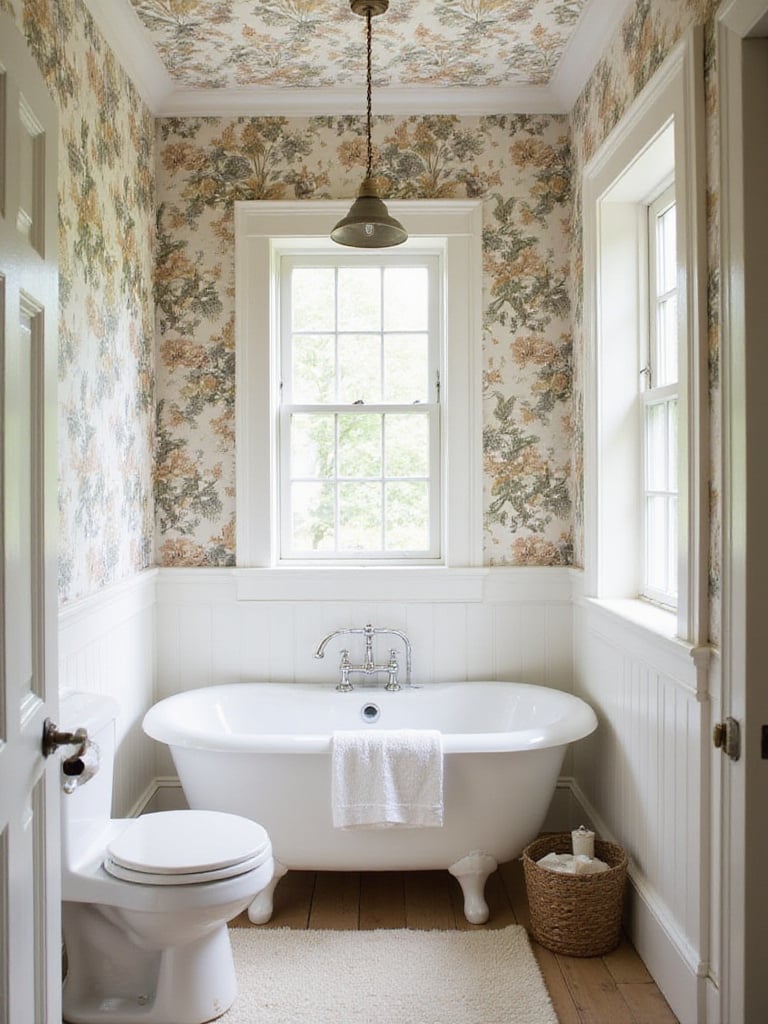
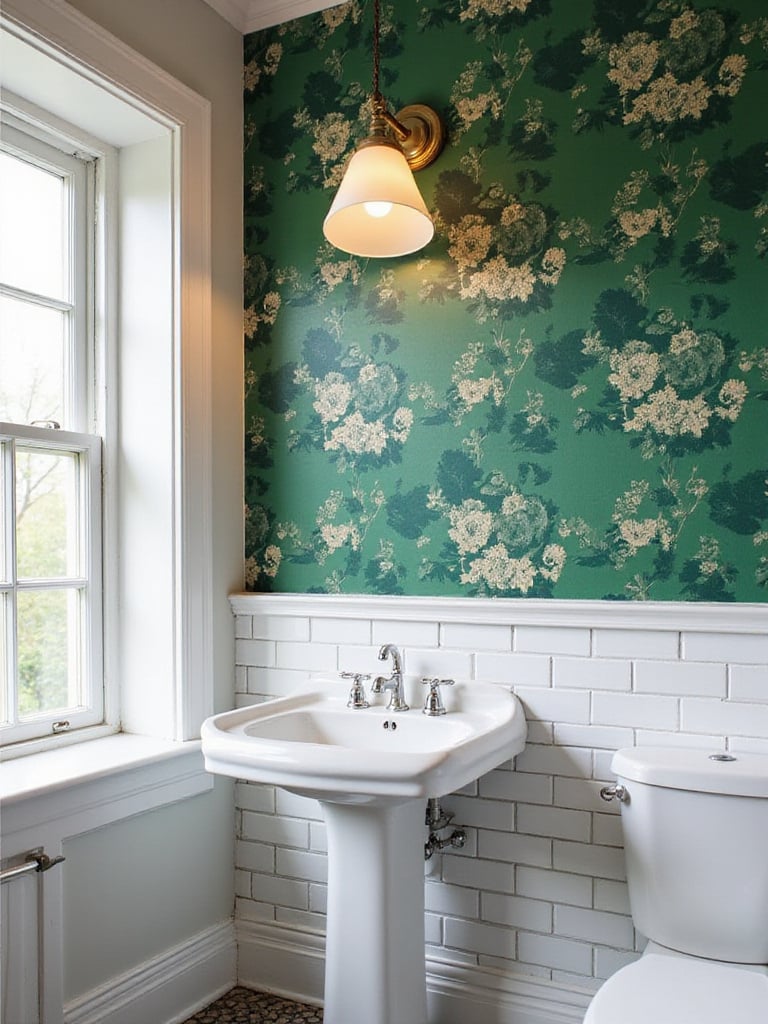
Feeling a little nervous about wrapping a whole room in a bold pattern? An accent wall is your best friend. This is a fantastic way to dip your toe into the world of vintage wallpaper, especially in a small powder room. It gives you all the drama and personality without overwhelming the space.
The key is to choose the right wall. The best candidate for an accent wall is the one you see first when you walk into the room, or the wall behind the vanity. This creates an immediate focal point. Try to avoid walls that are chopped up by a door or a window, as this breaks up the pattern and lessens the impact.
This is your chance to use that really wild, dramatic, maybe-a-little-too-expensive pattern you fell in love with. Since you’re only doing one wall, you can often splurge on a higher-end paper. It’s all the impact for a fraction of the cost and commitment.
Okay, this is an advanced move, but when it’s done right, it looks incredible. Mixing patterns can create a rich, layered, and deeply personal space. But there’s a fine line between “curated” and “chaotic.” The secret is to establish a clear hierarchy.
Think of it like a conversation at a party. You need one “loud talker” and a few “good listeners.”
The glue that holds it all together is color. Make sure your patterns share at least one or two common colors. This creates a visual thread that connects everything and tells your eye that, yes, these patterns belong together. It’s a sophisticated look that shows real design confidence.
You’ve put all this love and effort into creating your beautiful vintage bathroom—now you have to protect your investment. Maintaining wallpaper, especially in a bathroom, requires a gentle touch.
For general upkeep, a regular dusting with a soft, dry microfiber cloth or the brush attachment on your vacuum is all you need. This prevents dust and particles from settling into the texture of the paper.
For spot cleaning—and let’s be real, there will be spots—less is more. Always test your cleaning method on a hidden spot first (like behind the toilet). Use a soft cloth barely dampened with distilled water (tap water can sometimes leave mineral deposits). Dab gently; never, ever scrub. A hard scrub can damage the finish or even lift the ink off the paper.
The single biggest threat to your beautiful new walls is humidity. Controlling moisture is the key to making your wallpaper last. This is all about prevention, and your number one tool is ridiculously simple: your exhaust fan.
Your fan needs to be powerful enough for the size of your bathroom (the packaging will tell you what size room it’s for). And you have to actually use it. Run it during every shower or bath and for a good 20-30 minutes afterward to pull all that steam out of the air. A humidity-sensing fan that turns on automatically is a brilliant upgrade.
If you see any splashes on the wall, wipe them up right away with a dry cloth. Don’t let water sit. By managing the moisture, you’re preventing the adhesive from failing and stopping mold and mildew before they can even think about starting.
A vintage wallpaper project requires a realistic budget. It’s not just the cost of the paper itself; you have to account for the supporting cast of characters, too. Cutting corners on prep materials or tools will only lead to frustration and a result you’re not happy with.
Here’s a quick breakdown of what to plan for:
Think of it as an investment in your own happiness. Every time you step into that beautiful space, you’ll be glad you did it right.
I am a huge believer in the power of DIY. But I’m also a huge believer in knowing your limits. There are times when hiring a professional installer is the smartest, sanest, and even most cost-effective decision you can make.
Consider calling in a pro if:
An experienced professional has the skill, the specialized tools, and the know-how to handle tricky situations. They’ve seen it all. Paying for their expertise often means the job gets done faster, better, and with a guarantee. There’s no shame in calling for backup!
One of the beautiful things about vintage design is its staying power. When you choose a classic pattern and use quality materials, you’re creating a space that you will love for years, not just a season. It’s easy to get caught up in the latest design trend, but for a project this involved, I always encourage my clients to think long-term.

Choose a pattern that genuinely speaks to you, one that makes you feel happy and relaxed. Does it connect with the overall style of your home? Can you see yourself still loving it in five or ten years? Classic patterns from respected design houses—like the iconic designs from William Morris, for example—have remained beloved for over a hundred years for a reason. They are timeless.
By focusing on quality and a design that truly resonates with your personal style, you’re creating more than just a decorated room. You’re crafting a lasting feature of your home that will age gracefully.
At the end of the day, putting vintage-inspired wallpaper in your bathroom is about so much more than just covering the walls. It’s an act of personal expression. It’s a commitment to surrounding yourself with beauty, history, and craftsmanship, even in the most utilitarian of spaces.
I’ve seen firsthand how transforming a space can transform how you feel in it. That little powder room becomes a conversation starter. Your master bath becomes a serene spa you can escape to. The patterns connect us to a long history of design and artistry, and they create a backdrop for our own family’s stories. I remember a client who chose a whimsical toile pattern with sailboats, and her son started making up new adventures for the sailors during every single bath time. The wallpaper became part of their daily routine, part of their story.
This is your chance to create a little bit of magic in an unexpected place. A space that is unapologetically, beautifully, and uniquely you.
So, are you ready to transform your bathroom from a purely functional room into a personal sanctuary? The journey starts with a single sample. Choose a story you love, trust your instincts, and don’t be afraid to be bold. Your future self—sneaking away for five quiet minutes in your gorgeous new retreat—will thank you.


