Physical Address
304 North Cardinal St.
Dorchester Center, MA 02124
Physical Address
304 North Cardinal St.
Dorchester Center, MA 02124
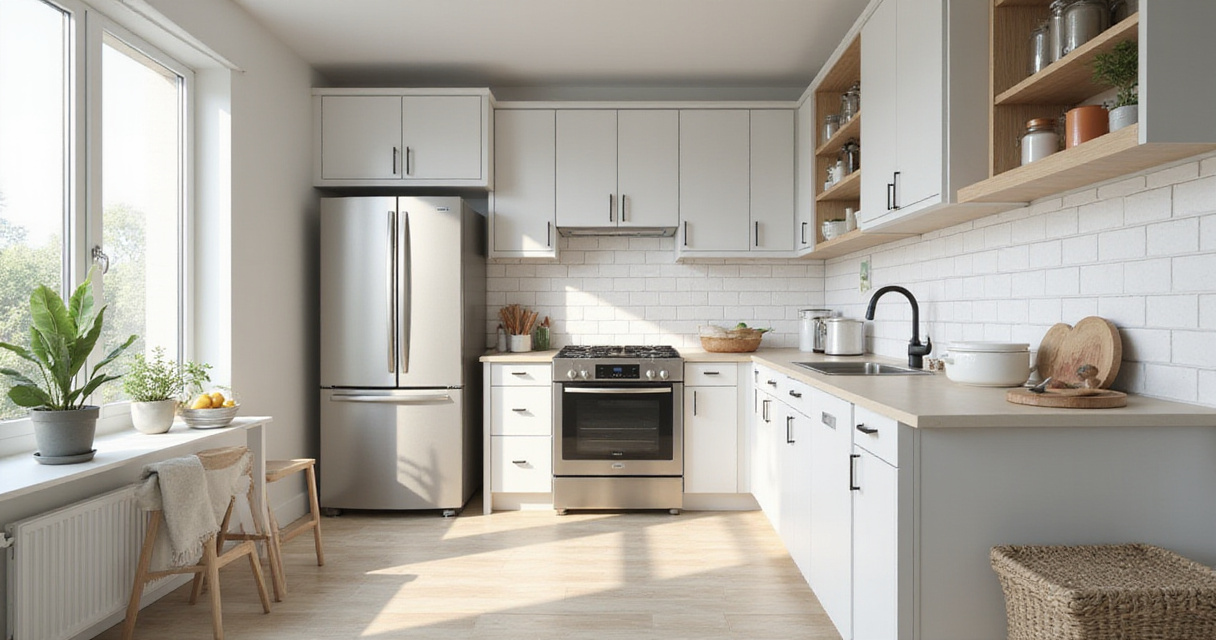
Transform your culinary space with 22 brilliant kitchen design layout ideas that maximize efficiency, improve workflow, and create the functional heart of your home.
Of all the rooms in a historic house, the kitchen is where the past and present collide most dramatically. It’s where the soul of the home—the original hearth, the quirky pantry, the window that’s framed a thousand sunrises—meets the unyielding demands of modern life. You know the feeling. You’re trying to orchestrate a simple family dinner, but you’re constantly tripping over a poorly placed door, piling cutting boards on the one tiny patch of counter space, and praying the single, ancient outlet doesn’t short out.
What should be the heart of your home becomes an obstacle course. It’s a common story I hear from homeowners. They love their house’s character, but they’re exhausted by its kitchen.
The secret isn’t to gut the space and erase its history. The real artistry lies in creating a layout that respects the home’s original bones while making it a place you genuinely love to be in. It’s about making the space work for you, not against you. Whether you’re in a narrow Victorian row house or a sprawling Federal-style colonial, the principles are the same: you want a natural flow, smart work zones, and a layout that feels like it’s always belonged. Let’s walk through the strategies that I’ve seen transform these beautiful, challenging spaces.
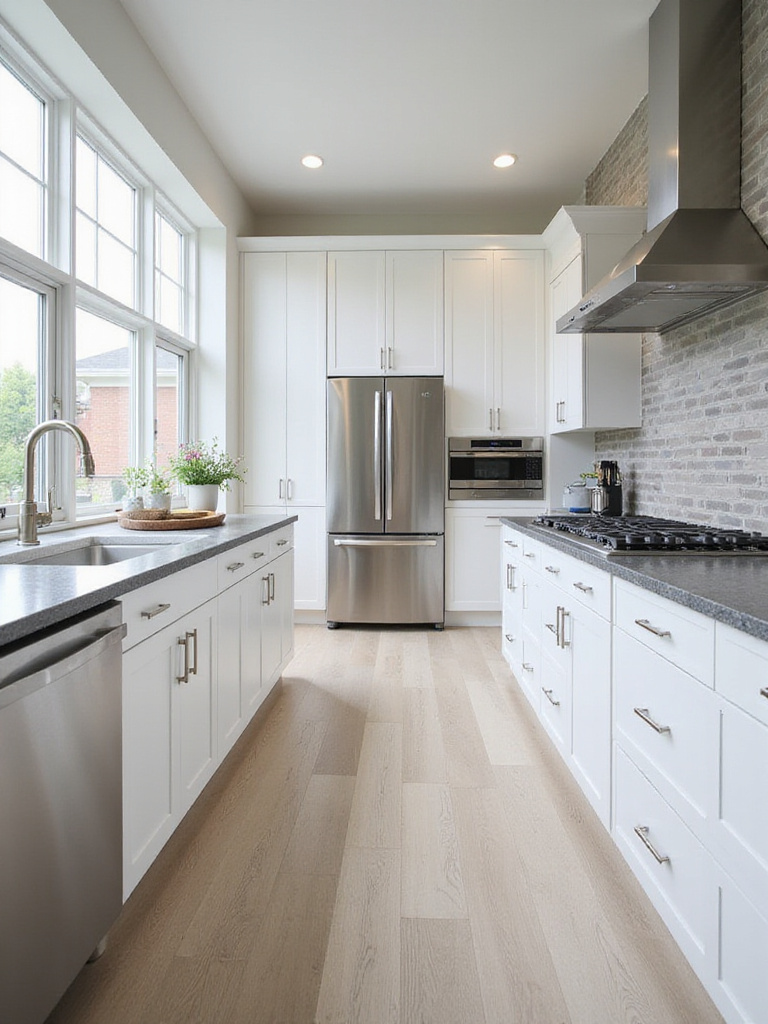
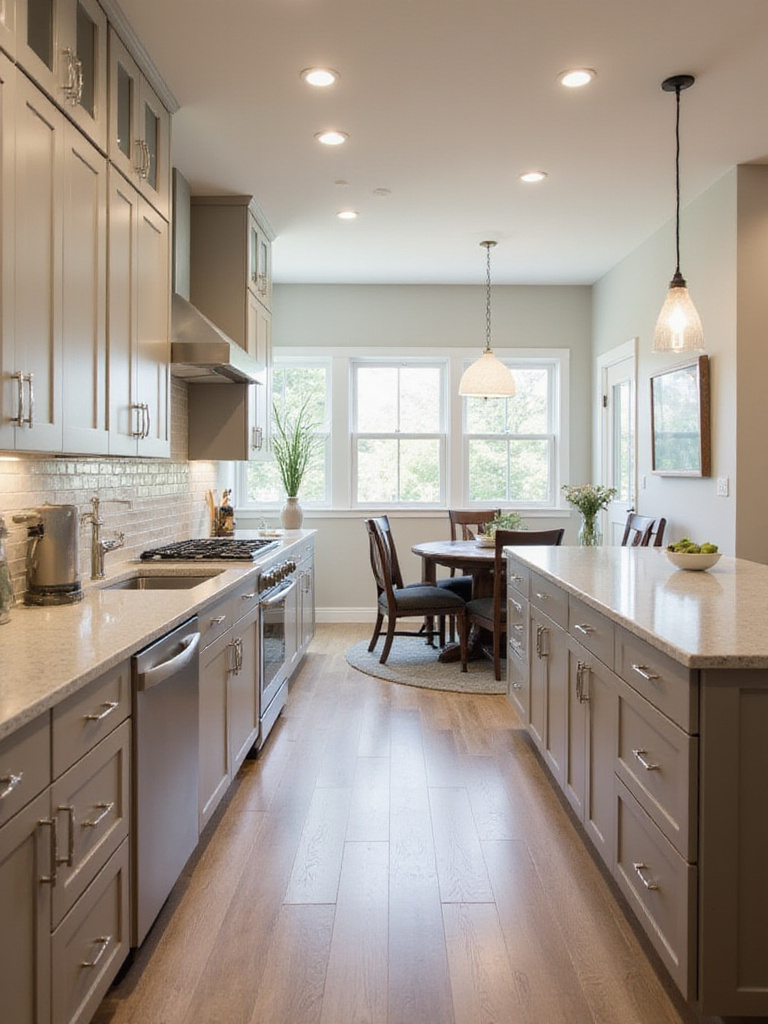
Everyone talks about the “kitchen work triangle.” It’s the first thing they teach you in design school, connecting the fridge, the sink, and the stove. And yes, it’s important. It’s the skeleton of a good layout that keeps you from running a marathon just to make a sandwich. When it works, you glide from one task to the next.
But in a period home? Honestly, forcing a perfect, textbook triangle can do more harm than good. I once worked on a 1920s Arts and Crafts home where the original pantry was in a spot that would have made one leg of the ‘ideal’ triangle about fifteen feet long. Trying to force it would have meant destroying irreplaceable built-ins. And that’s just not an option. The goal is to keep the path between these three points clear and reasonably short—think between 4 and 9 feet per leg. The key is unobstructed. No island corner jutting out, no doorway swinging into your path.
This is the foundation. It’s not a rigid rule, but a guiding principle that helps you start thinking about the basic rhythm of your kitchen. Once you’ve thought about this fundamental flow, you can start layering on the details.
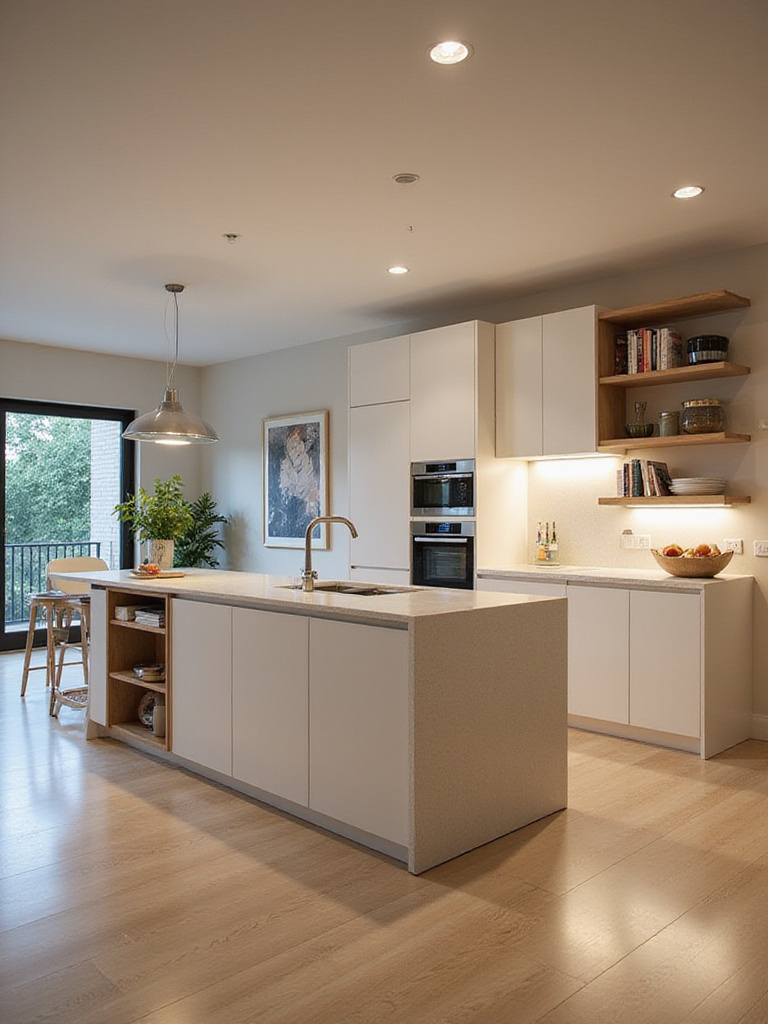
A triangle is just three points. To make a kitchen truly functional, especially with more than one person in it, you need to think in zones. This is where the real magic happens. It’s about grouping related tasks and tools together so you’re not crisscrossing the room a hundred times. This simple concept can completely change the feeling of a kitchen from chaotic to calm.
Think about the natural sequence of cooking. First, you gather ingredients. That’s your Storage Zone: the refrigerator and pantry. Then you wash and chop. That’s your Prep Zone, with ample counter space, knives, and cutting boards. Next is the Cooking Zone around the stove, with pots, pans, and spices close at hand. Finally, the Cleaning Zone logically groups the sink, dishwasher, and waste bins. By creating these hubs, you create a kitchen that works like a well-oiled machine. It’s especially critical in historic homes, where layouts can be unconventional. You might not have one giant open space, but you can make each corner of the room work brilliantly.
This zoning approach is what allows a kitchen to handle homework at the counter, a pot simmering on the stove, and someone unloading the dishwasher all at once without anyone getting in another’s way.
The architectural shell of your home will often suggest the best layout. Fighting against it is usually a losing battle. The trick is to recognize the strengths of your home’s footprint and choose a layout that enhances it.
I always advise clients to work with their house’s history. A sleek, modern island might look jarring in a home with intimate, defined rooms. Sometimes, a well-placed peninsula or even a sturdy, freestanding worktable is a much more historically sensitive—and functional—choice.
Have you ever been in a kitchen where you’re constantly saying “excuse me” or getting trapped behind an open refrigerator door? That’s a traffic flow problem, and it’s one of the most frustrating issues in any layout. Good design is about creating invisible pathways that let people move through the space without collision or interruption.
The bare minimum for a walkway is 36 inches. This is for a one-person path. In a kitchen where two people might be working back-to-back or passing each other, you really need 42 to 48 inches. This is especially important for the space between an island and a counter. I’ve seen too many projects where an island was squeezed in, leaving only 30 inches of space. It looks great in a photo, but it’s a nightmare to live with.
Think about the “desire lines”—the natural paths people take. Can someone get to the fridge for a drink without walking right through your main prep area? Can you open the oven door all the way without blocking the path to the back door? Answering these questions on paper will save you years of daily annoyance.
Appliance placement is a puzzle, especially when you’re trying to fit modern machines into an old house. It’s not just about where they fit; it’s about creating an intuitive relationship between them.
The refrigerator is the most-visited appliance, so it should be on the edge of the main work zone, accessible to both the cook and a thirsty family member. Crucially, try to place it so the door swings open away from the center of the kitchen, not into it. And please, give yourself a “landing zone”—a bit of counter space next to the fridge to set down groceries or ingredients. It’s a small detail that makes a world of difference. The dishwasher belongs right next to the sink. Period. This prevents you from dripping water all over the floor as you move dishes from one to the other. As for the range, think about ventilation. In older homes, we can often cleverly use an old hearth or chimney stack to our advantage.
On a recent project in a 1910 foursquare, we were able to nestle a beautiful, period-appropriate Lacanche range right into the original brick hearth. We got modern cooking power and proper ventilation while honoring one of the home’s most significant features. That’s the kind of win-win I’m always looking for.
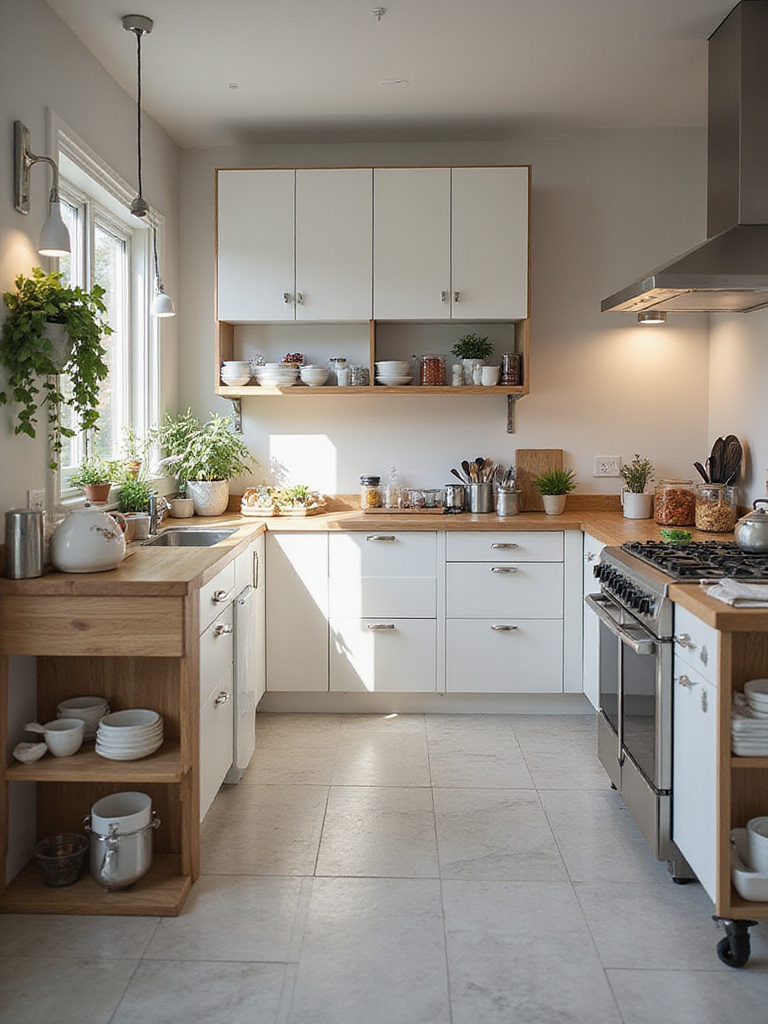
Counter space in a period home is often at a premium. The last thing you want is for it to be covered in clutter. The solution isn’t necessarily more space, but smarter space. This is about making every cabinet and drawer work harder for you.
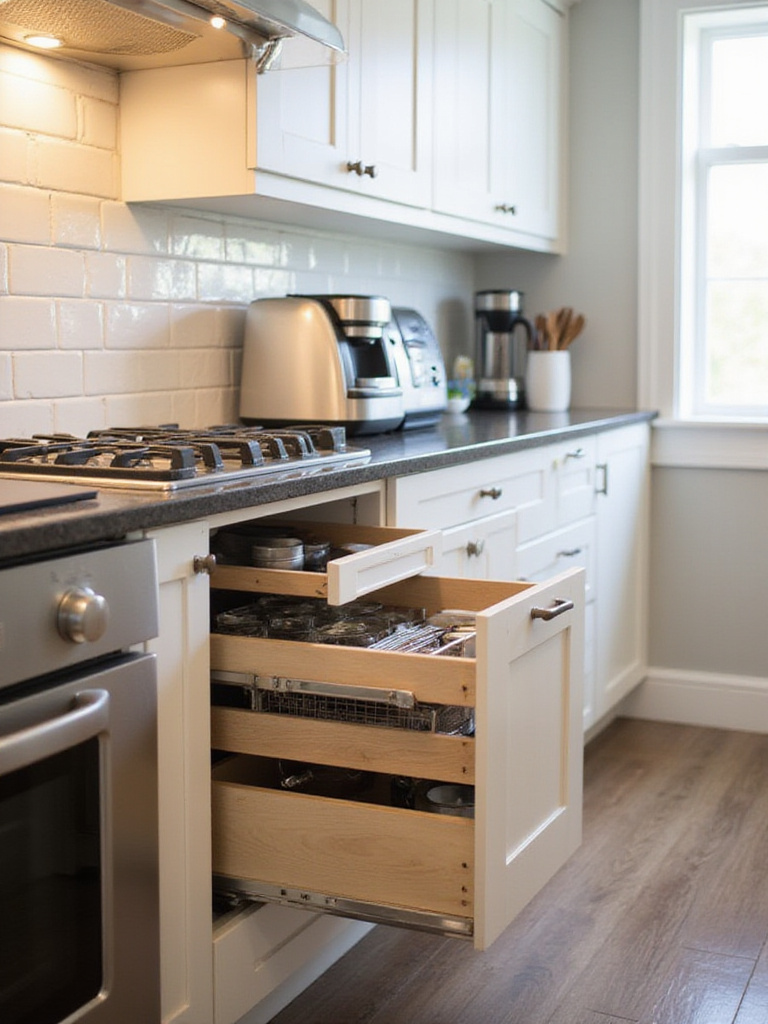
Go vertical. If you have high ceilings, take the cabinets all the way up. The top shelves are perfect for those once-a-year holiday platters. In base cabinets, forget fixed shelves where things get lost in the back. Deep drawers and pull-out systems are game-changers. You can see everything at a glance. I am a huge advocate for drawers over lower cabinets for pots, pans, and even dishes. You’ll be amazed at how much more you can store and how much easier it is to access.
Think about how you use your kitchen. If you use your stand mixer weekly, an “appliance garage” with a roll-up door keeps it handy but hidden. If you’re a baker, a vertical slot for cookie sheets and cutting boards is a must. These aren’t fancy upgrades; they are fundamental to creating a kitchen that feels clean, organized, and ready for work.
If your space can truly accommodate it (see tip #4!), an island or a peninsula can become the command center of your home. But it has to be more than just a big box in the middle of the room. Its design needs to be intentional. What jobs do you want it to do?

It could be your primary prep zone, with a second sink for washing vegetables. It could be your casual dining spot, with an overhang for seating. It can house the microwave, a wine fridge, or bookshelves for your cookbook collection. A client of mine with a 19th-century farmhouse kitchen wanted an island but worried it would feel too modern. We designed one that looked like a freestanding antique worktable, complete with turned legs and a butcher block top. It provided tons of workspace and storage but felt completely at home in the space.
The key is to define its purpose first, then design it. A multi-purpose island can solve a dozen problems at once, but a poorly planned one just creates a big obstacle.
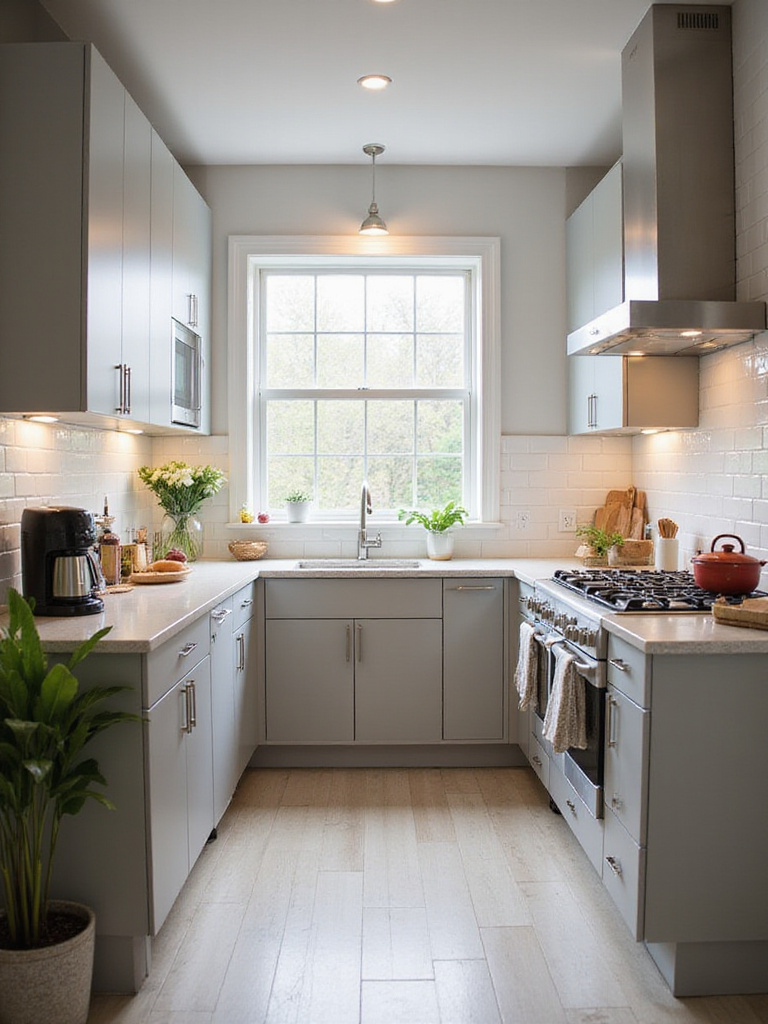
You can have the most perfect layout in the world, but if the lighting is bad, the kitchen will fail. One single, central light fixture—so common in older homes—is the enemy of a functional kitchen. It casts shadows on your work surfaces and makes the room feel flat and dreary. You need to think in layers.
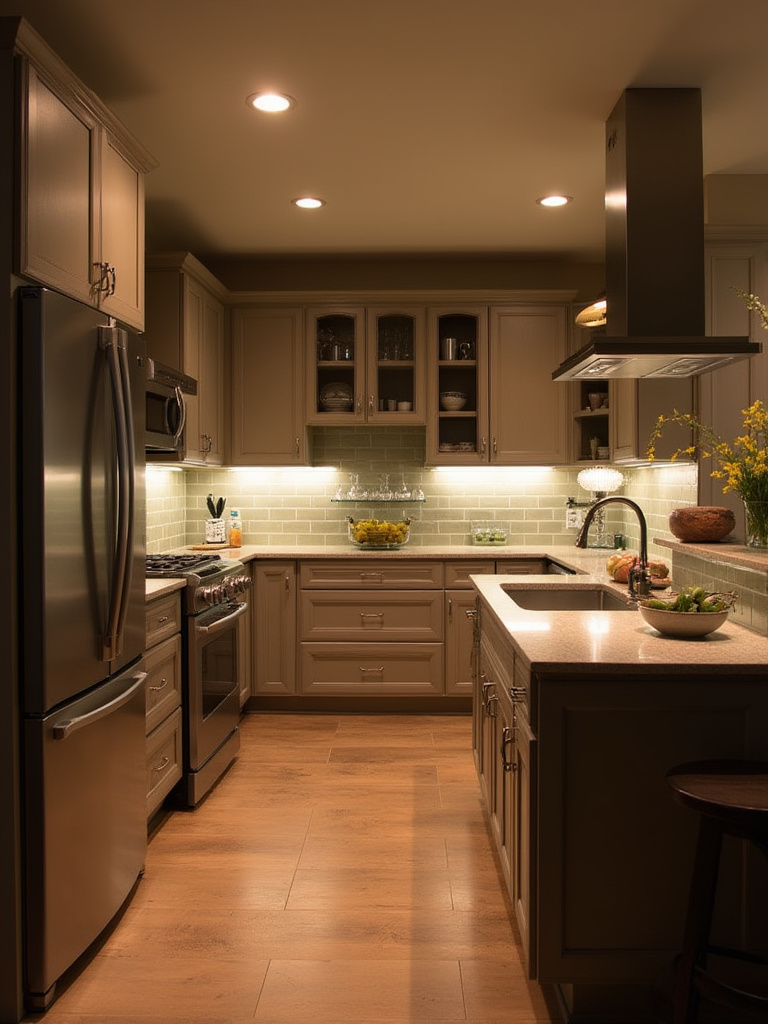
And put everything on a dimmer! This is the single most effective way to change the mood of your kitchen, taking it from a bright, functional workspace to a soft, inviting spot for a late-night chat.
Thinking about accessibility isn’t just about meeting codes for wheelchair users; it’s about “universal design”—creating a space that works for everyone, at every stage of life. It’s about creating a kitchen that will continue to serve you as you age, or that will be comfortable for visiting family members with different mobility needs.
This can mean incorporating varied counter heights, with a lower section that’s comfortable to work at while seated. It means choosing lever-style handles instead of knobs, which are easier for arthritic hands to open. It means planning for side-opening wall ovens and raised dishwashers that reduce bending and reaching. And it absolutely means paying attention to those walkway clearances we talked about earlier.
These features don’t have to look clinical. A beautiful pull-out pantry is inherently more accessible than a deep, dark cabinet. Good task lighting helps aging eyes. A spacious layout benefits everyone. Integrating these ideas from the beginning is a way to future-proof your investment and create a kitchen that is truly welcoming to all.
Ventilation is one of the least glamorous parts of a kitchen remodel, but it’s one of the most critical. A good ventilation system does more than just get rid of cooking smells. It pulls grease, steam, and heat out of the air, protecting your cabinetry, walls, and your own lungs.
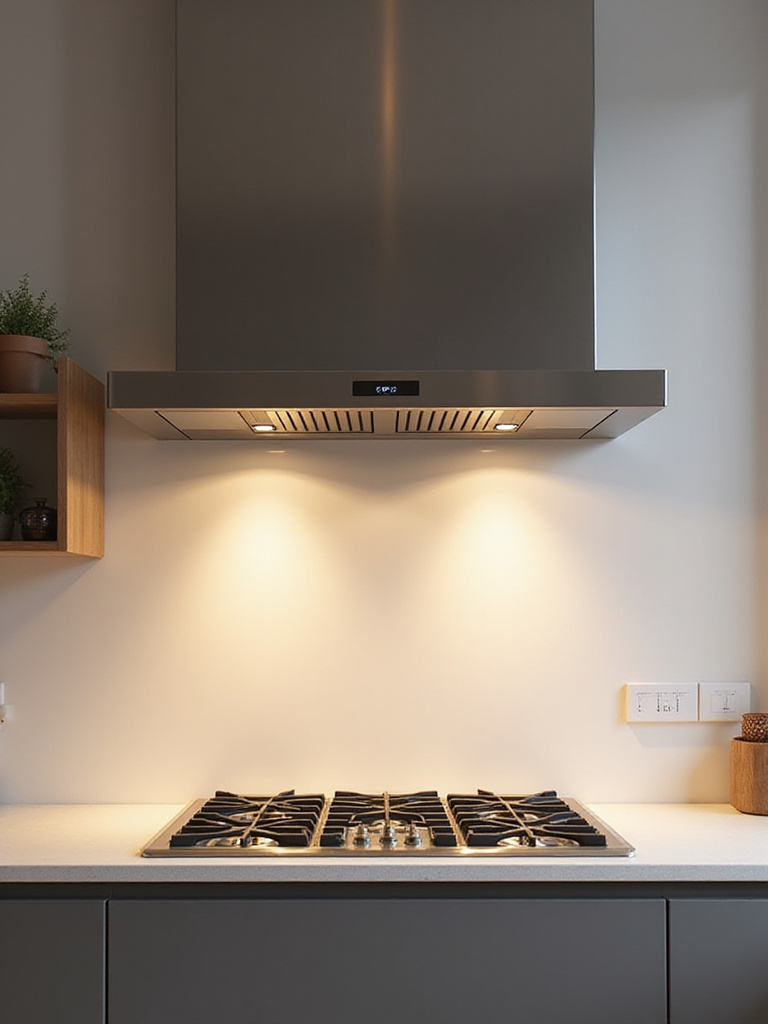
A recirculating fan (the kind that just filters air and blows it back into the room) is better than nothing, but a system that actually ducts to the outside is vastly superior. The general rule is you want a fan that can move at least 100 cubic feet per minute (CFM) for every foot of cooktop width. If you have a high-power gas range, you’ll need even more. The challenge in period homes is finding a way to run the ductwork without tearing the house apart. It requires creativity, but it’s almost always possible—sometimes through a soffit, up through an old chimney, or straight out a back wall.
Don’t let this be an afterthought. Poor ventilation leads to a sticky, greasy film on every surface and lingering cooking odors that permeate the whole house. Investing in a good system protects the rest of your home.
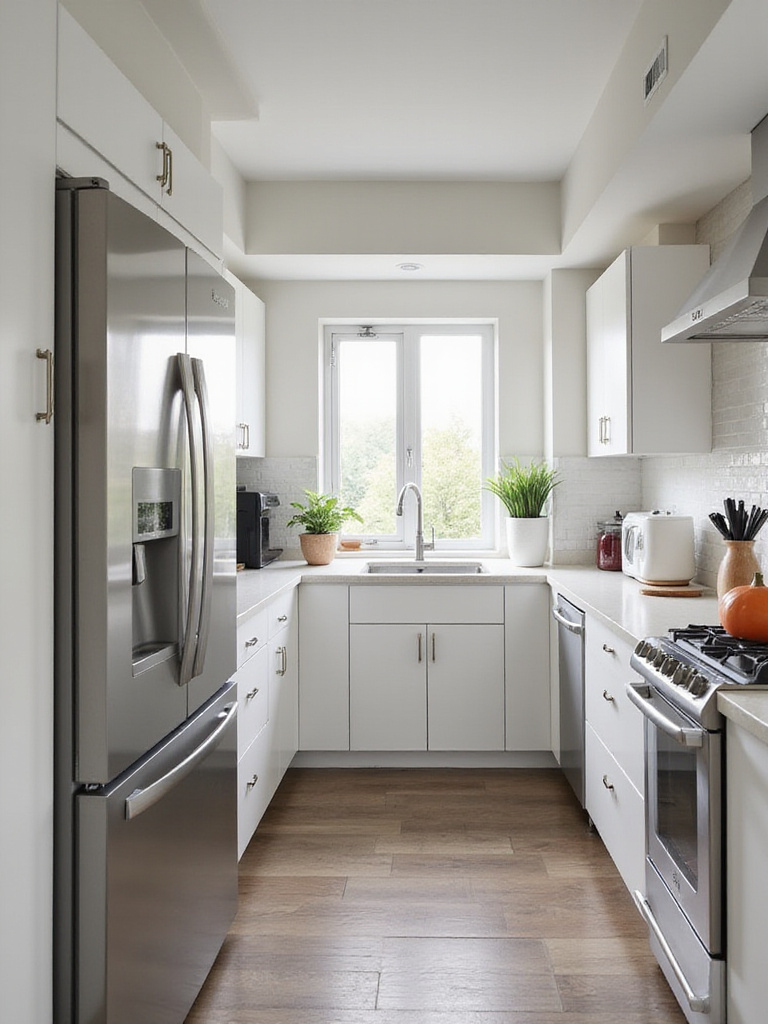
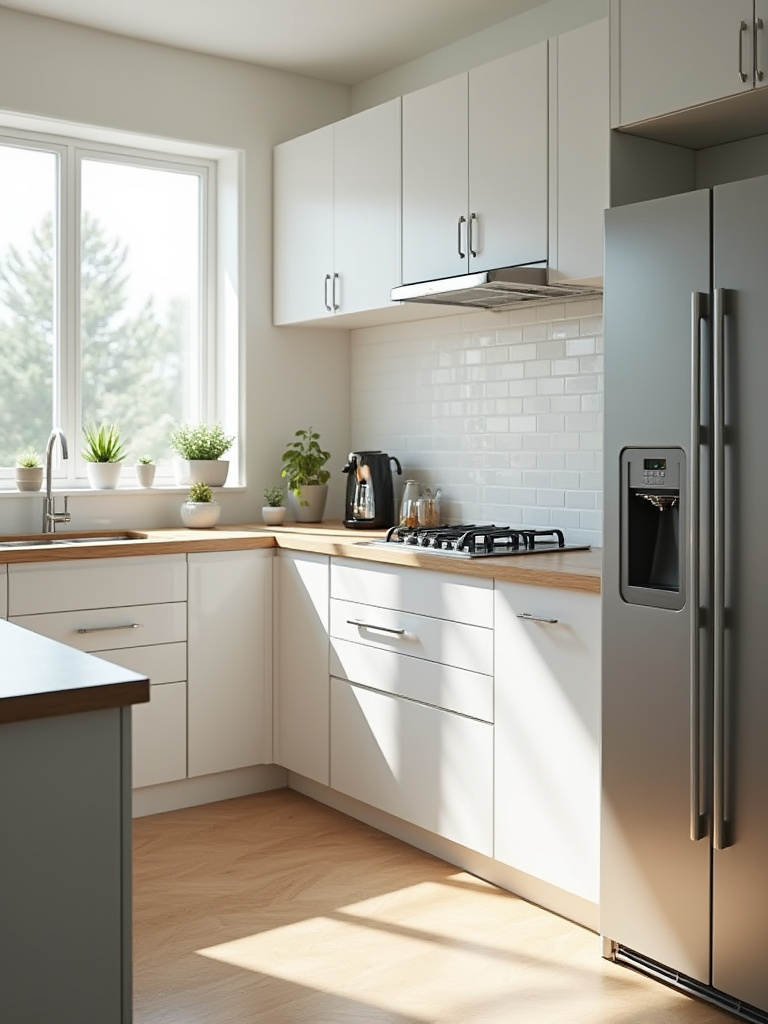
The sink is the unsung hero of the kitchen. You use it for everything from washing hands and produce to filling pots and cleaning up the final mess. Its placement is absolutely crucial to a good workflow. Ideally, it sits between your refrigerator and your cooktop, making the natural prep sequence—pull from fridge, rinse at sink, move to stove—feel effortless.

A spot under a window is a classic for a reason. The natural light is lovely, and having a view makes washing dishes far less of a chore. But functionally, what’s most important is having adequate counter space on both sides of the sink. One side becomes your “dirty” zone for stacking dishes, and the other is your “clean” zone for a drying rack or freshly washed vegetables.
In a larger kitchen, a second, smaller prep sink on an island can be a fantastic addition. It keeps the messy cleanup activities separate from the clean food prep, allowing two people to work without getting in each other’s way.
This might seem obvious, but you’d be surprised how often I see it done wrong. The dishwasher must be immediately adjacent to the sink. No exceptions. This creates a highly efficient cleanup zone and saves you from dripping water across the floor every time you load a dish.
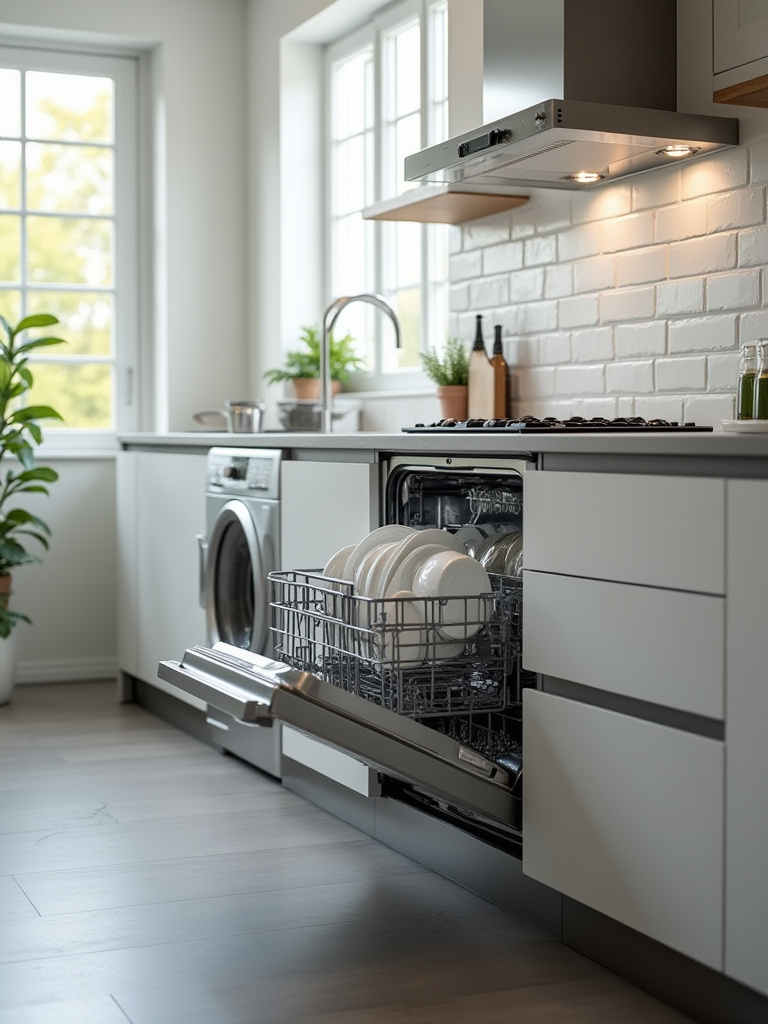
Think about your dominant hand. If you’re right-handed, you’ll likely hold the dish in your left hand and scrape or rinse with your right. In that case, having the dishwasher to your left might feel most natural. The most important thing is to consider the door swing. When the dishwasher door is open, does it block access to your primary storage for clean dishes? Does it trap you in a corner?
The ultimate setup is to have the sink, dishwasher, and pull-out trash/recycling bin all in a row. Scrape into the bin, rinse in the sink, load into the dishwasher. It’s a simple, elegant dance that makes cleanup immeasurably faster and easier.
The refrigerator is the only appliance that gets heavy use from both the cook and non-cooks alike. Someone is always running in for a drink, a snack, or the milk for their cereal. For that reason, its placement has to serve two masters: it needs to be part of the cook’s work triangle, but it also needs to be accessible from the “public” side of the kitchen without causing a traffic jam.
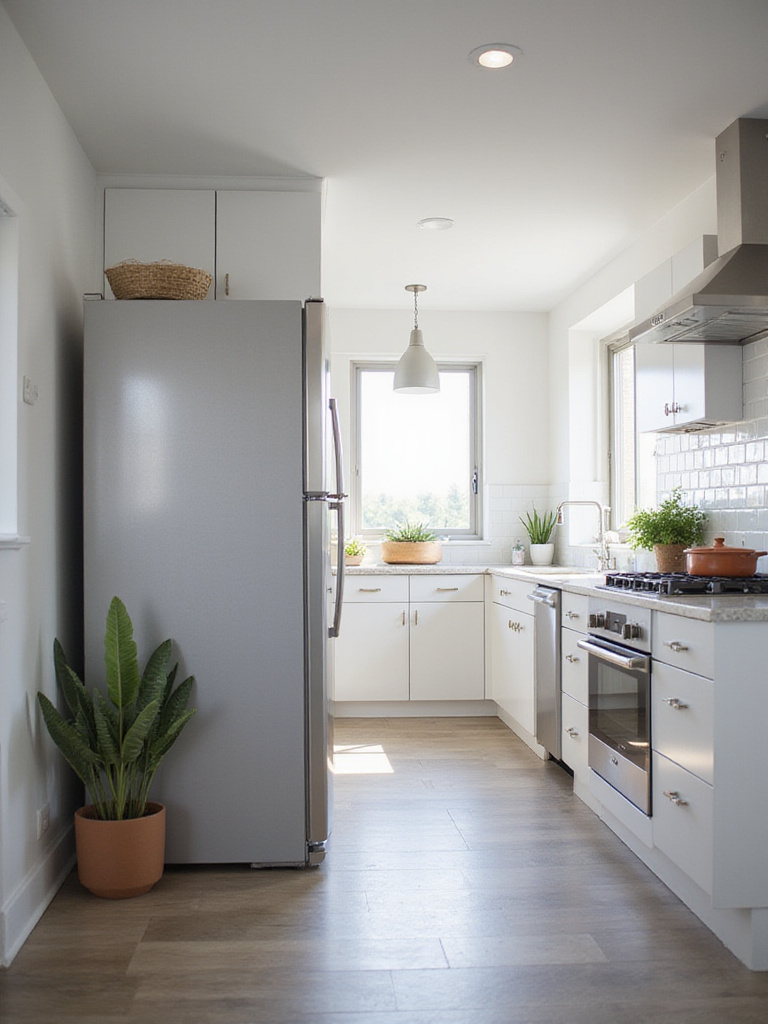
The perfect spot is often at the end of a cabinet run, near the entrance to the kitchen or an adjoining dining space. This lets someone grab what they need without walking through the hot zone around the stove. French door models are often a great choice for tighter spaces because their doors have a much shallower swing than a single large door.
And I’ll say it again because it’s so important: make sure there’s a “landing strip” of counter space right next to the fridge. You need a place to set down a gallon of milk or bags of groceries while you load and unload.
A pantry isn’t a luxury; it’s a necessity for a well-organized kitchen. It’s what keeps your countertops clear of cereal boxes and bags of flour. It allows you to buy in bulk, saving money and trips to the store. Whether you have space for a full walk-in pantry or need to be more creative, dedicating space for food storage is key.
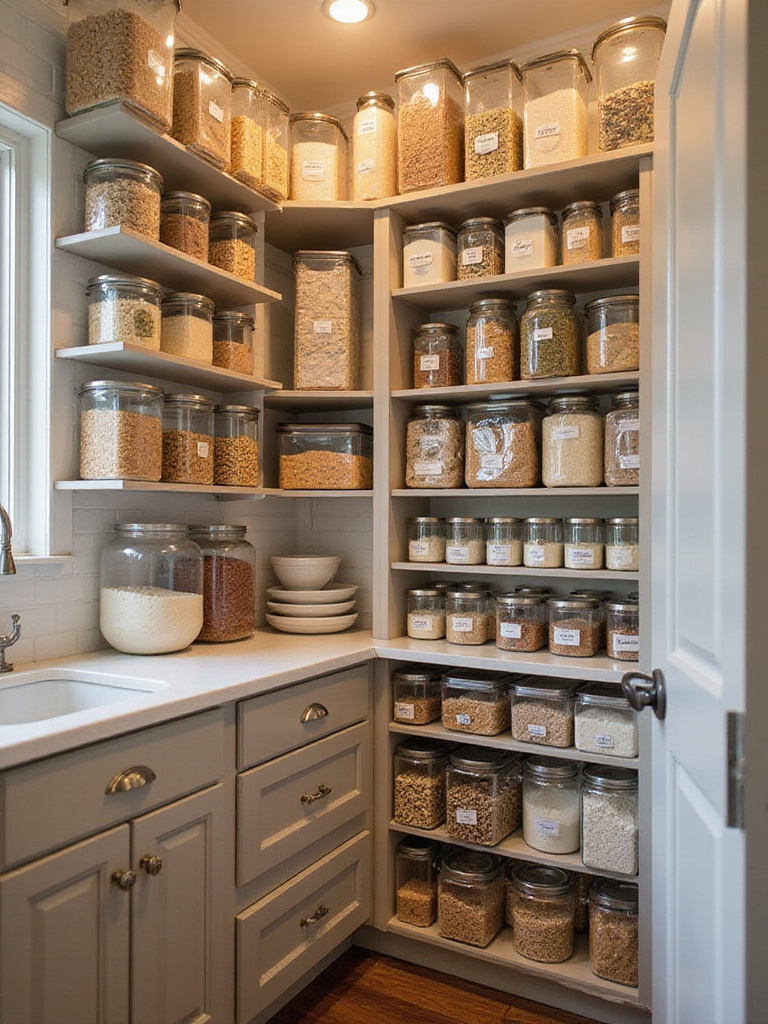
In many older homes, you might be lucky enough to have an original butler’s pantry or cold-storage closet. Cherish it! We can update these spaces with better shelving and lighting to make them incredibly functional. If you don’t have one, a tall cabinet pantry with pull-out shelves can be a brilliant substitute. The pull-outs are crucial because they let you see everything, even items at the very back. Nothing gets lost or expires unnoticed.
I tell my clients to think like a shopkeeper. Group like items together—baking goods, pastas and grains, cans and jars. Use clear containers for bulk items so you can see at a glance what you have. A well-organized pantry doesn’t just store your food; it simplifies your entire meal-planning and shopping process.
Today’s kitchen is rarely just for cooking. It’s for homework, for paying bills, for lingering over coffee with a friend. Integrating some form of dining space—even a small one—acknowledges this reality.
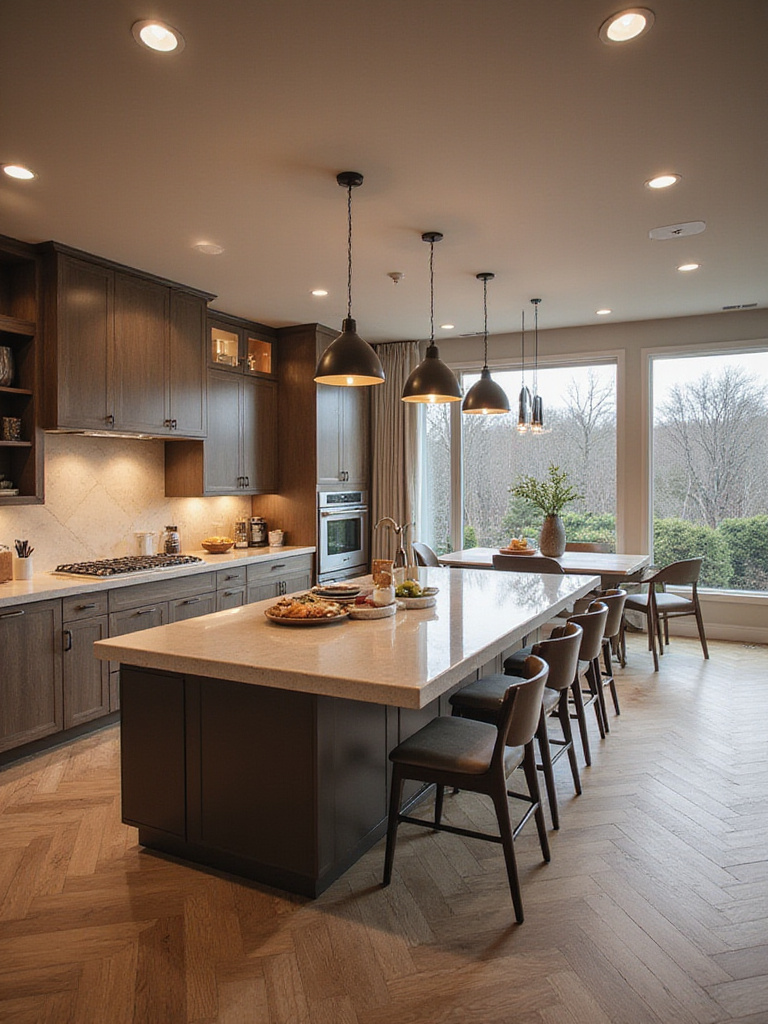
An island with an overhang for a couple of stools is the most common solution. A peninsula can create a similar breakfast bar. For smaller spaces or long, narrow rooms, a built-in banquette is a fantastic space-saver. Tucked into a corner with a small table and a chair or two, it can provide a surprising amount of seating and often has hidden storage under the benches.
The key is to make the transition between the work zone and the dining zone feel natural. You don’t want your seating area to be in the middle of a major traffic path. Use lighting to help define the space—perhaps a lovely pendant light over the table to create a more intimate feel, separate from the brighter task lighting in the rest of the kitchen.
Older homes are notoriously under-powered. One or two outlets for the entire kitchen just doesn’t cut it anymore. Planning your electrical layout is as fundamental as planning your cabinet layout, and it’s much harder and more expensive to change later.
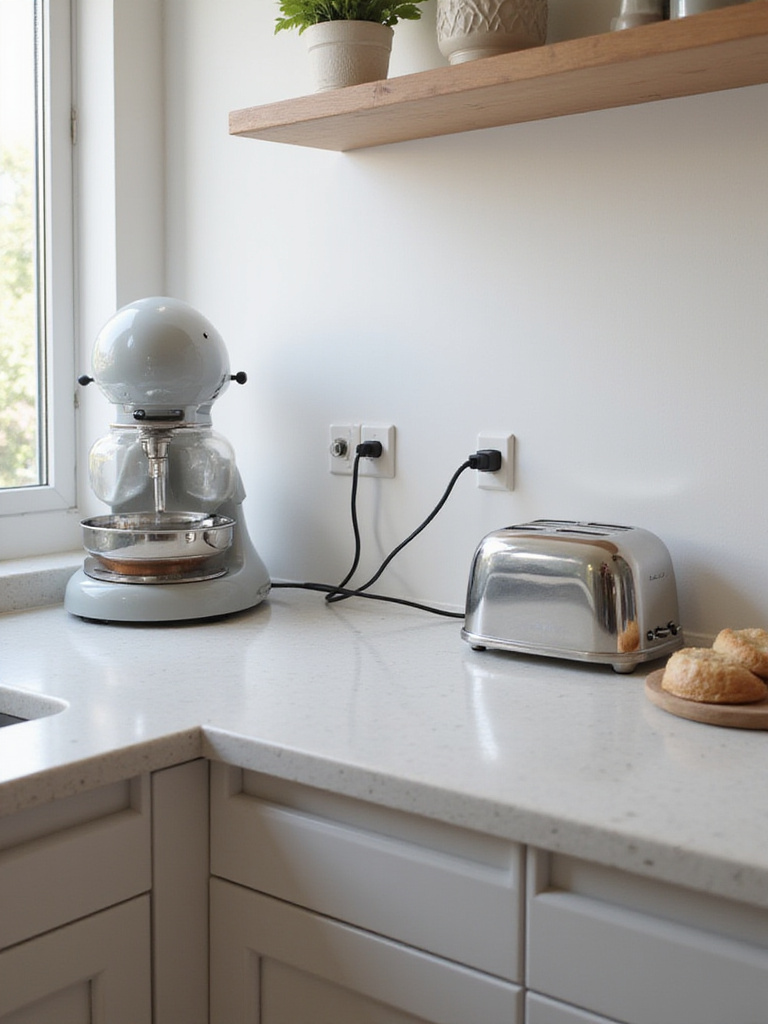
Building codes now require outlets along the countertop every four feet, but I encourage clients to think beyond the minimum. Where will your coffee maker live? Put an outlet there. Do you have an appliance garage? Put outlets inside it. Islands absolutely need power—pop-up outlets are a great solution that keeps the surface clean when not in use. I also love to integrate outlets with USB ports for charging phones and tablets.
And please, don’t forget under-cabinet lighting. This needs to be planned for at the wiring stage. Working with a qualified electrician who understands the unique challenges of older homes—like navigating lath and plaster walls or upgrading knob-and-tube wiring—is essential for a safe and functional result.
Nothing ruins the look of a beautiful new kitchen faster than an ugly plastic trash can sitting out in the open. A well-designed kitchen integrates waste and recycling into the cabinetry, keeping it hidden but handy.
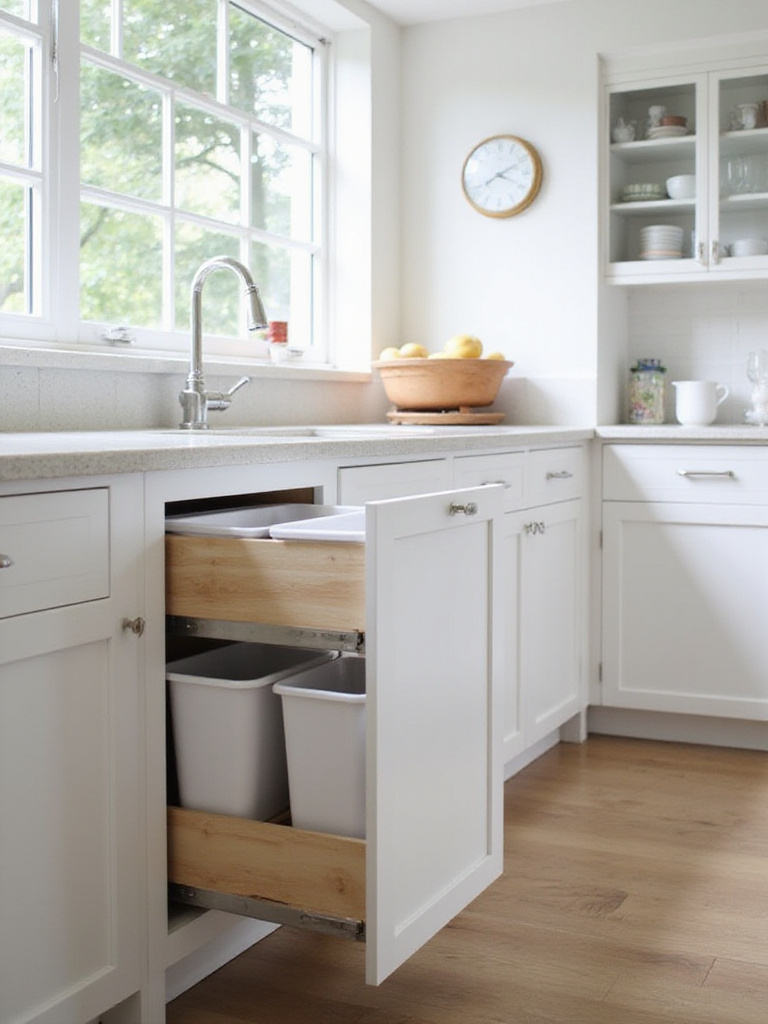
The best spot is almost always in a pull-out cabinet right next to the sink. This puts it in the heart of your prep and cleanup zones. You can get systems with multiple bins for separating trash, recycling, and compost. It makes sorting a simple, one-step process rather than a chore.
When you’re planning this, think about capacity. A busy family of four is going to generate more waste than a single person. Choose a system that’s large enough that you’re not constantly having to take out the trash. It’s a simple, practical detail that elevates the entire experience of using your kitchen.
A kitchen renovation is a huge investment of time, money, and emotion. You want it to last. “Future-proofing” is about making design choices today that will still serve you well in ten or twenty years.
This means thinking about flexibility. Use adjustable shelves in your cabinets. Rough in the plumbing for a potential future prep sink in the island, even if you don’t install it now. Run extra electrical conduit so it’s easier to add new circuits later for appliances we can’t even imagine yet. It’s also about thinking about aging-in-place principles from the start—good lighting, wide pathways, and easy-to-use drawers will serve you well at any age.
It’s about resisting trends that will look dated in five years and instead focusing on timeless quality and function. A classic layout with good bones will always be in style.
Every project has a budget. The key to a successful renovation is to be brutally honest about your priorities from the very beginning. I have clients make three lists: Must-Haves, Nice-to-Haves, and a Dream-Big Wish List.

The “Must-Haves” are where you should focus your investment: a functional layout, quality cabinets that will last, good lighting, and safe electrical and plumbing. These are the things that are difficult and expensive to change later. The “Nice-to-Haves” might be things like a specific countertop material or a high-end faucet. The “Wish List” could include a steam oven or a built-in coffee maker.
You can often save money on things that are easy to upgrade later, like cabinet hardware, a backsplash, or paint colors. Don’t compromise on the fundamental structure and function of your kitchen. A beautiful faucet on a poorly made cabinet is just lipstick on a pig. Spend your money where it counts the most—on the bones of the kitchen.
Can you design your own kitchen? Absolutely. But for complex projects, especially in older homes with their quirky structures and hidden surprises, a professional kitchen designer or an architect specializing in historic properties can be worth their weight in gold.

We’re trained to see possibilities and potential problems that you might miss. We can help you navigate tricky layouts, source appropriate materials, and manage the complex dance of coordinating plumbers, electricians, and carpenters. A good designer can often save you money in the long run by preventing costly mistakes. I once had a client who was about to order custom cabinets, not realizing their floor was over an inch out of level. A professional caught it, and we were able to scribe the cabinets to the floor for a perfect fit. That one catch saved thousands of dollars and weeks of delays.
If you’re moving walls, changing plumbing locations, or dealing with the unique challenges of a period home, it’s a conversation worth having.
“Measure twice, cut once” is the carpenter’s mantra for a reason. In kitchen design, a quarter-inch error can be the difference between a refrigerator that slides perfectly into place and one that doesn’t fit at all.
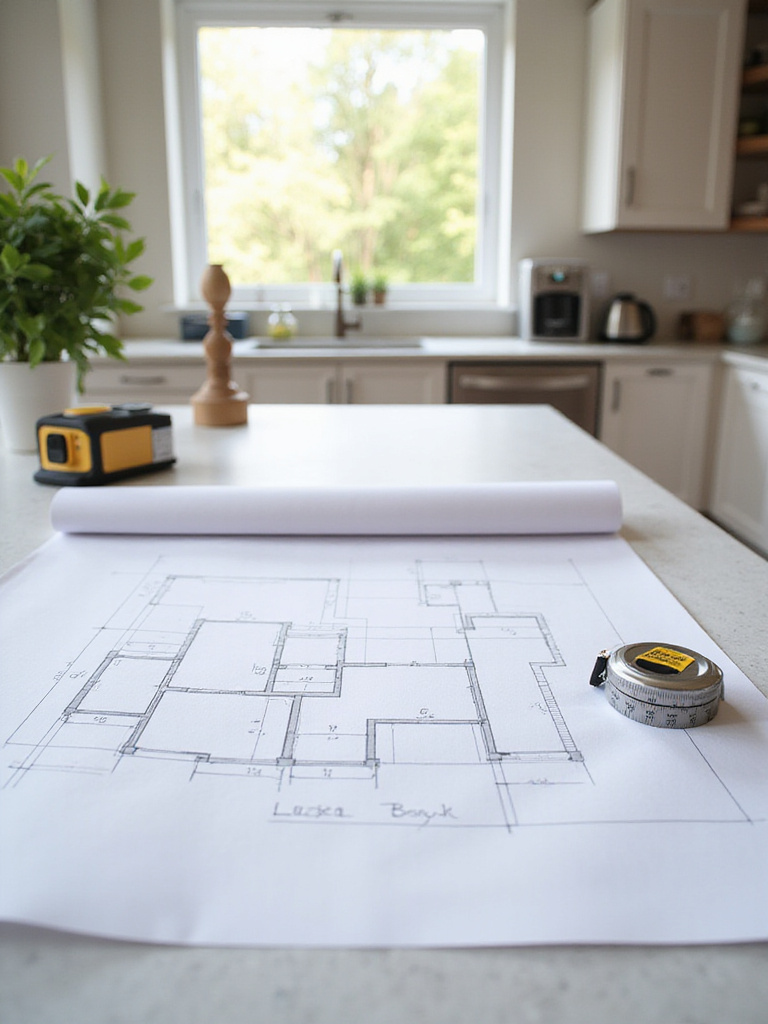
When you measure a room, don’t just measure wall-to-wall. Measure at three different heights—bottom, middle, and top—because old walls are rarely perfectly plumb. Measure the locations and sizes of all windows and doors, including the trim. Note the exact location of existing plumbing and electrical. Draw a detailed map of the space. A laser measure is a great tool for accuracy over long distances.
This step is tedious. I get it. But it is the single most critical step in avoiding catastrophic and expensive errors. Every single detail of your plan rests on the accuracy of these initial numbers. Don’t rush it.
We’ve touched on this already, but it’s so important it deserves its own point. Clearances are about safety and comfort. They are the invisible framework that makes a kitchen feel generous and easy to move in, rather than cramped and frustrating.
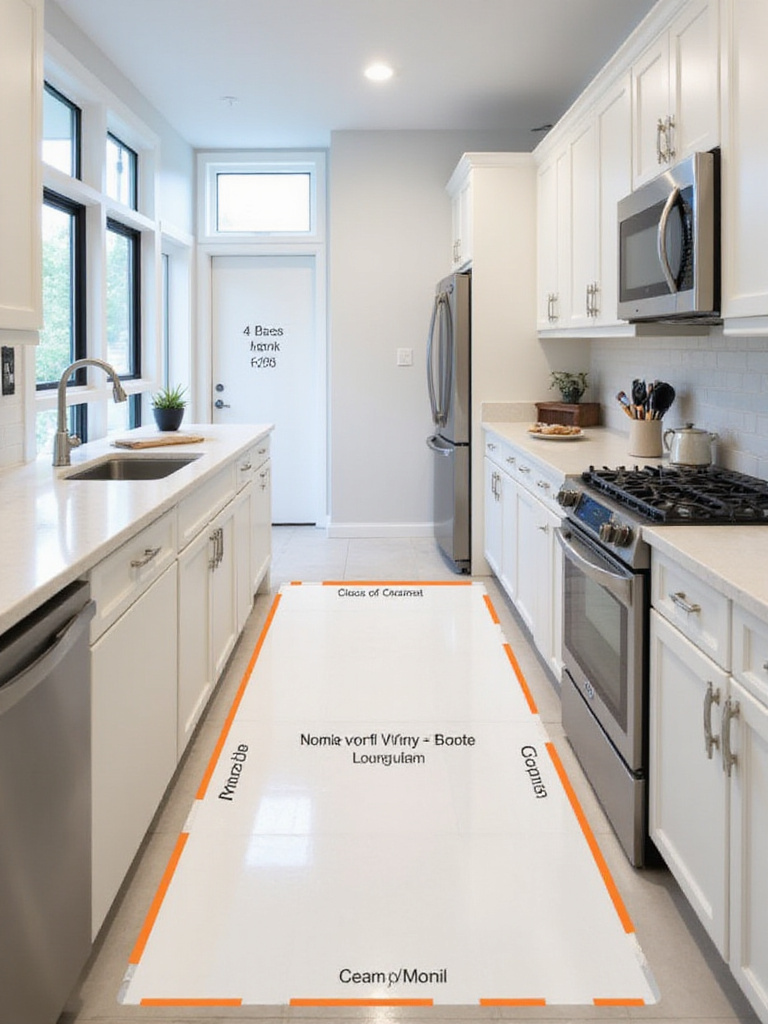
Let’s recap the key numbers:
These aren’t arbitrary numbers. They’re based on decades of research into how people move and work in a kitchen. Respecting them is what separates a professionally designed space from an amateur one. It’s what makes a kitchen feel right.
A successful kitchen layout in a historic home is a delicate balancing act. It’s a conversation between the home’s past and your family’s future. The goal isn’t to create a museum piece, but a living, breathing space that supports your life while cherishing the story and character that made you fall in love with the house in the first place.
When all these elements come together—the flow, the zones, the lighting, the storage—something wonderful happens. The design itself fades into the background. You stop thinking about the layout and you just live in it. And that’s when you know you’ve gotten it right.