Physical Address
304 North Cardinal St.
Dorchester Center, MA 02124
Physical Address
304 North Cardinal St.
Dorchester Center, MA 02124

Discover 18 thoughtful ways to decorate kitchen walls. Learn to balance Nordic minimalism with warm functionality, creating a space that's both beautiful and useful.
You know what people always ask me? It’s not about which sofa to buy or what specific shade of white to paint the living room. They come into my own kitchen, see the simple wooden shelves, the single print on the wall, the worn spot on the floor by the stove, and they ask, “How do you make it feel so… calm? And so full, without being cluttered?”
They’ve been scrolling through images online. They see kitchens that look like sterile laboratories or chaotic shops full of things that scream “farmhouse” or “industrial.” And they’re tired. They just want their kitchen—the real heart of their home, where the coffee is made and the homework gets done—to feel good. They want it to work for them, not just be a space they have to constantly clean and manage.
So let’s talk about that. Let’s set aside the noise and the trends for a moment. This isn’t about just filling a wall. It’s about making that wall a part of the life you live in your kitchen. It’s about function that feels like comfort, and beauty that comes from things that have a purpose.
Before you hang a single thing, you have to understand the space as it is. Think of this as preparing good soil before planting a garden. If you skip this, nothing you do later will truly feel right. It’s the difference between a kitchen that looks staged for a photo and one that feels truly settled and smart.
The big mistake people make is they see a blank wall and think, “I must put something there.” But they don’t think about how they actually move around the room. I once had a client who hung a beautiful, large framed print right next to their main prep counter. Within a week, it was splashed with olive oil and the frame was nicked from bumping into it with a cutting board. The art became a source of stress.

What really matters is understanding the paths you walk every day. Where do you stand to chop vegetables? What’s the route from the fridge to the sink? The walls along these high-traffic paths are not for bulky or precious things. Those spaces need to be lean, functional, or even empty to give you room to breathe and work. Save the real “decor” for a wall that’s a bit out of the way, like the one behind your breakfast nook, where you can actually sit and appreciate it without a pan in your hand.
Once you know how your kitchen flows, you can choose materials that will actually last.
Here’s some real talk: a kitchen is a workshop. It’s a place of steam, water, and heat. The most common BS I see is people using standard, flat matte paint right behind their sink or stove. It looks lovely for about a month. Then it starts to bubble, stain, or grow mildew in the corners. It’s not designed for that.
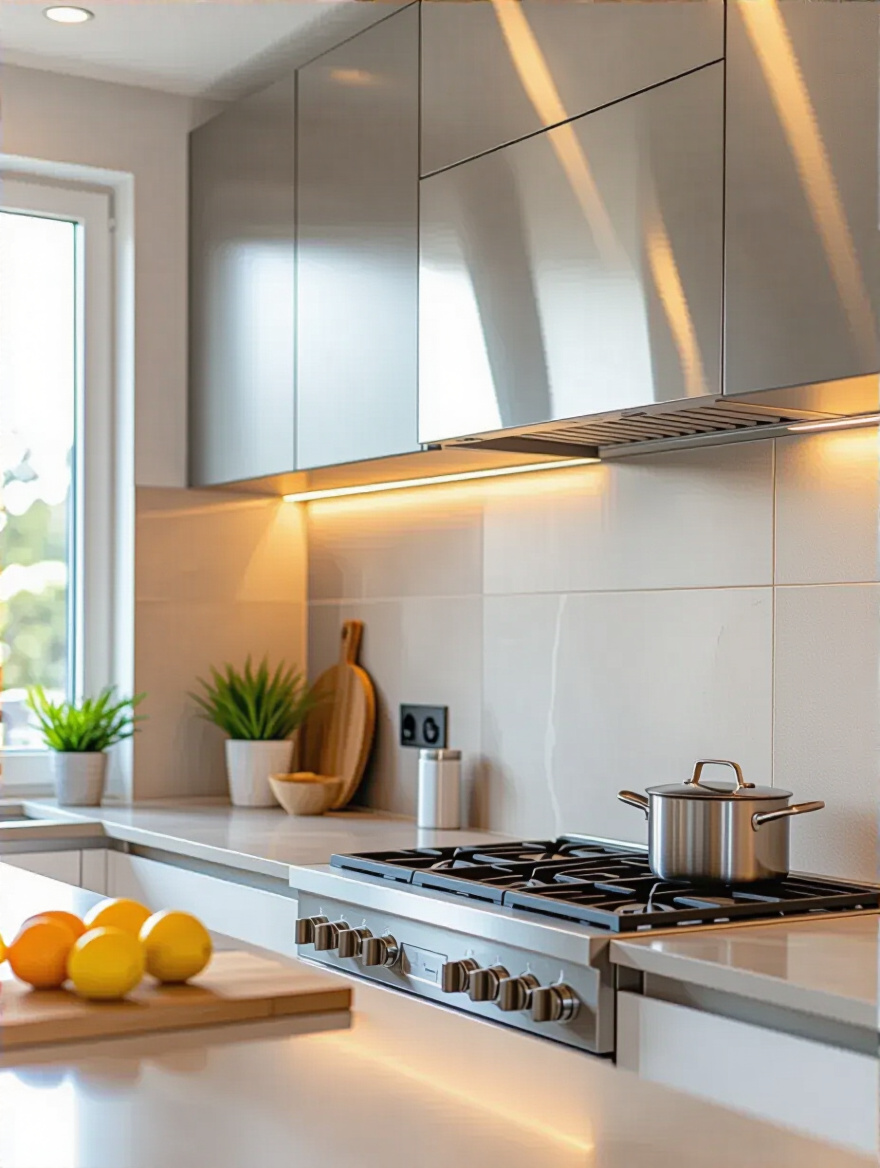
Choosing the right material isn’t just an aesthetic choice; it’s a deeply practical one. Behind the stove and sink, you need something you can wipe down without a second thought. Tile is the obvious, classic choice for a reason—it’s honest and it works. But you can also think about a sheet of stainless steel for a more professional feel, or a pane of back-painted glass for a modern look. The point is to use a material that respects the work you do in the kitchen. It saves you headaches and money in the long run, because you won’t have to repaint or repair it every couple of years.
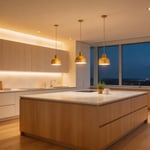
With a practical surface in place, now we can think about the feeling of the room.
People get paralyzed by this. They think they need to pick a label from a magazine: “Modern Farmhouse,” “Industrial,” “Scandinavian.” Forget the labels. Instead, ask yourself a simple question: How do I want to feel in my kitchen in the morning? Do you want it to feel bright and energetic, or calm and quiet?
Your “aesthetic” is just the collection of things that creates that feeling for you. I used to think I had to have a perfectly cohesive plan from the start. I learned the hard way that a home’s soul comes from collecting things over time. Start with your non-negotiables—the cabinets, the countertop. Then, build from there. Create a small mood board, not with pictures of other kitchens, but with textures and colors you love. A piece of light wood, a smooth ceramic cup, a swatch of deep green linen. This becomes your guide. When you find something for your wall, hold it up to your little collection. Does it feel like it belongs? Yes? Then it’s right.
From this general feeling, we can start to assign jobs to different parts of the kitchen.
This sounds more complicated than it is. It just means thinking about the different jobs you do in the kitchen and grouping things accordingly. Your “coffee zone,” for example. Maybe on the wall above your coffee maker, you have a small shelf with your favorite mugs and a container of beans. Your “prep zone” wall, near your main counter, might have a magnetic strip for your knives. It’s common sense, but most people just scatter things randomly.
When you zone your walls, your body learns where everything is. You’re not walking from one end of the kitchen to the other just to make a sandwich. You create these little stations that make your daily routines smoother. This is the heart of functional design. The visual harmony comes naturally because the organization itself is beautiful. It shows a kitchen that is understood and used with intention.
These first steps are the frame. Now, we can start adding the picture.
This is the fun part. Once the foundation is solid, you can start to add layers of personality. Remember, the goal isn’t to fill space; it’s to add meaning and warmth. Each of these ideas should be adapted to your life, not just copied.
The word “gallery wall” can be intimidating. People picture a perfectly spaced, formal arrangement of expensive art. Let’s reframe it. Think of it as a storytelling wall. What is the story of food in your home? Maybe it’s a collection of handwritten recipe cards from your grandmother, framed in simple wooden frames. Maybe it’s a beautiful menu you saved from a special anniversary dinner.

I once helped a young family create one. Instead of pricey prints, we framed their child’s first drawing of a strawberry, a photo of them all making pizza, and a beautiful, simple print of a fork. The whole thing cost almost nothing, but it was filled with their life. The secret is to mix sizes and textures, but keep one element consistent, like the color of the frames or the general theme. It becomes a living part of your home, not just decoration.
Speaking of using everyday objects as art, this is one of my favorites.
In so many Nordic homes, you will see plates on the wall. It’s a tradition that comes from a time when beautiful things were also useful things. You would have your simple everyday dishes, and then one or two special plates, maybe hand-painted, that were brought out for celebrations. When not in use, they were hung on the wall to be enjoyed. It’s a sign of respect for the craft and the object itself.
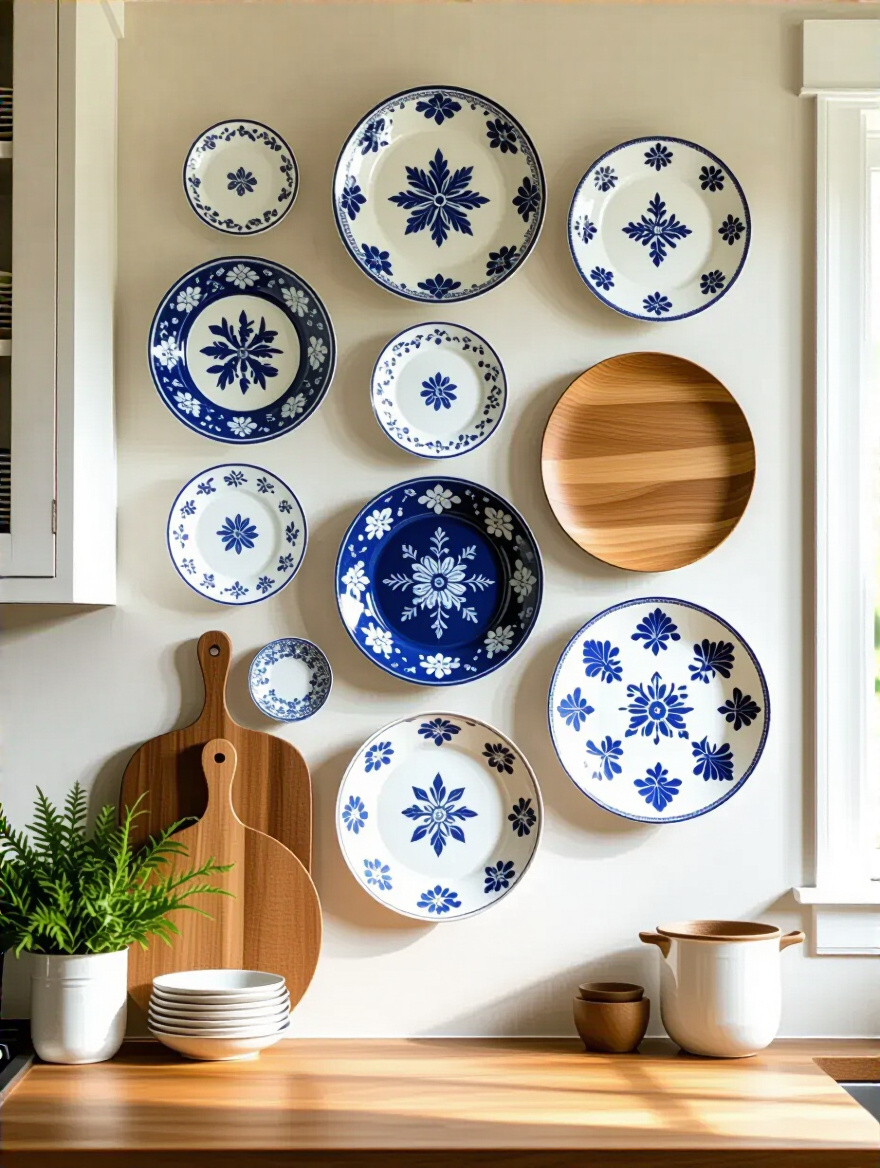
You can find beautiful single plates at flea markets or antique shops. You don’t need a full matching set. Look for a pattern or a color that makes you happy. Grouping three or five of them in an organic, flowing arrangement above a doorway or on a small wall creates a lovely, gentle focal point. It’s warmer and more personal than a store-bought painting, and it connects you to a long history of making the home beautiful with what you have.
From the static and beautiful, let’s move to something interactive and useful.
This is not just for cafés. In a family home, a chalkboard wall is a communication hub. It’s where the grocery list lives, where you can leave a quick “have a great day” note, or where a child can draw while you cook. It brings a dynamic, ever-changing energy to a wall that might otherwise be forgotten. It says, “life happens here.”
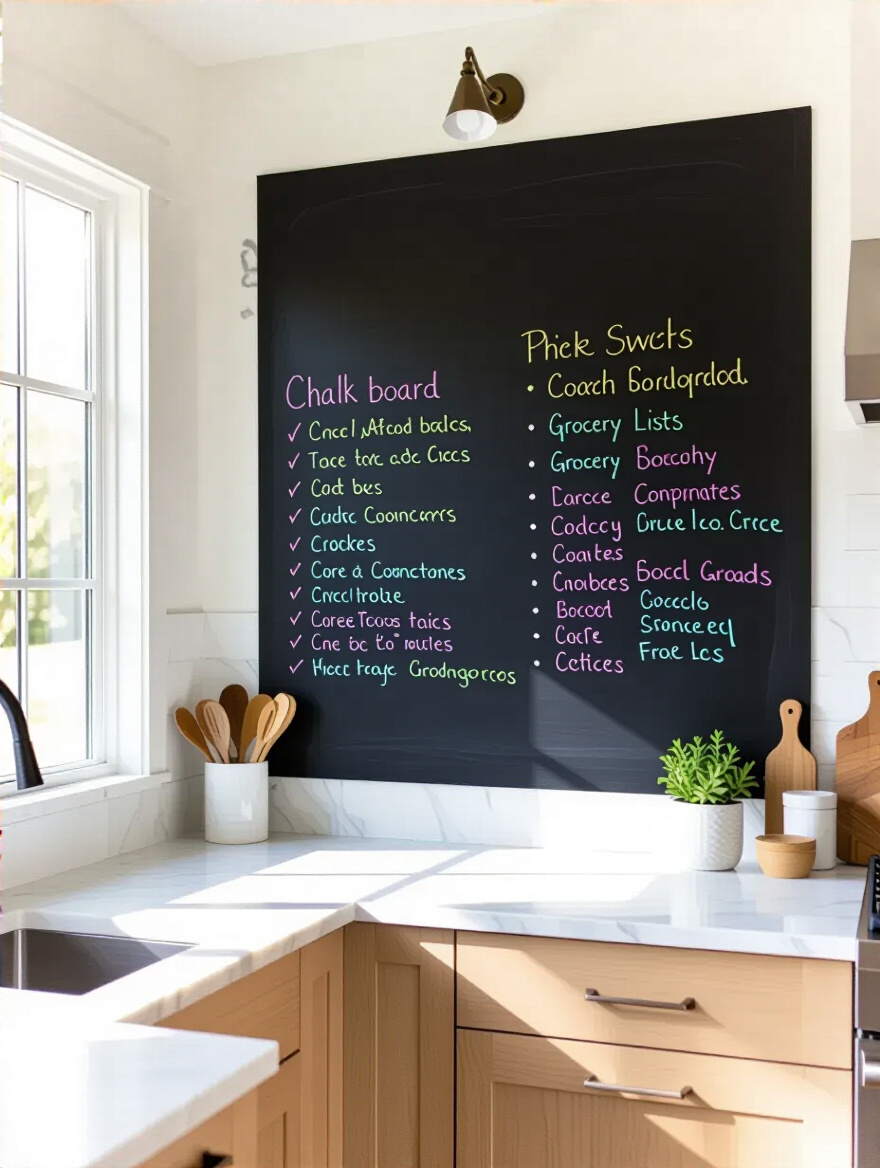
The shortcut I wish I’d known earlier is to invest in good quality chalkboard paint, and to follow the instructions for “curing” it. You have to rub the whole surface with the side of a piece of chalk and then erase it before you use it for the first time. It feels strange, but it primes the surface and prevents your first words from being permanently ghosted onto the paint. Choose a wall that isn’t in a direct splash zone, and it will serve you well for years.
If a black wall feels too dark for your space, there is another way to bring life to the walls.
In Scandinavia, the winters are long and dark. Bringing elements of nature indoors isn’t a trend; it’s a necessity for the soul. Botanical prints are a simple, beautiful way to do this. They are a window to a green world, even in the middle of January. They bring a sense of calm and life to the kitchen.
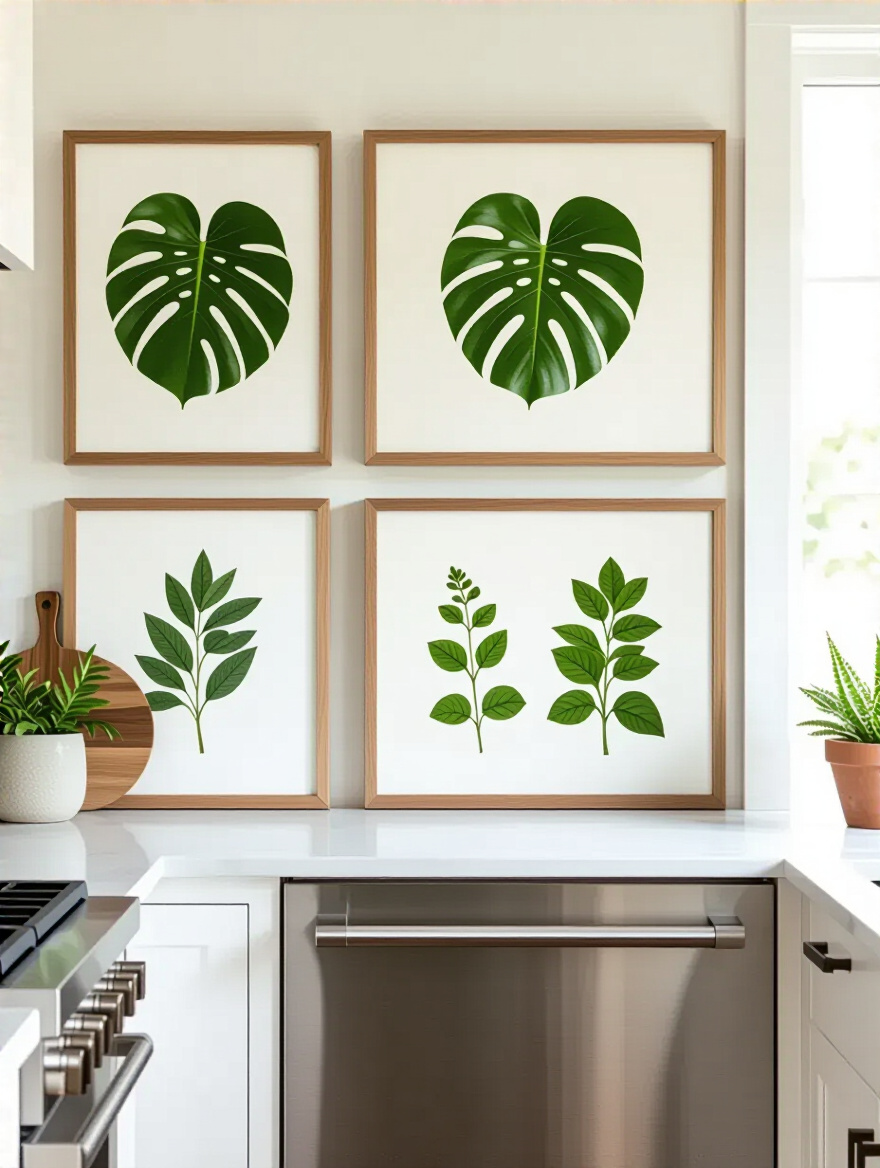
You don’t need to spend a fortune. There are incredible online archives of vintage botanical illustrations that you can download and print yourself. Choose a few that connect to you—maybe the herbs you love to cook with, or the flowers that grew in your childhood garden. Frame them simply, in light wood or thin black frames, and hang them as a trio. This little touch can do more to lift the mood of a kitchen than a whole renovation.
Just as plants bring life, mirrors bring another essential element: light.
This is an old trick, but it is one of the most effective. In smaller or darker kitchens, a mirror is like adding a window. It bounces light around the room, making it feel brighter and more open. People are often hesitant to put a mirror in a kitchen, worried it will get dirty. But a simple wipe-down is easy, and the benefit is enormous.
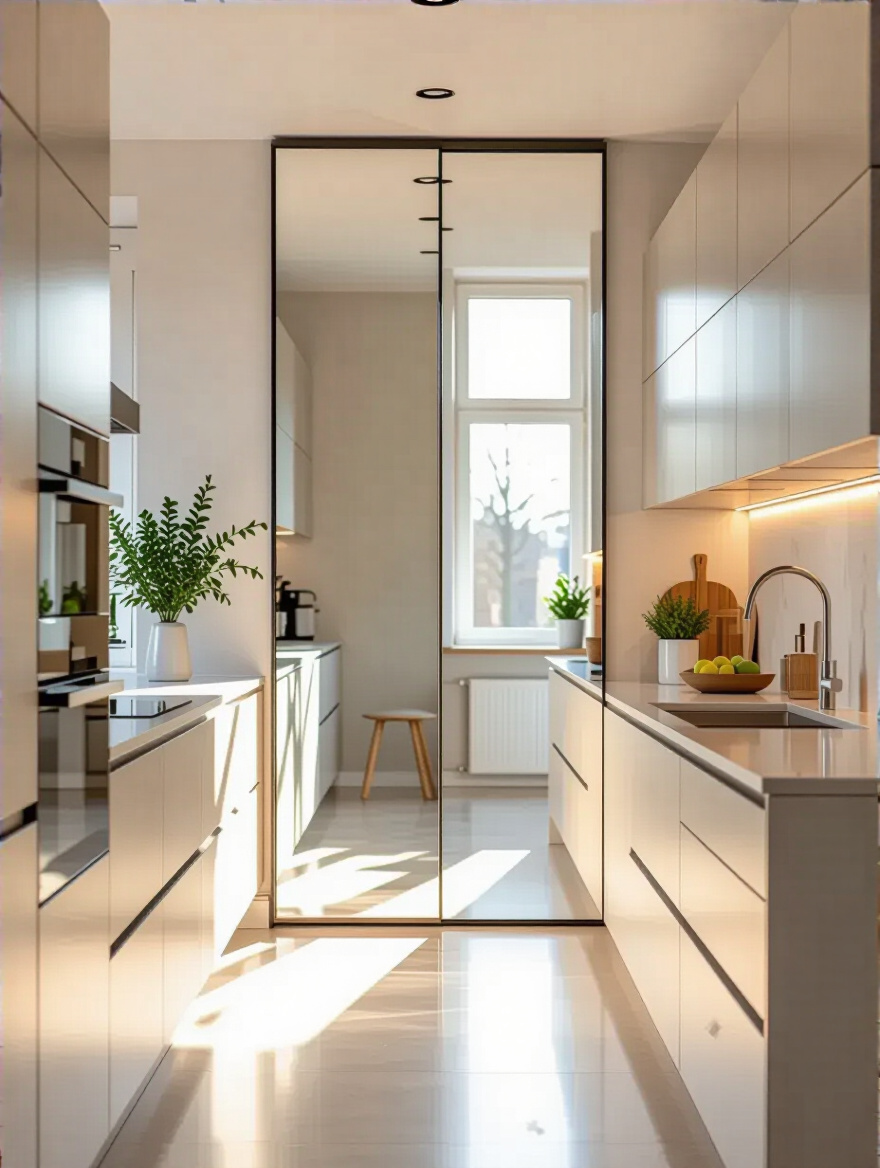
The key is placement. Never place a mirror where it reflects clutter. If your countertops are always covered in things, a mirror will just double the chaos. Instead, place it on a wall that reflects a real window, a piece of art, or an open doorway. A favorite placement of mine is using a large, simple mirror as a backsplash behind a bar or coffee area. It adds a touch of glamour and makes the space feel so much bigger.
Now, let’s turn our attention from adding light and beauty to adding serious function.
This is where Scandinavian design truly sings. We believe that a beautiful home is a functional home. Clutter is the enemy of calm, so using your walls to organize your life is one of the most powerful things you can do.
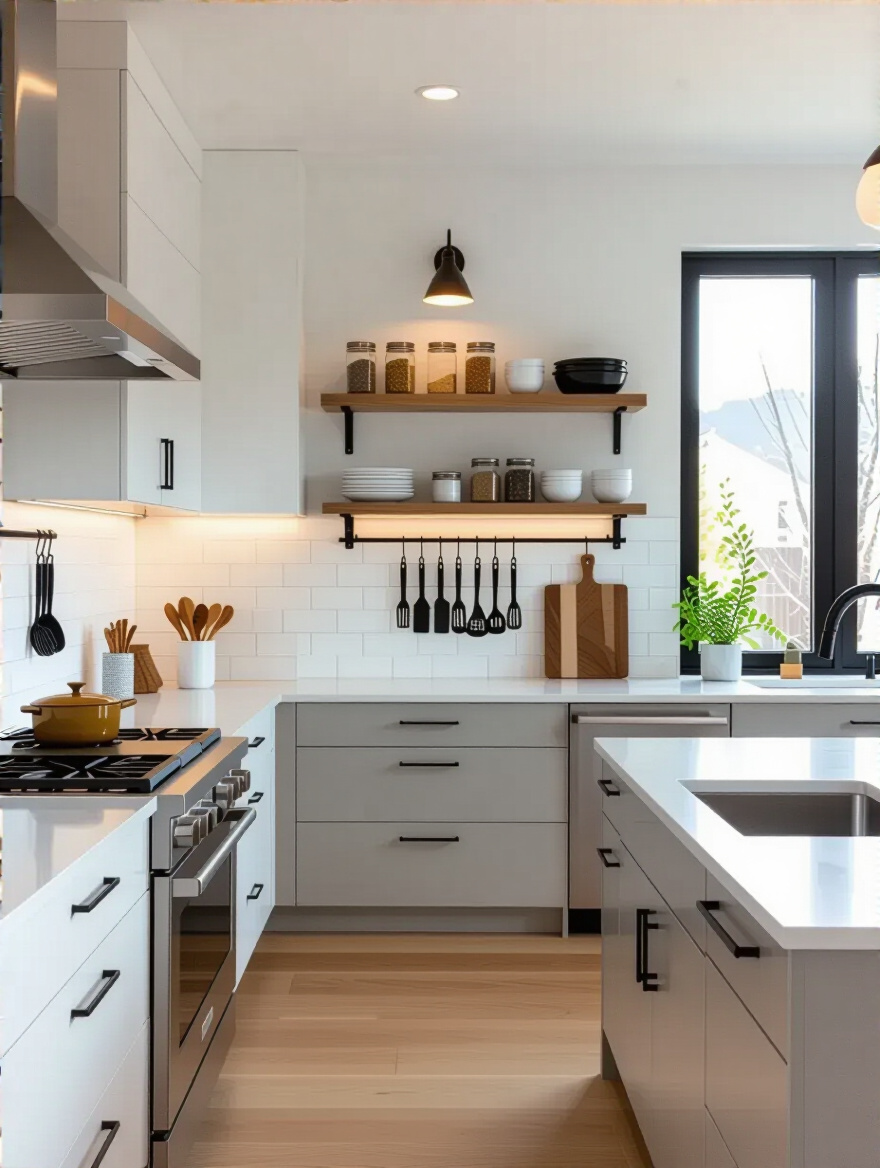
A knife block on the counter is bulky. Knives rattling in a drawer is bad for the blades and dangerous for your fingers. A magnetic knife strip is the perfect solution. It elevates your tools to the level of display, keeps them safely out of reach of little hands, and makes grabbing the right knife effortless. It is pure, simple function.
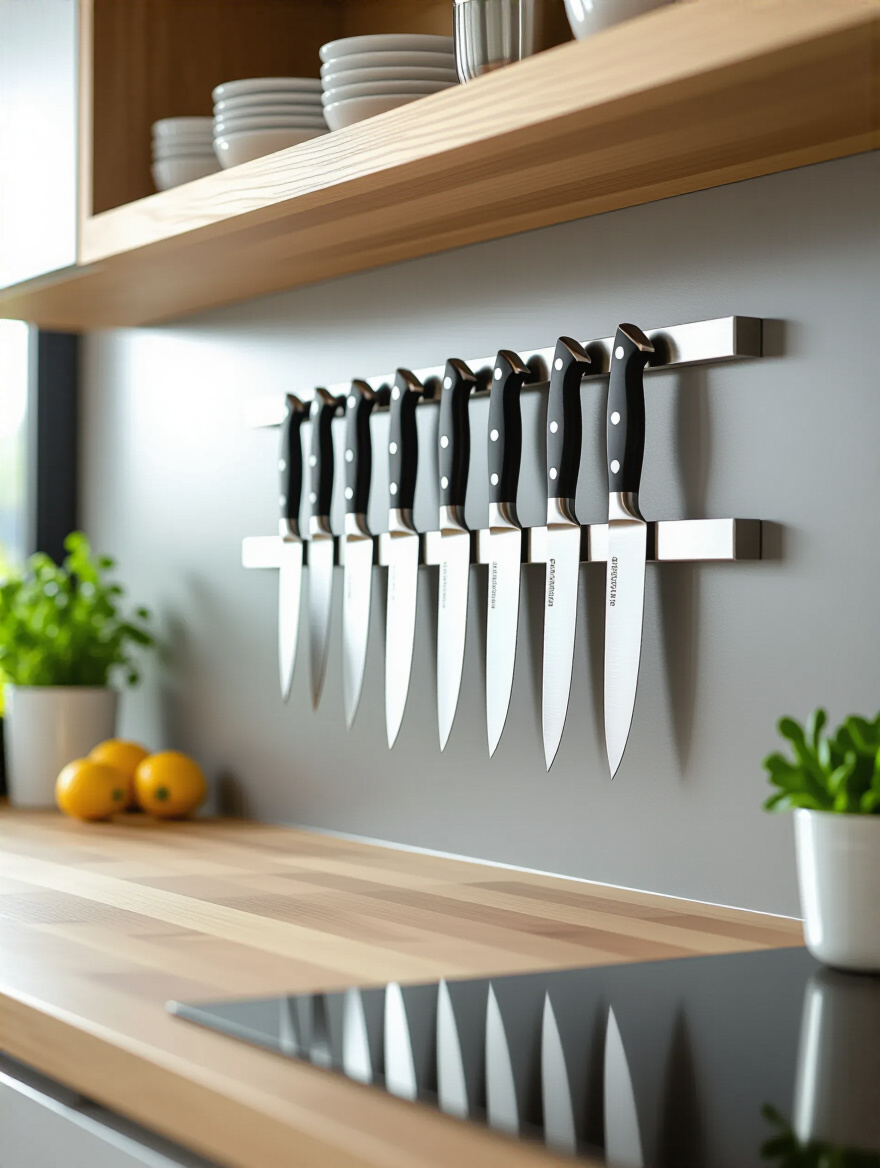
The BS to avoid is the cheap, weak magnet. I’ve seen them where a heavy chef’s knife will slowly slide down. You need a strong, solid strip that holds your tools with confidence. Install it securely into the studs in your wall, or use very strong wall anchors. The best place is near your prep area, but not so close that you’ll bump it constantly. It’s one of those small changes that makes a huge difference in your daily cooking rhythm.
For more than just knives, another workshop-inspired solution offers incredible flexibility.
The pegboard has its roots in the garage and the workshop, and that’s what I love about it. It’s honest and hardworking. In a kitchen, it becomes an incredibly versatile organization system for everything from pots and pans to utensils and spice jars. You can change the layout in five minutes as your needs change.
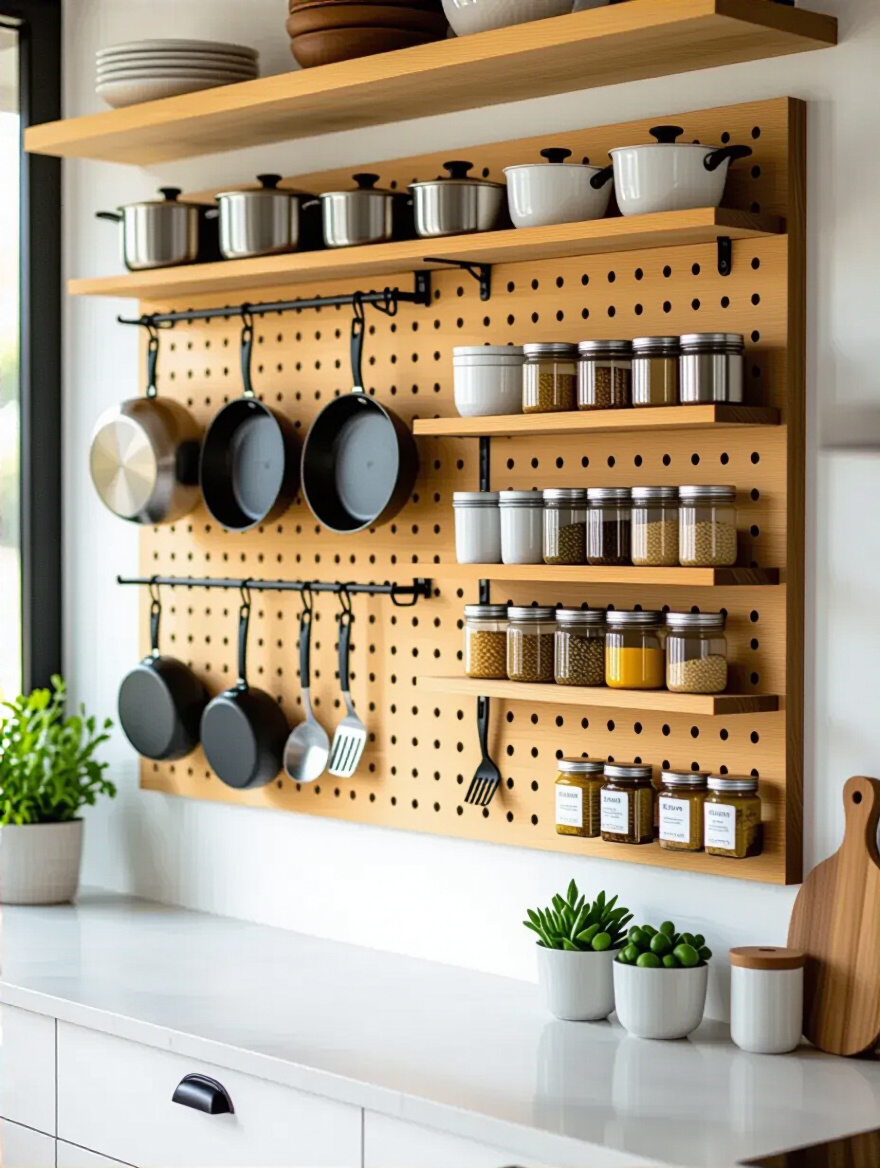
Don’t just think of the standard brown particleboard. You can buy them in metal, or you can paint a wooden one to match your wall color, which makes it look incredibly sophisticated and built-in. A large pegboard wall near a prep station can free up entire drawers and cabinets. It turns your most-used tools into a functional, beautiful display. The key is not to overcrowd it. Leave some space so it looks organized, not chaotic.
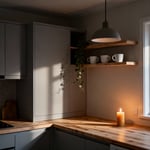
For a slightly more refined and less industrial look, shelves are the answer.
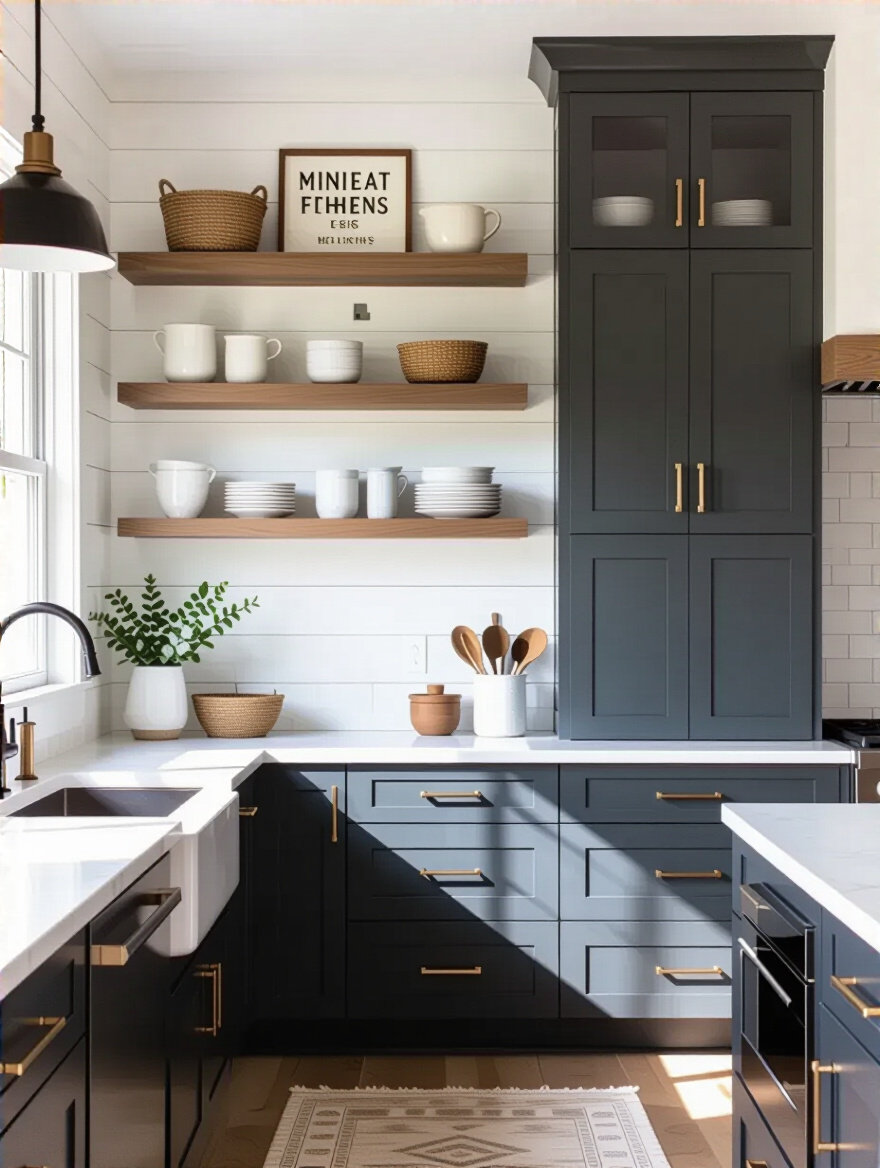
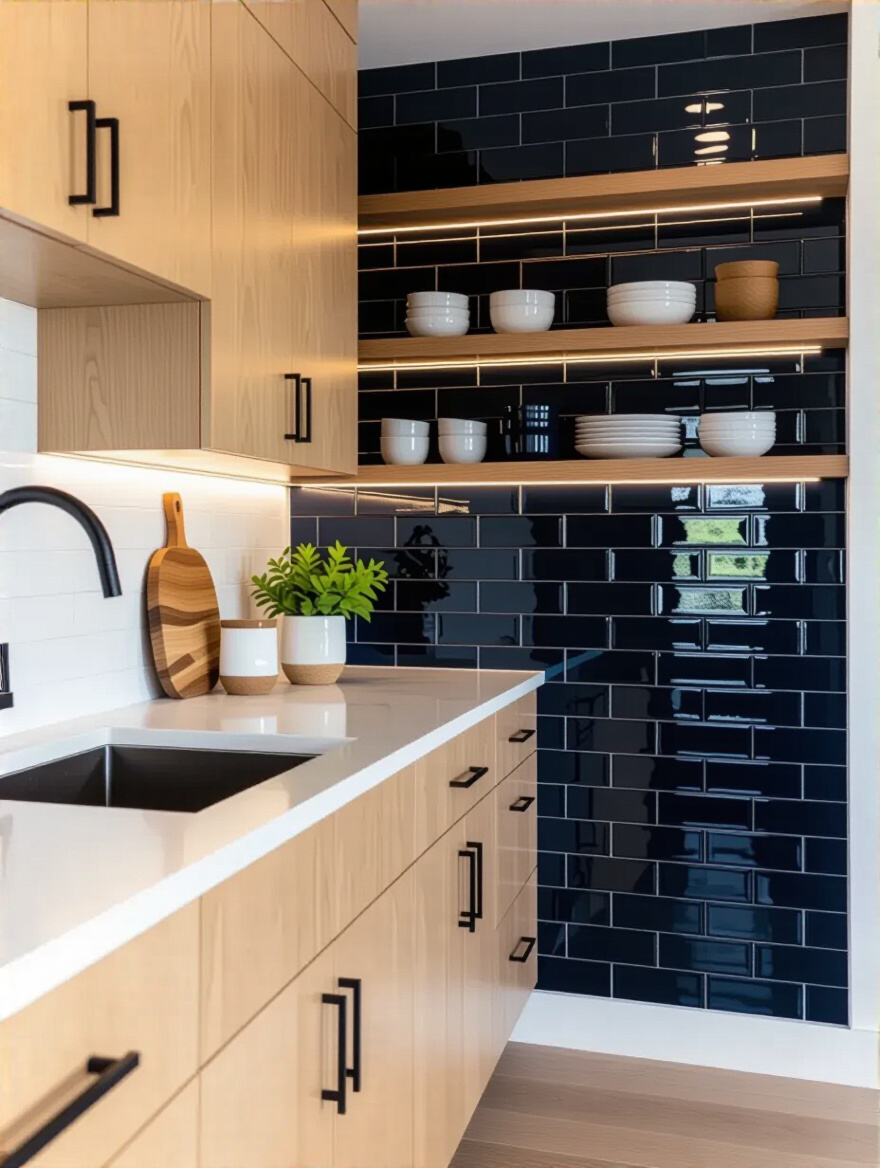
People love the idea of open shelves, but they are often afraid of the clutter. The secret to good floating shelves is curation. These are not for storing the mismatched plastic cups. This is a place for your most-used and most-loved items: your simple white everyday dishes, your favorite ceramic mugs, a small plant, and your most-used cookbooks.

When I learned this the hard way, my first apartment shelves were a mess of everything I owned. It looked awful. The shortcut is to keep it simple and leave “negative space”—empty space. Don’t fill every centimeter. Let the objects have room to breathe. Use them to hold things you use daily, so they are both beautiful and practical. This forces you to be intentional about what you own and display.
If your heaviest items need a home, a more robust solution is required.
This is a classic for a reason, especially in kitchens that are used for serious cooking. Getting heavy pots and pans out of a low cabinet is a chore. Hanging them on a sturdy wall rack makes them instantly accessible and adds a wonderful, professional character to the space. It says, “we cook in this kitchen.”
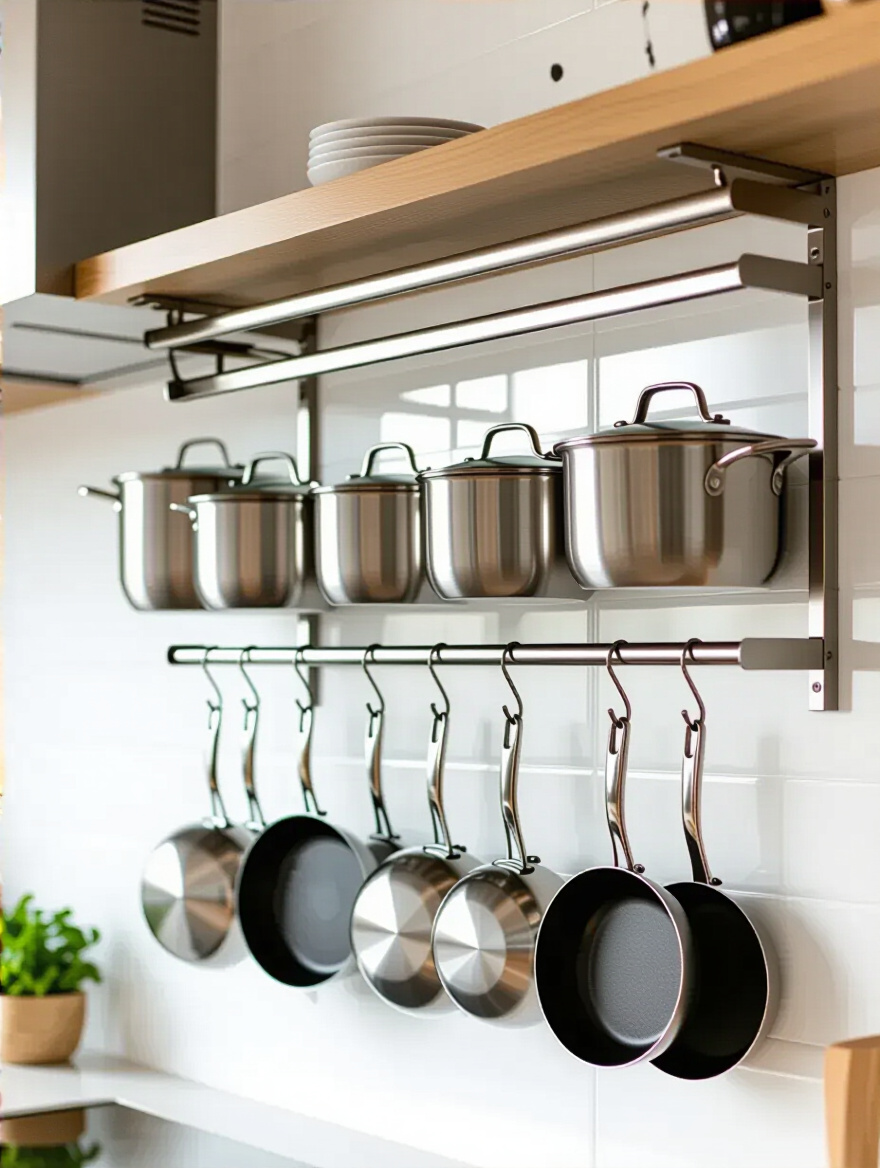
You must mount these racks correctly. This is not a job for a single screw in drywall. You must find the wall studs and anchor it securely. The last thing you want is your cast iron collection crashing down. When you hang your pots, think about balance. Put the largest ones at the ends and the smaller ones in the middle. It’s a simple visual trick that makes it look intentional and balanced.
But what if you rent, or just can’t make permanent changes?
I will confess, this is not my personal favorite, as I prefer more permanent, natural materials. But I understand their purpose, especially for renters or for a child’s space in the kitchen. They can add a touch of personality or a splash of color without any commitment. It’s a way to experiment with a pattern or a quote without picking up a paintbrush.
If you choose to use them, the shortcut is to buy from a quality source. The cheap ones often look like plastic stickers and can peel paint off the wall when you remove them. Look for ones made of a matte, fabric-like material. They look much more like they are painted on. And please, prepare the wall. A clean, smooth surface is the only way to get them to apply correctly and avoid bubbles.
Let’s move on to some bigger, more impactful ideas for those ready to make a lasting change.
These ideas require a bit more commitment, but they can fundamentally change the character of your kitchen. They add texture, depth, and a sense of architectural permanence that simpler decor can’t achieve.
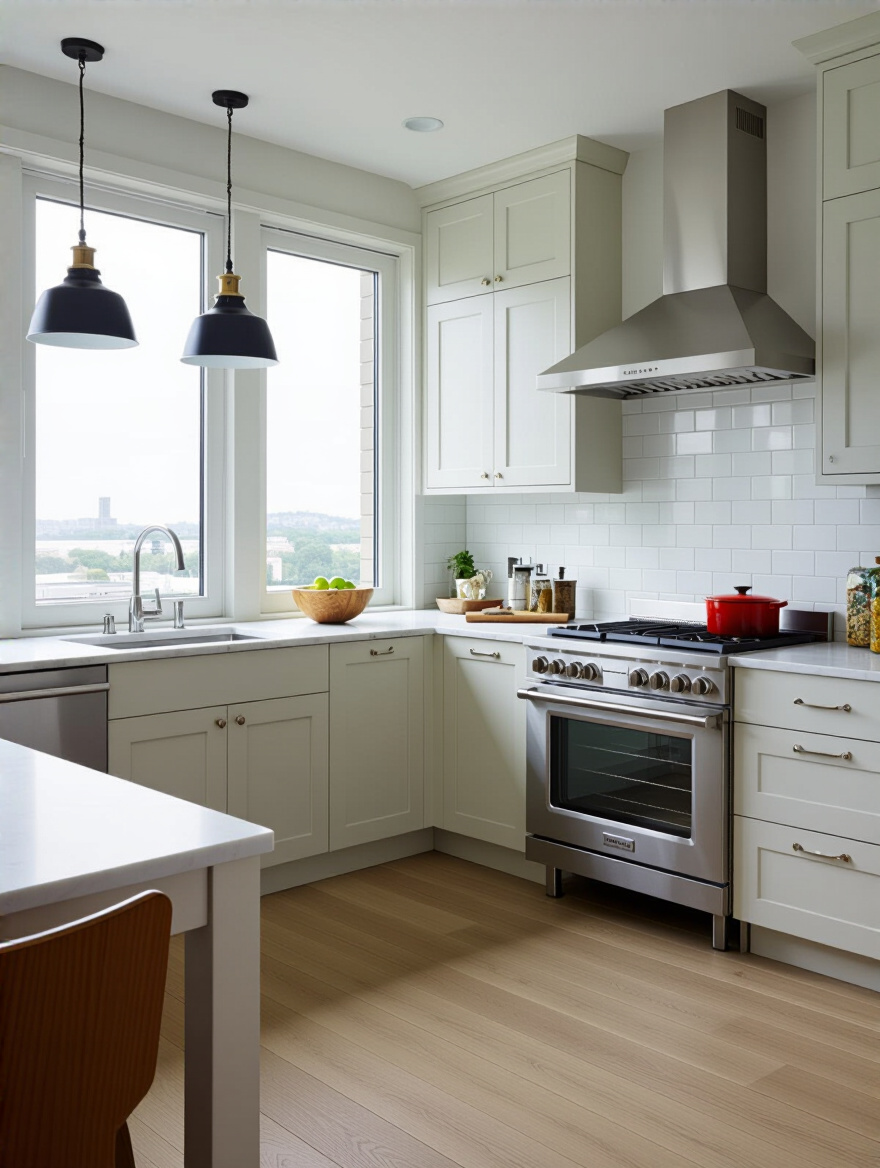
An accent wall isn’t just about a bright color. It can be a powerful way to define a space, especially in an open-plan home. A wall of deep, rich color or beautiful, textural tile behind your dining table can create the feeling of a separate room, making it feel more intimate and cozy. It draws you in.
The most common mistake is choosing the wrong wall—one that’s broken up by too many doors or windows. Look for a solid, primary wall that you see when you first walk in. And think beyond just color. A wall of vertically stacked tiles can make the ceiling feel higher. A hand-painted mural, even a very simple one, can be incredibly personal. Test your paint colors or tile samples in the room for a few days. The way the light hits them will change everything.
For a similar effect with a softer feel, wallpaper is a wonderful option.
Wallpaper in a kitchen? Yes, absolutely. Modern wallpapers are not like the peeling floral paper in your grandmother’s house. There are incredibly durable, scrubbable vinyl or non-woven options that are designed for high-humidity areas. It’s an amazing way to add pattern and, more importantly, texture.
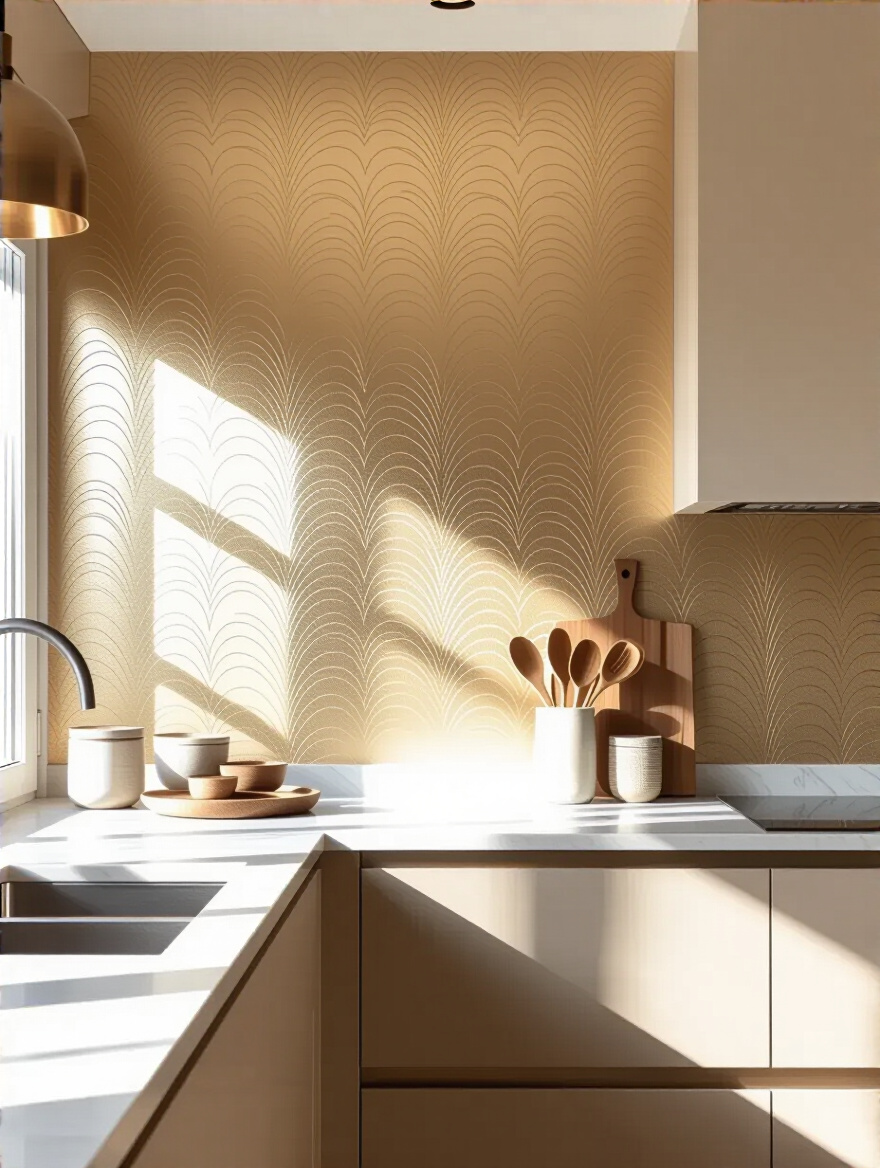
A subtly textured wallpaper—like a grasscloth or a linen-effect—can add a layer of warmth and softness that paint simply cannot replicate. It makes the room feel quieter and more comforting. I would recommend this for a wall that doesn’t get direct splashes, like the wall in a breakfast nook or away from the main sink. It can make a simple kitchen feel custom-designed and luxurious.
Perhaps the most life-affirming option is to bring in something that is actually alive.
This is the ultimate expression of a living kitchen. It’s beautiful, it smells wonderful, and it’s incredibly useful. Having fresh basil, mint, or rosemary right there on your wall, ready to be snipped into a dish, connects you directly to your food and to nature. It is biophilic design in its most practical form.
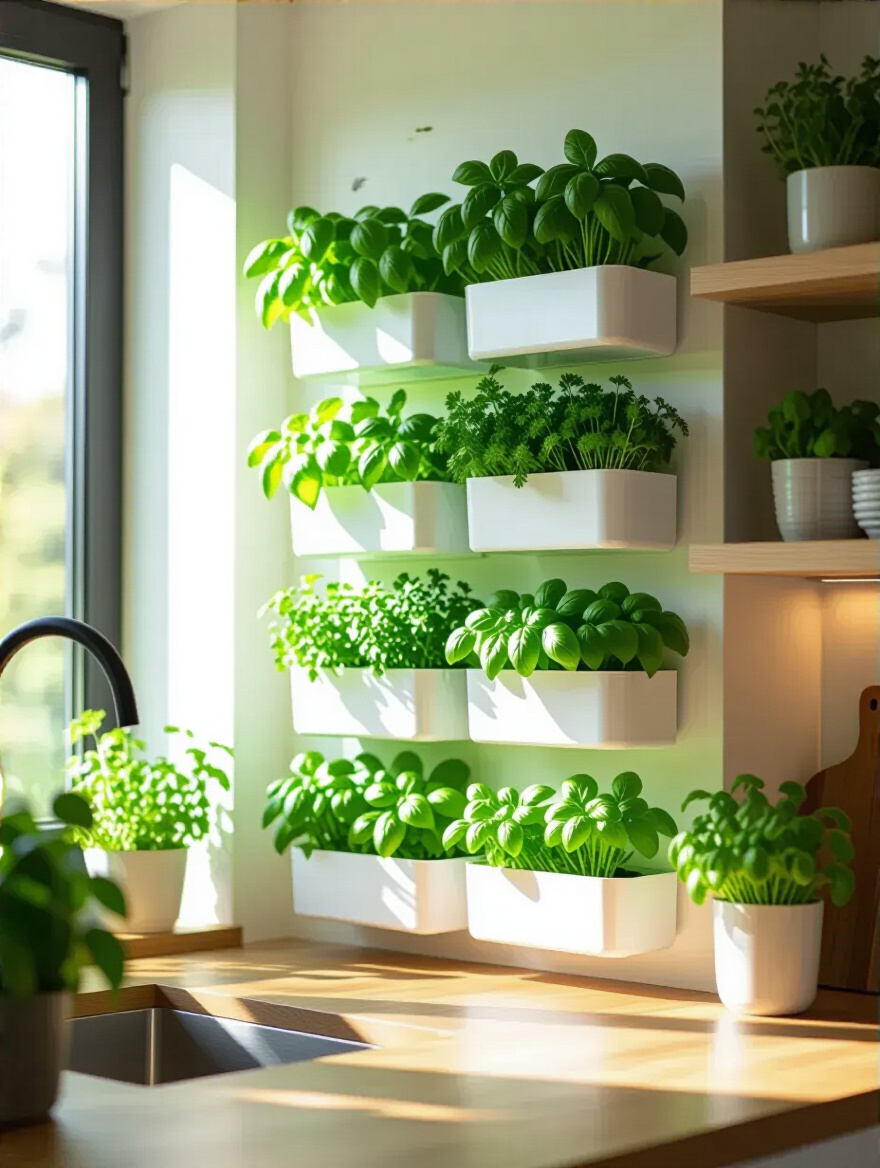
The shortcut here is to be honest about your light. Most herbs need a lot of it. If you have a sunny wall, fantastic. If not, you must invest in a simple LED grow light. It will be the difference between a thriving, lush herb wall and a sad, spindly one. You can start small with just a few pots in a wall-mounted holder. The joy it brings is far greater than the effort.
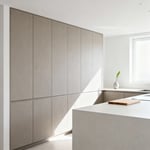
Finally, for the most elegant and permanent statement, we look to the bones of the room.
This is about adding structure and history to your walls. Things like beadboard paneling, shiplap, or wainscoting add texture, shadow, and a sense of timeless craftsmanship. It turns a flat, boring drywall box into a room with character and substance. It feels solid and permanent.
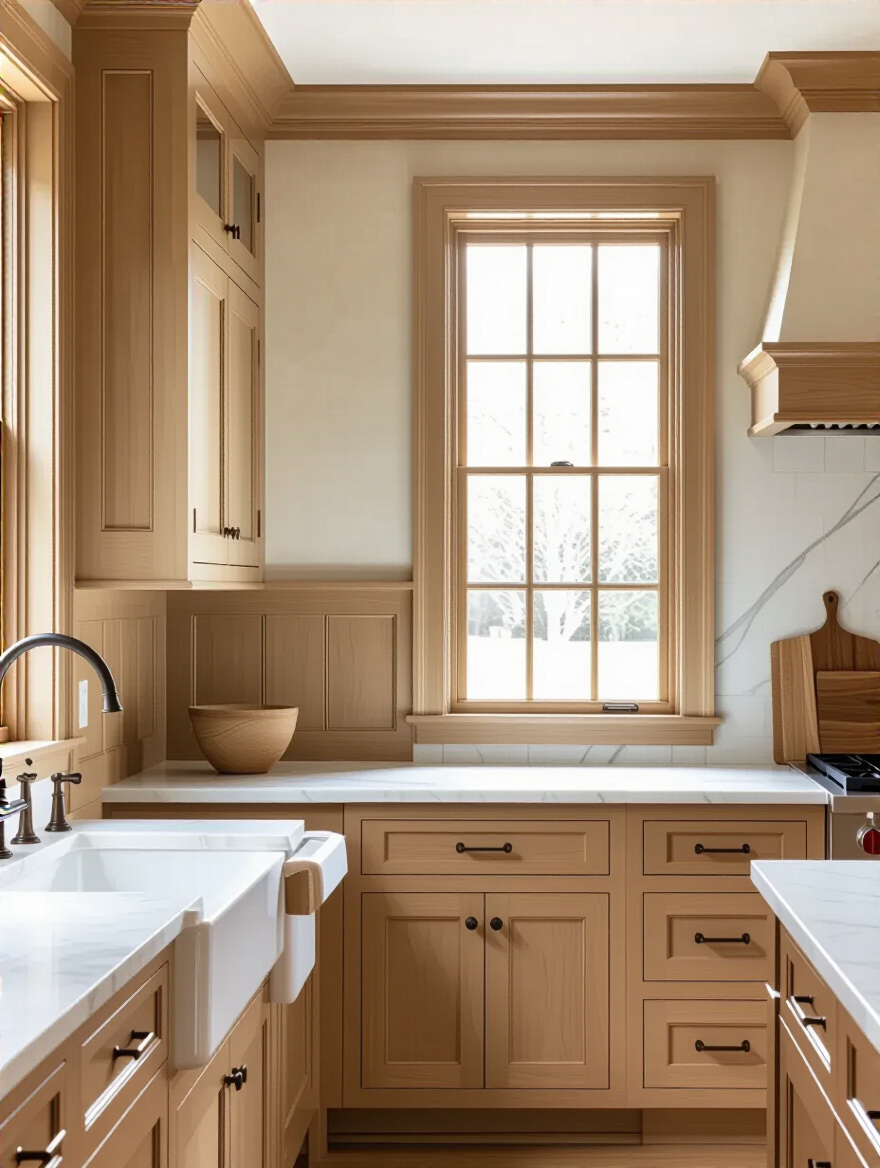
This is a place to invest, either your time if you are a skilled DIY-er, or in a good carpenter. Poorly installed millwork with gaps and uneven lines looks worse than a plain wall. But when done well, it is sublime. My favorite application is to use simple, flat paneling from floor to ceiling, painted the same color as the trim. It can cleverly hide a pantry door or storage, creating a seamless, architectural look that feels both modern and classic.
So you see, your kitchen walls are not just blank space waiting to be filled. They are an opportunity. They can tell your family’s story, they can make your daily work easier, they can bring in light and life, and they can offer a sense of deep, comforting calm.
The most important thing is to move slowly and with intention. Don’t feel pressured to do everything at once. Start with one small change. Hang that one meaningful plate. Paint that one small wall. Put up a single shelf for your coffee mugs. Live with it. See how it feels. A home is not built in a day; it is layered over years. Let your kitchen evolve with you. It is, after all, the heart of your home. Treat it with the care it deserves.