Physical Address
304 North Cardinal St.
Dorchester Center, MA 02124
Physical Address
304 North Cardinal St.
Dorchester Center, MA 02124
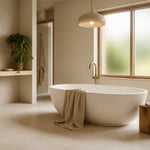
Practical kitchen design tips from a Scandinavian design expert — layout, lighting, storage, materials, and the decisions most guides miss.
Most people believe a great kitchen comes down to money. Design blogs repeat it. Renovation shows reinforce it. Here’s what they’re not telling you: after 11 years designing Nordic-influenced kitchens, I can say the kitchens that work best are almost never the most expensive ones. They’re the ones built on clear thinking about how the space is actually used. These 15 kitchen design tips get at the decisions that genuinely change how a kitchen feels — and how long you stay happy in it.
The traps are always the same. Homeowners spend months choosing cabinet door profiles, then realise too late that the bin is in the wrong place. They pick a marble countertop because it photographs beautifully, then spend three years worrying about every lemon. Good kitchen design tips aren’t about style. They’re about reducing friction. When a kitchen works without you having to think about it, that’s when the design has done its job.
The kitchen work triangle — the idea that your hob, sink, and fridge should form an efficient triangular path — is one of the most quoted pieces of kitchen design advice. It was developed in the 1940s by researchers at the University of Illinois. The NKBA still recommends that each leg of the triangle falls between 4 and 9 feet, with a total perimeter of 13 to 26 feet. For a single cook in a compact kitchen, it’s a solid starting point.
But here’s where the advice needs updating. NKBA’s own 2023 survey found that 42% of new kitchen designs now include an island. Also, 67% of homeowners list workflow efficiency as their top priority. When there are two cooks and four waste streams to sort, a simple triangle becomes a bottleneck rather than a solution.
The more useful modern approach is thinking in zones. A prep zone holds your knives and cutting boards. A cooking zone keeps your pots and hob tools close. A clean-up zone centres on the sink and dishwasher. Each zone stores its own tools directly above or below the work surface — so you’re not crossing the kitchen for a spatula when the pasta is boiling.
Before committing to a layout, walk through your kitchen doing the three main tasks. Count how many steps each one takes. The layout with the fewest steps wins. It sounds obvious, but most kitchen decisions are made from floor plans rather than from the actual physical experience of cooking. That gap between drawing and doing is where most layout mistakes happen.
This is the most commonly regretted kitchen design decision. A Dulux Trade study found that 34% of homeowners regretted their cabinet colour choice within 18 months — the single most-regretted decision in kitchen renovation. The reason is nearly always the same: they tested the colour on a paint chip in a showroom. They didn’t account for how light changes throughout the day.
North-facing kitchens receive cool, indirect light all day. In those rooms, warm tones — greige, soft off-white, warm grey — hold better than stark white, which tends to read as grey. South-facing kitchens can handle cooler tones. Also, artificial light changes everything: a warm LED at 2700K enriches yellows and beiges, while a cool white at 4000K can make beige read as green.
The reliable test isn’t a paint chip. Apply an A4-sized swatch to a spare cabinet door panel — not just the wall — and observe it at 7am, 12pm, and 6pm over two days. Cabinet surfaces reflect differently from flat walls because of the panel geometry and sheen level. Photograph each observation for comparison.
Farrow & Ball Hardwick White No.5 is one of the most reliable kitchen cabinet colours in variable UK light. Little Greene French Grey Light is a strong second choice. If budget is a consideration, Lick White 04 was specifically curated to avoid the cool undertones that cause problems in British northern light. The specific colour matters less than the testing process. Buy the testers, do the observations, then decide.
Open shelving looks clean in showrooms. In real homes, it becomes a source of daily maintenance. As kitchen design tips go, this one divides opinion more than almost any other. Houzz’s 2023 Kitchen Trends Report found that open shelving requests declined 18% year-over-year. The reason: homeowners reported higher-than-expected maintenance demands. The average open kitchen shelf accumulates visible dust within five to seven days of cleaning. That’s before you factor in cooking steam and grease.
The Nordic approach is more considered. Open shelving in Scandinavian design typically means one curated run: above the hob, in a breakfast corner, or at the end of a run where natural light hits the display. The rest of the upper storage stays behind closed doors. That one open shelf becomes a feature precisely because closed cabinetry surrounds it. The visual tension between open and closed is what makes it interesting.
A hybrid approach works well in practice. Glass-front upper cabinets on one wall give the visual openness of open shelving. Solid doors on the other wall balance it. The glass-front option shows off nice glassware without the daily dust problem. If you’re genuinely committed to open shelving, try it with a temporary bracket shelf first. Live with it for two weeks before ordering the full run. Most people find the reality reduces their ambitions.
Keep shelves at 250–300mm depth for kitchen display. Anything deeper and items at the back disappear visually. Space shelves 300–350mm apart for standard plates and glasses.
Showroom islands are almost always displayed in oversized rooms. They look proportional when they’re actually enormous. The NKBA recommends a minimum 42-inch clearance on all sides of a kitchen island for comfortable single-person use. That’s 48 inches if two people need to pass. In real kitchens, even generously sized ones, that clearance disappears faster than the floor plan suggests.
The rule of thumb that prevents regret: if the island takes up more than 35% of available floor area, it’s too big. Wren Kitchens’ 2023 customer data found that 1 in 5 customers who installed an island reported the clearance was tighter than expected. In a completed kitchen, there’s very little you can do about it.
The single best kitchen design tip for islands costs nothing: tape out your proposed island dimensions on the floor with painter’s tape and leave it there for a week. Walk around it at full speed with your hands full. Open the dishwasher and stand in the door swing. Carry a pot from hob to sink. You’ll know immediately whether the clearances work.
For kitchens under 200 square feet, a mobile kitchen cart often serves better than a fixed island. It can be moved for high-traffic moments. It provides the same prep surface. And it doesn’t commit you to clearances you’ll spend years apologising for. Also: any fixed island should have its own electrical circuit — a beautiful island without power is a missed opportunity. If you’re also looking for broader kitchen remodel ideas, the island decision is usually the starting point worth getting right.
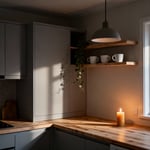
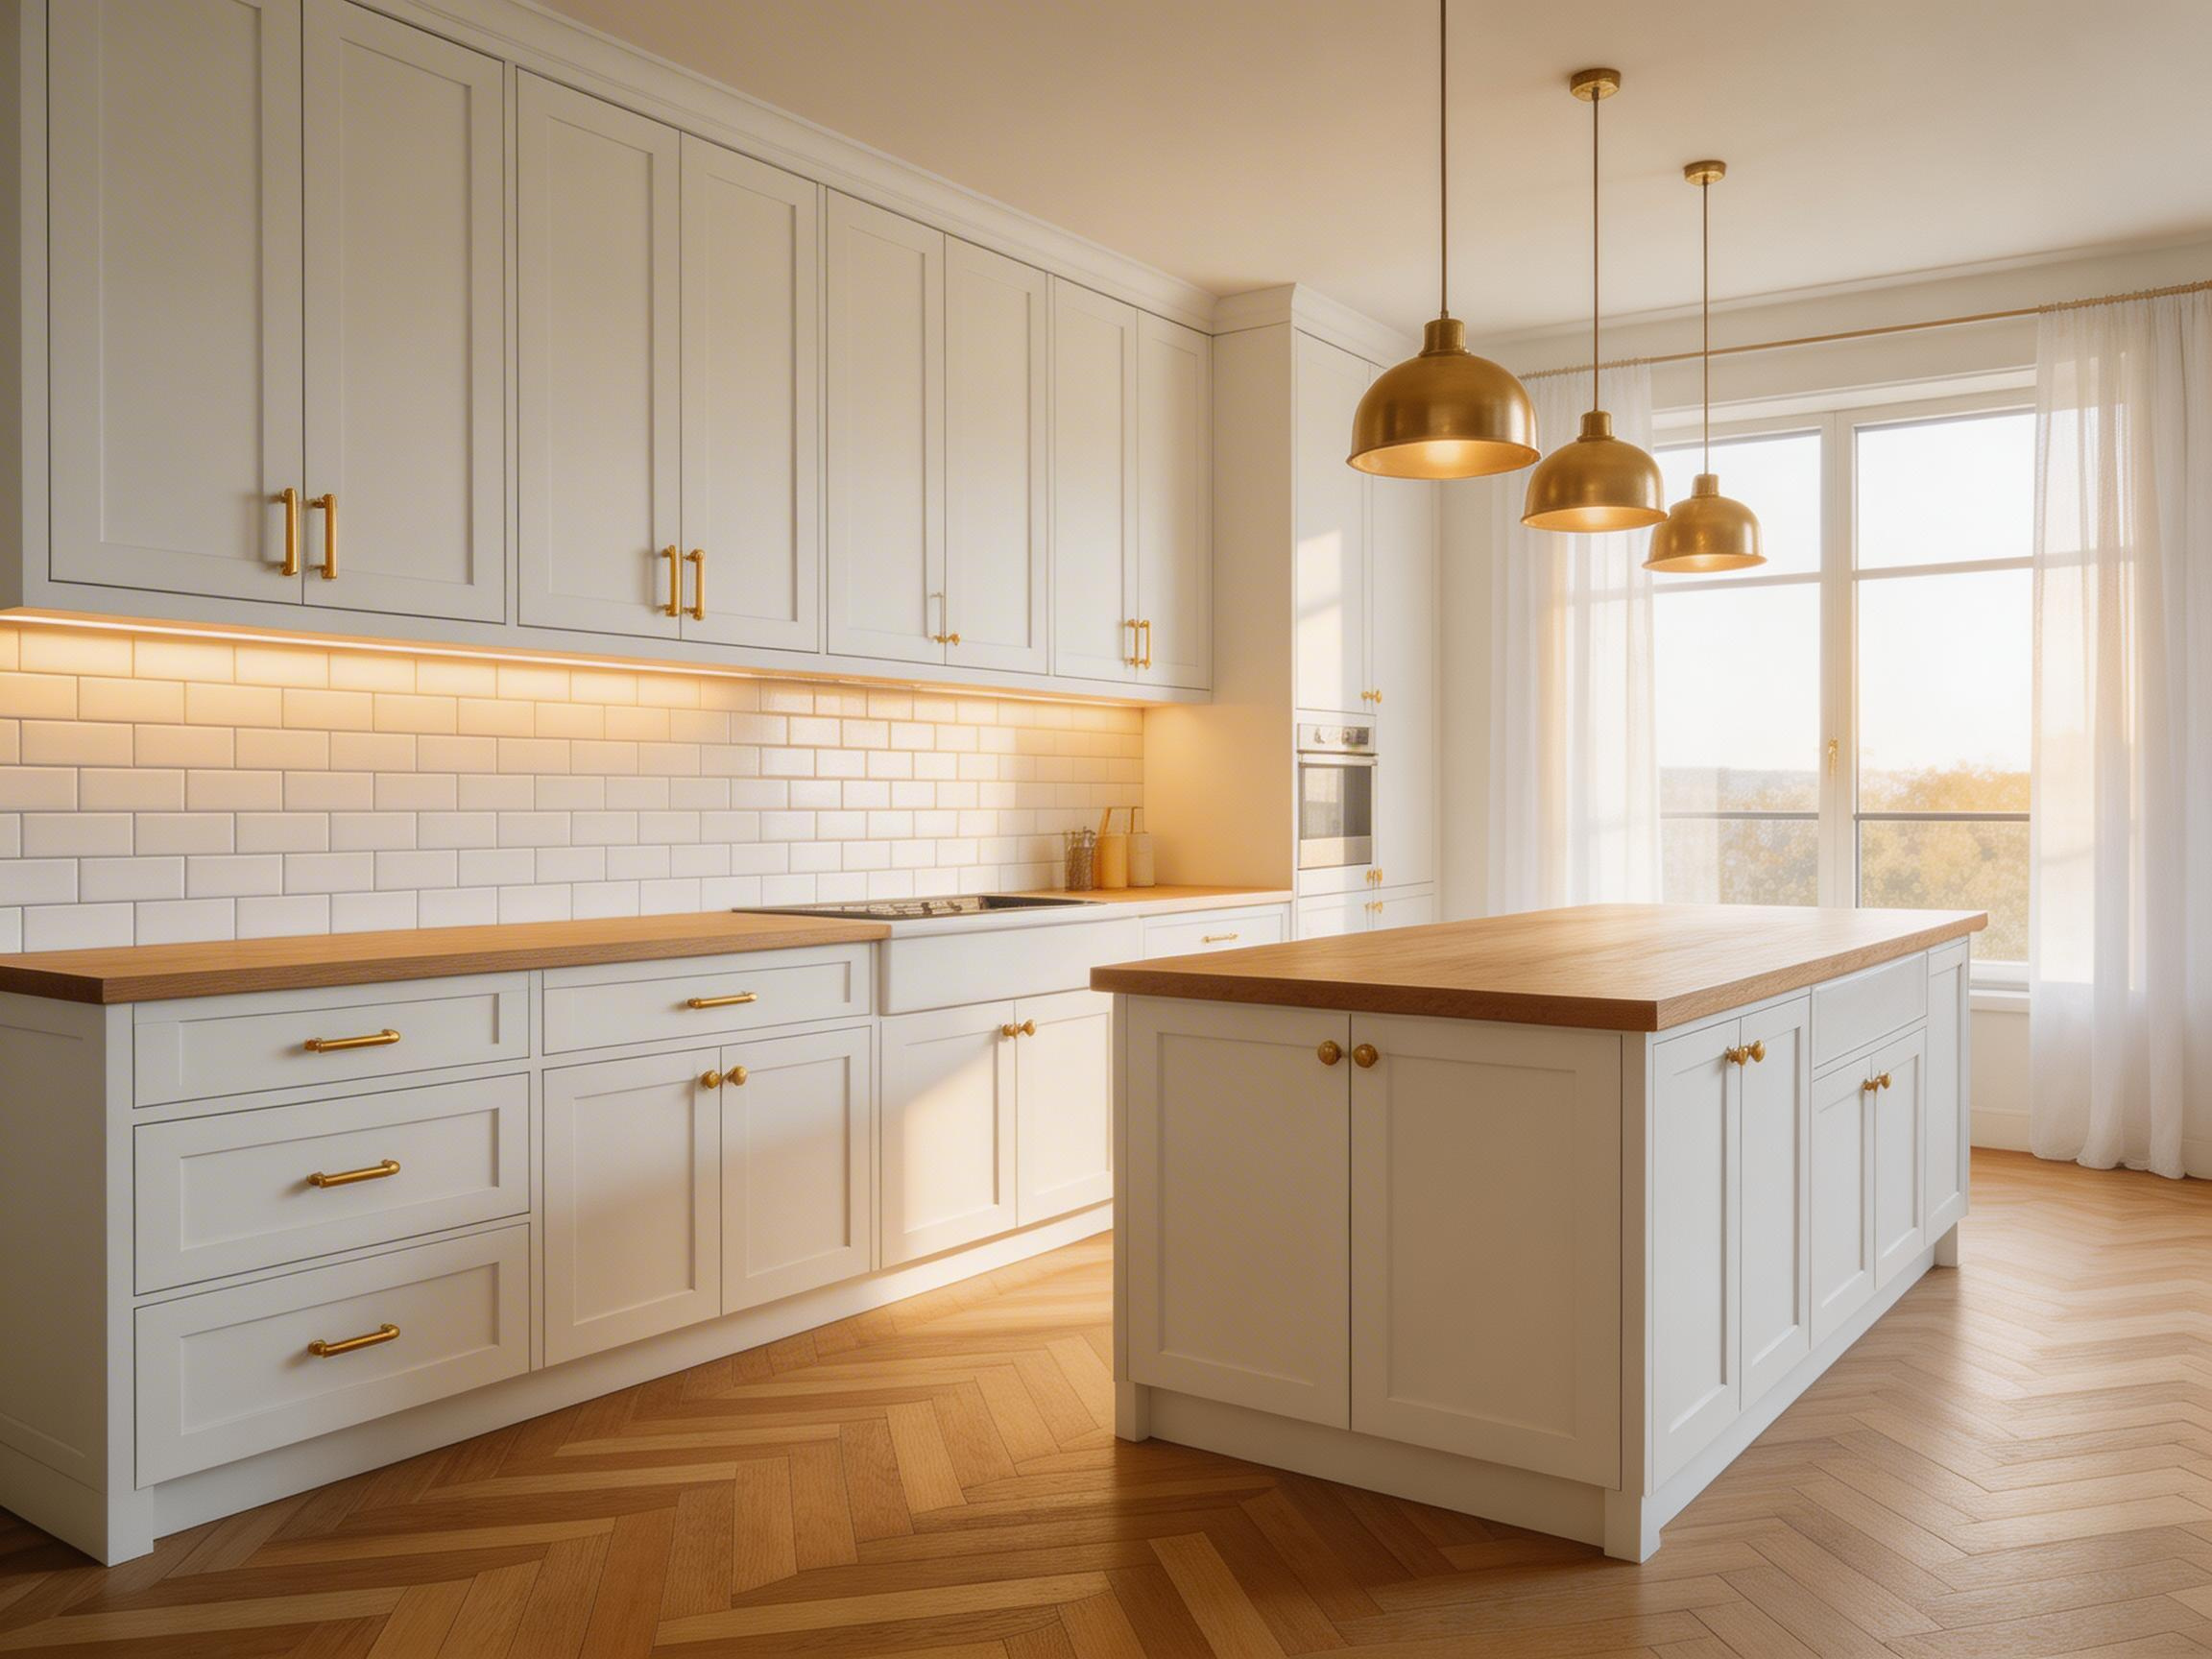
A single ceiling-mounted light creates one flat layer of illumination. The problem isn’t brightness — it’s the lack of shadow, depth, and hierarchy. Lutron’s 2022 residential lighting report found that kitchens with layered, dimmable lighting scored 31% higher for perceived quality in blind tests. The comparison was against identically furnished kitchens with single-circuit lighting. That’s a significant difference for something that can be designed in at low cost.
The three layers: under-cabinet LED strip lights at counter level (warm white, 2700K), pendant lights over the island, and recessed spotlights in the ceiling. Pendants should hang 70–80cm above the island surface for standard ceiling heights. The recessed spots should be positioned 300mm in from cabinet edges — not centred in the ceiling — to wash the countertop without casting shadows.
Install dimmer switches for every circuit during the build. The cost is £20–£30 per dimmer at construction stage. Retrofitting them later means replastering. This is one of those kitchen design tips that sounds minor but has daily impact — you want bright, even light when prepping at 7pm, and low warm light when eating at the island at 8pm. Those are different tasks. They need different lighting.
Astro Lighting’s Kinzo under-cabinet LED strips are a reliable choice at £85–£120 per 500mm section. Tom Dixon Beat Wide pendants at £395 each work in pairs over islands 1500mm and wider. Position the under-cabinet strip 100–150mm from the front edge of the cabinet so the strip itself isn’t visible from standing height.
Marble is beautiful. It’s also porous and acid-sensitive — lemon juice and red wine etch it within minutes. It requires sealing every 6–12 months and professional re-polishing every 3–5 years. Countertop material is one of the most consequential kitchen design tips decisions, yet it’s often made on appearance alone. Which? Magazine’s 2023 kitchen survey found quartz worktops had the highest satisfaction rating (89%) of any countertop material. Marble had the lowest (54%) due to maintenance demands. And yet marble countertops continue to appear in aspirational guides, keeping them popular beyond their actual performance.
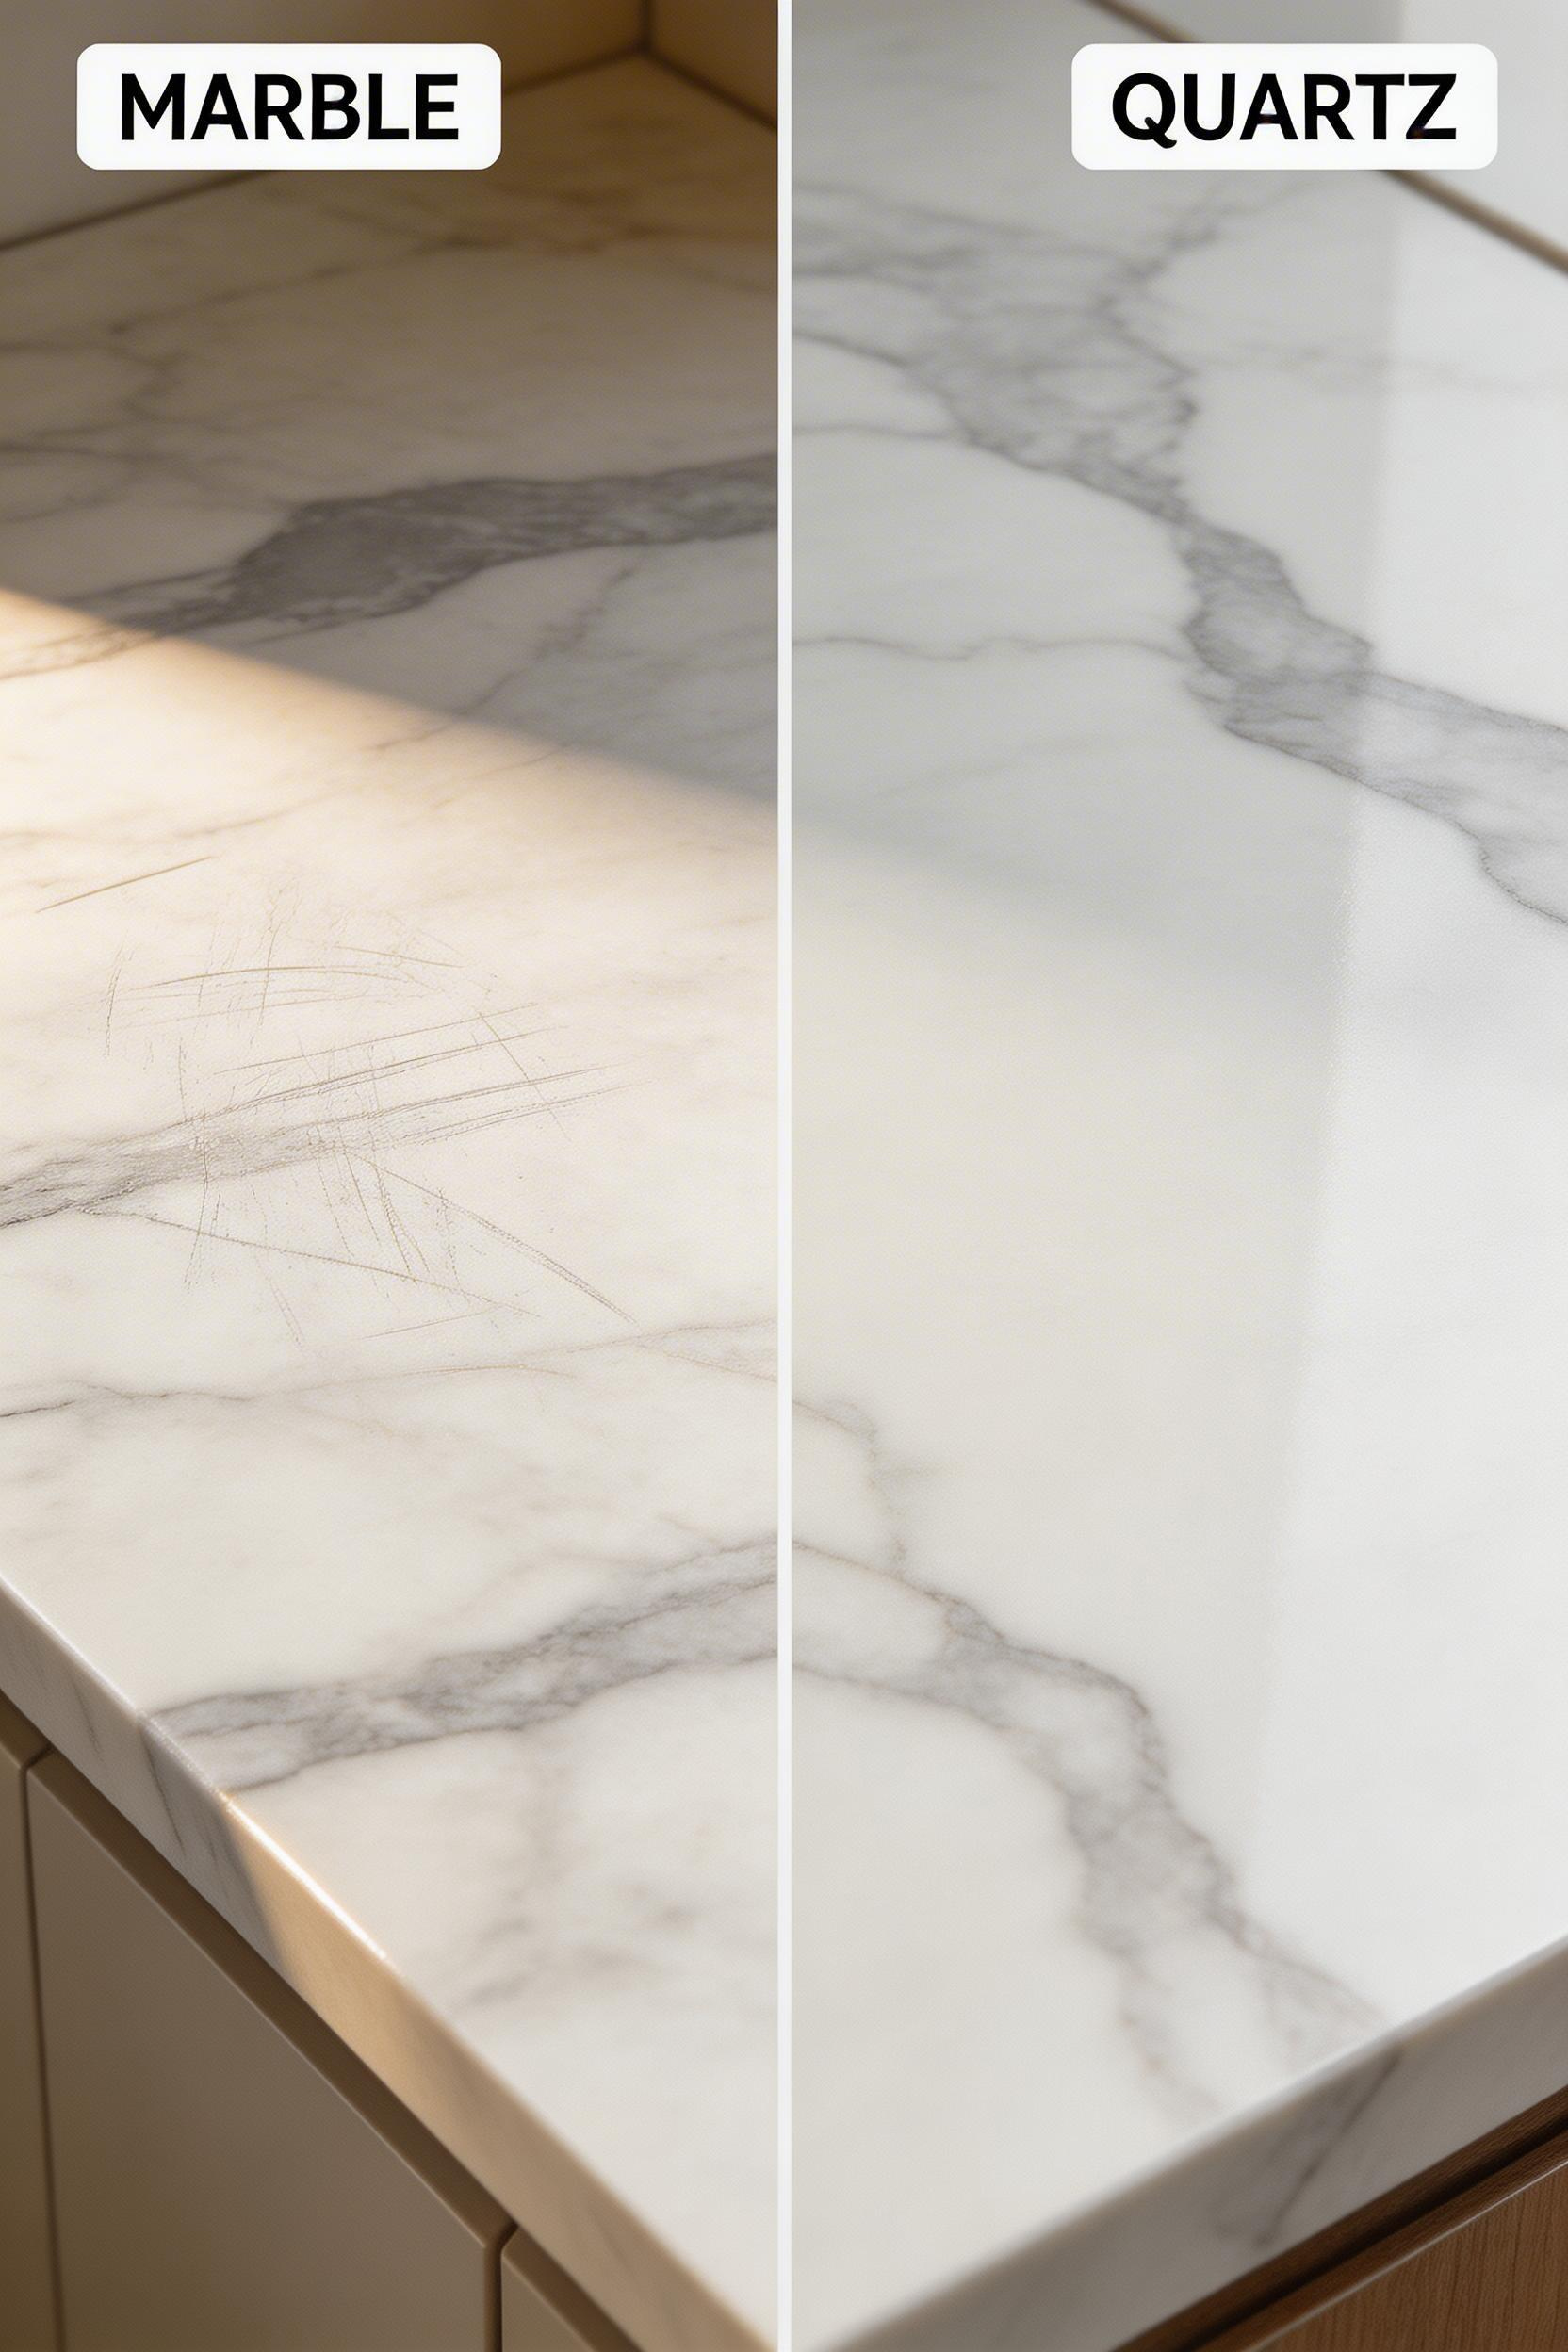
The honest breakdown: quartz (Silestone, Caesarstone, Dekton) is non-porous and scratch-resistant. It requires no sealing but can discolour under sustained heat above 150°C, so always use a trivet. Solid oak butcher block is warm and renewable. However, it needs oiling every 2–3 months and can’t sit next to a wet sink without a proper oil finish. Porcelain slab (Neolith, Fiandre) is the most durable and heat-resistant option.
Honed (matte) finishes on stone hide scratches better than polished finishes. But they’re more susceptible to staining on natural stone. On marble, honed looks more understated but requires more diligent sealing. On quartz, honed is often the better choice — it reads as less obviously synthetic than a high-gloss surface.
Go to a stone yard before ordering. Run your hands over honed and polished Calacatta samples. On darker materials, honed surfaces show finger marks more clearly than polished — something photographs never show. Silestone Eternal Calacatta Gold at £250–£400 per square metre is the most consistent marble-look quartz in the UK. Iroko solid wood at £120–£180 per square metre is a denser alternative to oak for island surfaces near a sink.
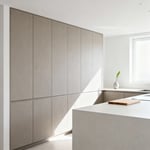
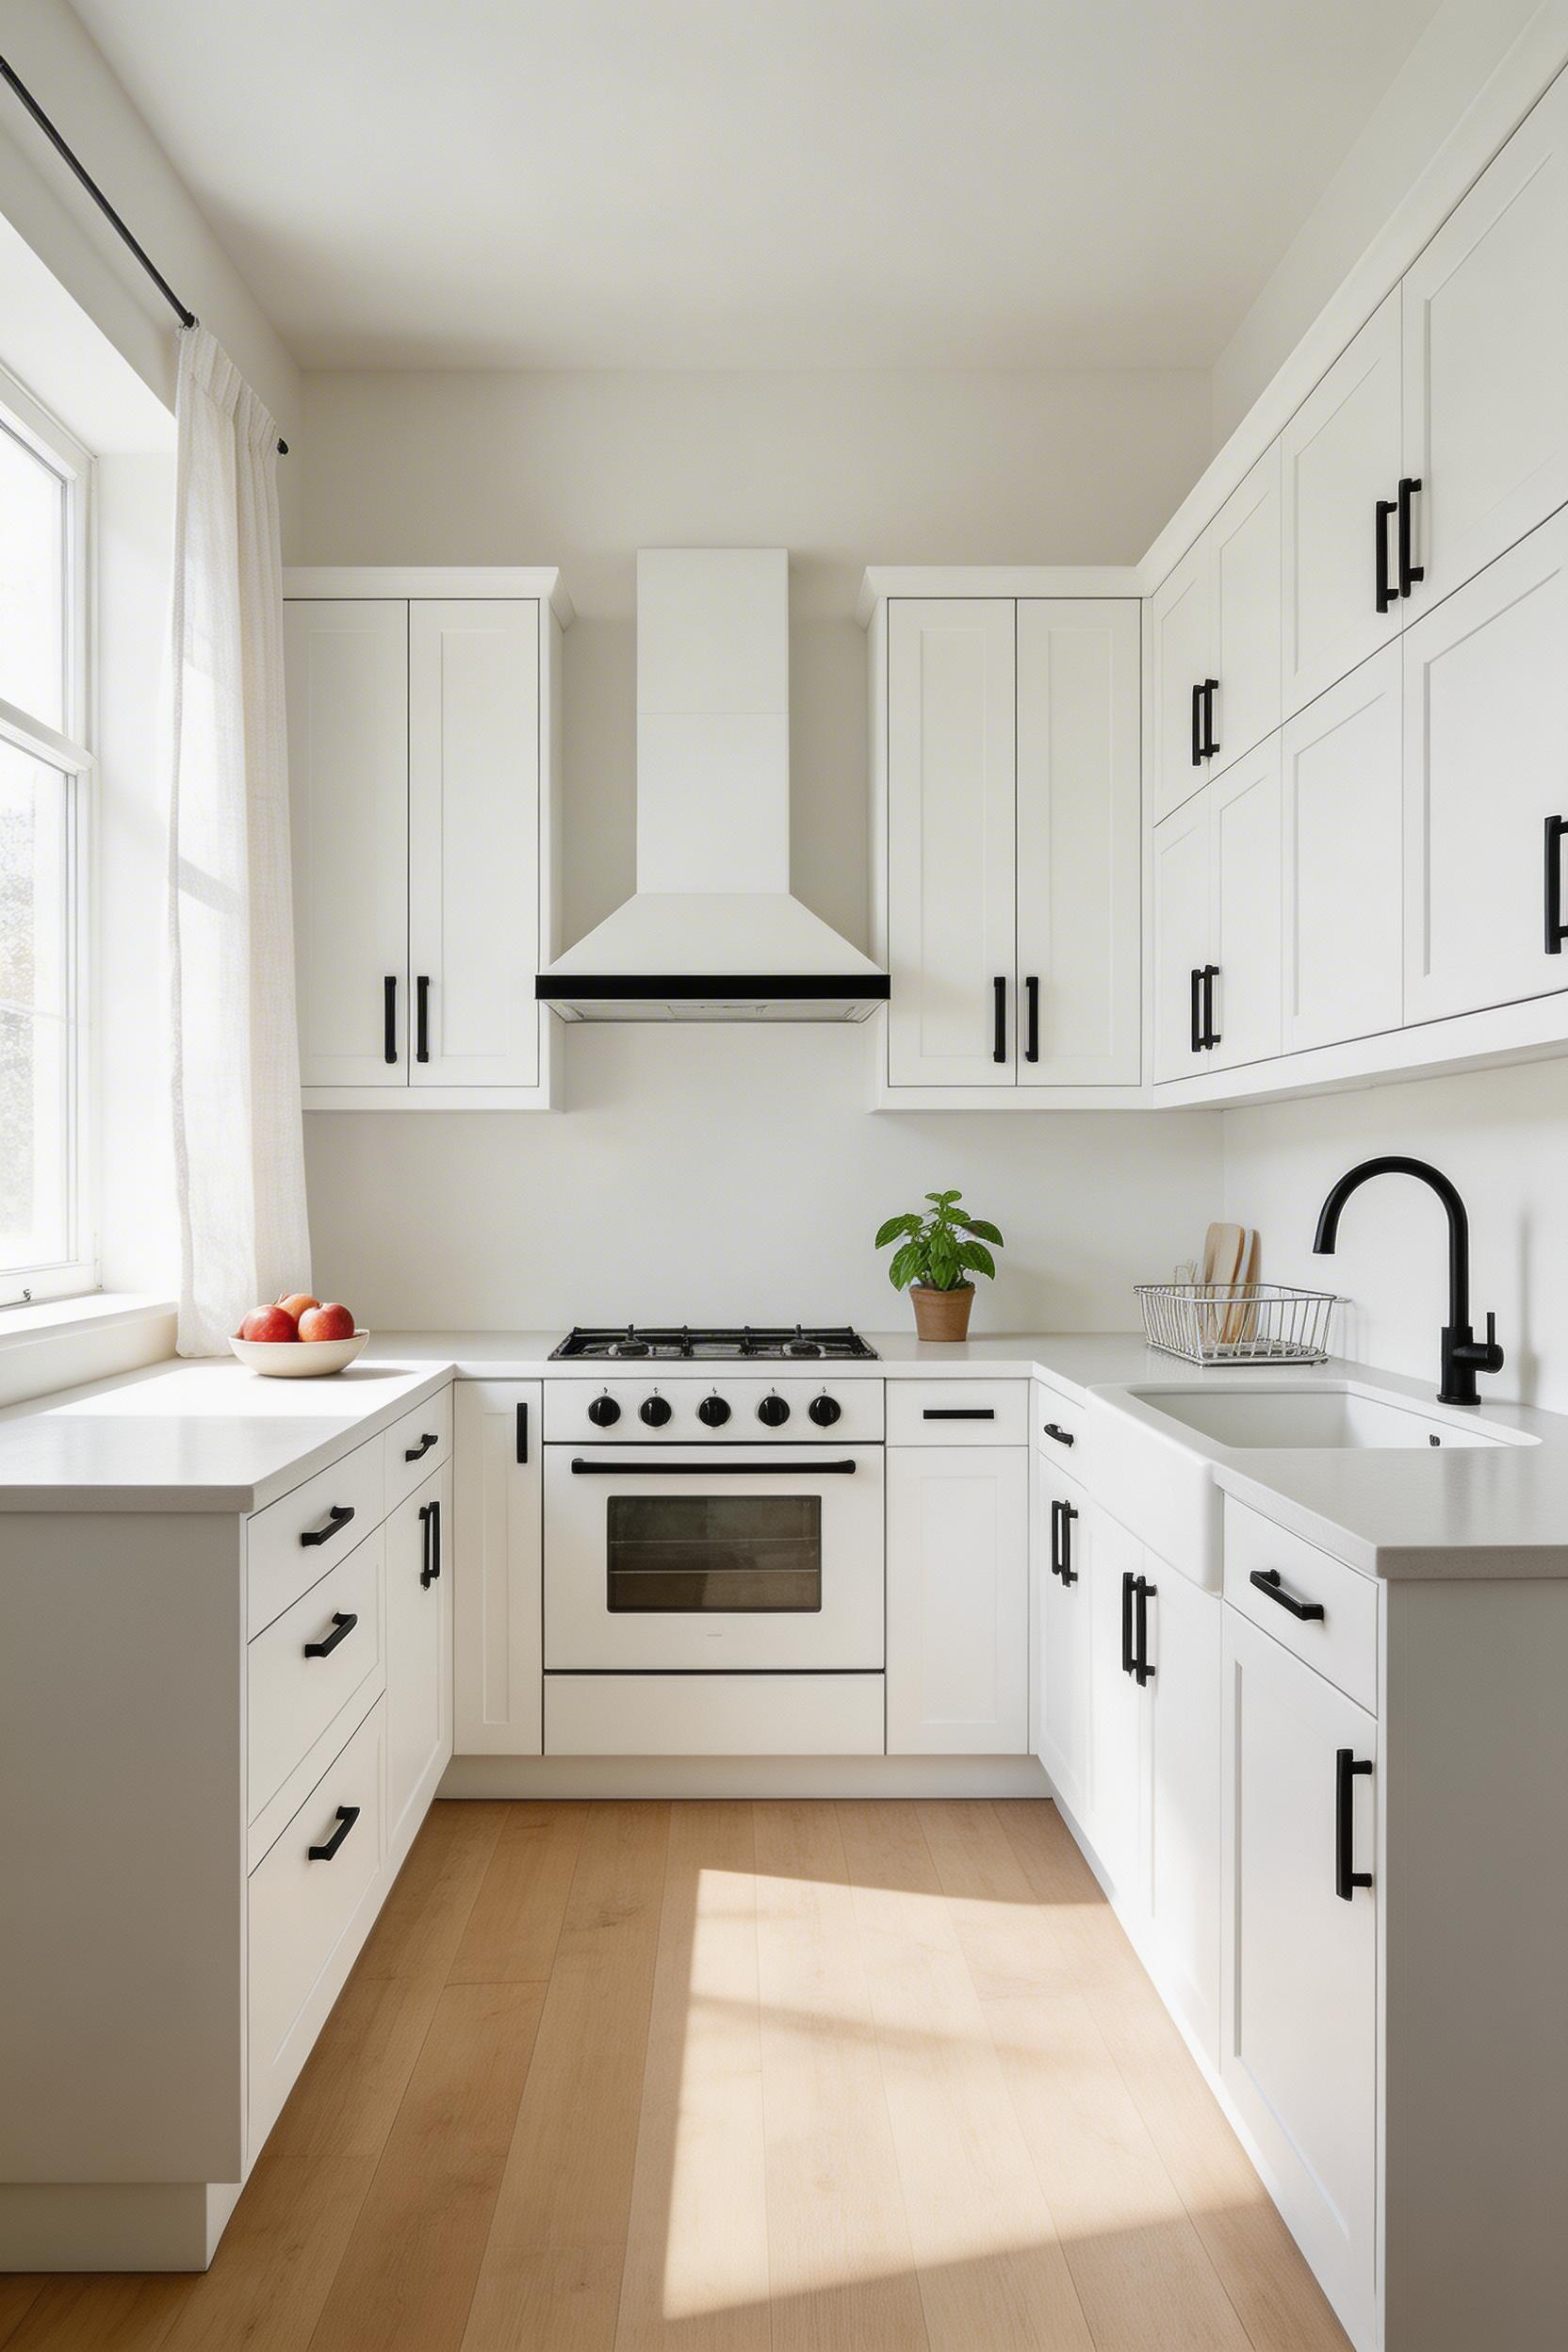
A typical kitchen has between 6 and 8 visible metal surfaces: cabinet handles, drawer pulls, the tap, the sink, light fittings, appliance trim, hinges, and sometimes bar stools. Mixing unlacquered brass taps with brushed nickel handles and chrome cabinet pulls doesn’t read as eclectic. It reads as unplanned. The Nordic interior design rule is simple: choose one primary metal for handles and tap, and one secondary metal for lighting and accessories only.
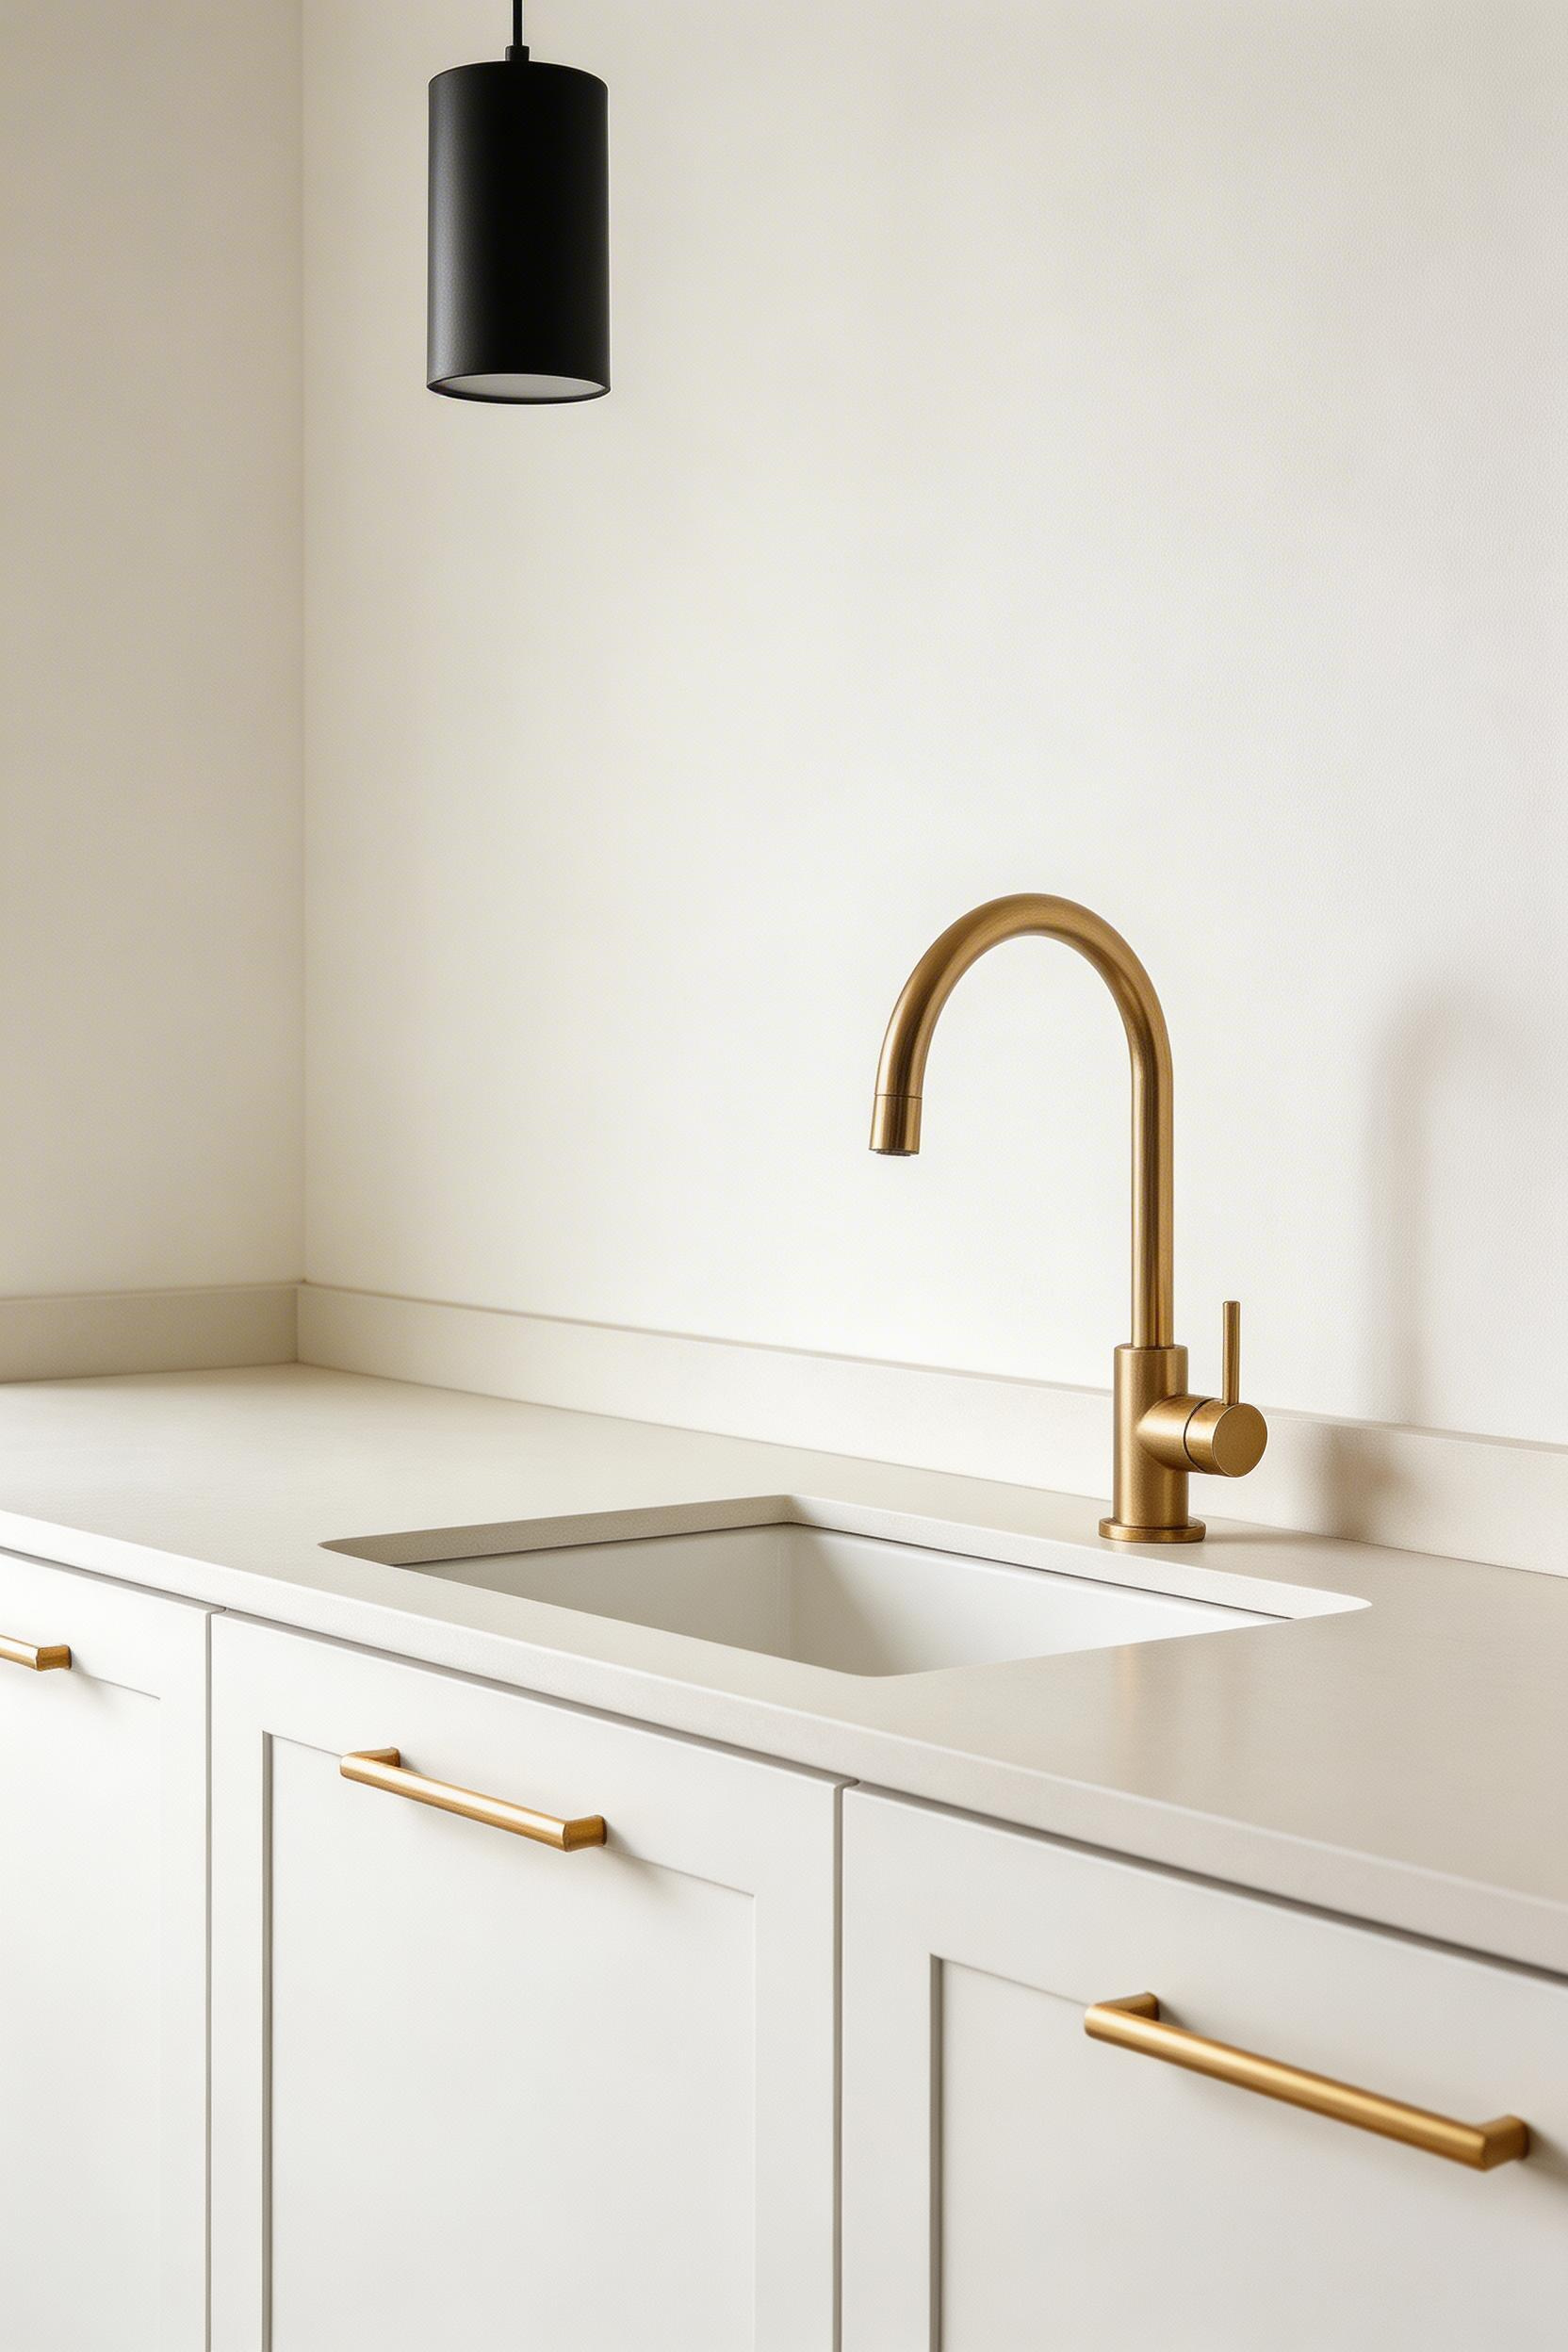
Houzz reported in 2023 that mixed metal hardware was chosen in 41% of new kitchens. Brushed brass was the most popular primary finish for the third consecutive year. The combinations that work consistently: brushed brass with matte black, brushed nickel with unlacquered brass, polished chrome with brushed stainless. What doesn’t work: three or more metals, or finishes too similar to each other (polished chrome and brushed chrome look like a mistake rather than a choice).
Order five handles and hang them on your actual cabinet doors before ordering the full set. Finish colours photograph very differently from how they look in natural light. Unlacquered brass in photographs reads as yellow gold. In a real kitchen with natural light, it’s far subtler. PVD-coated brass is a good compromise — it’s scratch-resistant and maintains a consistent finish without developing a patina.
Armac Martin brushed satin nickel handles at £18–£45 each are a reliable premium choice. Dowsing & Reynolds offer brushed brass and gunmetal options at £5–£25 per piece — useful for testing the two-metal approach before full commitment. Also: mismatched metals below head height read as unplanned. Above head height, the eye is less critical and more mixing is acceptable.
The most common kitchen storage mistake: choosing the cabinets, then figuring out what goes in them. Nordic designers work backwards. Start with a full inventory of everything that needs a home. The average UK household kitchen stores 28–35 pots and pans, 180–220 pieces of crockery and glassware, and 60–80 dry goods pantry items. IKEA’s internal research found that 71% of homeowners used less than 60% of their cabinet storage effectively. The problem was poor internal organisation, not lack of space.
Deep drawers (200mm+ internal height) are more efficient than base cabinets with shelves for pots and pans. A standard base cabinet loses approximately 40% of usable storage because items at the back are inaccessible. A 600mm wide deep drawer in the same footprint stores the same items fully visible at standing height.
One principle from Scandinavian kitchen design that genuinely changes daily life: the decant zone. It’s a shallow drawer near the kettle, toaster, and coffee machine that holds only consumables — coffee pods, tea bags, sugar, sweeteners. Nothing else. Keeping morning consumables in one drawer, close to the morning appliances, reduces counter clutter by 60–70% in that area.
Before your kitchen is specified, photograph everything you currently store in the kitchen laid out flat. Show that photograph to your kitchen designer. Most designers have never seen what their clients actually own. It changes every specification. When you look at kitchen cabinet colour ideas and kitchen organisation guides together, you’ll notice the best ones start from the inside out. Blum LEGRABOX drawer systems at £85–£150 per drawer are the industry standard — soft-close, load-rated to 40kg, available in four internal heights.
A kitchen with tiles only behind the hob and painted plaster everywhere else reads as unfinished. It’s one of the most common signs of a budget-constrained kitchen. The solution isn’t to spend more on tiles — it’s to make one consistent choice and run it all the way. For a well-considered kitchen backsplash design, continuity is the whole point.
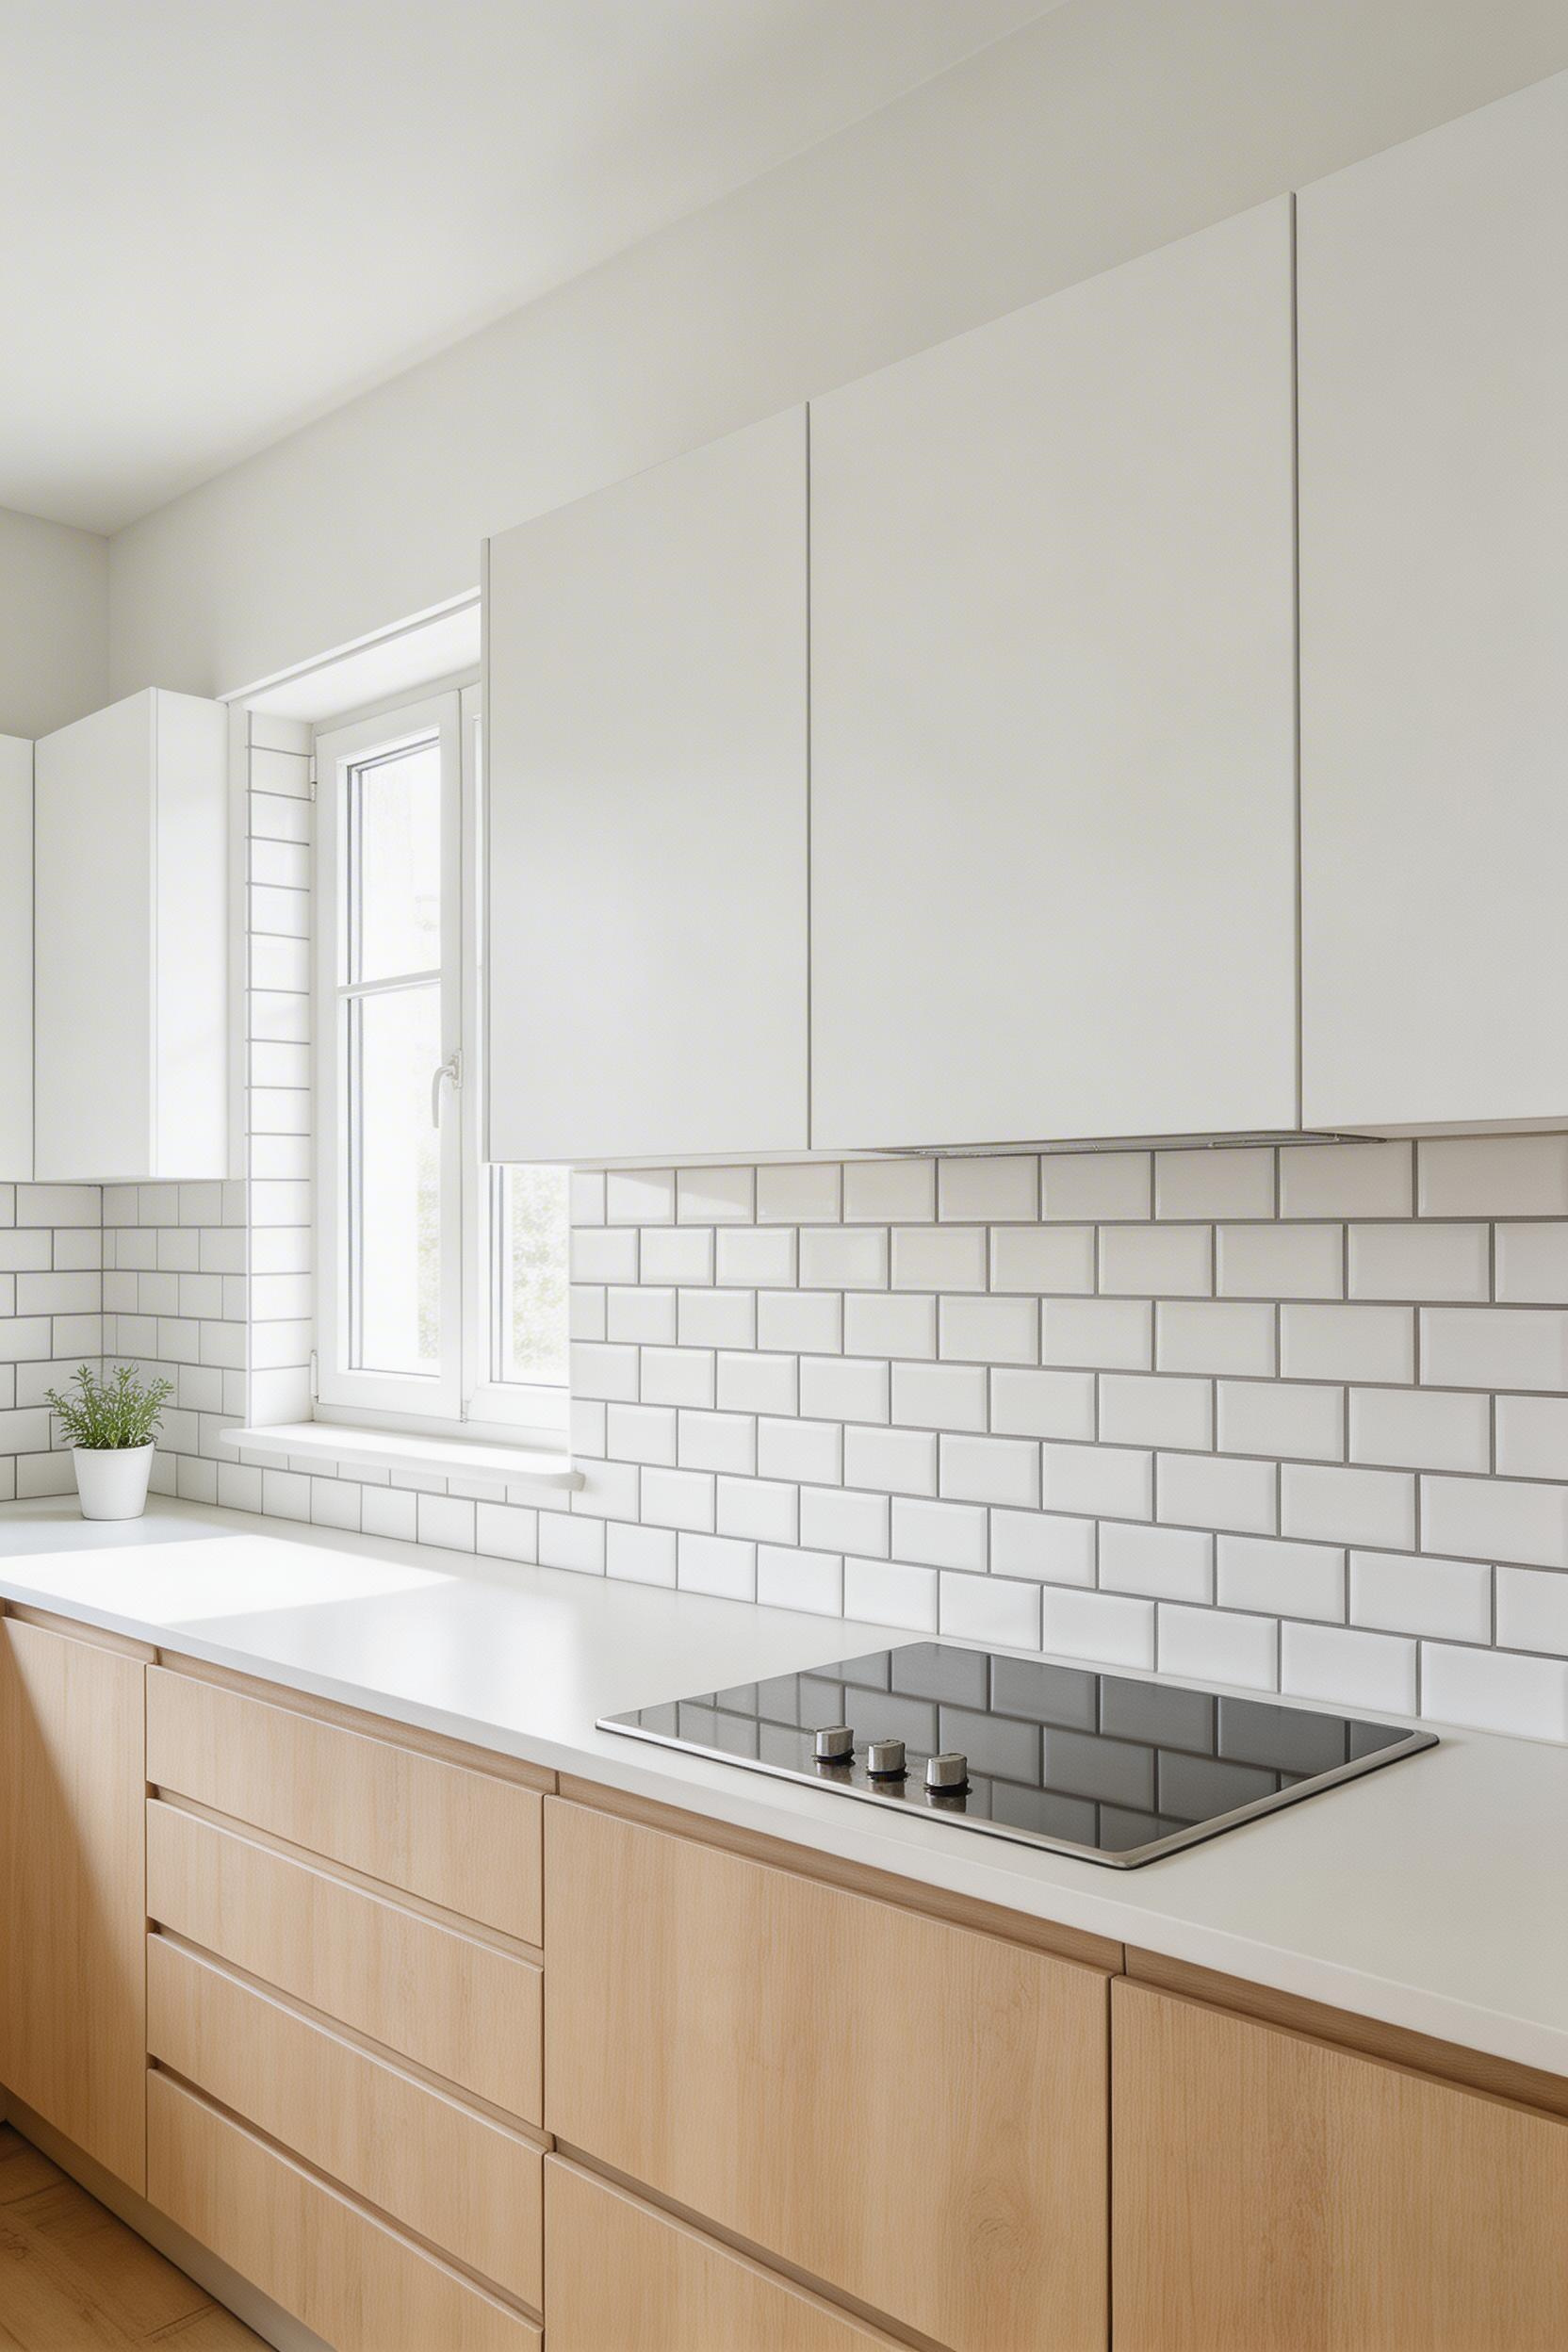
Running one material all the way behind the upper cabinets — including between windows, around corners, and beside the hob — creates a visual rhythm that makes the kitchen feel complete. The most versatile formats are 100×200mm metro tile (Fired Earth’s Metro range at £45–£75 per square metre comes in 40 colours), 75×150mm brick-bond subway, or large-format 300×600mm tiles for fewer grout lines.
Grout colour changes the reading of tile dramatically. White grout with white subway tile reads as almost seamless and feels modern. Dark grout with the same tile emphasises the pattern and reads as more traditional. For a Scandinavian-influenced kitchen, white or very pale grey grout on light tile avoids the mid-range greys that can read as dirty.
If budget is tight, tile only the hob run full-height. Use painted tongue-and-groove panelling everywhere else. The key is consistency: one material decision, not three different materials patched together. Dulux Trade Durable Eggshell at £38 for 2.5L is a wipeable finish suitable for painted T&G backsplash panels in light neutral tones.
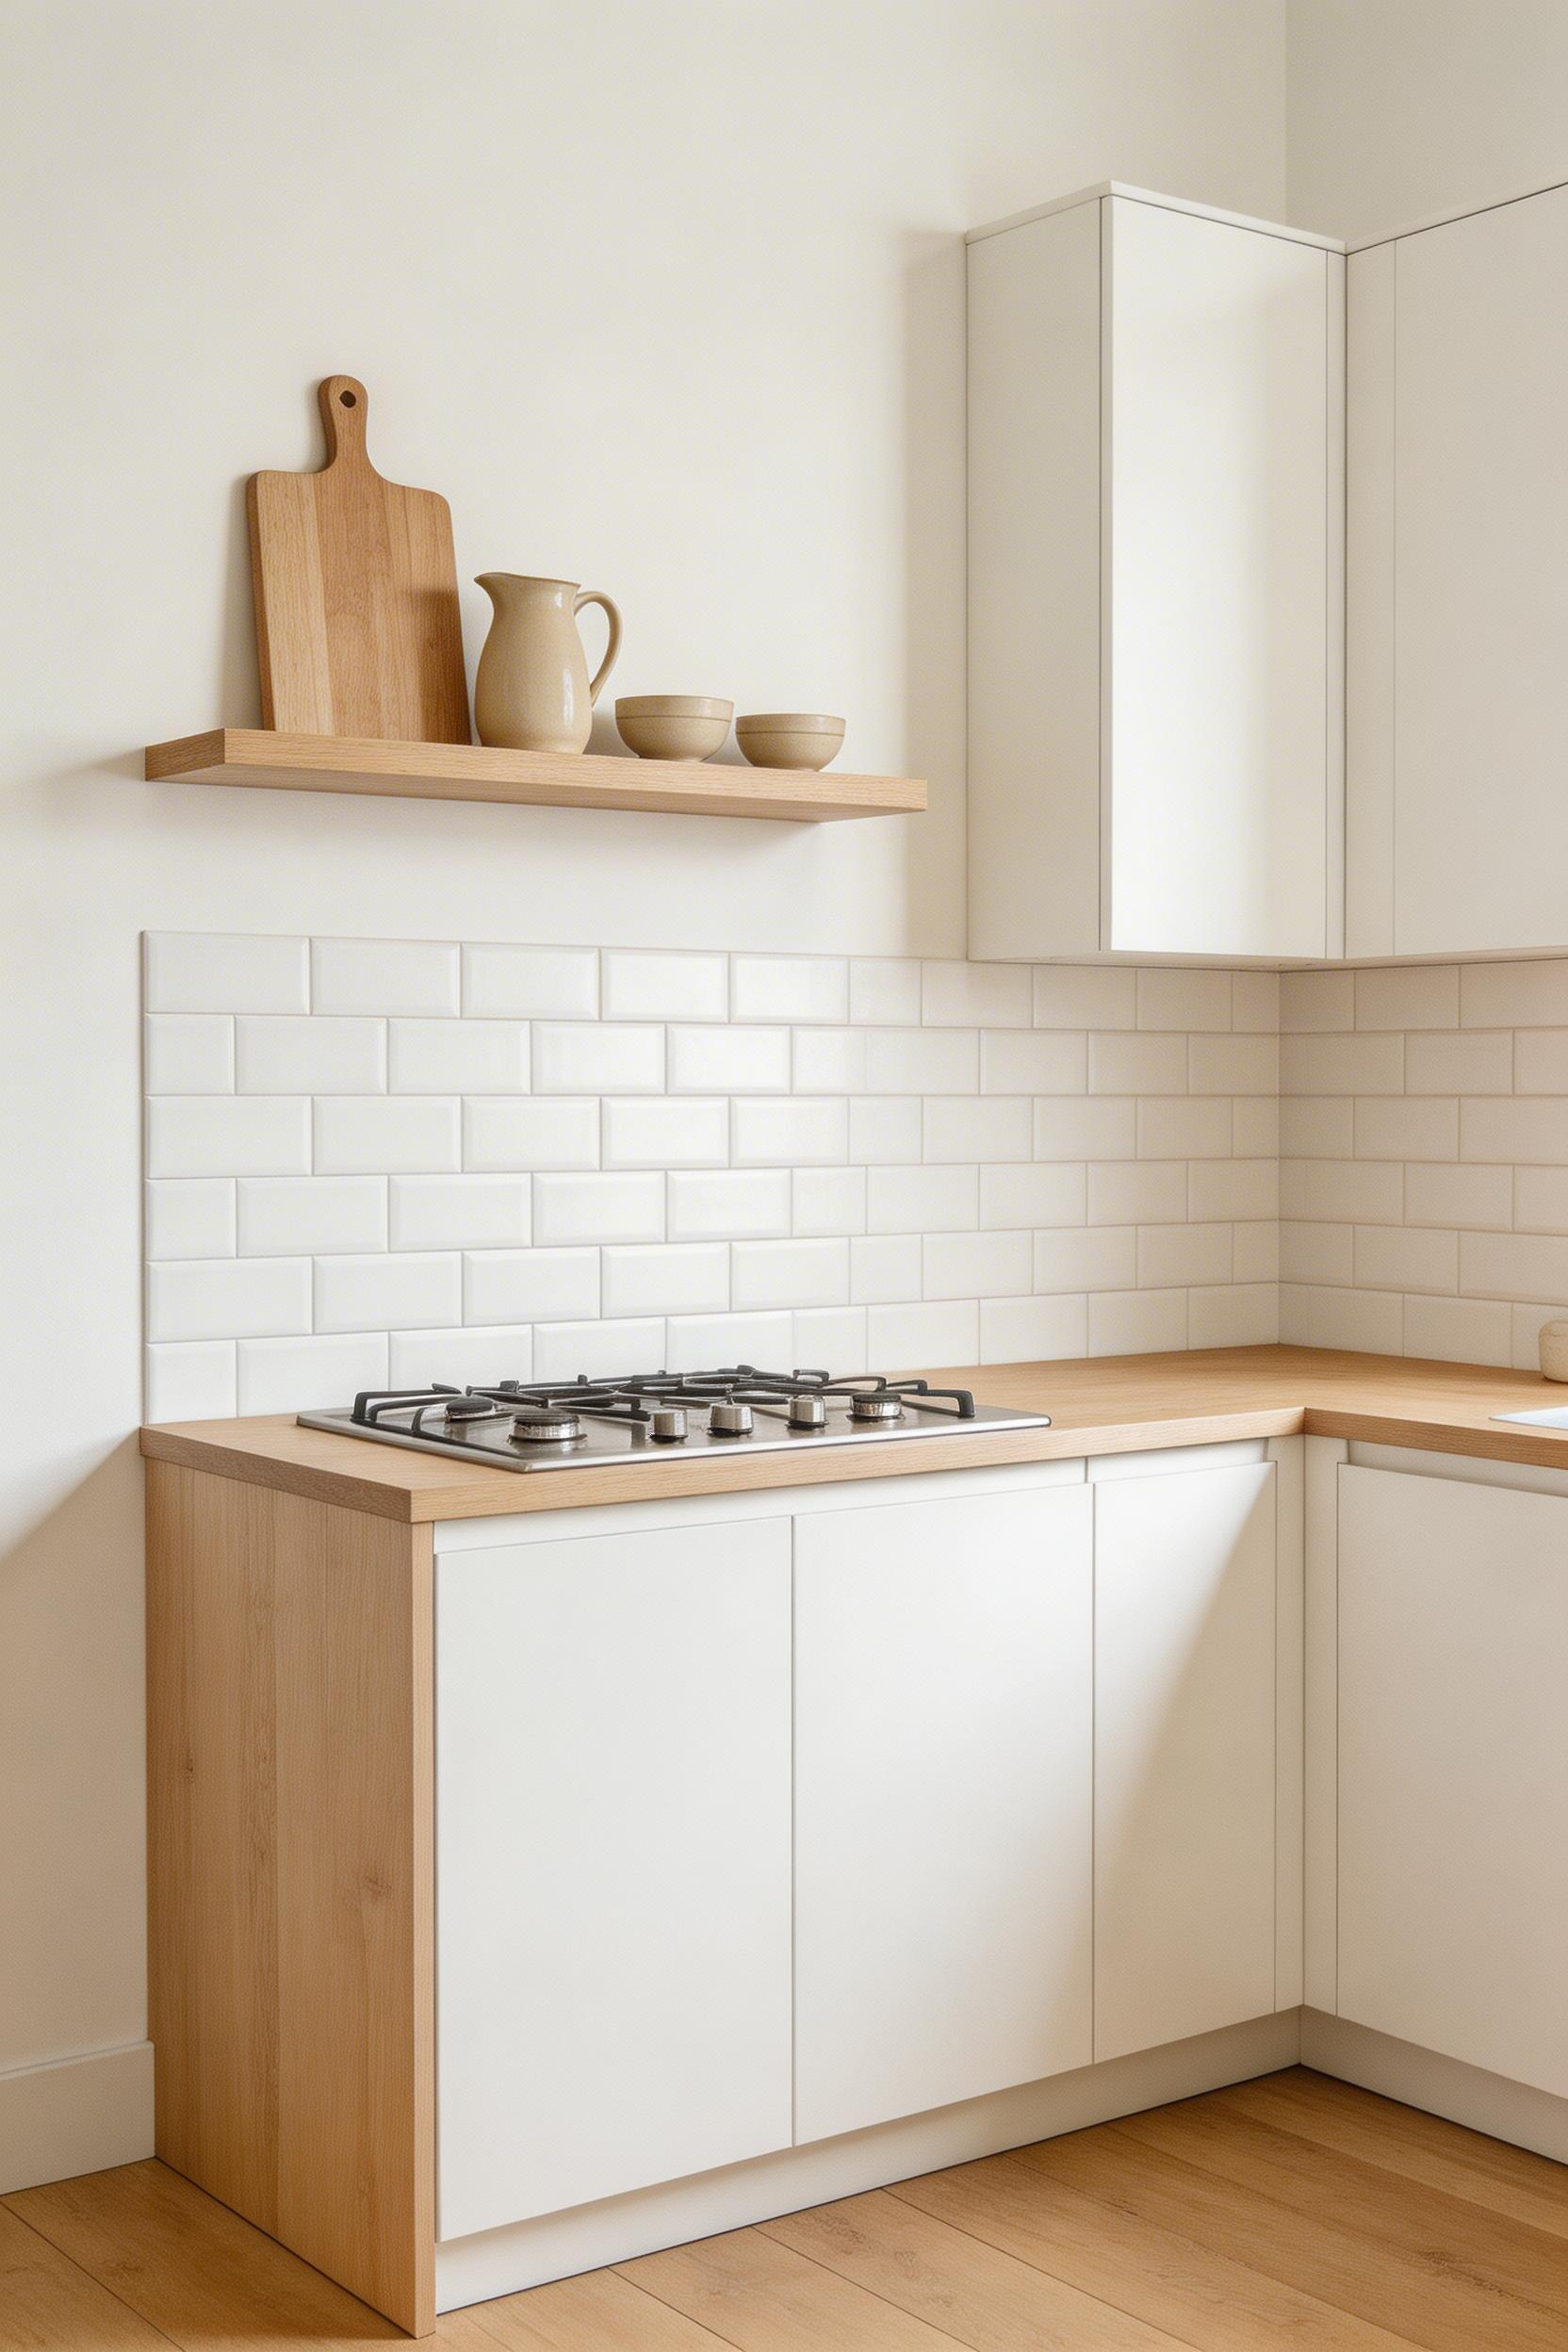
Research from the Danish Design Centre found in 2021 that spaces incorporating natural materials — wood, stone, clay — scored 28% higher for comfort and warmth than fully synthetic equivalents. In practical kitchen design tips terms, that means one natural material choice makes more difference to how a kitchen feels than most people expect. Also: only one. The rule of one is important here.
A solid wood island top, a limestone feature wall above the hob, or a rattan pendant above the island — each works clearly because it’s singular. Two competing natural materials (wood and stone and rattan simultaneously) creates a confused rustic-farmhouse-Nordic aesthetic rather than a calm one. Natural materials also age visibly. A butcher block that shows knife marks and a limestone backsplash that develops a patina are working correctly.
The cheapest way to add a natural material to a kitchen: a single solid wood chopping board displayed on the counter. It sounds too simple to matter, but a quality end-grain board from Boos, Ironwood, or Joseph Joseph at £80–£150 genuinely changes the visual temperature of an all-white or all-grey kitchen. I’ve recommended this many times to clients frustrated that their kitchen felt clinical. The results are always more significant than they expected. Biophilic design research from the University of Exeter found a 15% increase in reported wellbeing in spaces incorporating natural materials — even small inclusions count.
For a more committed choice, Benchmark Furniture solid oak island tops from £850 are a worthwhile investment. Mandarin Stone Lagos Azul limestone at £65–£95 per square metre is a pale blue-grey that works in both north and south-facing rooms.
Kitchen flooring is typically the last decision made in a renovation — after cabinets, countertops, and appliances are already committed. That order is backwards. Yet among all the kitchen design tips that affect the overall feel of a room, flooring has the broadest reach. In Scandinavian homes, the floor sets the tonal key for the whole kitchen. Everything else — cabinet colour, countertop material, hardware finish — is selected to work with the floor, not the other way around.
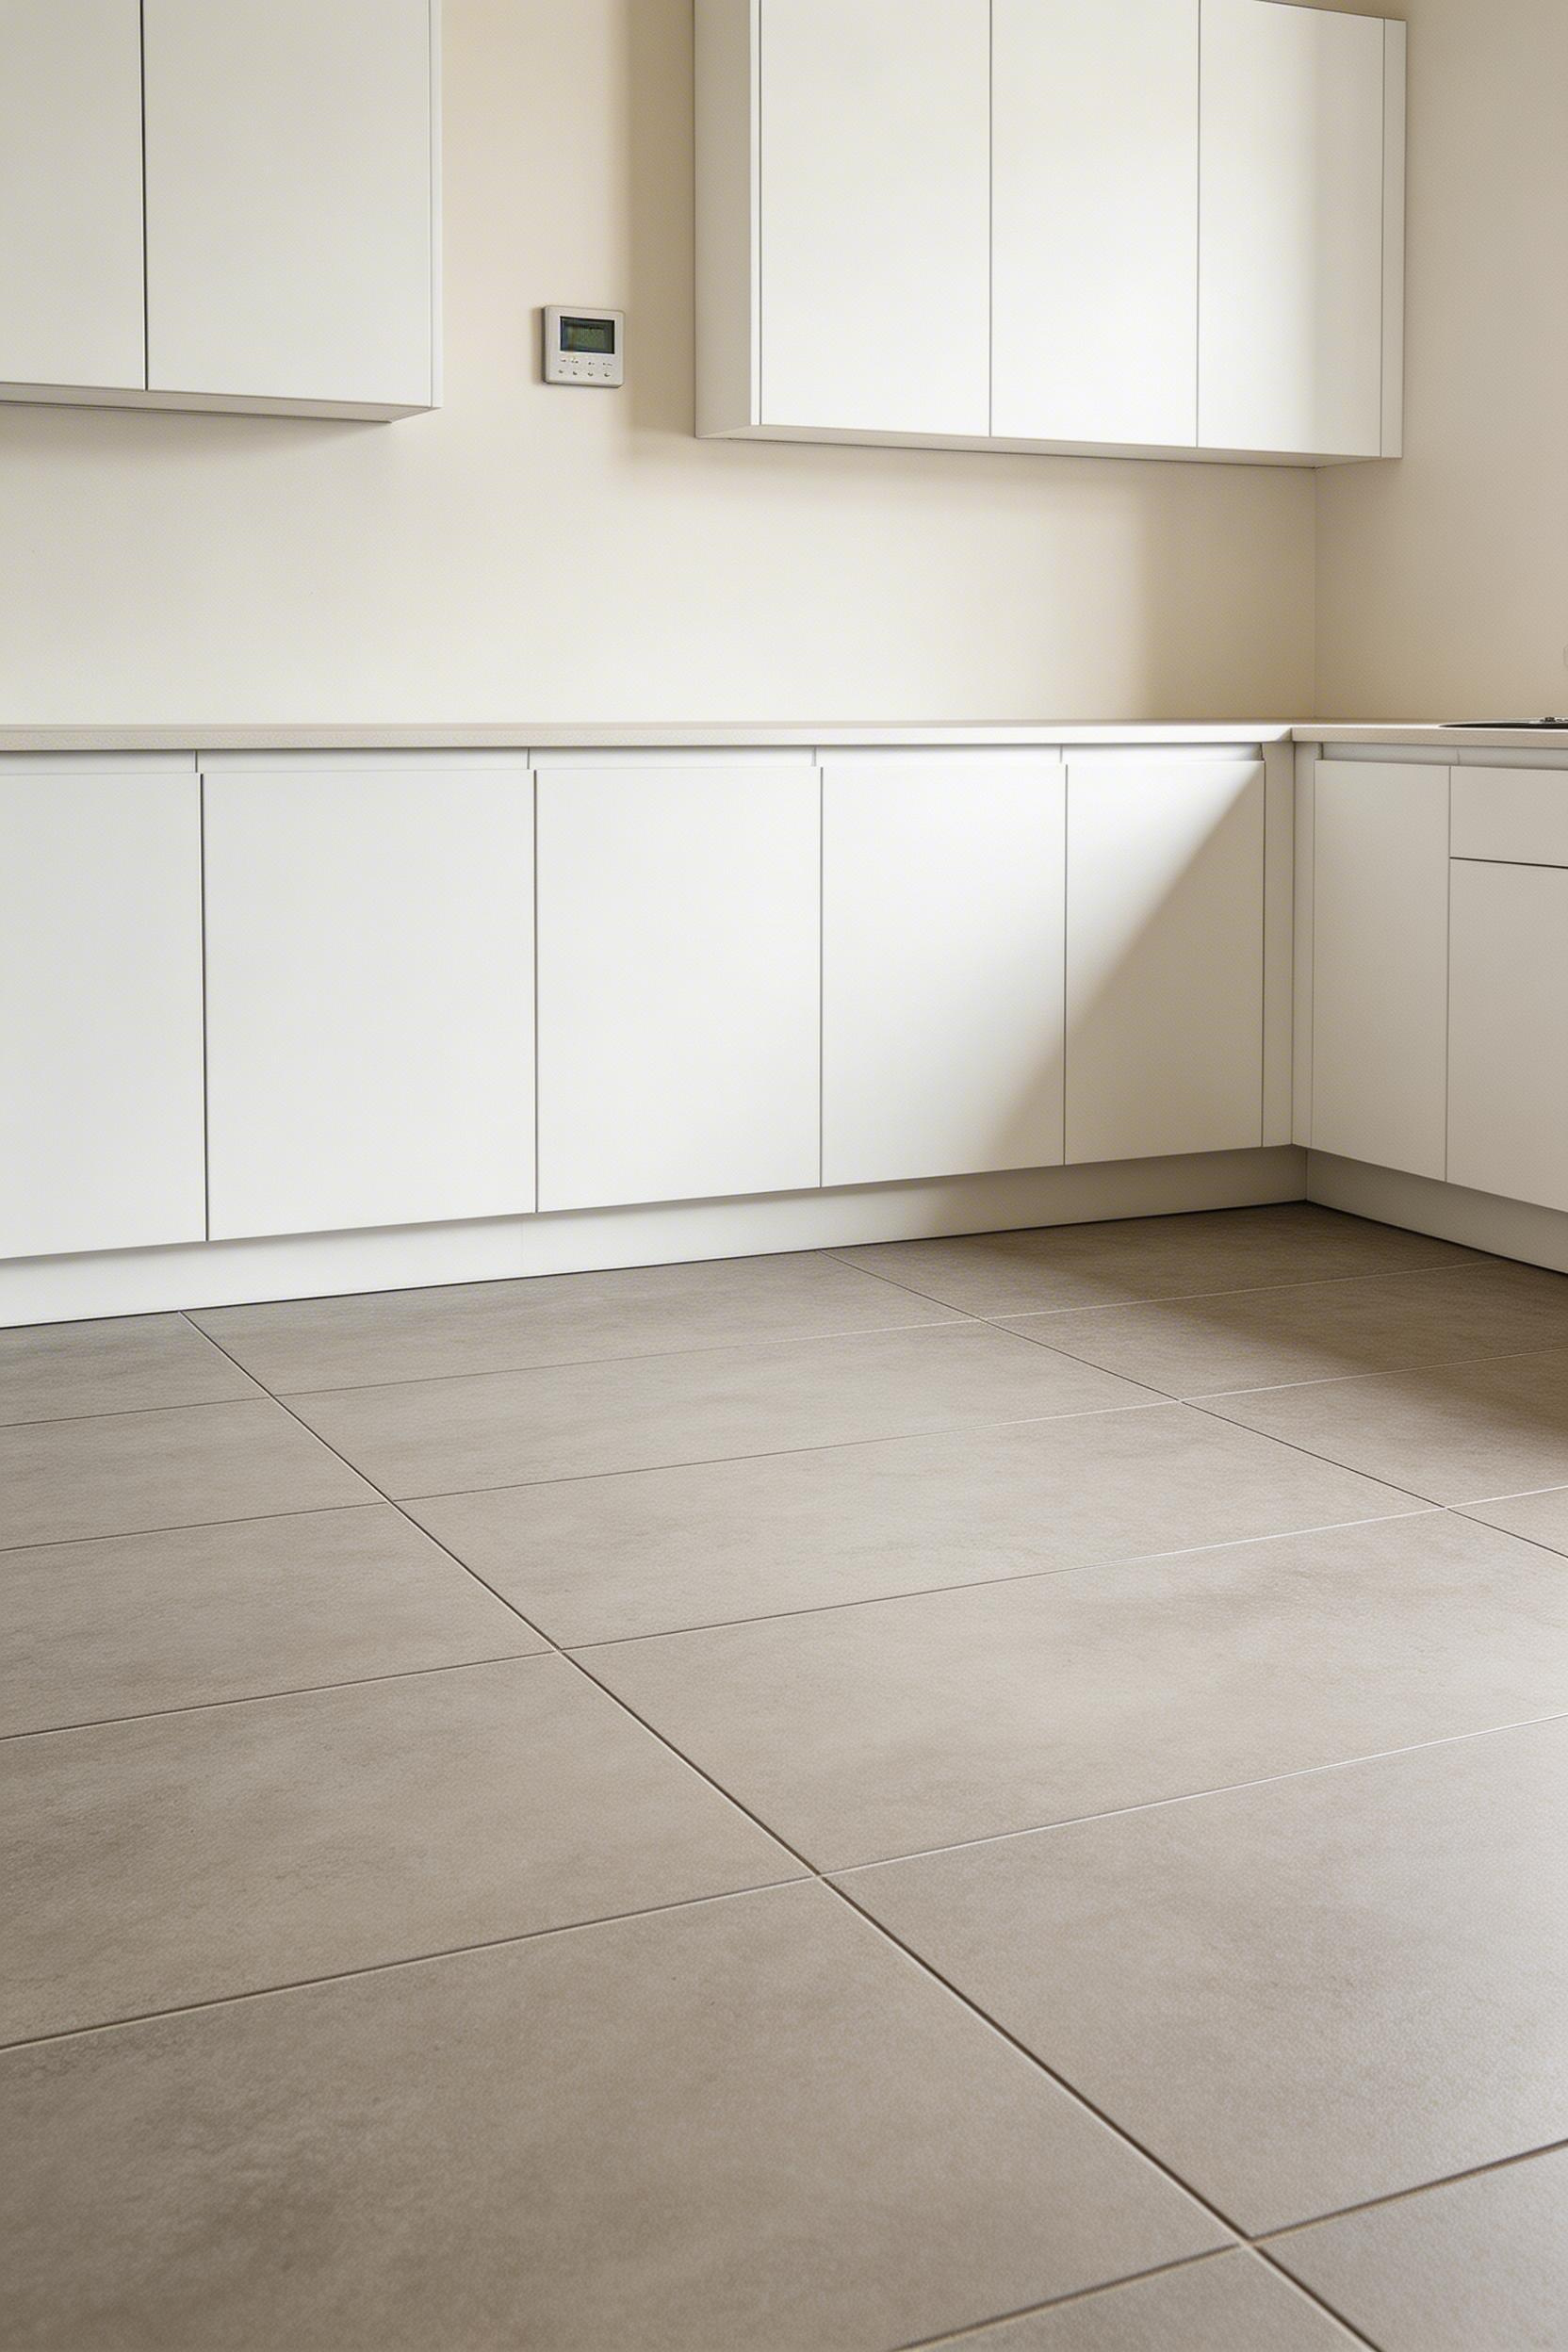
The 2023 Tile Association UK report found kitchen floor tile installation grew 22% year-on-year. Large-format porcelain accounted for 67% of all kitchen floor tile sold. Large format tiles (1200×600mm or larger) are durable, easy to clean, and create fewer grout lines. However, they require underfloor heating to feel comfortable in UK and Nordic climates, and they demand a very level substrate. Porcelanosa’s Prada range at £85–£115 per square metre is a reliable concrete-look option.
Luxury vinyl plank (LVP) is softer underfoot, warmer, and can be installed over an existing floor without raising floor height. Karndean Korlok Reserve ‘Estonian Oak’ at £52–£65 per square metre is waterproof, has a 30-year warranty, and is convincing at normal viewing distance. It’s the right call for kitchens where budget or substrate constraints make tile impractical.
One practical note: choose your floor material before specifying cabinet leg heights. Changing from 10mm tile to 12mm engineered wood mid-project causes ripple effects through kickboard measurements, appliance fitting, and door clearances. It’s a small thing that becomes expensive to fix.
Bin placement is almost never mentioned in kitchen design guides or kitchen design tips roundups. Yet bad positioning creates friction every single time you cook. The most efficient location: directly below the prep area, or adjacent to the sink. Waste should move from chopping board to bin in one movement. The distance shouldn’t require you to turn or walk.
UK households now need 4–5 waste streams: general waste, food waste, paper and card, glass, and mixed recycling. A multi-bin pull-out solution addresses this in a single 600mm cabinet. Hailo’s Tandem Plus 2×11L at £140–£180 installs in a 400mm cabinet. WRAP UK’s 2022 household food waste study found that kitchens with a dedicated food waste container in easy reach of the prep area reduced food waste going to landfill by 23% — a useful reminder that bin location affects how much you use it.
Think specifically about the food waste caddy. In the UK, most councils now collect food waste separately. A 5L compost caddy near the sink, emptied into an outdoor caddy rather than the under-sink bin, prevents smell and reduces how often you lift a heavy bin during cooking. It’s a detail, but it makes the kitchen run more smoothly. For kitchens where under-sink plumbing limits cabinet depth, the Brabantia Bo Touch three-compartment countertop system at £85–£120 is a practical alternative.
A range cooker that’s too wide for the cabinet run creates a visual imbalance that no styling fixes. A fridge that stands 150mm taller than surrounding cabinets reads as an afterthought. Appliance selection is often treated as purely functional — wattage, capacity, energy rating. But proportion and scale matter equally. This is one of those kitchen design tips that barely appears in manufacturer brochures, yet it’s one of the most visually impactful calls you’ll make.

Integrated, panel-fronted dishwashers and fridges maintain cabinet uniformity. However, they add 20–40mm depth to the appliance run, so specify cabinet depth accordingly. Counter-depth fridges (600mm vs standard 700mm) cost £200–£500 more but sit flush with cabinetry. The visual improvement is immediately noticeable. Siemens iQ700 counter-depth fridge-freezers at £1,200–£1,600 are the most consistent UK performers in this category.
Always check the cut-out dimensions of appliances against your cabinet specifications before ordering. A 60cm oven and a 60cm cut-out are not the same thing — most ovens require a 560mm wide opening, not 600mm. Which? Magazine found in 2023 that 1 in 4 kitchen renovation complaints involved appliances that didn’t fit the cabinet openings. Nearly all were due to cut-out dimension errors. The fix before ordering takes five minutes. The fix after ordering takes weeks and money.
AEG’s BSE792220M at £899 is a handle-free single oven that sits flush with handleless cabinet fronts. Neff’s N70 CleanAir recirculating hood at £650–£850 is a good choice where external extraction is impractical.
When a kitchen flows into a dining area without any visual cue, both spaces feel undefined. The kitchen doesn’t feel like a kitchen. The dining area doesn’t feel like a dining room. The whole space reads as a large room with furniture in it. A 2022 RIBA survey found that separating kitchen and dining zones visually was the single most-requested brief element in family home commissions that year.
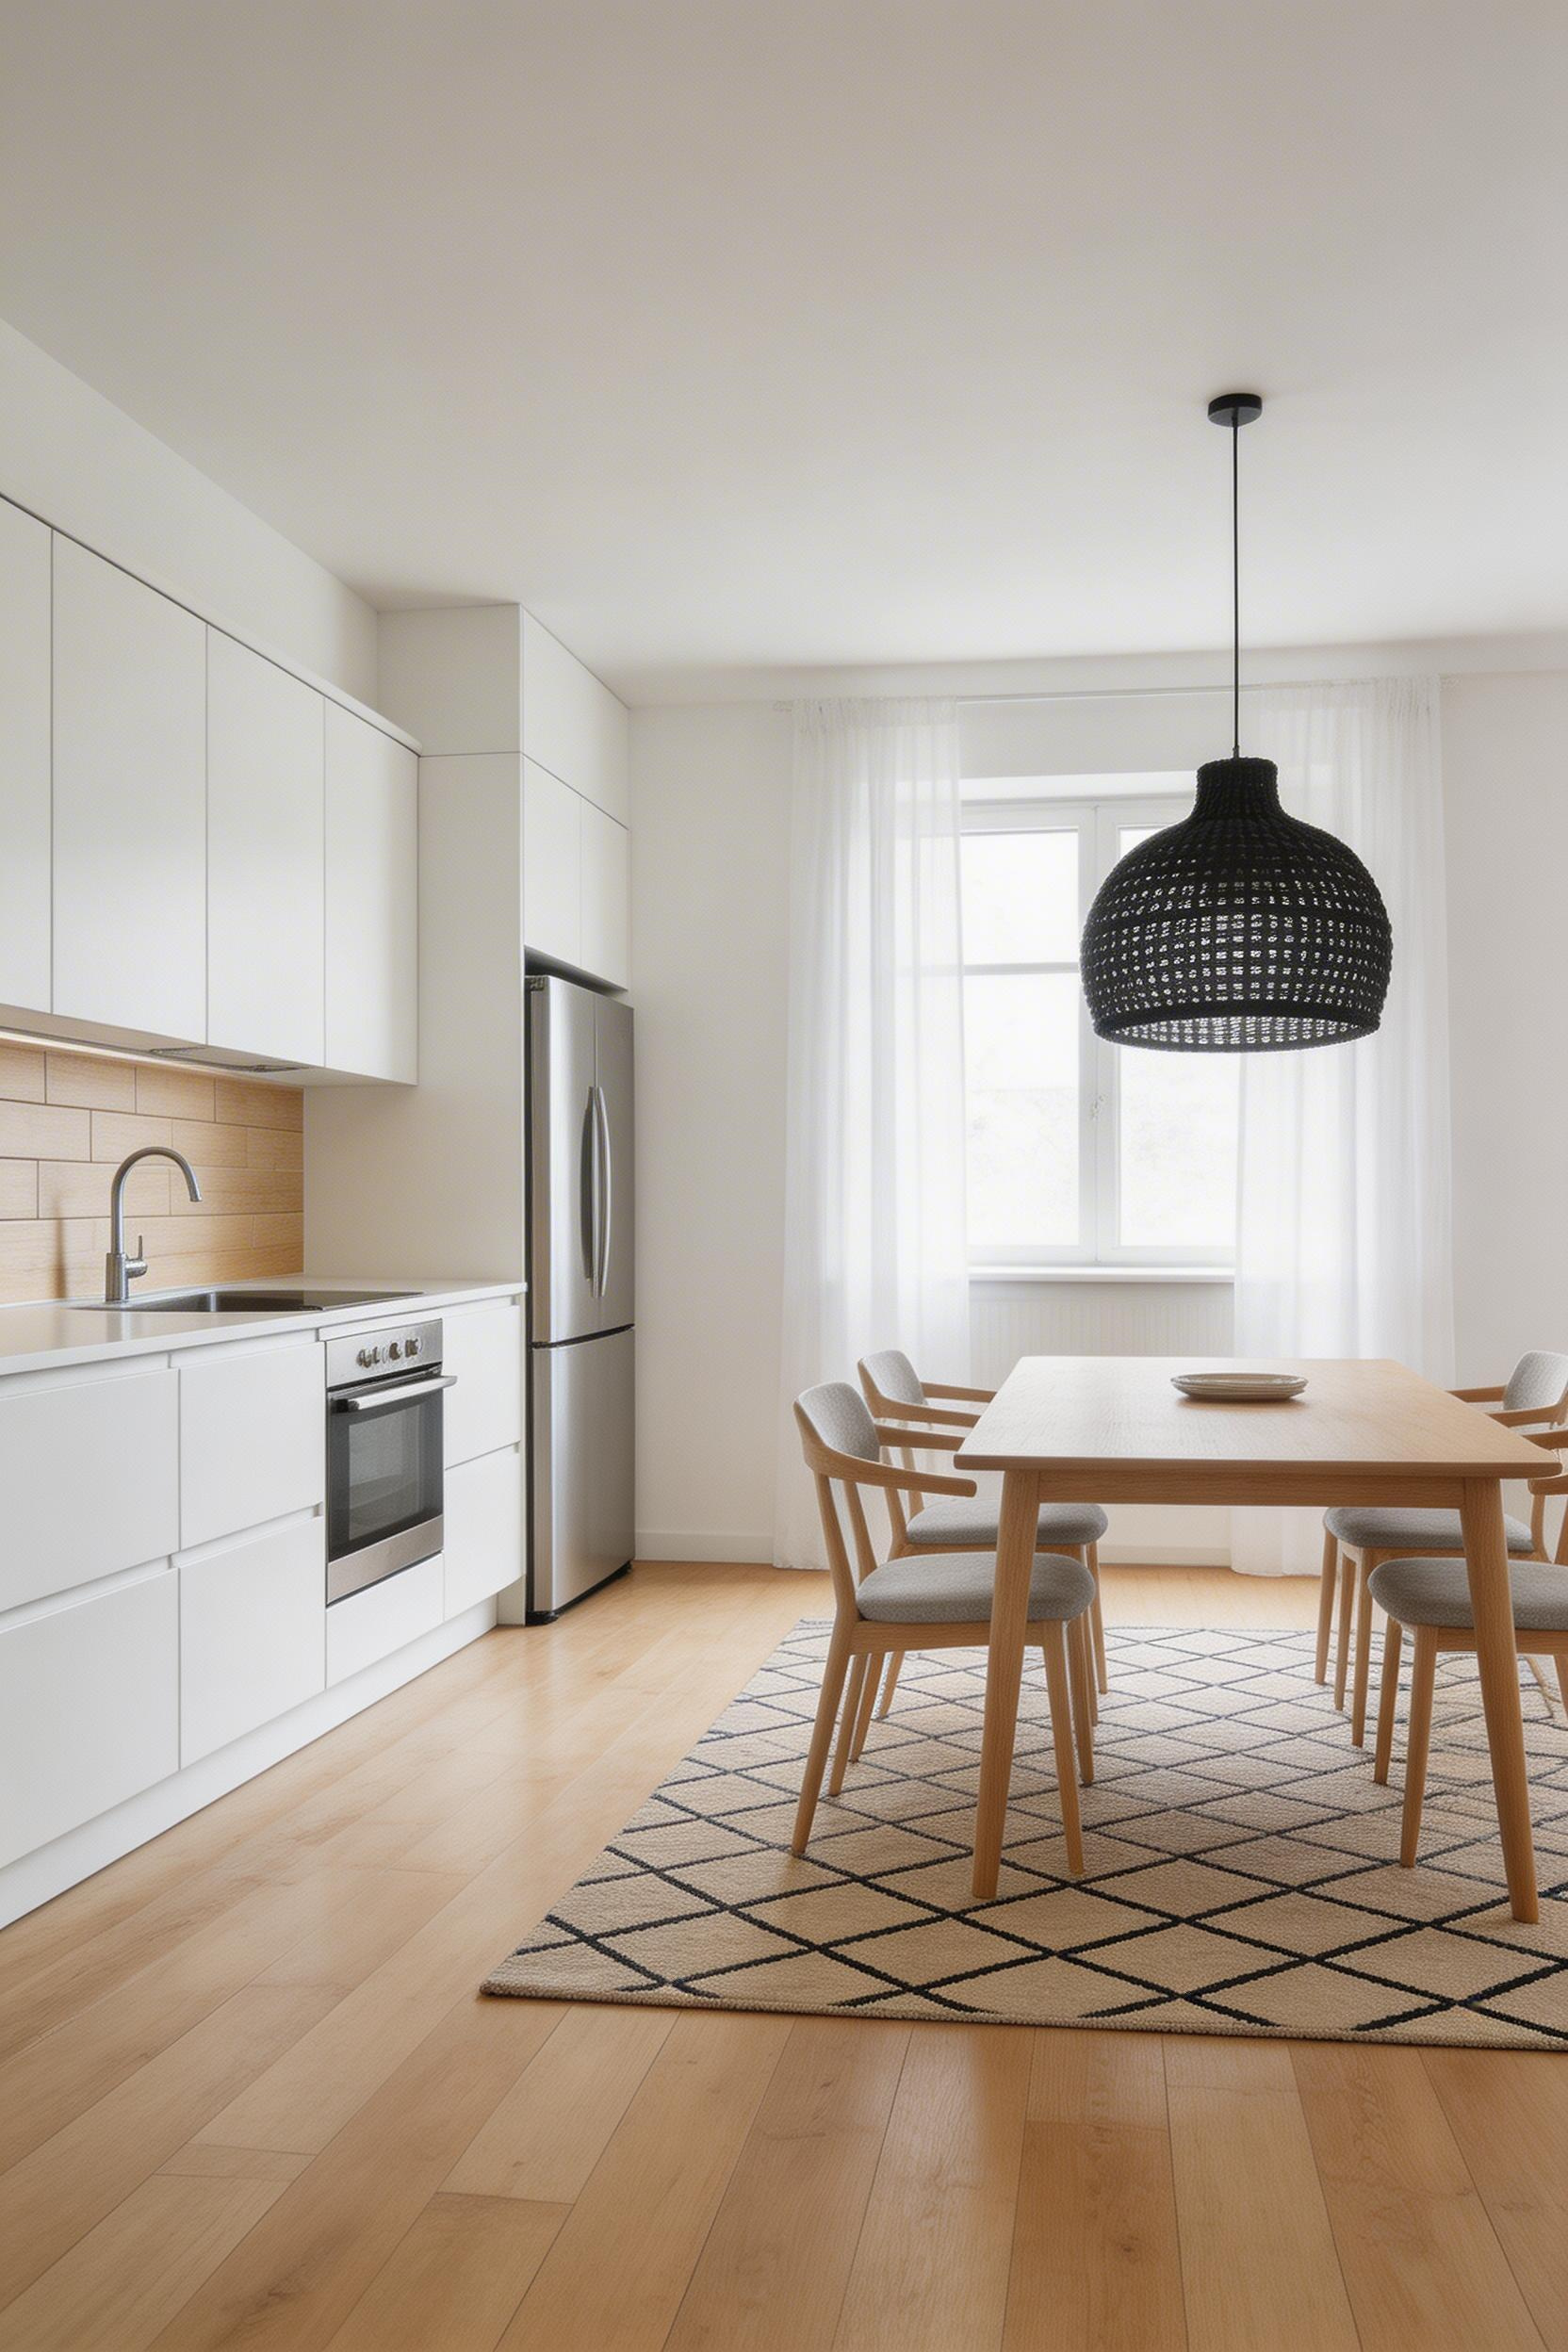
The most effective signals use three layers simultaneously. First, a lighting change: a different pendant style over the dining table. Second, a flooring change: a rug under the dining table even if the floor is continuous. Third, a ceiling or colour cue. You don’t need all three — but even one changes the reading of the space.
The simplest approach: a pendant light directly over the dining table on a separate switch circuit. Hang it 70–80cm above the table surface for standard ceiling heights. That pendant creates a visual ceiling over the dining area that separates it from the kitchen — without changing a single physical element. Ferm Living’s Spun pendant at £295–£395 reads clearly different from kitchen island pendants and signals zone change visually. For zone definition on the floor, a 240×170cm rug under the dining table costs less than the pendant and works just as hard.
A note on kitchen islands vs. dining tables: they’re different things used differently. An island is for standing, casual eating, and morning coffee. A dining table is for seated, lingering conversation. The Nordic kitchen makeover ideas that work best typically include both rather than treating the island as a substitute for a proper dining surface.
Remote working since 2020 changed how kitchens are used. Many households now use the kitchen table or island as a daytime workspace. That requires a power socket and USB-C charging point that most existing kitchens don’t have. Growing families add a teenager with after-school snacking habits, a preference for separate breakfast prep from main cooking, and more simultaneous users. Rightmove’s 2023 home buyer survey ranked adequate kitchen storage and work surface as the #1 practical requirement for family home buyers — ahead of bedroom count for the first time.
The most future-proof upgrades are also among the cheapest to add during a build. Extra electrical sockets — one per 900mm of counter length, with USB-C charging — cost £28–£35 each at construction stage. Running a 20-amp circuit to the hob location now, even if you’re choosing gas today, means you can retrofit an induction hob later. A second prep sink on the island (GROHE Blue Home at £650–£850 gives filtered chilled water built in) is the upgrade most homeowners wish they’d included.
Rather than fixed bar stools at a fixed-height island, consider counter-height bar stools that can be moved and stacked. Tolix A-Chair bar stools at £185–£220 each are stackable, available in 20 RAL colours, and handle the shifting needs of a growing family far better than built-in seating. The kitchen you’ll have in five years looks slightly different from the one you have now. Kitchen remodeling on a budget thinking should build in that adaptability from the start.
Also, think about whether a wider prep area would serve you. 900mm of clear, continuous counter is the practical minimum for serious cooking. If you’re at 600mm now, an extra 300mm changes daily cooking more than most other single-surface kitchen design tips.
Good kitchen design tips have a longer shelf life than good kitchen aesthetics. The layouts, material choices, and workflow decisions covered here don’t expire with trends. They keep paying back for as long as you’re in the kitchen.
The ones worth prioritising if you’re starting from scratch: get your work zones right before you choose a style, test your cabinet colour in real light before you commit, and design your storage around what you actually own. Those three decisions will save you from the regrets that show up most often in renovation surveys.
If you’re working within an existing kitchen, the highest-return changes are layered lighting (especially under-cabinet strips and a dimmer), a continuous backsplash that pulls the room together, and one natural material that adds warmth. None of these require a full remodel. A considered approach to kitchen design tips — as the best kitchen design tips guides all agree — is almost always about these targeted improvements rather than stripping everything back.
The best kitchens I’ve designed aren’t the ones that were photographed the most. They’re the ones where the family stopped noticing the kitchen as a separate thing and just started cooking more, eating together more, and spending more time in the space. That’s the sign the design has done its job.